
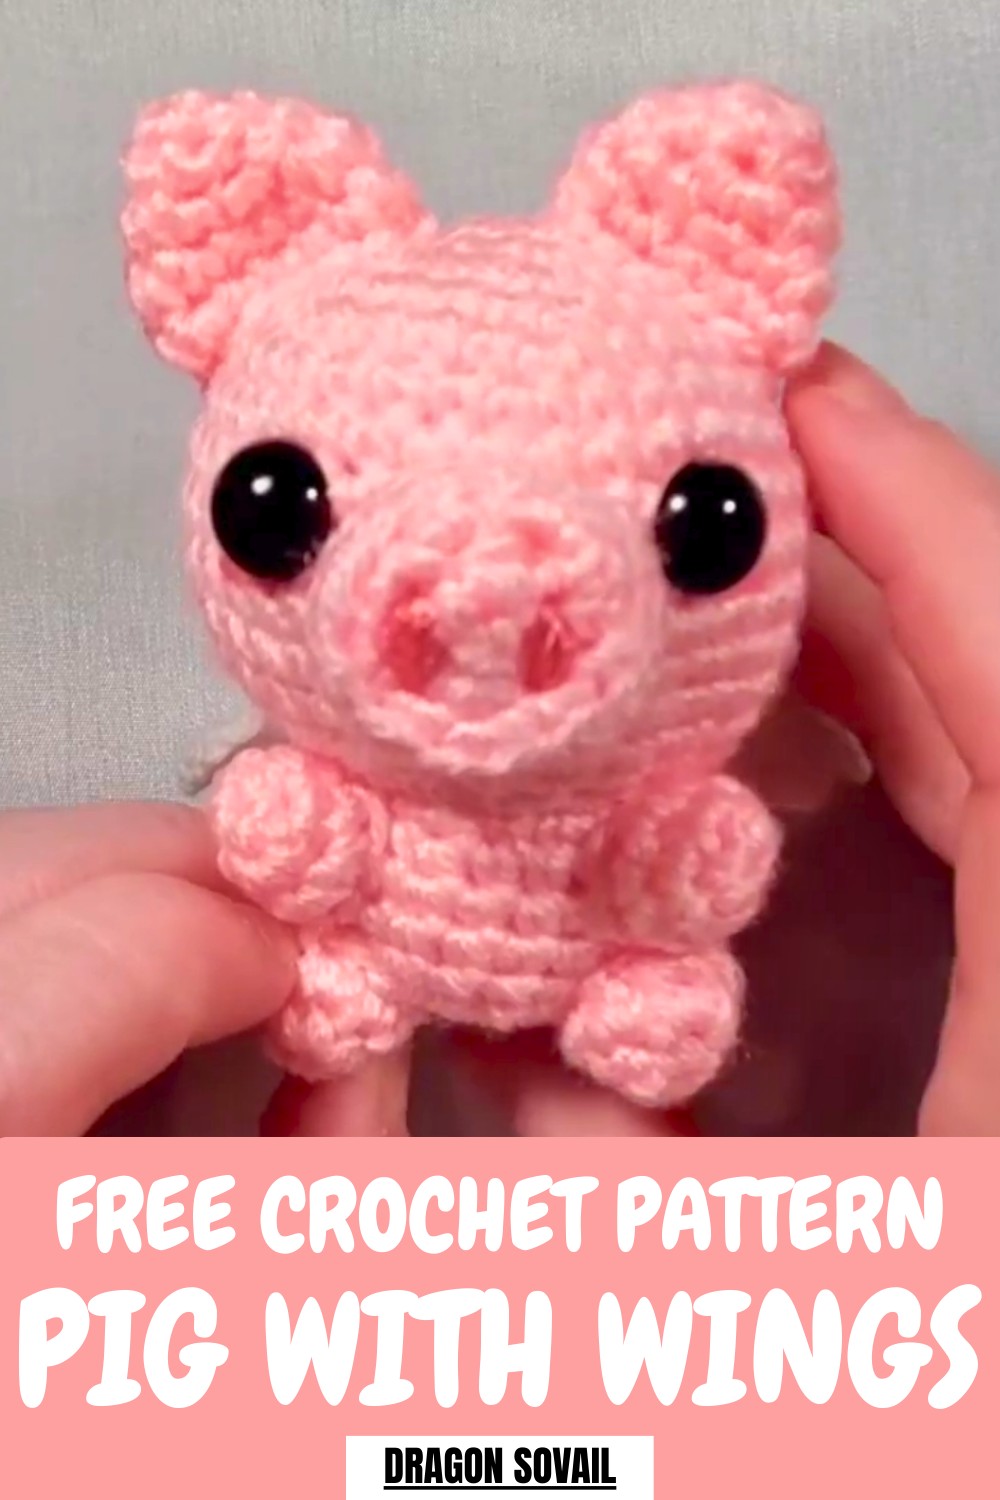
Watch pigs fly with the Free crochet Pig With Wings Pattern, a playful and quirky creation that adds fun and charm to any space or gift.
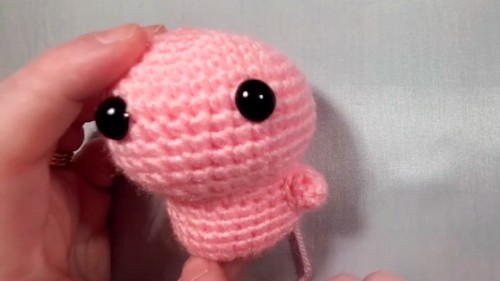
Could a little pig really look this charming? With its soft, rounded body, tiny wings, and cheerful expression, this winged pig instantly captures attention and adds a whimsical touch to any space. Its playful and magical look makes it perfect as a decorative piece for shelves, desks, or nightstands, while its compact size and lightweight design allow it to double as a keychain charm, bag accessory, or unique handmade gift.
Whimsical Crochet Pig With Wings Pattern Perfect for Fun Gifts
Beyond its visual appeal, it brings joy to everyday life, sparking smiles and conversation wherever it’s displayed. The subtle details, like the tiny wings and gentle curves, enhance its charm and give it a storybook-like quality that feels almost alive. This little flying pig combines beauty, fun, and versatility, offering both decorative delight and practical use, making it a memorable piece that brightens spaces and lifts spirits with its cheerful presence.
How to Crochet an Adorable Pig with Wings (Step-by-Step Guide)
Materials Needed
To crochet the pig, gather the following items:
- Yarn: Soft pink (main body), white or off-white (wings), and darker pink (snout details/blush).
- 3.25 mm Crochet Hook: Ideal for small amigurumi projects.
- Safety Eyes: Preferred size, typically between 6-10mm.
- Polyfill Stuffing: For a firm, plush body and snout.
- Yarn Needle: To sew pieces together and weave ends.
- Stitch Marker: To keep track of your rounds.
- Scissors: For clean yarn cuts.
Uses of the Pig
- A decorative piece for shelves, car dashboards, or work desks.
- A thoughtful handmade gift for holidays, birthdays, or baby showers.
- A creative crochet project that adds a touch of whimsy to amigurumi collections.
Special Features
- Sewn-Free Head and Body: Crochet the head and body in one piece to minimize sewing.
- Curly Tail: The pig has a stylized pigtail created through clever crochet techniques.
- Optional Wings: Add an extra magical touch by attaching small white wings to the back.
- Customizable Details: Adjust colors, safety eyes, wing positioning, and blush features for a personal flair.
Level of Difficulty
This crochet project is ideal for beginner to intermediate crocheters. Basic skills such as single crochet, increases, decreases, and using a magic ring are essential. The wings, tail, and snout require slightly more precision but are beginner-friendly with some practice.
Step-by-Step Instructions
1. Head and Body (Crochet Together)
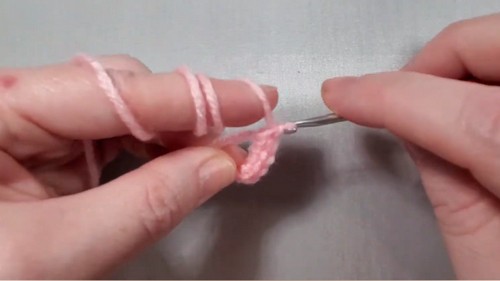
- Start with a magic ring and crochet six single crochets (SC) into it.
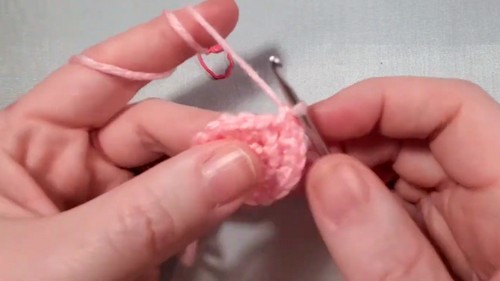
- Work an increase round for round 2 by placing two SC into each stitch, resulting in 12 stitches.
- Follow the next rounds by increasing systematically:
- Round 3: Alternating increased (2 SC) and single stitches to create 18 stitches.
- Round 4: Work in a pattern of 1 increase and 2 single crochets, ending with 24 stitches.
- Round 5: Increase to 30 stitches (1 increase, 3 single crochets).
- Round 6: Increase to 36 stitches (1 increase, 4 single crochets).
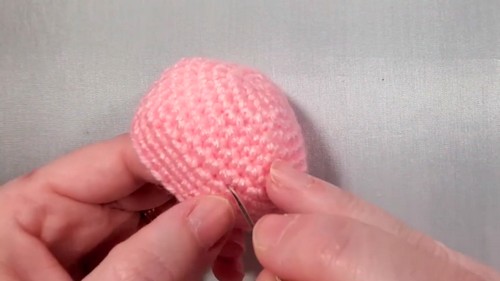
- Rounds 7-12: Crochet one SC in each stitch (no increase). This forms the rounded part of the head.
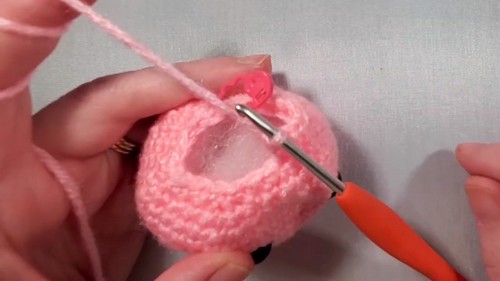
2. Attach Safety Eyes
- Place the safety eyes between rows 8 and 9 with about six stitches apart to leave room for the snout.
- Secure the backs of the eyes after final placement.
3. Transition to the Body
- Decrease from 36 to 18 stitches through rounds 13–24 as you transition the head into the oval-shaped body:
- Round 13: Decrease from 36 to 30 (invisible decreases and SCs).
- Round 14: Decrease from 30 to 24 stitches.
- Round 15: Add polyfill stuffing to keep the head from collapsing.
- Round 22: Decrease to 18 stitches, stopping to add more stuffing to the body.
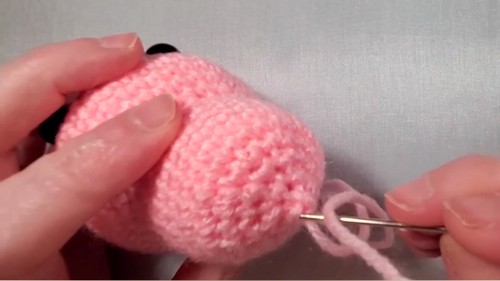
4. Sew the Body Closed
- In round 24, decrease from 12 stitches to 6. Slip stitch into the next stitch and leave a tail for sewing.
- Use the tail to sew the gap closed and secure your stitches. Weave in the remaining ends by threading the yarn through the body.
5. Arms and Legs
- Arms:
- Use pink yarn to create a magic ring with 4 SCs, increase to 8 in the next round, then crochet 1 SC in each stitch (8 stitches total).
- Sew the arms just below the head-body join.
- Legs:
- Use pink yarn to create a magic ring with 5 SCs, increase to 10 in the next round, and crochet 1 SC in each stitch (10 stitches total).
- Sew the legs to the base of the body, leaving a small gap between them and the arms.
6. Ears
- Begin with a magic ring of 4 SCs.
- Increase gradually from 4 to 6, then 9, and finally 12 stitches.
- Sew the flat ears to the top of the head on either side for balance.
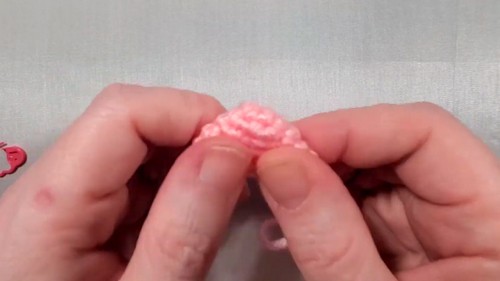
7. Snout
- Chain 4, and work SCs into the back bumps of the chain to create an oval base. Add two SCs at each end of the chains for shaping.
- Work SCs in the back loops to create depth. Then crochet into both loops to build texture.
- Stuff lightly with polyfill before sewing it between the safety eyes.
- Add darker pink embroidery lines on the snout for nostrils.
8. Curly Tail
- Chain 20 and work 2 SCs into each chain to create the curl (the increase creates the spiral shape).
- Sew the tail near the back bottom center of the body.
9. Wings (Optional)
- Use white yarn and chain 9. Crochet into the back bumps for a cleaner finish, working single crochets and decreases to shape.
- Sew the wings diagonally on the back, with a small gap between them.

Tutor’s Suggestions
- Use a stitch marker to track rounds, especially when shaping the head and body.
- Stuff the head and body firmly but evenly to prevent lumps.
- Adjust the wings’ or tail’s position to give your pig a unique personality.
- Work in good lighting while crocheting small pieces or dark colors.
Conclusion
This crochet pig with wings is a delightful project that combines simplicity with cuteness. Its compact design and whimsical touches, such as the curly tail and optional wings, make it a versatile handmade gift or display piece. With detailed instructions and minimal sewing, the activity is both fulfilling and beginner-friendly, creating a memorable project for crafters of all levels.
Bonus Tip
For an extra magical charm, add crocheted or embroidered accessories, such as a yellow halo or a tiny flower crown, to give your pig even more personality!


