
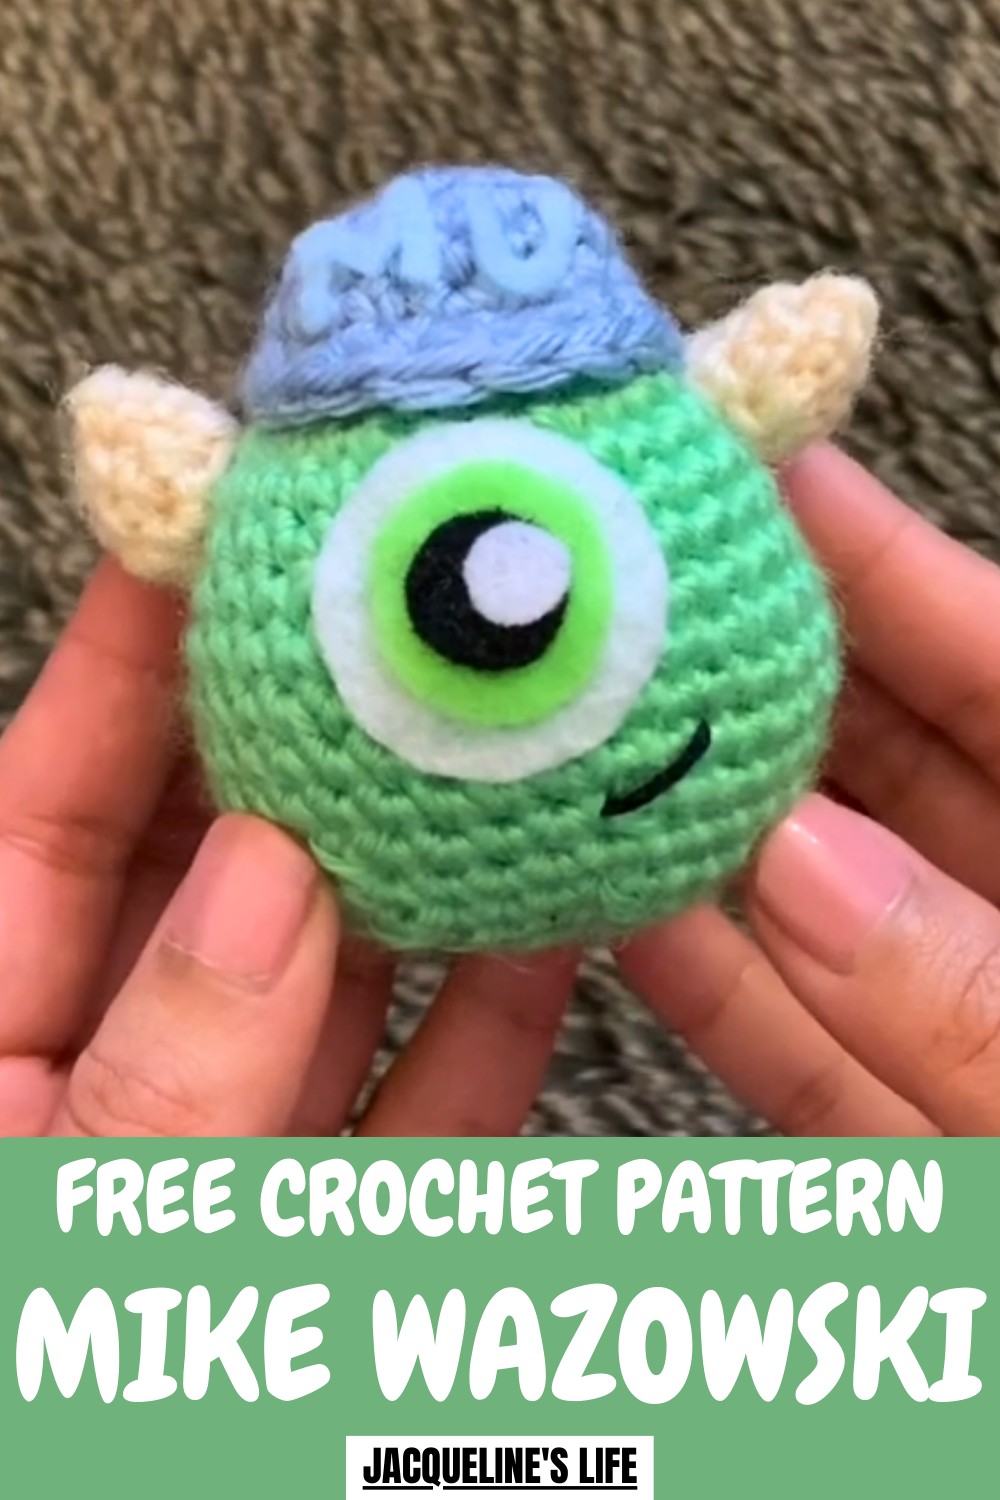
Have fun making a cute character with this Free crochet Mike Wazowski Pattern, ideal for beginners and perfect for gifts or room decor projects.
A playful one-eyed character comes to life through yarn, adding humor and personality to handmade collections. This project focuses on shaping a bold round body, a single oversized eye, and tiny limbs that instantly feel familiar and fun. It suits fans of animated characters as well as crafters who enjoy expressive amigurumi pieces. The instructions are clear and manageable, making it friendly for confident beginners while still engaging for experienced crocheters.
Lively Crochet Mike Wazowski Pattern Worth Every Stitch
With simple stitches and thoughtful construction, the finished figure stands neatly on its own and works well as a desk buddy, shelf accent, or gift. Color choices and small details allow room for personal flair, helping each version feel unique. More than a decorative item, it offers a satisfying build that boosts skills and confidence. The result is a cheerful handmade character that adds personality, nostalgia, and a lighthearted touch to any crochet display for fans of all ages.
How to Crochet a Mike Wazowski Keychain - Step-by-Step Guide
Materials Used
To make Mike Wazowski, you’ll need the following materials:
- Yarn:
- Green yarn in size 4 (e.g., Caron Simply Soft in Limelight) for the body.
- Blue yarn for the hat.
- Cream yarn for the horns (or brown, if preferred).
- Felt:
- White, black, and neon green felt for the eye pieces.
- Blue felt for cutting out the "MU" Monsters University logo on the hat.
- Additional Tools:
- 4mm crochet hook.
- Stitch marker.
- Threading needle.
- Hot glue gun.
- Embroidery thread and scissors.
- Stuffing or fiberfill.
- Optional: Keyring to turn it into a keychain.
Uses for Mike Wazowski
- Keychain Accessory: Attach a small keyring to your project and turn it into a practical yet whimsical keychain.
- Bag Charm: Hang it from a backpack, purse, or tote bag for a pop of color and personality.
- Amigurumi Collection: Skip the ring and display it as part of your collection of handmade crochet characters.
- Gift Idea: Perfect for gifting to Disney lovers, kids, or fans of "Monsters, Inc."
Special Features
- Compact Design: The keychain-sized Mike Wazowski is small and lightweight, making it easy to carry or hang.
- No Arms or Legs: The simplified design focuses on the face and iconic details of Mike, keeping the project quick and manageable.
- Customizable Details: You can adjust the size, add legs and arms, or modify the facial features to suit your personal style.
- Multi-Medium Construction: Combines yarn crochet with felt accent pieces for a polished, detailed finish (like the Monsters University logo).
Level of Difficulty
Beginner to Intermediate
- The project uses basic crochet techniques: single crochet (SC), slip stitch (SS), increases, and decreases.
- Slightly challenging elements include working with small parts, such as the horns and assembling felt details like the eye pieces and hat logo.
- The magic circle technique is required for the base constructions, but the tutorial explains it clearly for beginners.
Tutor’s Suggestions
- Focus on Simplicity: The tutor avoided adding arms and legs to keep the design small, lightweight, and functional as a keychain.
- Use Scrap Yarn for Smaller Parts: The horns and hat can be made with leftover yarn since they require very little material.
- Go Gently on Small Pieces: When working with small rounds (such as the horns), take your time, as they might be tighter and harder to manipulate.
- Felt Cutting: Pre-cut felt pieces to save time and ensure consistent shapes before assembling your project.
- Use Hot Glue: The tutor recommends hot glue for attaching details like the horns and hat, as it is quicker than sewing and creates a clean finish.
- Stuff Moderately: Don’t overstuff the body or hat to maintain their natural shape.
Step-by-Step Instructions
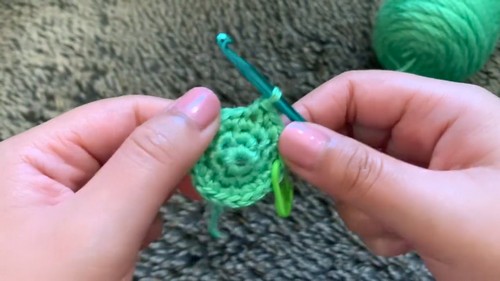
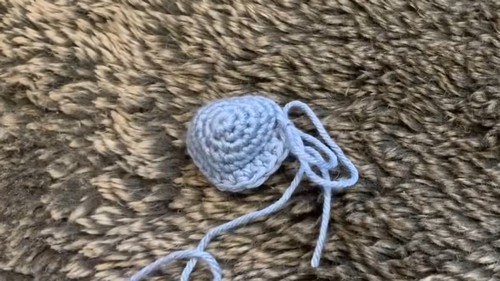
Step 1: Crochet the Body
- Start with Green Yarn and create a magic circle.
- Wrap the yarn around your fingers to create an X. Insert your hook into the loop, pull a yarn strand through, and tighten.

- Wrap the yarn around your fingers to create an X. Insert your hook into the loop, pull a yarn strand through, and tighten.
- Round 1: Single crochet six times into the circle. Pull the tail tight to close the circle and slip stitch to the first stitch.
- Round 2: Increase by making two single crochets into each stitch around (12 stitches total).
- Round 3: Increase in the first stitch (two single crochets) and single crochet in the next stitch. Repeat across (18 stitches total).
- Round 4: Increase in the first stitch and single crochet in the next two stitches. Repeat across (24 stitches total).

- Round 5: Increase in the first stitch and single crochet in the next three stitches. Repeat across (30 stitches total).
- Rounds 6–7: Single crochet across all stitches (30 stitches per round).
- Round 8: Perform a final increase: Increase in the first stitch and single crochet in the next four stitches. (36 stitches total).
- Rounds 9–12: Single crochet across all stitches (36 stitches per round).

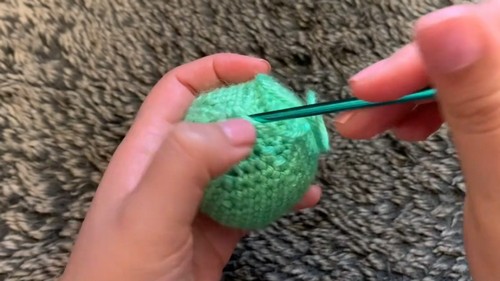
- Start Decreasing:
- Round 13: Begin with an invisible decrease (work into front loops only) and single crochet in the next four stitches. Repeat around (30 stitches total).
- Round 14: Single crochet across all stitches (30 stitches total).
- Round 15: Decrease (front loop) followed by single crochet in the next three stitches (24 stitches total). Start stuffing the body lightly to maintain initial shape.
- Round 16: Normal decrease followed by single crochet in the next two stitches (18 stitches total).
- Round 17: Final round with decrease followed by single crochet in the next stitch (12 stitches total).
- Close the Body: Use a threading needle or your crochet hook to weave and tighten the final opening. Stuff the remaining fiberfill inside before sealing.
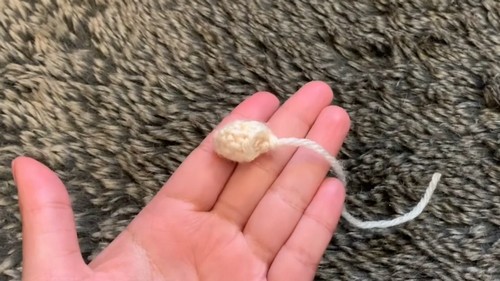
Step 2: Crochet the Horns
- Use Cream Yarn and create a magic circle.
- Round 1: Single crochet four stitches into the circle and tighten.
- Round 2: Increase into each stitch for a total of eight stitches.
- Round 3: Single crochet across all eight stitches. Push the horn shape outward so the proper side shows.
- Round 4: Decrease once and single crochet into the next two stitches. Repeat once more.
- Final Touch: Pull the leftover yarn tail inside the horn to act as filler. Create two horns before attaching them.
Step 3: Crochet the Hat
- Use Blue Yarn and create a magic circle.
- Round 1: Single crochet six stitches into the magic circle.
- Round 2: Increase into each stitch for a total of 12 stitches.
- Round 3: Perform an increase followed by a single crochet in the next stitch. Repeat across (18 stitches total).
- Round 4: Single crochet into the next eight stitches, increase once, and repeat (20 stitches total).
- Round 5: Single crochet across all stitches (20 stitches total).
- Round 6: Create a brim:
- Half-double crochet into the first stitch.
- Double crochet into the next three stitches.
- Half-double crochet into the next stitch.
- Slip stitch into the last stitch and fasten off.
- Optionally, add a small amount of stuffing to puff up the hat before sewing or gluing it onto the body.
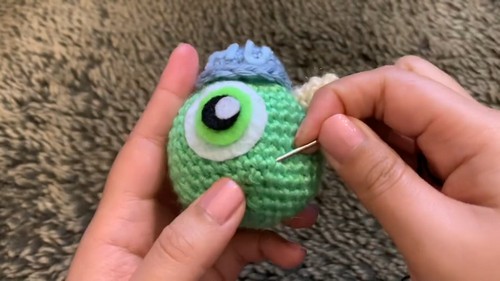
Step 4: Cut and Attach Felt Pieces
- Eye: Cut a large white circle, a smaller green circle, a black circle, and a final tiny white circle for reflection.
- Hat Logo: Cut out the letters "M" and "U" on blue felt for Monsters University. Ensure they are small enough to fit the hat.
- Fully assemble using a hot glue gun for quick attachment.
Conclusion
Your Mike Wazowski keychain is complete! With his iconic single eye, hat, and horns, this project perfectly captures his quirky charm. While designed as a keychain, it can easily be used as a bag charm or collectible toy. The process is fast, simple, and allows for plenty of creative freedom—whether you choose to add accessories like legs and arms or modify the design slightly.
Pro Tip
For added durability, use fabric glue in addition to the hot glue to reinforce the felt attachments and ensure they stay in place over time.


