
Buzz into fun with the Free crochet Bee Amigurumi Pattern, a tiny, happy bee that brightens spaces, delights as a gift, and adds charm to any corner.
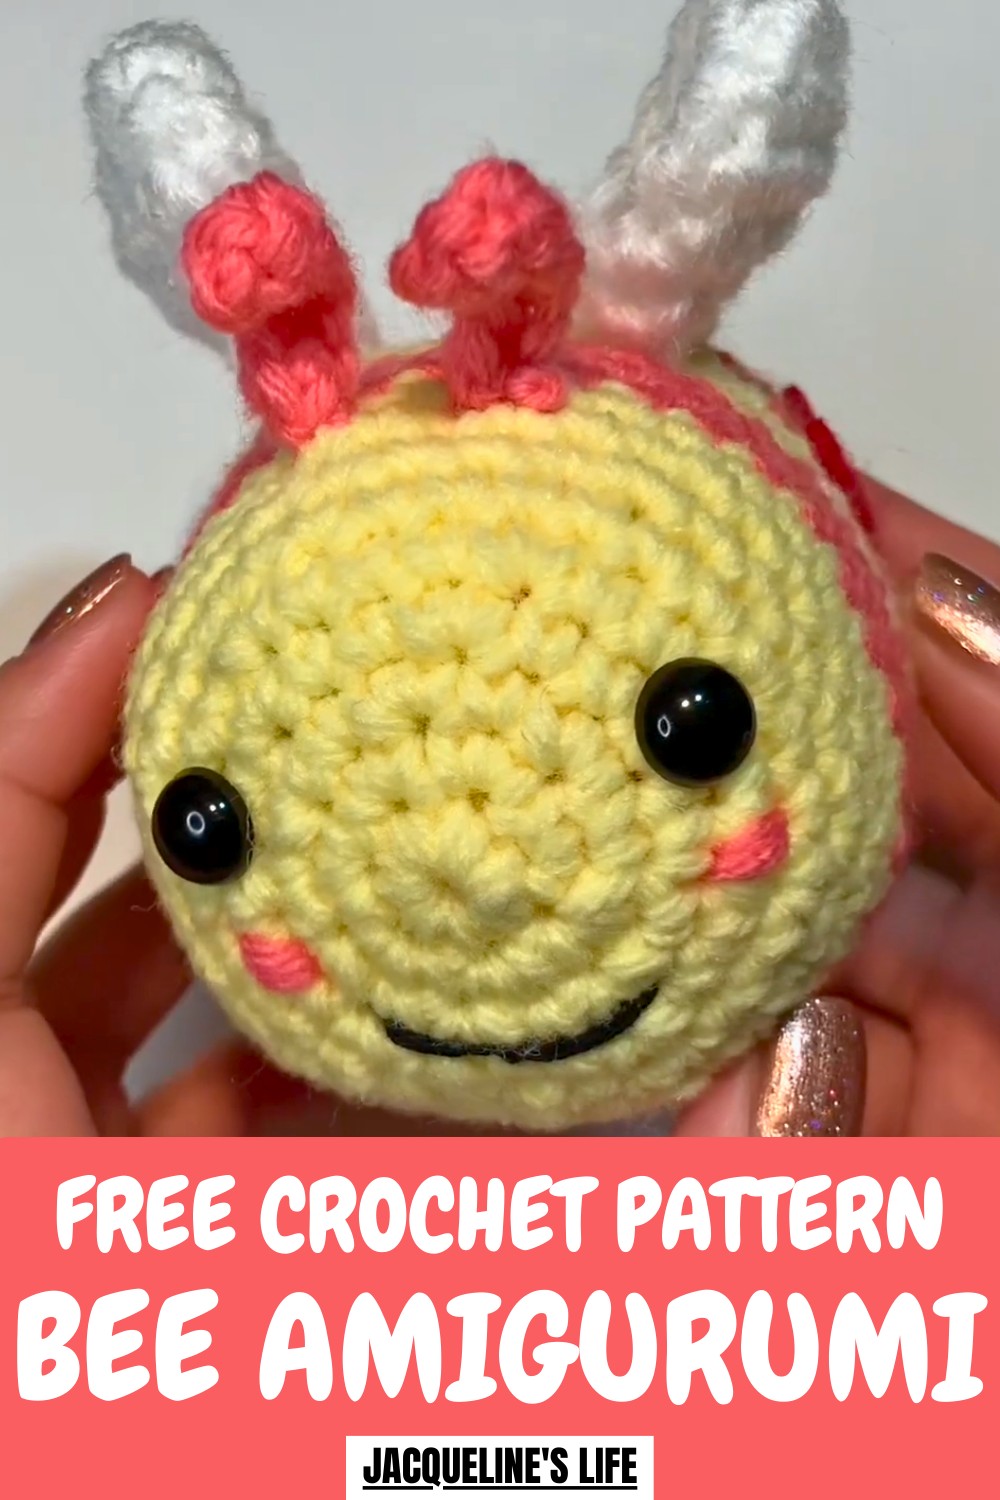
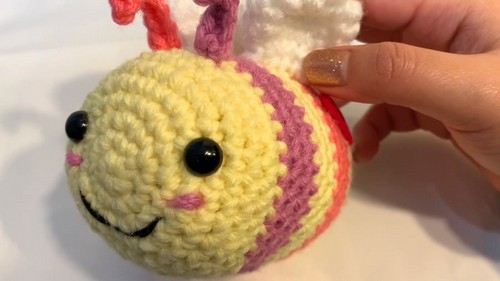
On a sunny morning, a tiny striped friend buzzes to life, full of charm and cheer. Its bright yellow and black body catches the eye, while delicate wings and a round, soft shape invite a closer look. Each stitch builds its lively character, making the process as satisfying as the final creation itself. Durable yarn ensures it can be enjoyed for years, while the detailed antennae and gentle curves give it a whimsical, almost lively feel.
Cute Crochet Bee Amigurumi Pattern for Fun
Beyond decoration, it inspires focus, patience, and a quiet joy in the hands that guide each loop. This tiny bee becomes more than just a piece of yarn—it carries a playful spirit and cozy charm. Its cheerful presence is perfect for decorating shelves, brightening a desk, adding a playful touch to a nursery, or serving as a thoughtful handmade gift for someone special.
How to Crochet a Valentine's Day-Themed Bumblebee: Step-by-Step Guide
Materials Needed
Here’s what you’ll need for this project:
- Yarn: Yellow, pink, and white (Weight-4 acrylic yarn).
- Crochet Hook: 4.5mm hook.
- Safety Eyes: 10mm safety eyes.
- Stuffing: Fiberfill or leftover yarn scraps.
- Red Felt: For the heart (you can use any color).
- Black Embroidery Thread: Or black yarn for the mouth.
- Threading Needle: For sewing details.
- Scissors: For cutting yarn and felt.
- Hot Glue Gun: To secure the felt and safety eyes.
- Stitch Marker: For keeping track of rounds.
Uses
This Valentine’s Day-themed bumblebee can be used as:
- A Handmade Gift: A thoughtful gift for loved ones or friends.
- Holiday Decor: Add charm to Valentine’s Day displays or rooms.
- Charity Projects: Donate it to organizations like hospices (as the tutor does).
- Collectibles: Add it to your amigurumi collection for festive crochet décor.
Special Features
- Valentine’s Day Touch: The pink stripes, red heart, and blush give it a festive Valentine’s Day palette.
- Customizable Size: Designed larger compared to TikTok versions, making it more practical for decor or gifting.
- Additional Details: Features antennae, a felt heart, and blush spots for added personality.
- Durable & Huggable: Works up with sturdy weight-4 acrylic yarn that holds its shape.
- Beginner-Friendly Foundation: Uses basic stitches like single crochets, magic circle, and invisible decreases.
Level of Difficulty
Intermediate
While the stitches themselves are beginner-friendly, the project involves several steps, color changes, sewing, and attention to detail, such as gluing parts and weaving in ends, making it slightly challenging for first-timers. Patience and focus are key.
Tutor's Suggestions
- Begin with the Magic Circle: The tutor demonstrates a detailed magic circle technique for a neat start but also suggests starting with the alternate chain-2 method if preferred.
- Stuff as You Go: Add stuffing in stages when the body gets smaller to make it easier to manage.
- Color Changes: Follow the tutor’s method for a tidy and secure color change during stripe transitions.
- Take Time with Details: Sew the heart, blush, and wings carefully to center them properly for symmetry.
- Hot Glue Safety: Be cautious while gluing small details (eyes, felt pieces) to avoid excess mess.
Step-by-Step Instructions
1. Create the Body
- Make the Magic Circle:
- Use yellow yarn to make a magic circle and single crochet six stitches into the ring. Pull the circle tight.
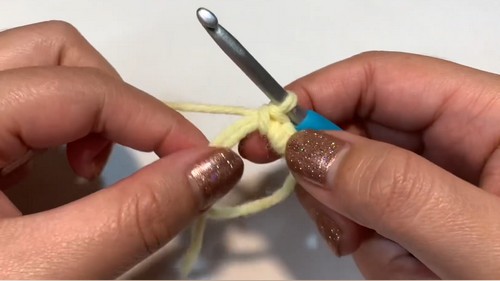
- Use yellow yarn to make a magic circle and single crochet six stitches into the ring. Pull the circle tight.
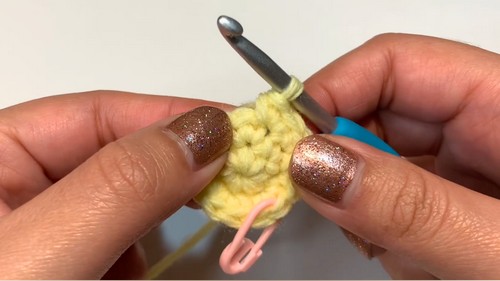
- Increase Rounds (Rounds 2-7):
- Use single crochet increases to gradually reach 36 stitches. (Round 2: Increase every stitch. Rounds 3-7: Alternate increases and single crochets as per the pattern).
- Use single crochet increases to gradually reach 36 stitches. (Round 2: Increase every stitch. Rounds 3-7: Alternate increases and single crochets as per the pattern).
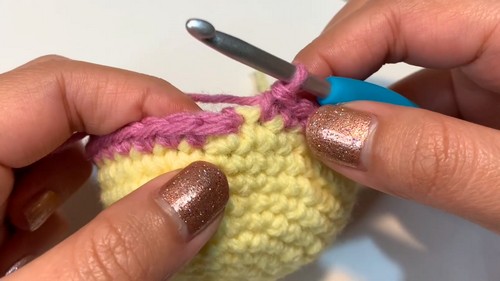
- Color Changes:
After finishing the yellow rows, change to pink yarn and repeat the pattern for the stripes. Alternate between yellow and pink (3 rows per stripe), following the tutor’s color-changing technique for cleaner transitions.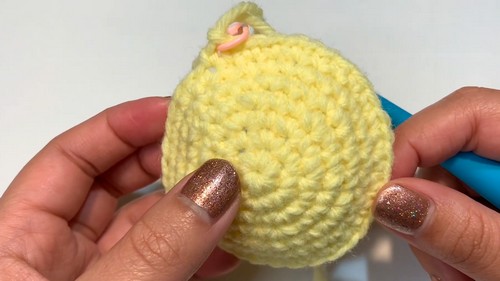
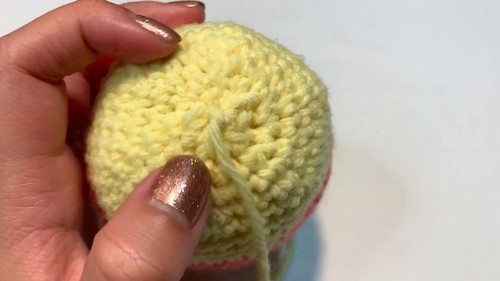
2. Shape the Closing Rounds
- Start decreasing at round 23 using invisible decreases in combination with single crochets.
- Continue decreasing and stuff the body as you get to the tighter closing rounds.
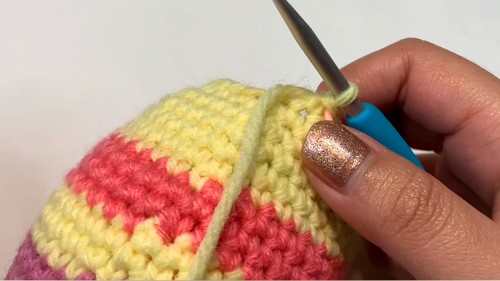
- On round 27, switch to standard decreases to close the bumblebee completely. Weave in the ends to secure.
3. Add the Face
- Insert the Safety Eyes: Attach them after the body is stuffed and closed, using a hot glue gun to secure them.
- Stitch the Mouth: Use embroidery thread (or black yarn) and a threading needle to stitch a small smile. Follow the curved outline for symmetry.
- Blush Details: Thread pink yarn below each eye to give the bumblebee a blush look. Repeat on both sides for balance.
4. Make the Antennae
- Create a Slip Knot & Chains: Start with a slipknot using pink yarn (or an alternate pink). Chain 7 stitches.
- Slip Stitch & Single Crochet:
- Slip stitch into the second chain from the hook.
- Single crochet across the remaining chains.
- Attach: Use a threading needle to stitch the antennae onto the bumblebee’s head. Bend them slightly to create a curved effect.
5. Create the Wings
- Magic Circle Base:
- Start with white yarn, crochet a magic circle, and single crochet 6 stitches into it.
- Increase in the next rounds as per the pattern until 18 stitches are reached.
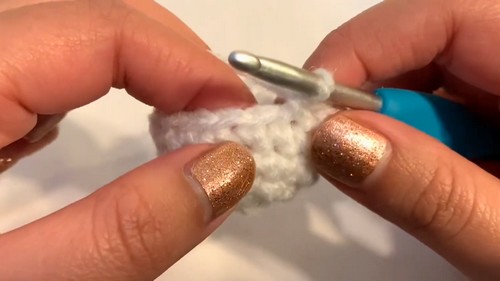
- Shape the Wings: Single crochet 2 additional rounds to shape the wings before beginning decreases. Reduce until 12, then 4 stitches in the final rounds.
- Attach: Use the threading needle to sew the wings symmetrically on the back.
6. Add the Felt Heart
- Create the Heart: Fold a small piece of red felt in half and cut a heart shape freehand. Round the edges for a clean look.
- Glue the Heart: Use a hot glue gun to attach the felt heart onto the bee’s front or side.
Conclusion
Once all the elements are securely attached, your Valentine’s Day-themed bumblebee is complete! This handcrafted project combines whimsy and tradition, making it perfect for gifting or decorating. While it requires some patience and a bit of precision, the result is a crochet project that oozes cuteness and festive charm.
Pro Tip
When attaching the facial features and wings, use pins to hold them in place before sewing or gluing. This ensures proper alignment and symmetry without unnecessary adjustments.


