
Buzz into creativity with an adorable crochet bee amigurumi pattern that’s sure to brighten your day & best for whimsy decor.
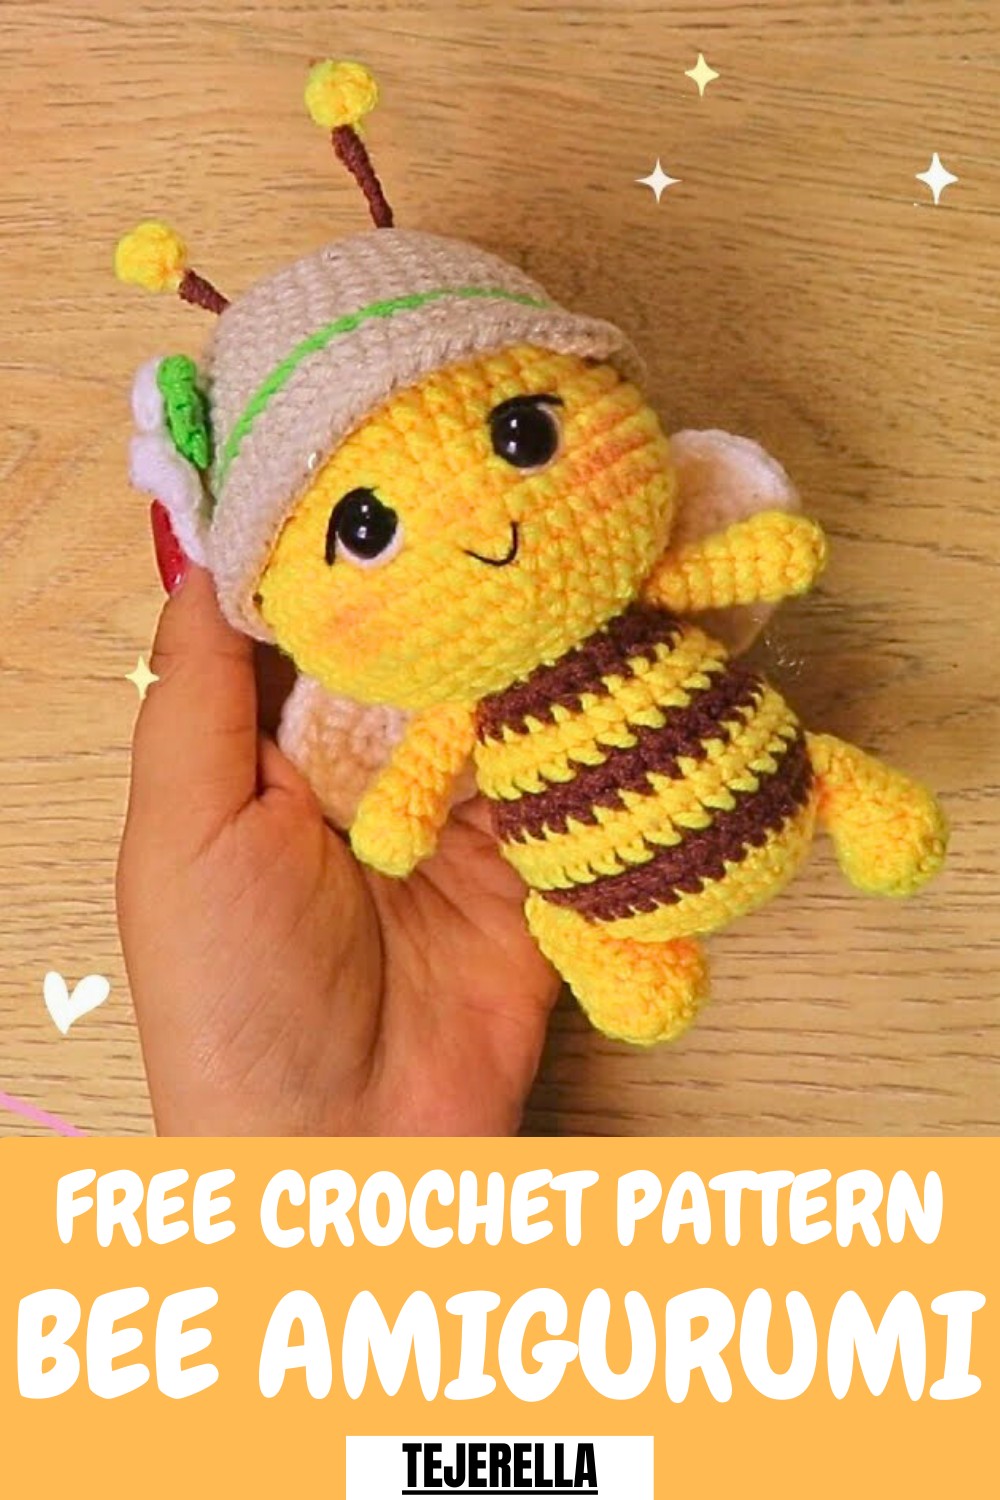
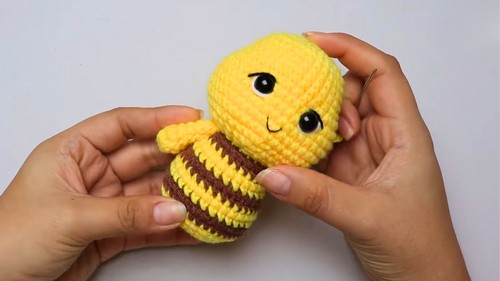
What could be more delightful than crafting a cheerful, squishy bee that’s both cute and versatile? The crochet bee amigurumi pattern is perfect for making playful decor, whimsical gifts, or even a cuddly keepsake for yourself. Its small yet detailed design captures attention, making it the star of any amigurumi collection or project.
Cute Crochet Bee Amigurumi Pattern for Handmade Toys
Written Pattern
This charming bee offers more than just good looks, it’s a great stress-reliever too! The repetitive motions of crocheting bring a meditative calm, perfect for unwinding after a long day. Plus, this pattern is accessible to beginners yet creative enough for seasoned crocheters looking to add personal flair. Use leftover yarn to create a sustainable craft that’s both eco-friendly and satisfying.
Materials Needed
- Yellow, black (or brown), and white yarn
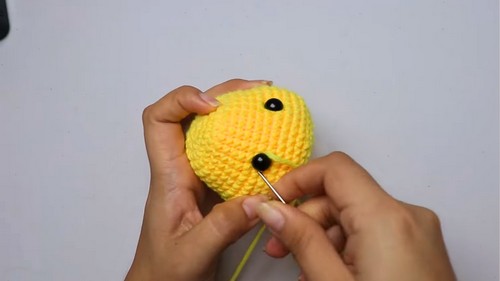
- 10mm safety eyes
- Wire for antennae
- Crochet hook
- Stitch marker
- Fiberfill stuffing
- Scissors
- Yarn needle
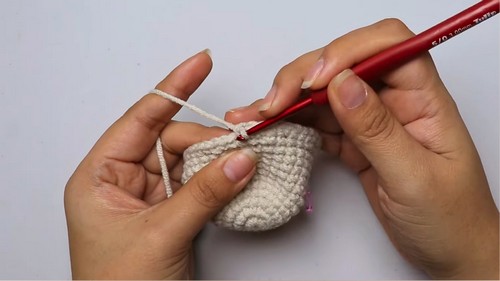
Step-by-Step Instructions
1. Making the Body
- Step 1: Start with a magic ring of eight single crochet stitches in yellow yarn.

- Step 2: Increase each stitch in the second round to get 16 single crochet stitches.
- Step 3: Alternate single crochet and increase stitches for the third round to reach 24 single crochet stitches.
- Step 4: For the fourth round, crochet three single crochet stitches followed by an increase to achieve 30 stitches.

- Step 5: Crochet four single crochet stitches and an increase in the fifth round, resulting in 36 stitches.
- Step 6: Change to black (or brown) yarn and crochet one round without increases.
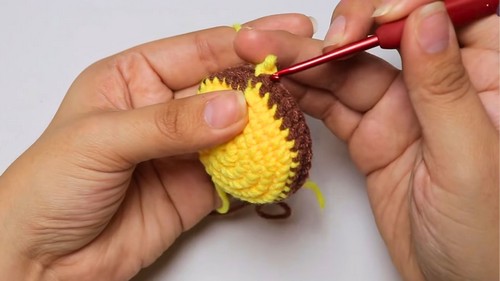
- Step 7: Alternate four single crochet stitches and a decrease in the next round to get 30 stitches.
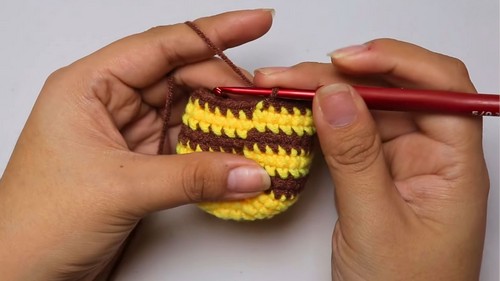
- Step 8: Switch back to yellow yarn and crochet two rounds without increases, each with 30 stitches.
- Step 9: Change to black (or brown) yarn for one round of single crochet stitches.
- Step 10: Alternate three single crochet stitches and a decrease to decrease to 24 stitches.
- Step 11: Switch back to yellow yarn and crochet two rounds without increases.
- Step 12: Change to black (or brown) yarn for a round of single crochet stitches.
- Step 13: To finish the body, alternate two single crochet stitches and a decrease to decrease to 18 stitches.
2. Making the Head
- Step 1: Create a magic ring with eight single crochet stitches.
- Step 2: Double each stitch in the second round to get 16 stitches.
- Step 3: Alternate single crochet and increase stitches for the third round to reach 24 stitches.
- Step 4: Alternate two single crochet stitches and an increase in the fourth round to reach 32 stitches.
- Step 5: Crochet four rounds of single crochet stitches.
- Step 6: Position the eyes between rounds 10 and 11, with five stitches in between.
- Step 7: Alternate four single crochet stitches and a decrease to get 35 stitches.
- Step 8: Alternate three single crochet stitches and a decrease to decrease to 28 stitches.
- Step 9: Alternate two single crochet stitches and a decrease to decrease to 21 stitches.
- Step 10: Finish decreasing stitches gradually to get a round head shape.
3. Making the Arms
- Step 1: Create a magic ring with seven single crochet stitches.
- Step 2: Crochet single crochet stitches in each stitch for the second round.
- Step 3: Decrease stitches in the third round to get six stitches.
- Step 4: Crochet four rounds of single crochet stitches.
- Step 5: Make another arm following the same steps.
4. Making the Legs
- Step 1: Create a magic ring with seven single crochet stitches.
- Step 2: Increase each stitch in the second round for 14 stitches.
- Step 3: Crochet one round of single crochet stitches.
- Step 4: Alternate three single crochet stitches and a decrease to decrease to 10 stitches.
- Step 5: Decrease stitches around to eight stitches and crochet two more rounds.
5. Making the Wings
- Step 1: Create a magic ring with six single crochet stitches.
- Step 2: Increase each stitch and then continue with single crochet for the wing shape.
6. Making the Antennae
- Step 1: Use wire and create a magic ring with four crochet stitches.
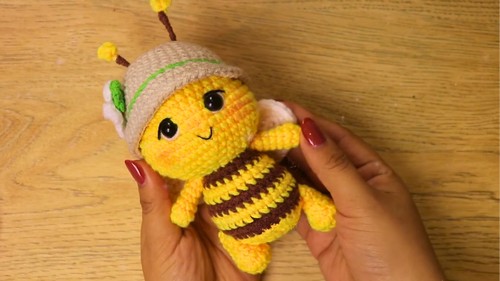
7. Making the Hat
- Step 1: Create a magic ring with eight single crochet stitches.
- Step 2: Double each stitch in the second round for 16 stitches.
- Step 3: Continue increasing in subsequent rounds and follow steps to finish off with 45 stitches.
- Step 4: Add a slip stitch around to finish off.
Special Features
- The bee amigurumi has a cute, playful design, perfect for kids.
- Its small size makes it an excellent decorative piece for any setting.
- The use of color changes adds visual interest and realism to the toy.
Tutor's Suggestions
- Take your time with each round to ensure proper stitch counts.
- Use a stitch marker to keep track of rounds.
- Fiberfill stuffing adds a soft, plush feel to the finished product.
- Applying safety eyes can enhance the toy's durability.
Conclusion
Congratulations! You've successfully crocheted your cute little bee. This fun project is ideal for both beginners and experienced crocheters, showcasing creative color changes and detailed instructions for various parts. Don’t forget to subscribe for more amazing patterns and tutorials. Happy crocheting!
Tip
Make sure to weave in all ends securely to avoid your creation from unraveling and to maintain a neat finish.


