
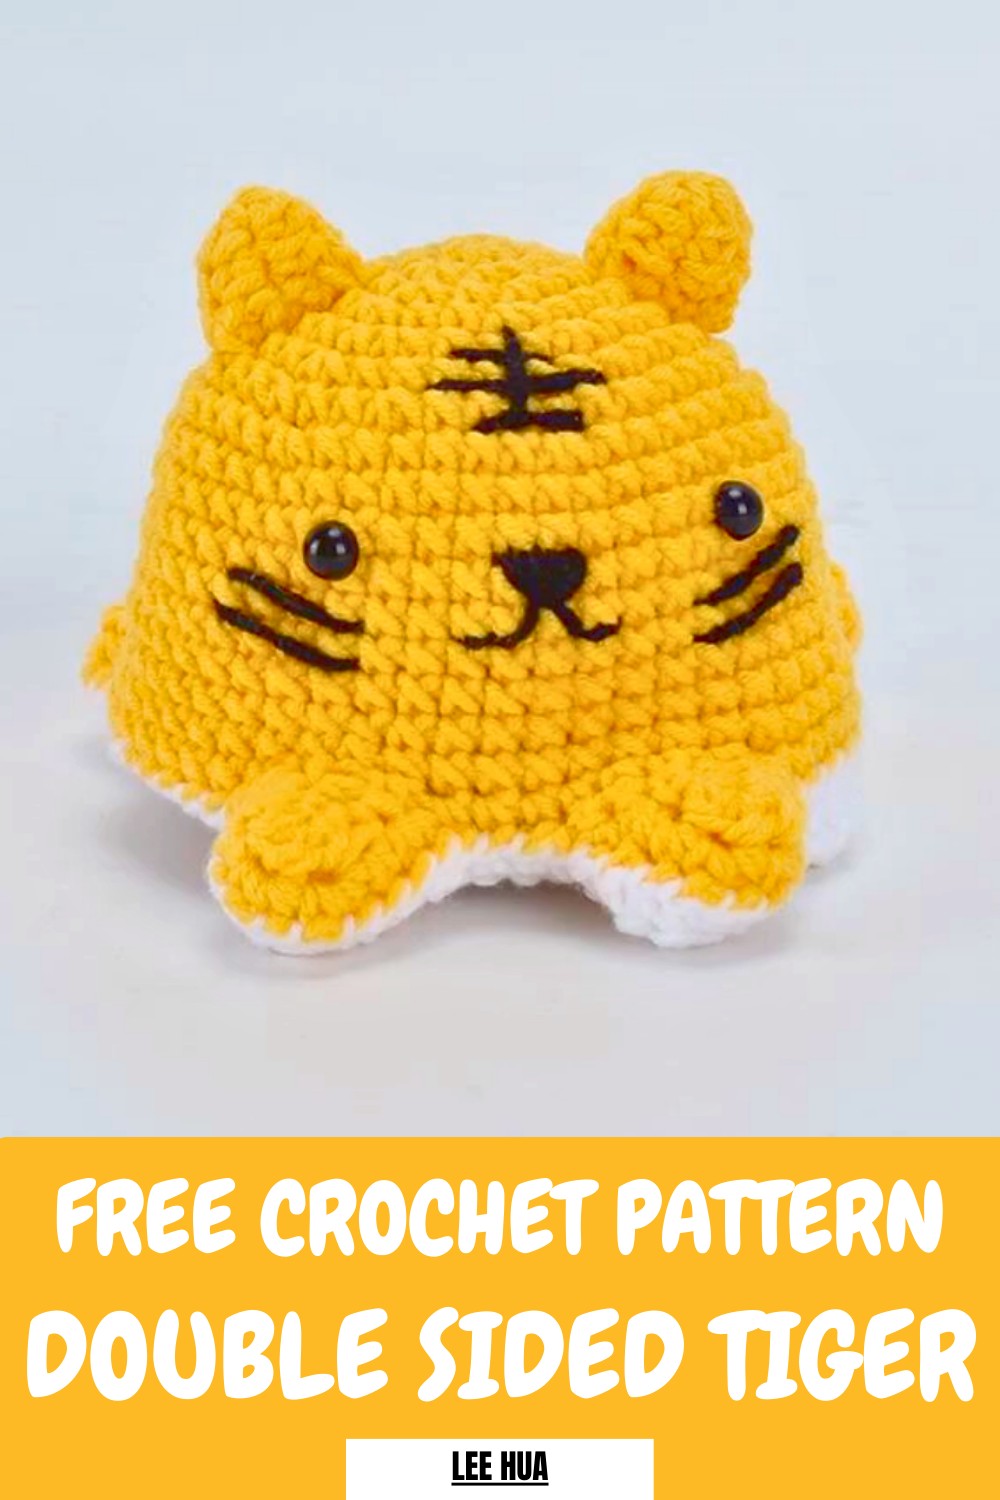
Experience whimsical fun with this Crochet Double Sided Tiger Pattern that's perfect for cheerful décor, playful gifts, and cozy accents.
Bold stripes and vivid details bring the majestic tiger to life, creating a striking design that captures attention from every angle. The Crochet Double Sided Tiger Pattern produces a piece that is visually impressive on both sides, making it perfect for wall hangings, cushions, toys, or unique decorative elements. Its double-sided feature adds depth and dimension, giving projects a polished and professional appearance.
Fierce Crochet Double Sided Tiger Pattern Bring Wild Charm Home
Working on this design encourages focus, patience, and fine motor skill development, while offering a relaxing and satisfying experience. The pattern allows for creativity through variations in colors, sizes, and finishing touches, making each tiger unique and personal.
Ideal for animal enthusiasts, nursery décor, or memorable gifts, it combines elegance, charm, and playfulness in a single piece. Each stitch contributes to a vibrant and heartwarming result, transforming simple yarn into a bold, memorable design that delights both the maker and the recipient.
Step-by-Step Crochet Process
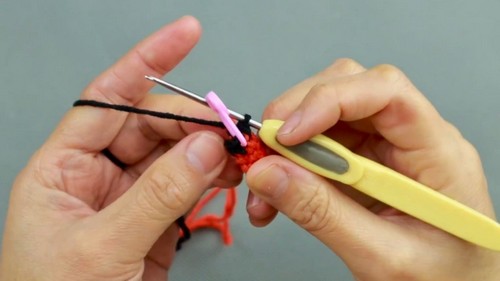
1. Starting with the Tail
- Make the Magic Ring: Wrap the yarn around your fingers, remove it, and hold the yarn with your left hand. Pull the yarn through a loop to form a chain stitch.
- Crochet 5 Single Crochets: Insert the hook into the ring, pull the yarn over, and close the stitch loop. Hook 5 single crochets in the first round. Pull the yarn tail tightly to close the ring.
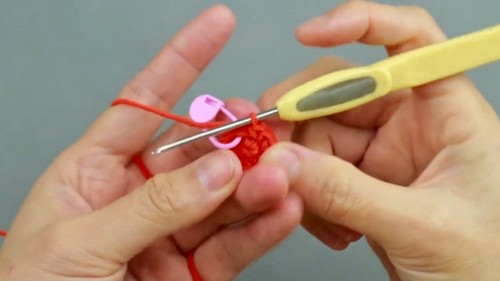
- Rounds 2 and 3: Crochet 5 stitches per round in a spiral without connecting the rounds. Mark your first stitch in each round for reference.
2. Expanding the Tail with Increasing Stitches
- Round 4: Begin with an increase by crocheting 2 single crochets in the first stitch (indicated as "V"). Hook 4 single crochets in a row to reach a total of 6 stitches by the end of the round.
- Round 5: Change the yarn color (to black) in advance by hooking the last stitch of the previous round with the new yarn color. Crochet 6 single crochets using the black yarn.
- Round 6: Hook 1 increase (two single crochets in the same stitch) followed by 5 single crochets. This increases the stitch count to 7.
3. Switching Yarn Color (Main Color)
- Rounds 7 to 9: Switch back to the main color yarn (e.g., red). Crochet 7 single crochets per round, marking the first stitch of each round.
4. Shaping with Stripes
- Round 10: Add a black yarn stripe by switching colors in advance. Hook 7 single crochets using black yarn.
- Rounds 11 to 13: Return to red yarn and continue crocheting 7 single crochets per round.
5. Making the Body of the Tiger
- Start with 6 single crochets (indicated as "X"), and increase systematically as follows:
- Round 2: Hook 6 increases to reach 12 stitches.
- Round 3: Crochet 1 single crochet followed by 1 increase; repeat 6 times to get 18 stitches.
- Round 4: Hook 2 single crochets followed by 1 increase; repeat 5 times. This results in 24 stitches.
- Round 5: Crochet 3 single crochets and 1 increase; repeat 6 times. Finish with 30 stitches.
- Round 6: Hook 4 single crochets followed by 1 increase; repeat 5 times for a total of 36 stitches.
- Round 7: Hook 5 single crochets and 1 increase; repeat this to complete with 42 stitches.
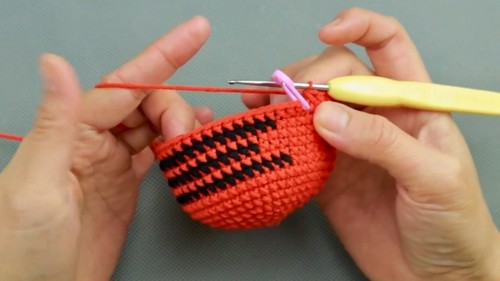
6. Adding Stripes to the Body
- Integrate black yarn at round 11 to round 16: Change the color in advance, hook with black yarn for stripes, and return to the main color yarn as needed.
- Cut and hide black yarn to complete the striped effect.
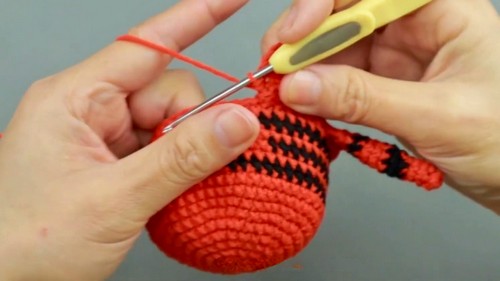
7. Crocheting the Legs
- Hind Legs: Crochet chain stitches and work backward by inserting stitches into the chain. Use single crochet, half-double crochet, slip stitch, and increases to create leg shapes. Attach the hind legs symmetrically to the body.
- Front Legs: Follow a similar method, hooking chain stitches and working backward with single and half-double crochet. Once done, stitch the legs onto the front of the body.
8. Adding Ears
- Crochet 5 chain stitches and hook backward into the chain using half-double crochet. Form two ear pieces for each ear, sew them together, and attach them symmetrically to the tiger’s head at round 3 on its back.
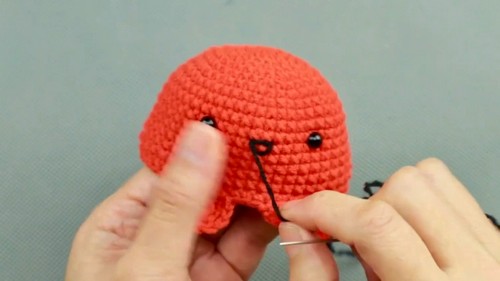
9. Attaching the Eyes, Nose, and Facial Features
- Eyes: Place the eyes between lines 11 and 12, ensuring 10 stitches of space between them. Use safety eyes for durability.
- Nose and Mouth: Sketch the nose using black yarn in an inverted triangle between the eyes. Fill the middle gap with black yarn before adding the mouth and whisker details.
- Embroidered Designs: Add whiskers and a “King” symbol on the tiger’s forehead using black yarn.
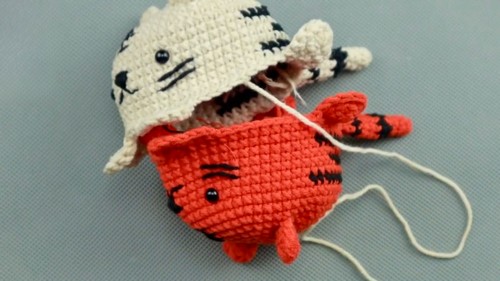
10. Creating the Double-Sided Design
- Crochet another tiger body using the same method but with a different main color yarn. Assemble the two bodies by aligning them and sewing stitch by stitch, leaving a small opening to insert stuffing (e.g., PP cotton). Once stuffed, stitch the opening closed.
Special Features
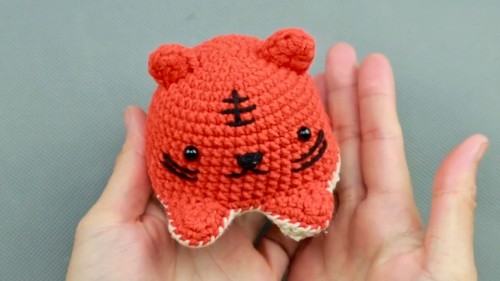
- Double-Sided Design: The tiger flips to reveal two different color variations, making it versatile and playful.
- Black Striped Details: Adds realism and enhances the tiger’s aesthetic appeal.
- Transformability: You can flip one side inside out and hide the other, creating a reversible look.
- Customizability: You can change the colors, stripe styles, or facial expressions.
Level of Difficulty
Intermediate: While the basic stitches are simple, assembling the double-sided doll, changing colors in advance, and creating symmetrical parts (like legs, ears, and stripes) require careful planning and attention to detail.
Tutor’s Suggestions
- Mark Your First Stitches: Always mark the first stitch of each round to keep track, especially for spiral stitching.
- Change Colors in Advance: When switching yarn, change the color in the previous stitch, ensuring smooth transitions.
- Count Carefully: Counting stitches after each row ensures accuracy and prevents misalignment.
- Relax Your Grip: Avoid pulling the yarn too tight when adding stripes or changing colors to create neat stitches.
Materials Needed
- Yarns: Two main colors (e.g., red and light orange or white) and black yarn for stripes and facial details.
- Safety Eyes
- Crochet Hook (Size 2.5 mm or as suitable for your yarn thickness)
- Filler Cotton (PP cotton or soft stuffing for the body)
- Scissors
- Markers (to mark stitches and rounds)
- Darning Needle (for sewing parts and hiding ends)
Uses
This double-sided tiger can be used as:
- A Transformable Toy: Perfect for young children; they can switch between the two designs.
- A Decorative Piece: Ideal for shelves, desks, or nurseries.
- A Handmade Gift: A creative and thoughtful present for loved ones.
Tip
To avoid confusing the stitch count, always use stitch markers and keep the rounds evenly spiraled. Symmetry matters in multi-sided projects like this!
Conclusion
This double-sided tiger crochet pattern is a fun and creative project that challenges your crochet skills and results in a uniquely transformable tiger doll. With its reversible design, interesting details, and opportunities for customization, you’ll enjoy both the process and the final result. Whether as a playful toy or décor, this crochet tiger is sure to impress.


