
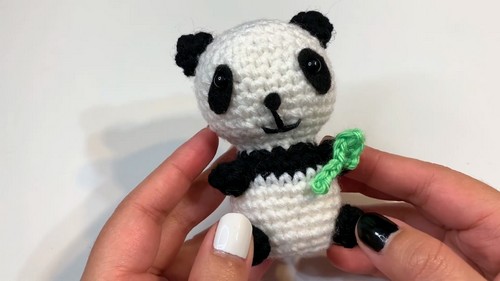
Stitch up a lovable buddy with the Free crochet Panda Amigurumi Pattern, making a cute panda that’s perfect for gifts, decor, or a bit of playful fun.
There’s something instantly heartwarming about a small, cuddly companion that brings a smile with its sweet, round features and playful charm. This adorable panda captures that magic with soft, contrasting stitches that give it a lively, friendly personality, making it perfect for decorating a shelf, gifting to someone special, or even keeping as a cute desk buddy.
Quirky Crochet Panda Amigurumi Pattern That Brightens Any Shelf
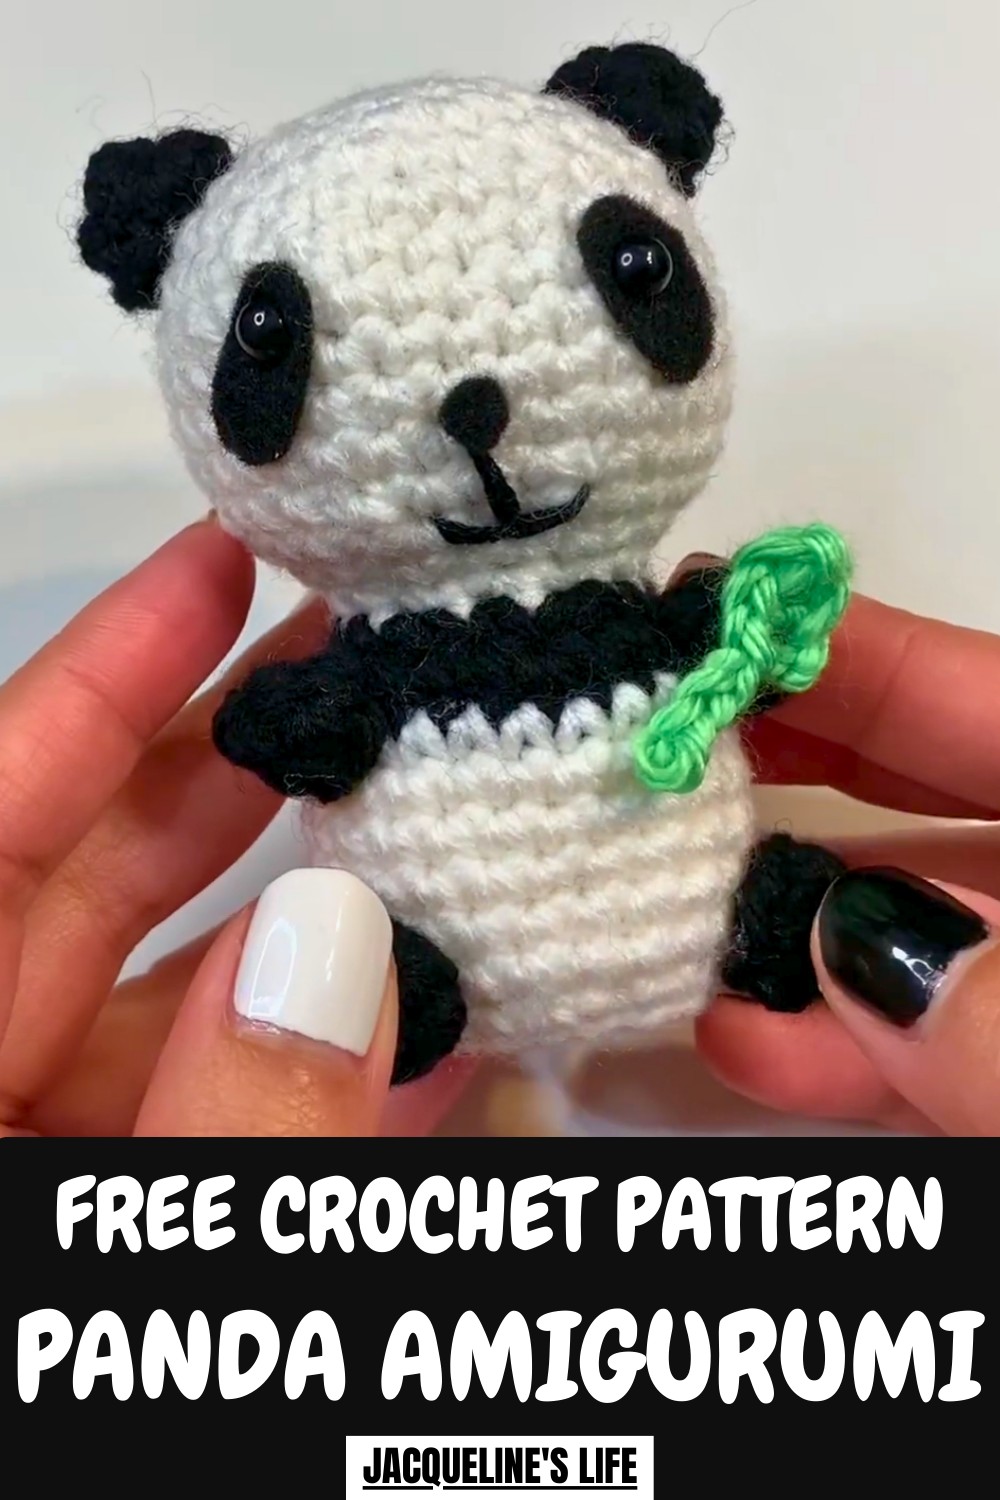
Its compact size and durable yarn make it easy to handle and long-lasting, while assembling it offers a calming, satisfying experience that turns simple loops of yarn into a cheerful little friend. With careful attention to the black-and-white details, the panda’s expressive face and tiny limbs stand out, creating a piece that feels both lively and endearing.
Beyond decoration, it encourages patience, focus, and a sense of accomplishment, while also adding a playful, cozy touch to any space. This charming companion is a delightful mix of fun, cuteness, and handmade warmth.
How to Crochet a Mini Panda: Step-by-Step Guide
Materials Needed
You will need the following materials to create your mini panda:
- Yarn: Weight-4 yarn in white, black, and an optional third color (like green for embellishment). Recommended brands include Caron One Pound for white and Red Heart Super Saver for black.
- Crochet Hook: 3.5mm crochet hook.
- Safety Eyes: 6mm safety eyes.
- Black Craft Felt: For the eye patches and nose.
- Stuffing: Fiberfill or leftover yarn scraps.
- Needle and Thread: Black thread for stitching the mouth.
- Stitch Marker: To track rounds.
- Scissors: For cutting yarn and felt.
- Hot Glue Gun: To attach the felt securely.
- Optional Keyring or Yarn Loop: To turn the panda into a keychain or car accessory.
Uses
The mini crochet panda is versatile and can be used as:
- Keychain or Bag Charms: Add a keyring to turn them into trendy keychains.
- Car Hanging Charm: Attach yarn to hang it from a car mirror.
- Gifts or Collectibles: Perfect as custom gifts or as part of your crochet collection.
- Decorations: Use them as room décor or desk buddies.
Special Features
- Disproportionate Design: The large head and small body give the panda a classic amigurumi “cute” look.
- Compact Size: This makes it ideal for keychains and small spaces.
- Customizable: You can change the panda’s colors, adjust the size of the arms and legs, or add keyrings or yarn loops.
- Detailed Face: The face features safety eyes, felt eye patches, and a stitched nose and mouth for added personality.
- Beginner Magic Circle Practice: The magic circle is repeated for multiple parts (head, arms, legs, ears), providing great practice for beginners to master this essential amigurumi skill.
Level of Difficulty
Intermediate
While the individual stitches (single crochet, increases, decreases) are beginner-friendly, the small size and tight spaces make this project more challenging. You may find the magic circle and detailed work, such as sewing the felted facial features, a bit tricky if you're new to crochet.
Tutor's Suggestions
- Magic Circle Mastery: The project heavily uses the magic circle; practice this technique to avoid frustration later.
- Tight Stitches for Small Projects: The tutor tightens their stitches for the panda, creating a neat, compact look. However, this also makes the project harder to work on, which might cause hand fatigue for beginners.
- Trial-and-Error with Felt Placement: The panda’s felt eye patches and noses require precise placement. Expect to test several shapes and adjustments before gluing them.
- Adjusting Size Proportions: If the arms or legs feel too small, you can add extra rows of single crochet to make them longer. Otherwise, stick with the "itty-bitty" arms and legs for a classic cute look.
- Alternative Attachments: Use a keyring for portability, or attach yarn loops for a hanging charm. Both options work well for this project.
Step-by-Step Instructions
1. Create the Panda’s Head
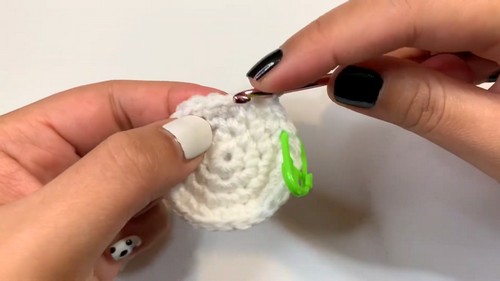
- Start with white yarn and a magic circle.
- Wrap yarn around three fingers to form an “X,” insert your hook under, pull the yarn through, and create a loop. Crochet 6 single crochets into the circle.
- Pull the tail to close the circle.

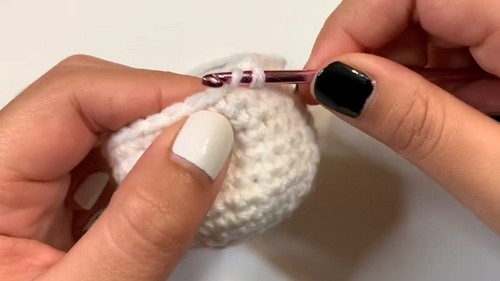
- Add increases in each round to expand the head:
- Round 2: Increase in every stitch (12 stitches).
- Round 3: Alternate 1 single crochet, 1 increase (18 stitches).
- Continue increasing until the head reaches 30 stitches.
- Crochet additional rounds of single crochet to add height to the head (5 rows total).
- Begin decreasing to close the head:
- Round 12: Use invisible decreases—decrease every 3rd stitch and continue decreasing until the head closes.
- Round 12: Use invisible decreases—decrease every 3rd stitch and continue decreasing until the head closes.
- After the final decrease, use a needle to close the remaining gap and stuff the head firmly.
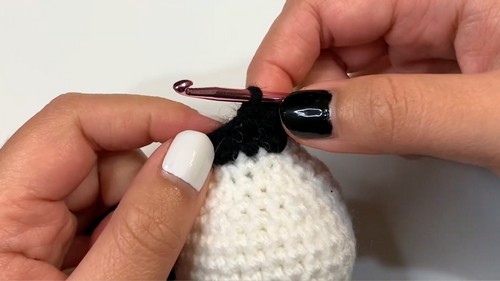
2. Make the Body
- Attach black yarn to the head’s base.
- Follow the same steps as the head to build the body, beginning with a magic circle (6 stitches) and increasing until you have 24 stitches.
- Add five rounds of single crochet (keep stitch count consistent).
- Use decreasing rounds to close the body, stuffing lightly as you go. The panda's body will be small and slightly flatter than its head.
3. Create the Ears, Arms, and Legs
Each appendage starts with black yarn and a magic circle:
- Ears: Magic circle with 6 single crochets, followed by 4 single crochets across to keep it flat. Weave in ends for a rounded ear.
- Arms and Legs: Magic circle with 5 single crochets, followed by 1 row of single crochet for arms (6 stitches) or 2 rows for legs. Leave a tail for sewing afterward.
4. Add Facial Details
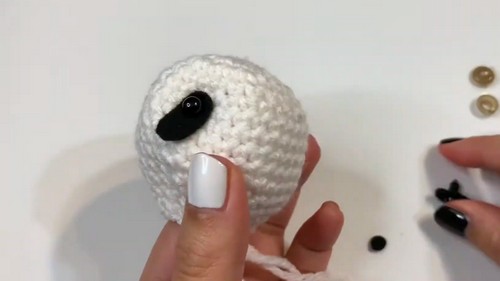
- Felt Eye Patches (Black Felt):
- Cut small pill/oval-shaped patches for the eyes.
- Test placement over the head, adjusting the size as needed.
- Cut small holes in the felt patches and insert 6mm safety eyes through the openings.
- Attach Features: Secure the safety eyes in place, glue the patches, and glue the felt nose below the eyes.
- Stitch the Mouth: Thread black yarn or thread onto a needle. Stitch a small vertical line from the nose downward, and add a smile on each side.
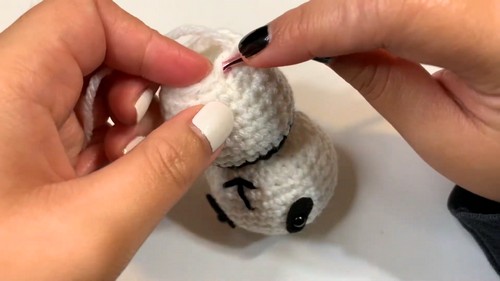
5. Attach and Assemble
- Sew the ears to the top of the head. Position the arms at the sides of the body, and attach the legs to the bottom evenly.
- Use a glue gun to secure any remaining features, like a felt nose or accessories.
Optionally attach a keyring or yarn loop to the top of the head for decoration or portability.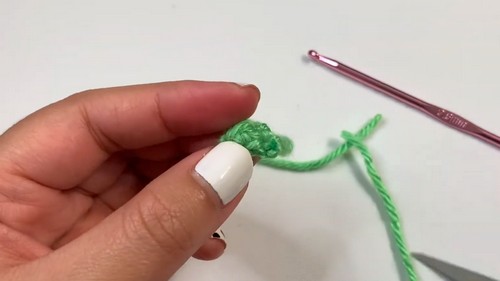
Conclusion
Crocheting this mini panda may take some patience, but the end result is a perfect combination of cuteness and creativity. Whether you make it as a gift, a decoration, or a keychain, this panda will impress with its intricate design. With practice, even beginners can produce this charming project, learning essential amigurumi skills along the way!
Pro Tip
If you're struggling with the magic circle or working in tight spaces, use a slightly larger crochet hook (3.75mm or 4mm)—this gives you a bit more room to complete each stitch!


