
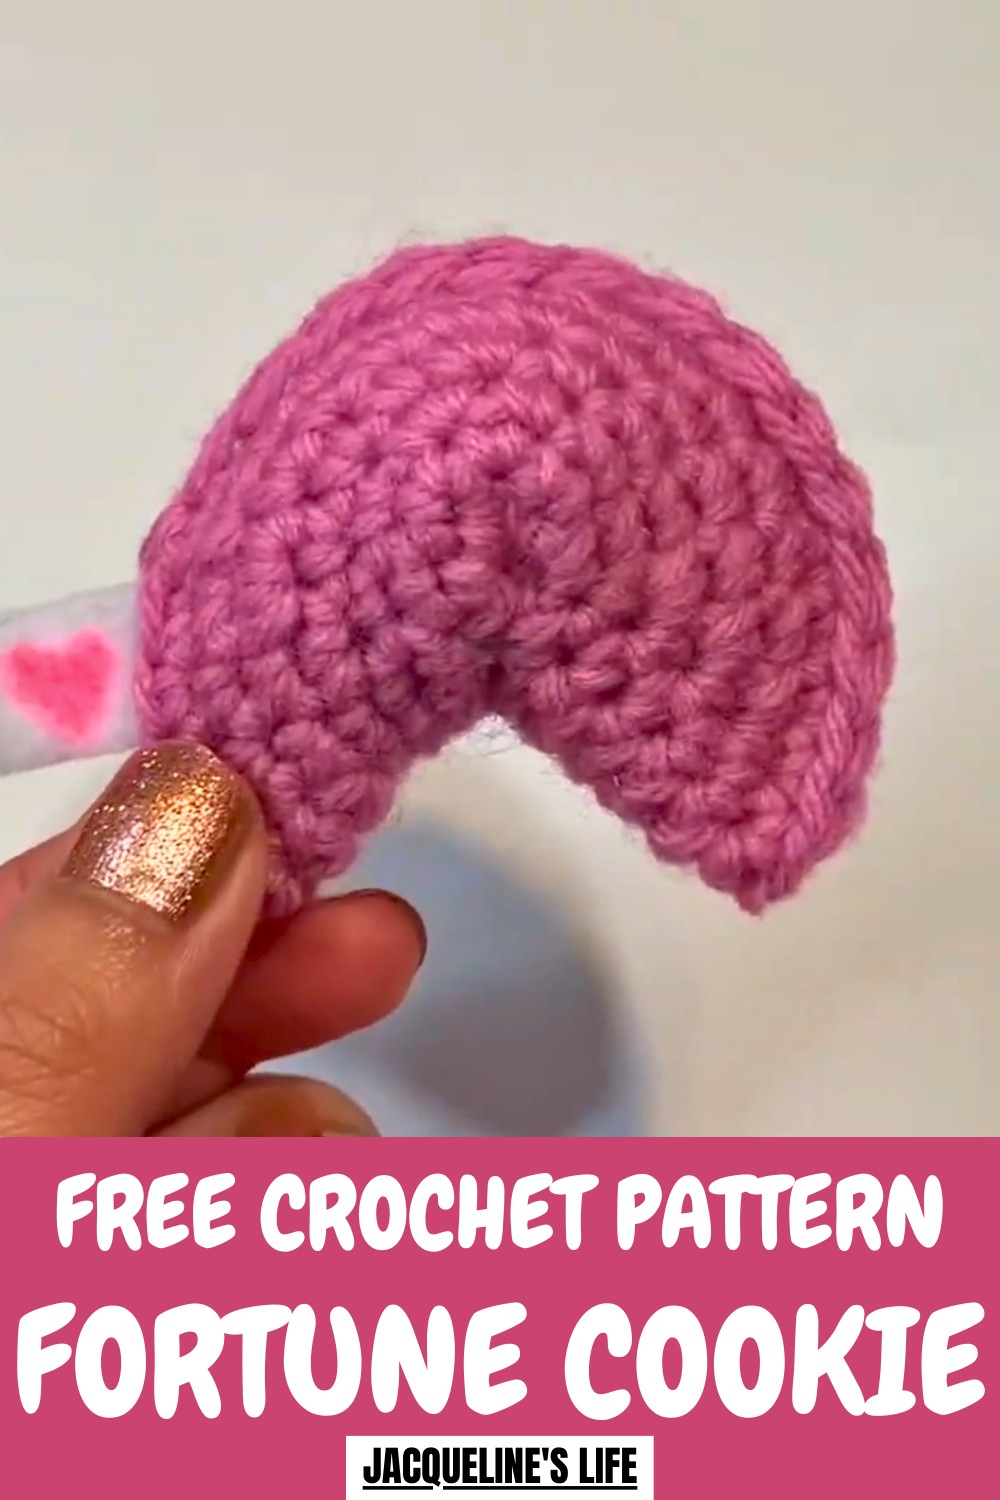
Snap up some fun with the Free crochet Fortune Cookie Pattern, turning yarn into a playful and charming cookie perfect for gifts, decor, or little surprises.
A little surprise filled with charm and whimsy brings joy with every glance. Its delicate, curved shape and neat, golden appearance make it instantly eye-catching, while the soft texture gives it a playful, cozy feel. Perfectly sized to hold tiny messages or notes, it carries a sense of anticipation and delight that adds a fun touch to any space. The careful details create a polished, handmade look that feels both cheerful and inviting.
Sweet Crochet Fortune Cookie Pattern Which Makes Magical
Beyond its decorative appeal, this tiny treat encourages creativity and thoughtfulness, whether used to share kind words, inspirational quotes, or sweet messages with friends and family. Its versatility allows it to brighten living spaces, add a festive accent, or serve as a charming gift that surprises and delights. Compact, whimsical, and full of personality, this little fortune cookie brings a mix of joy, warmth, and playful charm to every setting.
How to Crochet a Fortune Cookie: Step-by-Step Guide
Materials Used
You’ll need the following items:
- Yarn: Weight-4 acrylic yarn in a typical cookie color or festive colors like pink.
- Crochet Hook: 5mm crochet hook.
- Stitch Marker: For tracking stitches.
- Threading Needle: For sewing details.
- Scissors: For cutting yarn or felt.
- White Felt: For the fortune tab.
- Pink Sharpie: To write or draw designs on the felt.
- Hot Glue Gun: For securing the fortune tab and closing parts of the cookie.
- Stuffing: Scrap yarn or fiberfill for stuffing.
Uses of the Crocheted Fortune Cookie
These crocheted fortune cookies are versatile:
- Valentine’s Day Gifts: Share personalized messages on the felt tab.
- Decorative Pieces: Use them for themed décor or party favors.
- Charitable Giving: Make them to distribute to hospice patients or others in need of joy.
- Custom Fortune Cookies: Customize the shape and tab design for holidays, celebrations, or personal themes.
Special Features
- Simple Construction: Requires only a magic circle and single crochet stitches.
- Customizable Design: Allows creativity in color choices and fortune tab designs.
- Beginner-Friendly: With straightforward techniques, even novices can try this craft.
- Handmade Personalization: Add meaningful designs or messages to the felt tabs with your handwriting or symbols.
- Compact and Quick: Works up swiftly for those needing to create multiple cookies.
Level of Difficulty
Beginner-Friendly
This project uses basic crochet stitches (magic circle and single crochets) and involves simple increases. While folding and stuffing may require attention to detail, the overall process is uncomplicated and ideal for beginners exploring amigurumi.
Tutor’s Suggestions
The tutor provides helpful advice for crafting your fortune cookie:
- Practice the Magic Circle: Perfecting the technique creates a neat, adjustable base.
- Use Stitch Markers: Mark the last stitch of each round for accurate counting and placement.
- Don’t Overstuff: Use a light amount of stuffing to avoid distorting the cookie shape and ensure it folds properly.
- Take Time with Felt Tabs: Draw/message designs thoughtfully, and adjust felt size before gluing.
- Glue Securely: Wait a few seconds for each glued section to set and ensure a firm bond.
Step-by-Step Instructions
1. Begin with the Magic Circle
- Wrap the yarn around your fingers three times to form an X.
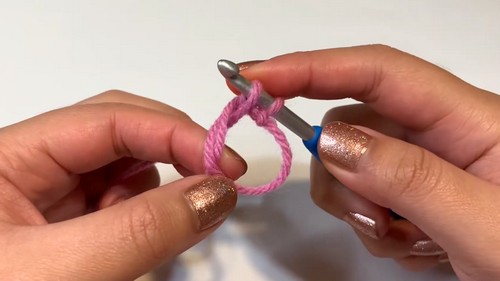
- Insert the crochet hook under the yarn, pull up a loop, and twist it to secure.
- Yarn over and pull through to form a slip knot. Adjust the loop but keep the circle partially open.
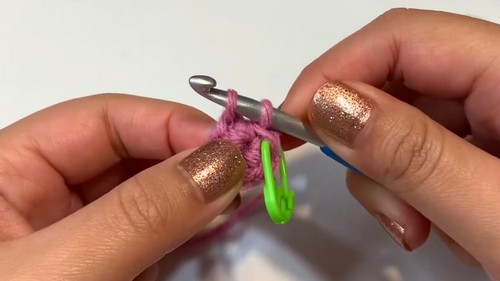
2. Crochet Foundation Rounds
- Round 1: Single crochet six stitches into the magic circle while working over the tail. Pull the tail to close the circle partially. Secure the stitches with a stitch marker.
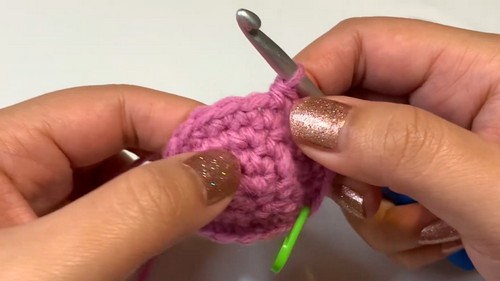
- Round 2: Increase into every stitch (two single crochets per stitch) to reach 12 stitches total.
- Round 3: Alternate between increases (two single crochets in one stitch) and single crochets to end with 18 stitches.
- Round 4: Work one single crochet into every stitch, keeping the stitch total at 18.
- Round 5: Increase into the first stitch and single crochet into the next two stitches. Continue this pattern across the round to reach 24 stitches.
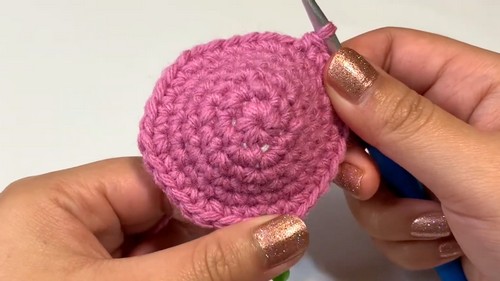
- Repeat increasing rounds according to the pattern shown in the video until Round 8, ending with 42 stitches.
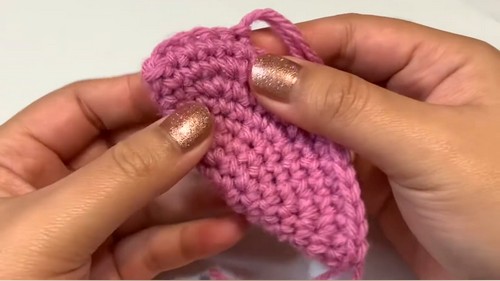
3. Fold and Sew
- Fold the cookie shape in half along the edge where the last stitch rests.
- Starting at the far side, single crochet through both layers close to the fold. Each stitch pulls yarn through both sides and joins them together. Repeat this until you reach the halfway point along the edge, leaving one side open.
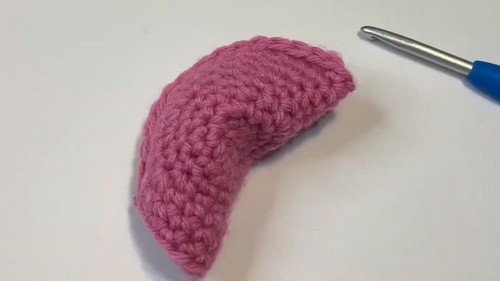
4. Stuff the Cookie
- Lightly fill the open side with stuffing, ensuring it is not overfilled and can still fold properly.
- Push the stuffing toward the middle and test the fold by pinching the cookie inward. Adjust as necessary.
5. Single Crochet the Open Edge
- Return to the hook and single crochet along the open edge, but do not completely close it.
- Finish single crocheting across both sides to create an even border.
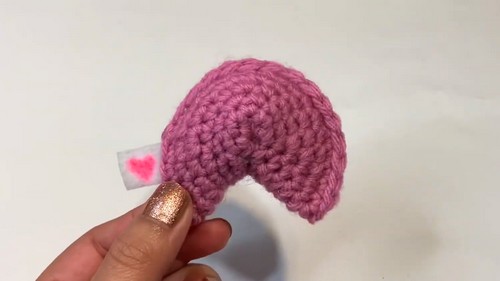
6. Secure and Add Felt Tab
- Cut off yarn, thread it through the final loop, and tighten to secure the stitches.
- Push excess yarn back into the cookie for a clean finish.
- Cut a felt tab in white felt, optionally adding designs using a pink Sharpie (e.g., a heart or “Love” written text).
- Place the felt tab at the open side of the cookie. Secure it with hot glue, ensuring the tab sticks firmly to the edge.
7. Glue and Final Touches
- Apply hot glue along the open side of the cookie, ensuring the felt tab is incorporated into the glued section.
- Fold the cookie, pressing the glued edges together, ensuring not to distort the stuffing.
- Optionally, add glue inside the folded cookie to make it extra secure. Hold for a few seconds until the glue dries.
Conclusion
Now your crocheted fortune cookie is ready! This charming design combines creativity, personalization, and simplicity. Whether you create a batch for charity, give them as gifts, or display them as decoration, they’re sure to make people smile. Straightforward stitches and customizable features make this project perfect for both beginners and experienced crocheters alike.
Pro Tip
When gluing the felt tabs, position them slightly higher or off-center for a playful and dynamic look. Measure and trim excess felt for a cleaner, professional finish!


