
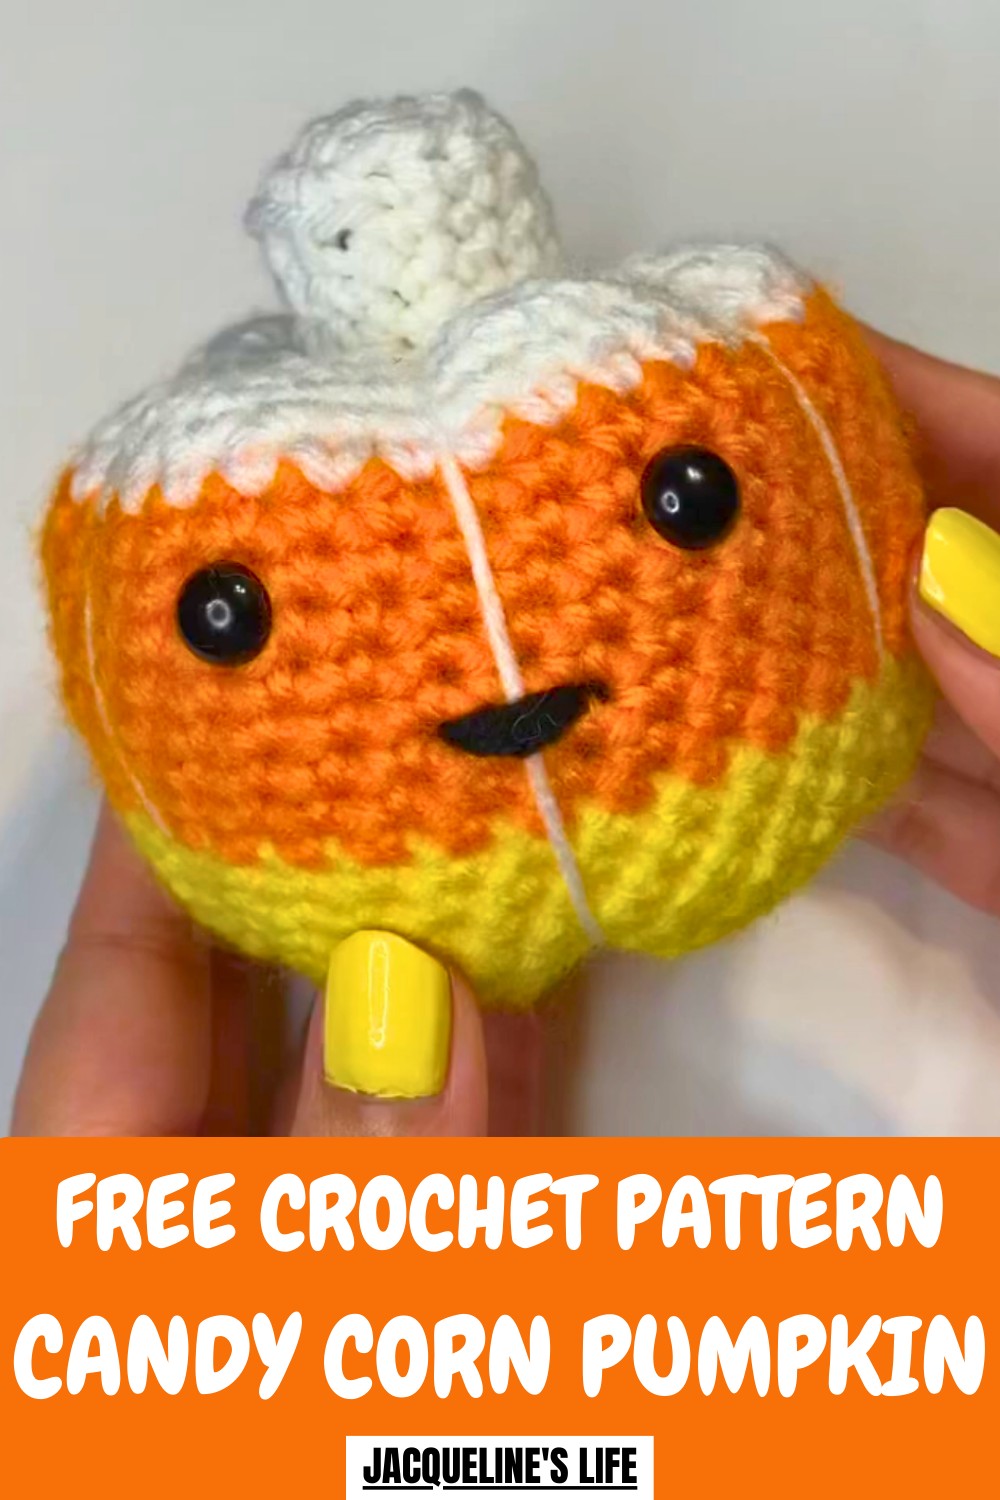
Sweeten your Halloween with this Free Crochet Candy Corn Pumpkin Pattern, adding playful charm to décor, party displays, or cute handmade gifts.
Fun and playful this candy corn pumpkin is full of autumn cheer and Halloween vibes. Its bright white tip orange middle and sunny yellow base make it look just like everyone’s favorite candy while keeping the cuteness of a tiny pumpkin. It can brighten up any room add a cheerful touch to a fall display or be a silly little companion for desks and craft spaces.
Sweet Crochet Candy Corn Pumpkin Pattern Everyone Will Love
Crocheting it is a silly and relaxing way to practice stitching shaping and color changes so beginners and experienced makers can enjoy it. Its small squishy size lets it shine on its own or join a bigger fall-themed collection. With easy step-by-step instructions this candy corn pumpkin turns simple yarn into a cheerful festive decoration that brings playful charm whimsy and a touch of handmade joy to any space.
How to Crochet a Candy Corn Pumpkin – Step-by-Step Guide
Materials Used
You will need the following:
- Yarn:
- Yellow Yarn: The base of the pumpkin (Big Twist Yarn).
- Orange Yarn: The middle stripe (Red Heart Super Saver).
- White Yarn: The top section (lighter shades such as off-white recommended).
- Tools And Accessories:
- Crochet Hook: 5mm hook.
- Stitch Marker: Useful for marking rounds.
- Scissors: For trimming yarn.
- 10mm Safety Eyes: Adds personality to the pumpkin’s face (adjust size depending on preference).
- Black Embroidery Thread or Black Yarn: Allows you to create the mouth.
- Threading Needle: For sewing the stem and creating details.
- Stuffing: Pillow stuffing or yarn scraps for shaping the pumpkin.
Uses of Candy Corn Pumpkin
- Halloween Decorations: A cute addition to your spooky seasonal decor.
- Festive Table Display: Perfect for fall-themed events or to brighten up your dining table.
- Custom Gifts: Personalize the pumpkin for friends, family, or craft markets.
- Crochet Collection: Adds variety to your crocheted pumpkin designs with the candy corn twist.
Special Features
- Candy Corn Color Scheme: Combines the traditional fall pumpkin shape with candy corn’s three iconic colors—yellow, orange, and white.
- Freehand Style: Designed without a pattern, making it flexible for customization.
- Multifaceted Look: Includes detailed stitching, a carved effect using yarn, and a cute stem on top.
- Personal Customization: You can adjust the height, size, and number of rounds towards your creative vision.
Level of Difficulty
Beginner Friendly with Intermediate Assembly
- Beginner Skills: Key stitches include single crochet, invisible decreases, and basic color changes.
- Intermediate Assembly: Adding stuffing, shaping the pumpkin using yarn, and sewing the stem require patience and care.
Tutor’s Suggestions
- Use Light Yarn Colors: Use off-white or soft white for the final section to maintain the candy corn color aesthetic.
- Overstuff the Pumpkin: Slightly overstuff the pumpkin so it holds its shape and creates a sturdier, rounder result.
- Adjust the Length of Sections: The number of rounds for each color depends on how tall or squat you want your pumpkin to be—short pumpkins use fewer rounds.
- Work Freehand: Don’t worry about following a written pattern—focus on proportions and your own visual preference.
- Use Scissors to Tuck Ends: When securing yarn tails or sewing the stem, neatly tuck leftover yarn into the body using scissors or a threading needle.
- Focus on Consistency: Keep track of stitch counts in every round to maintain the width and symmetry of the pumpkin.
Step-by-Step Instructions
Step 1: Create the Bottom of the Pumpkin
- Magic Circle:
- Wrap yellow yarn around your fingers to form a cross (X).
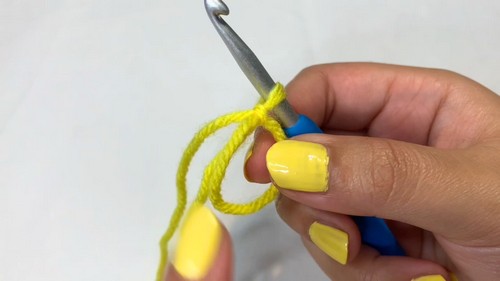
- Insert your crochet hook under the X and pull up a loop. Then yarn over and pull through the loop. Adjust it to create a closed circle.
- Wrap yellow yarn around your fingers to form a cross (X).
- Round 1:
- Work 6 single crochets (SCs) into the magic circle and pull the yarn tail tightly to close the circle.

- Work 6 single crochets (SCs) into the magic circle and pull the yarn tail tightly to close the circle.
- Round 2:
- Increase in all stitches: Work 2 SC into each stitch around for a total of 12 stitches.
- Rounds 3–6: Gradually expand the bottom:
- Round 3: Alternate 1 single crochet (SC) and 1 increase for a total of 18 stitches.
- Round 4: Alternate 2 SCs and 1 increase, ending at 24 stitches.
- Round 5: Alternate 3 SCs and 1 increase, ending at 30 stitches.
- Round 6: Alternate 4 SCs and 1 increase, ending at 36 stitches.
Step 2: Build the Yellow Section
- Work 6 rounds of single crochet (SC) with no increases.
- Adjust the number of rows based on how tall or short you want this section. The tutor emphasized that taller yellow sections make the pumpkin more prominent.
Step 3: Change to Orange Yarn
- Color Change: Remove the last stitch of your yellow yarn and begin the next stitch using orange yarn instead. Tie the yellow and orange yarn pieces securely.
- Complete 8 rounds of SC using the orange yarn (or adjust to your preference).

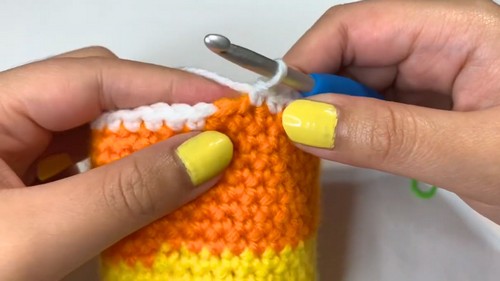
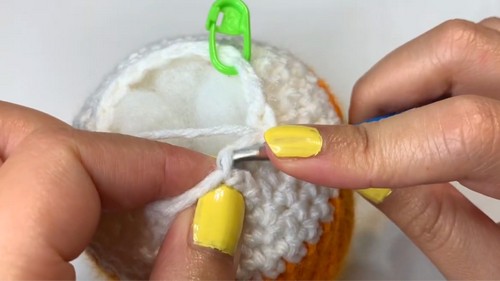
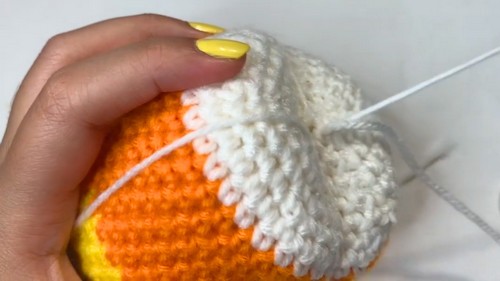
Step 4: Change to White Yarn
- Color Change: Remove the last stitch of your orange yarn and insert white yarn. Tie the loose pieces securely.
- Work 2 rounds of SC with white yarn (adjust depending on how much white yarn is available).
- Begin the process of decreasing while using white yarn to curve the pumpkin inward:
- Use invisible decreases: Insert hook into front loops of the next two stitches, pull up a loop, and complete the stitch.
- Alternate decreases with multiple SC stitches to gradually narrow the top.
- Continue decreasing until 12 stitches remain in the final round.
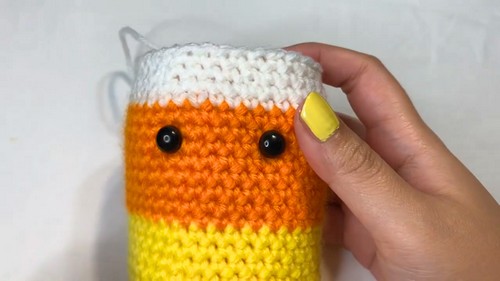
Step 5: Insert the Eyes and Stuffing
- Add Safety Eyes: Position the eyes on the orange section with a slight gap between them, ensuring space for the yarn wrapping.
- Stuff Gradually: Add pillow stuffing or yarn scraps into the pumpkin. Leave a gap in the center to allow your threading needle to push through later.
Step 6: Shape the Pumpkin
- Use the long yarn tail from your final round to shape the pumpkin. Thread it through the middle (from top to bottom) using the threading needle and pull tightly.
- Create grooves by repeating this process across the sides of the pumpkin.
- Ensure the yarn creates an even, carved effect resembling the natural look of a pumpkin.
Step 7: Create and Attach Stem
- Magic Circle for Stem:
- Create a magic circle with white yarn and crochet 6 SCs into the circle.
- Round 2: Increase in all stitches for a total of 12 stitches.
- Round 3: Crochet into back loops only to curve the stem downward.
- Add 2–3 additional rounds of SCs for height before tying off.
- Attach Stem to Pumpkin:
- Sew the stem onto the top of the pumpkin by stitching back and forth between the stem and pumpkin. Leave an opening and lightly stuff the stem with extra yarn or fiberfill before securing it shut.

- Sew the stem onto the top of the pumpkin by stitching back and forth between the stem and pumpkin. Leave an opening and lightly stuff the stem with extra yarn or fiberfill before securing it shut.
Conclusion
You’ve now crocheted a delightful Candy Corn Pumpkin! The combination of vibrant candy corn colors with a detailed pumpkin shape makes this project ideal for autumn decorations, Halloween gifts, or as a fun addition to your crochet collection. Its joyful mix of stitches and personal customization options will ensure it stands out in your festive setup.
Pro Tip
When shaping your pumpkin, pull the yarn tightly to achieve deeper grooves for a more detailed carved pumpkin effect. This will enhance the overall look and make the pumpkin appear more dynamic!


