
Your Dream Crochet Sea Shell Pattern Is Just a Stitch Away
Bring sunny ocean vibes right onto your bedroom dresser by stitching a wonderful crochet sea shell that looks gorgeous resting beside your books.
Inspiration From TSUNAMI - Crochet Makers
Every ocean tells a story, and the unique shape and texture of sea shells are nature’s way of capturing our imagination. With your dream crochet sea shell pattern, you can bring that story to life in your own special way. This delightful project replicates the gentle spiral of a seashell, marked by charming ripples and smooth curves that echo the beauty of the shoreline. Its graceful edges and textured layers make it a one of a kind decorative piece that suits almost any space or occasion. Perfect for storing small treasures, like coins or jewelry, it offers both practicality and a touch of seaside elegance.
Easy Crochet Sea Shell Pattern for Unique Home Decor Ideas
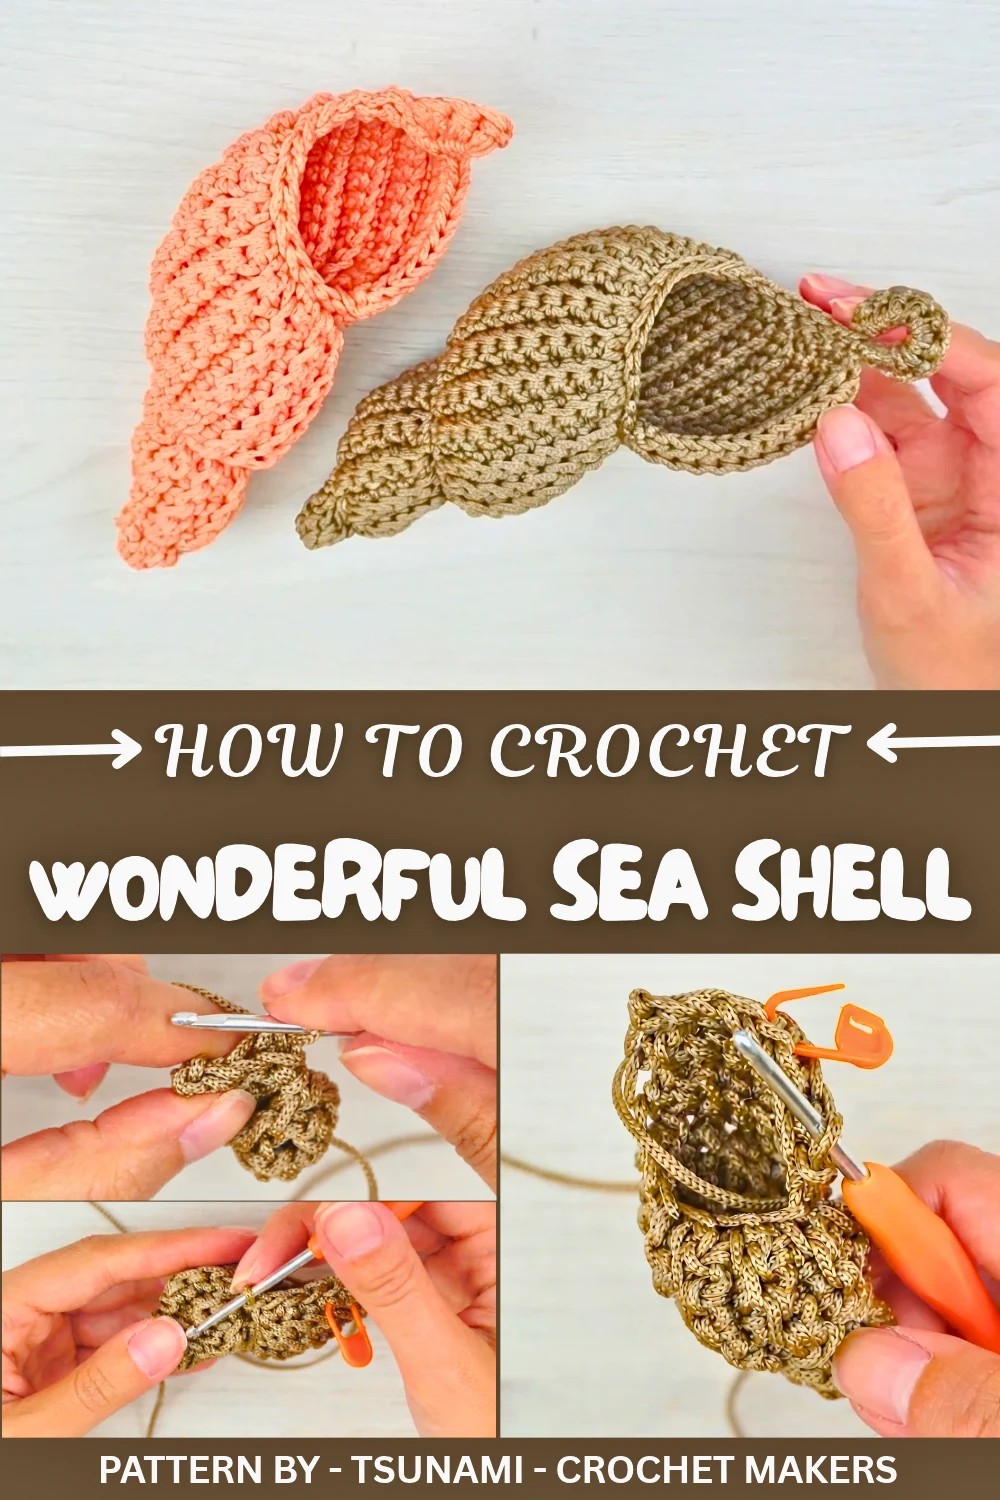
Ideal for beginners and intermediate crocheters, its unique shape is achievable with a few simple techniques like working in spirals and adding calculated increases for volume. The pattern is flexible, allowing you to choose the size that works best for your needs. Smaller shells are adorable desk accents, while larger ones can double as statement storage pieces. Cotton yarn pairs beautifully with this design, as its stitch definition enhances the texture and provides structure without compromising softness.
The inspiration behind this piece stems from the calming allure of the beach. By letting stitches flow naturally into a spiral form, the process is as relaxing as the outcome. Using light, neutral tones or gentle pastels captures the soothing ambiance of coastal landscapes, but bolder hues can bring a vibrant energy to your project.
Helpful tricks? Try keeping a smooth tension throughout for perfectly crisp edges and use stitch markers to stay organized as you progress. Whichever direction you take, this sea shell pattern allows you to bring a little piece of the ocean straight into your home, combining functionality with visually pleasing artistry.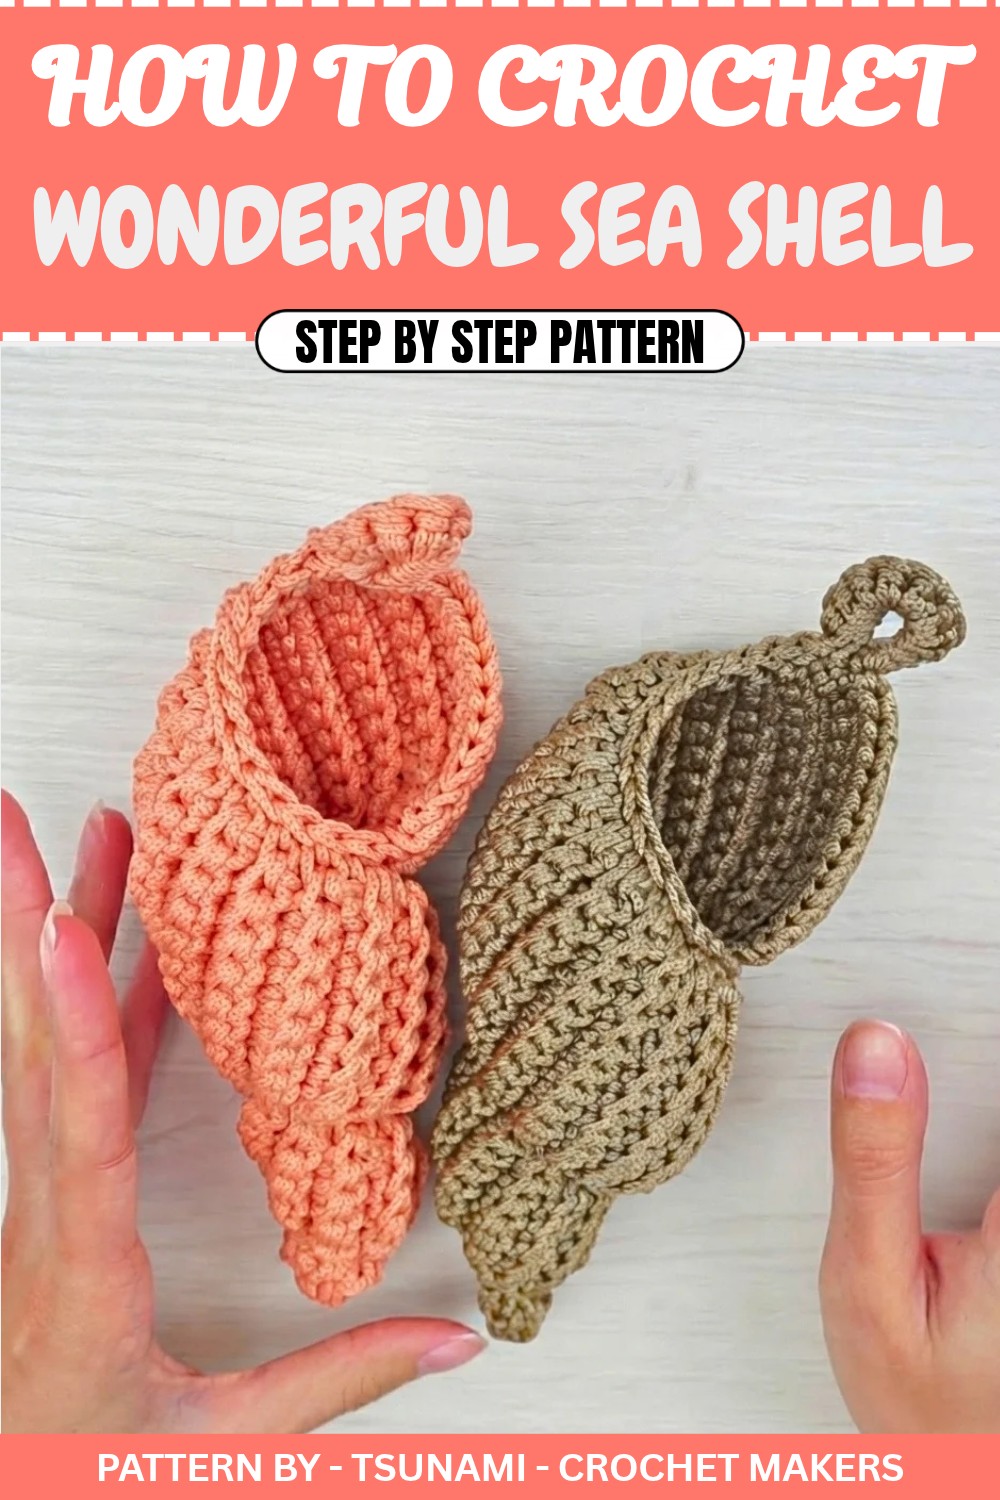
Crochet Pattern: The Handmade Shell Catch All (Porta Tasche)
Quick Overview of Pattern
- Project Name: Crochet Shell Shaped Catch All
- Purpose: A creative shell design that can be decorative or functional.
- Features: A freehand spiral technique with minimal increases.
- Skill Needed: Simple stitches with some precision for shaping.
Notes
- The project involves working in a spiral pattern, so keeping track of your rows is crucial.
- Changes in yarn weight or hook size can significantly impact the overall size of the shell.
- Increases are added after every few rows for gradual shaping.
Skill Level
Intermediate
Materials
- Yarn: Cord yarn or any thick yarn suitable for structured shaping.
- Hook Size: Choose a hook appropriately sized for your yarn (e.g., 4.5mm–6mm).
- Stitch Markers: To mark rows and increases.
- Yarn Needle: For weaving in ends.
- Scissors: For trimming excess yarn.
Measurements / Sizing
- The size of the shell depends on the number of rows and increases.
- Example dimensions: Width: ~20–25cm, Height: ~8–12cm depending on user preferences.
Gauge
Gauge is not critical for this project, but ensure your stitches are tight enough to maintain the structure of the spiral shell.
Stitch Abbreviations
- ch: Chain
- sc: Single Crochet
- sl st: Slip Stitch
- inc: Increase (2 single crochets in one stitch)
Special Stitches
- Magic Circle: A technique used to begin the shell seamlessly.
- Spiral Technique: The process of working continuously without joining rounds, allowing for a free flowing structure.
The Crochet Pattern
Step 1: Starting the Magic Circle
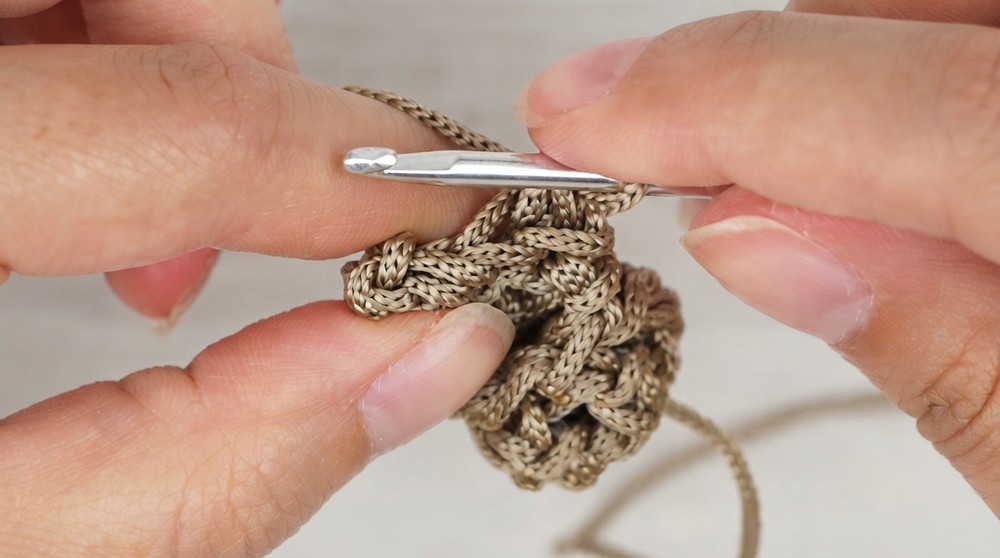
- Begin with a magic circle and crochet 6 sc into the circle.
- Pull the magic circle tight to close the center entirely.
Step 2: Closing the First Round
- Join the round with a sl st into the first sc.
- You should have a total of 6 stitches in this round.
Step 3: Working the Base Spiral
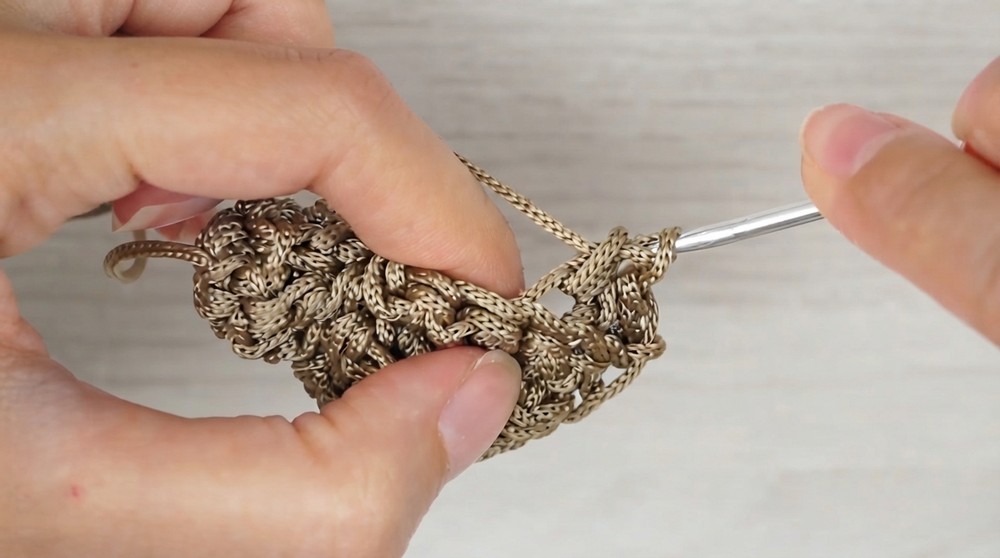
- For the second round, create 2 chains for height.
- In each stitch from the previous round, work 1 double crochet (dc).
- You should now have 6 dc stitches in total.
- Join the round using a sl st into the first dc stitch of the round.
Step 4: Starting the Spiral Pattern
- Adjust your spiral:
- Place the starting yarn tail from the magic circle on the outside to avoid interference.
- Begin to work without joining rounds from here.
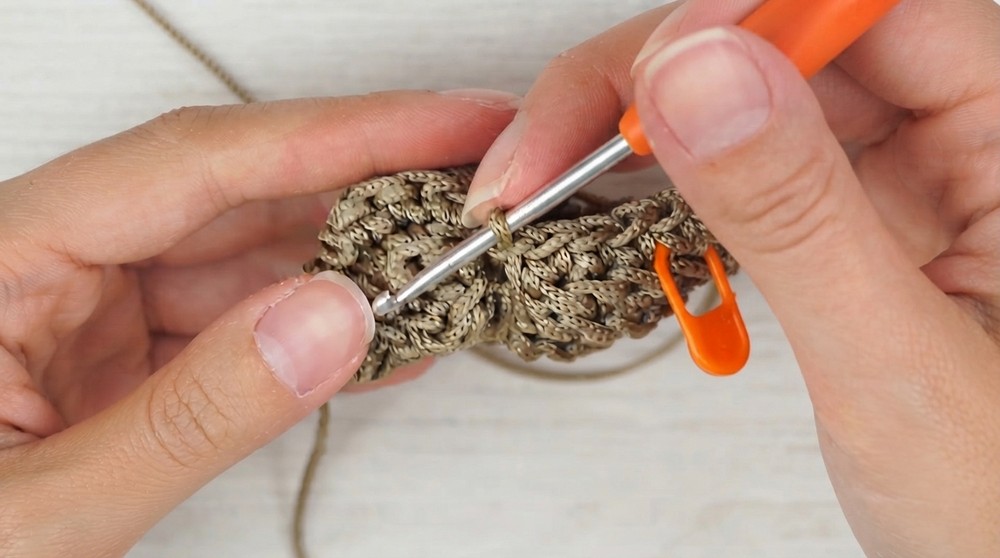
- Increase stitches as follows:
- For the first set of rows, make 1 sc into the base stitches.
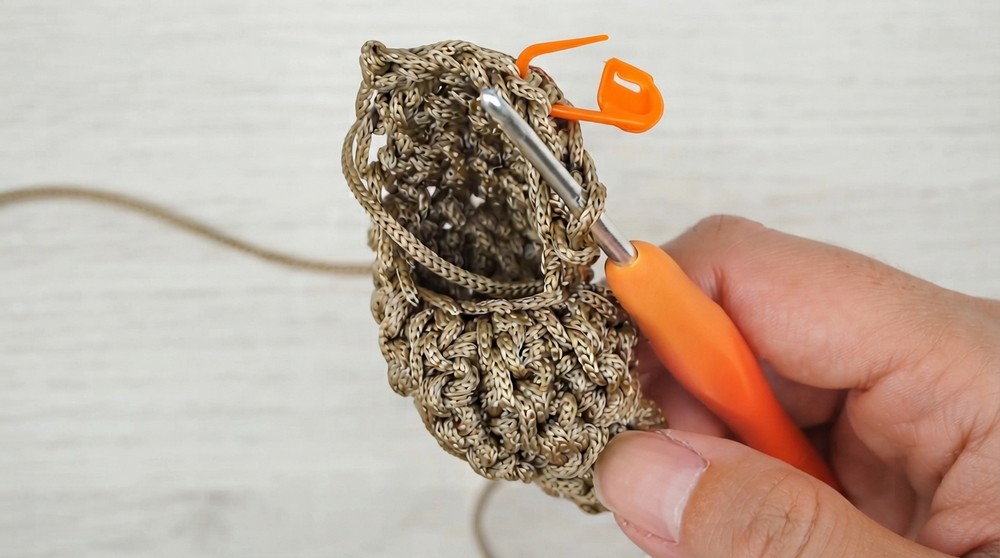
- Work into any lateral stitches (costinha) along the edge to build structure.
- Example rows:
- Work 2 sc in 1 stitch to naturally increase where necessary.
- Continue until your desired curvature for the shell begins to form.
- Remember: Increases do not occur in every row. Instead, work a smooth spiral with selective increases every 4–5 rows.
Step 5: Counting and Tracking Increases
- As you build rows, mark the increases using a stitch marker to keep track of the rounds where they occur.
- For every marked row, count 4–5 rows before incorporating another increase to balance the shape.
- Adjusting for customization:
- If you prefer a tighter shell, increase more frequently (e.g., every 3 rows).
- For a more open and spacious shell, increase every 5–6 rows.
Step 6: Creating Supporting "Ridges"
- Work into side ridges (costinhas):
- To begin each new ridge, add 1 sc followed by 1 sl st into the base stitch laterally.
- This technique helps build the spiraling "flaps" that give the shell its textured shape.
Step 7: Finalizing the Shell Shape
- As the shell grows, continue working:
- Rows without increases for 4 lines.
- Increased rows for shaping every 5th line.
- Once you’ve reached your desired shell size, prepare to close the spiral:
- Gradually reduce stitch heights (e.g., sc to sl st).
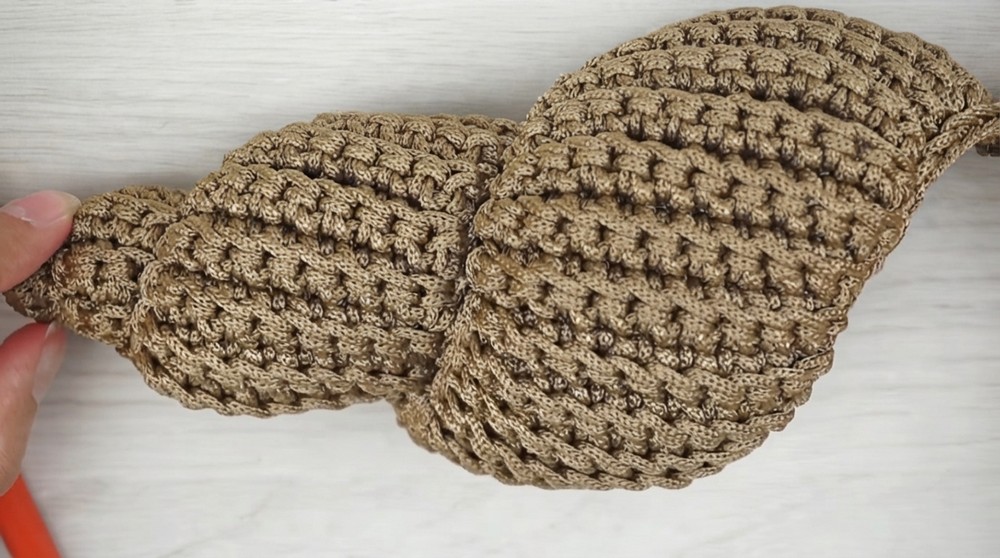
Step 8: Adding the Border
- Once the shell width and depth are achieved, work a decorative border at the opening edge:
- Use 6 ch stitches to create a light scalloped effect.
- Close with a sl st between intervals.
- Alternatively, keep the scalloped edge open for a minimalist look.
Assembly & Finished Size
- The process has no rigid stopping point—feel free to adjust the height and depth of your shell.
- Use the yarn needle to secure all loose ends once complete.
- The finished shell can be used to hold small items or displayed as a decorative piece.
Conclusion and Ending Words
Congratulations, Your beautiful crochet shell is complete. I hope this tutorial made the process clear and enjoyable for you. This versatile project allows for creativity and personalization, so feel free to experiment with sizes, materials, and colors.