
Make This Stunning Crochet Bag Pattern & Upgrade Your Style
Carry your heavy school notebooks, water bottle, and snacks in style by stitching an amazing super crochet bag that never loses its cool shape.
Crochet bags are a fabulous way to combine style and practicality. With their handmade charm, these bags are not only functional but also serve as beautiful accessories that add a personal touch to your wardrobe. One of the most stunning crochet bag designs features a unique hexagonal base, giving it a contemporary shape that stands out from traditional bags. Its balanced proportions and elegant stitch texture make it suitable for everyday use, whether you're running errands, heading to the market, or enjoying a casual outing with friends.
Easy Crochet Bag Pattern That Will Turn Heads
The channel TSUNAMI - Crochet Makers does an incredible job of presenting the step by step tutorial for this chic bag. Hosted by Simona, the tutorial guides crocheters through the process of creating this fashionable piece, complete with thoughtful tips and techniques for bringing out the best in the design. She choice of lurex cord yarn adds a subtle shimmer to the bag, enhancing its aesthetic appeal while maintaining its durability. The channel is perfect for beginners looking to learn and advanced creators seeking exciting projects. With clear instructions and creative designs, TSUNAMI - Crochet Makers inspires crocheters to turn simple materials into masterpieces.
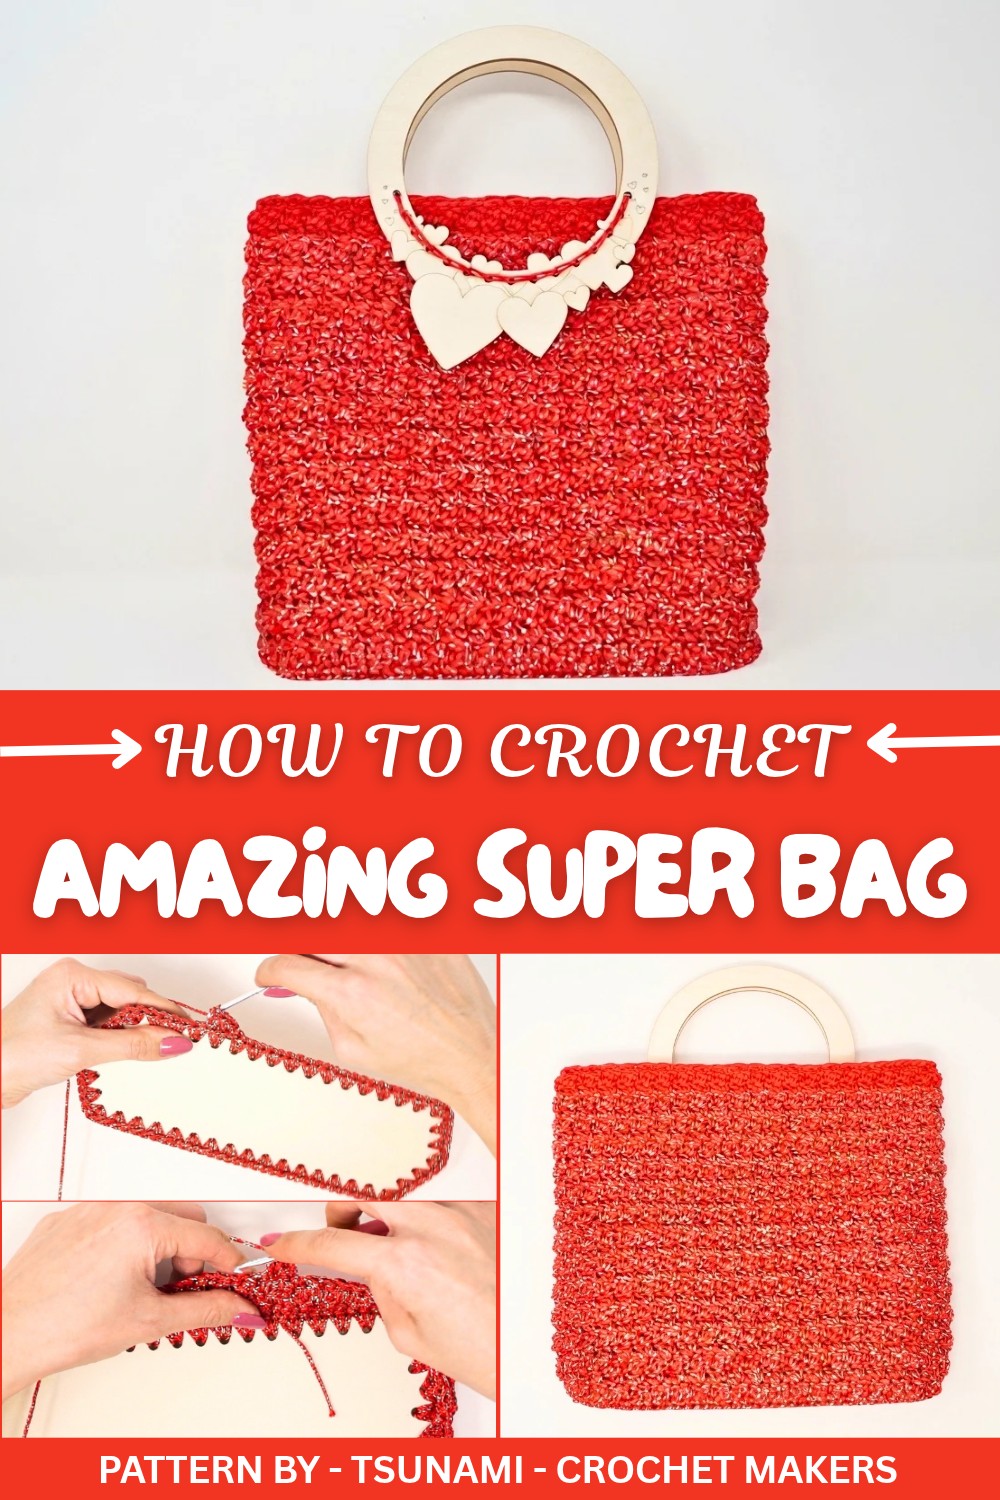
Whether you’re planning to gift it to someone special or want a stylish, handmade accessory for yourself, this crochet bag is a worthwhile project. Its innovative shape, textured body, and sturdy handles make it a functional and gorgeous addition to any outfit. Create the bag in your favorite colors to make it truly unique. Pick your yarn and hook, and dive into this creative journey, it’s a project you’ll love and cherish.
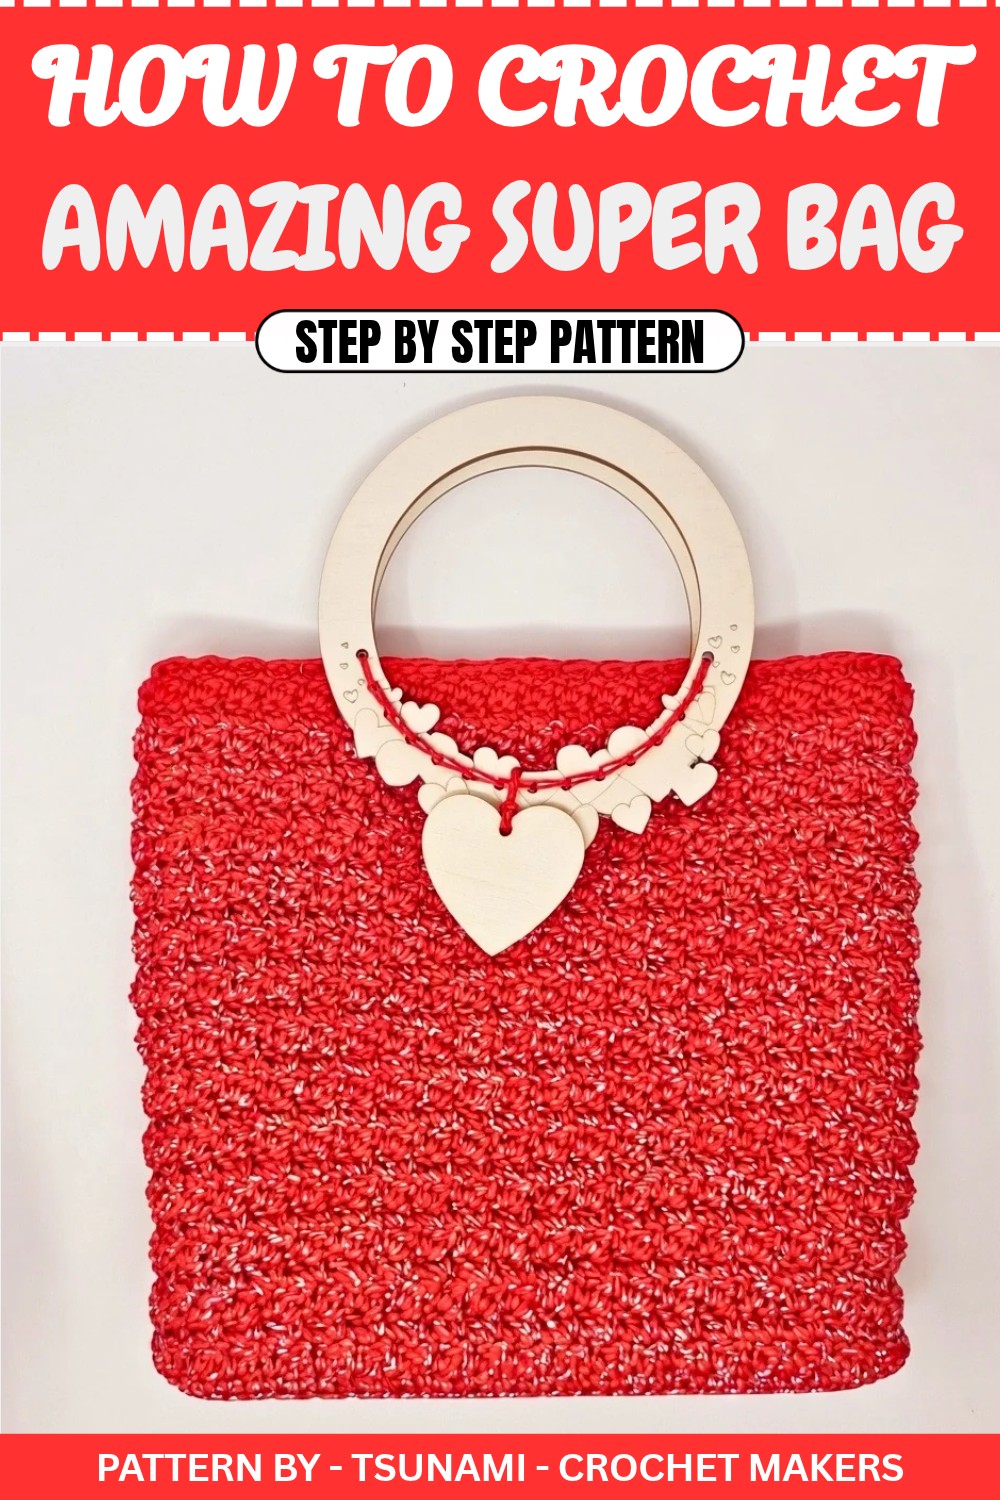
Quick & Easy Hexagonal Crochet Bag Pattern
In this tutorial, we’ll create a Twin Bag, a variation of the popular Stardust Bag. This version features heart shaped designs instead of stars and introduces a new base shape that’s different from the usual oval or rectangular bases we commonly see.
Instead of the typical bag bottom, we’ve designed an elongated hexagonal base, which ensures the bag's body builds up evenly and beautifully. I’m so excited to share this chic and versatile bag design with you, and I’ve even included tips for assembling and attaching the handles seamlessly. So, gather your materials, and let’s get started.
Quick Overview of the Pattern
- Pattern Type: Crocheted hexagonal bag
- Key Features:
- Unique elongated hexagonal base that builds evenly.
- Heart shaped designs in the body pattern.
- Simple and modern design requiring minimal sewing.
- Uses: Perfect as an everyday tote bag, project bag, or stylish accessory.
- Skill Level: Intermediate (due to the unique base and stitch transition).
Notes
- The hexagonal base gives the bag a more structured shape compared to oval bottoms.
- Switching hook sizes between the base and body ensures a balanced and consistent texture.
- The spike stitch (point su sette) used in the body creates a textured, decorative pattern.
- No finishing row is applied to the bag’s top for a raw, modern look.
- Handles are hand stitched for durability and precision.
Skill Level
Intermediate:
- You should be comfortable working in the round, switching hook sizes, and using tall stitches such as single and double crochets.
Materials
- Cord Yarn: 300 g of cord yarn (Lurex yarn is used in the video for a sparkling finish; choose your preferred color and texture).
- Hooks:
- 3.0 mm crochet hook (for the base and assembly).
- 3.5 mm crochet hook (for the body).
- Handles: Two pre made bag handles.
- Tapestry Needle: For weaving in ends and attaching handles.
- Scissors: For cutting yarn.
Measurements / Sizing
- Height: The body of the bag is 25 cm (10 in) tall.
- Width: Approximately matched to the hexagonal base.
- Handle Size: Position the handles to match your preference.
Gauge
Gauge is not critical for this pattern, but attention to even tension will ensure your bag shape builds up evenly.
Stitch Abbreviations
(Using US Terminology)
- ch: Chain
- sc: Single crochet
- dc: Double crochet
- sl st: Slip stitch
- BLO sc: Back loop only single crochet
Special Stitches
- Back Loop Only (BLO) Single Crochet: Insert hook into the back loop of the stitch only, yarn over, pull up a loop, yarn over, and pull through both loops on the hook.
The Crochet Pattern
Base
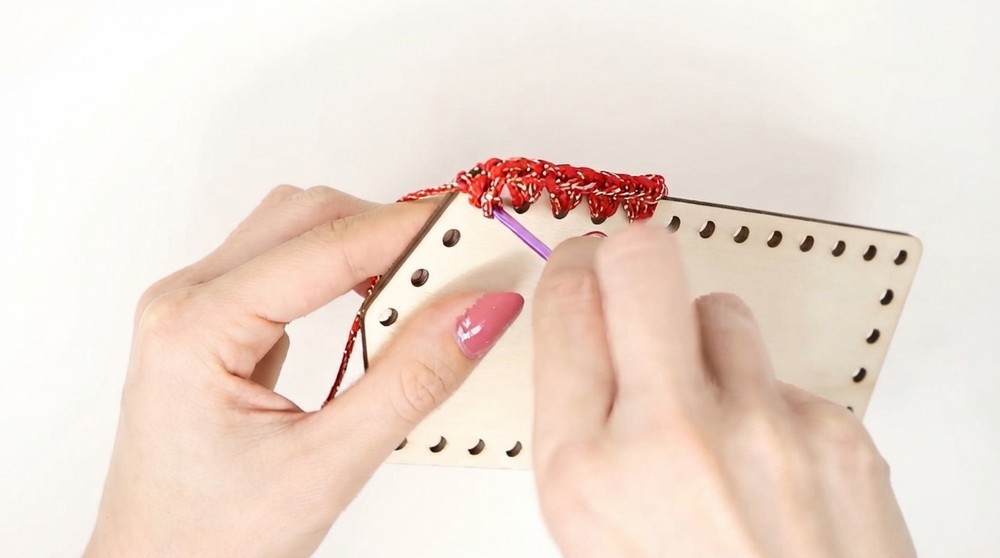
- Round 1 – Starting the Base:
- Begin with the hexagonal shaped base. Work 2 sc in each hole around the base template for the first round.
- At each corner (three total), work 3 sc to form the angles.
- Round 2 – Add More Depth:
- Continue with 2 sc in two consecutive holes along the sides of the base.
- When you reach a corner, again work 3 sc into the corner hole to maintain the angles.
- Repeat until the round is complete.
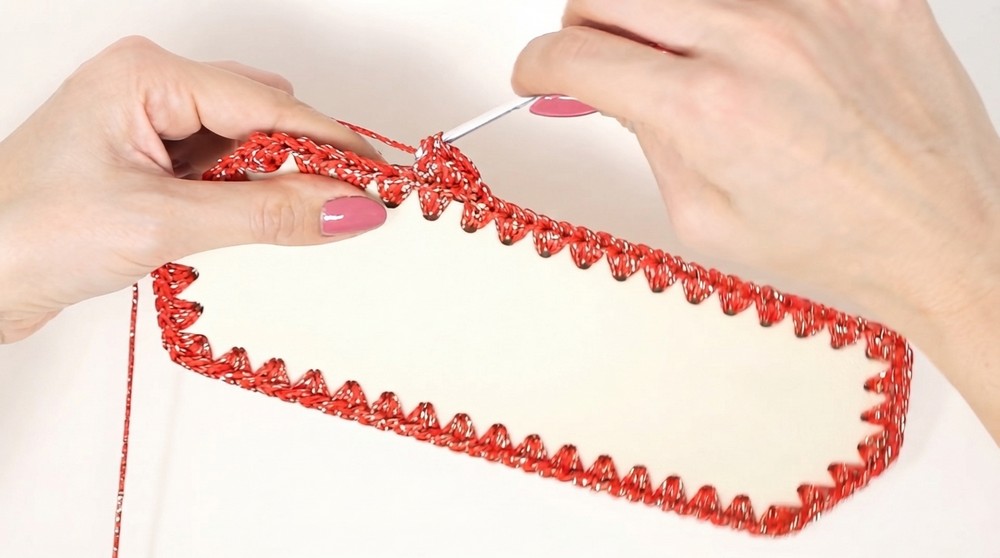
- Round 3 – Final Base Expansion:
- Work 2 sc in each side slot along the longer sides.
- At the corners, continue to add 3 sc.
- Close the round with a sl st in the first sc.
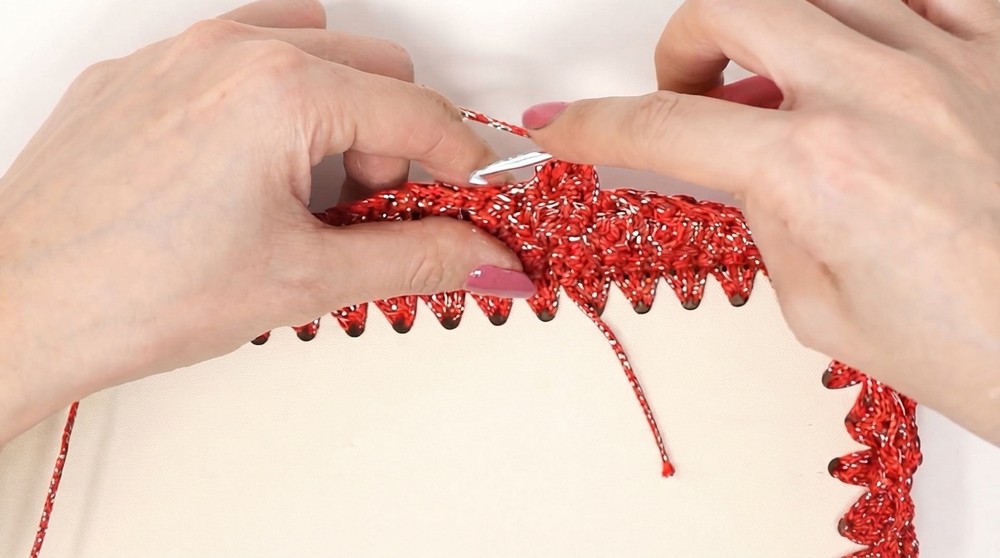
Transition to the Body
- Switching Hooks:
- Swap to the 3.5 mm crochet hook for the body of the bag.
- BLO Transition Round (Single Crochet in Back Loop Only):
- Make one ch 1 to begin.
- Work BLO sc in each stitch around. Insert your hook only into the back loop of each stitch, leaving the front loop free.
- This creates a neat fold at the base of the bag.
- Close the round with a sl st in the first sc.
Body
The body of the bag is worked using the Spike Stitch Pattern (punto su sette), alternating single and double crochets.
- Setting Up the Spike Stitch:
- Begin with ch 1, then turn the work.
- Skip one stitch. In the next stitch, work 1 sc.
- In the same stitch, work 1 dc.
- Skip the next stitch, then in the following stitch, repeat: 1 sc, 1 dc in the same stitch.
- Continue the Pattern:
- Work this sequence (skip 1 st, [sc, dc] in the next st) around for the entire round.
- At the end of the round, close with a sl st in the first sc.
- Turning the Work:
- After each round, turn the work. This keeps the stitch texture balanced and evenly distributed.
- Repeat Pattern Rounds:
- Continue the spike stitch pattern for 27 rounds (as demonstrated in the video) or until the bag reaches your desired height.
- Ensure that you turn the work at the end of each round.
Finishing the Body
- Final Round:
- To finish the body, close the spike stitch pattern with a simple sl st.
- No additional finishing rows are added to the top for a clean, modern aesthetic.
- Weave in Ends:
- Secure all loose yarn tails and weave them into the back loops of the stitches inside the bag.
Attaching the Handles
- Position the First Handle:
- Place the handle at the center top of the bag. Use a pin or clips to secure it in place.
- Attach with Sl St:
- Using the 3.0 mm hook and the cord yarn, attach the handle with a row of sl sts.
- Repeat for the Second Handle:
- Repeat the same process for the second handle, ensuring both handles are aligned.
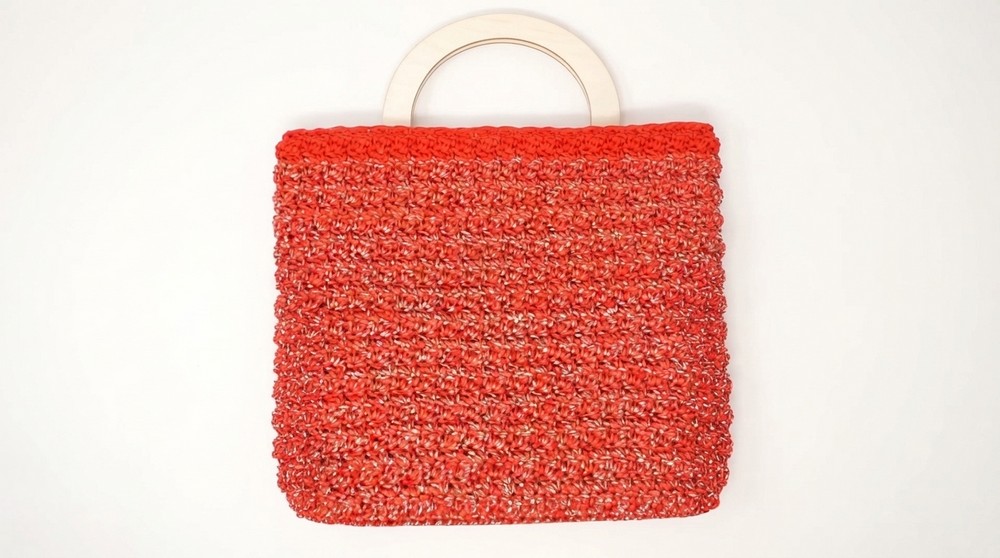
Assembly & Finished Size
Once the handles are attached and all loose ends are woven in, the bag is complete! The combination of the sturdy hexagonal base, textured body, and shiny cord yarn creates a functional yet stylish accessory.
Conclusion and Ending Words
And voilà, Your crochet hexagonal bag is complete. I’m so thrilled with how this project turned out—its modern design, sturdy structure, and glittery finish make it an absolute head-turner. Whether you use it as a tote bag or as a statement piece, this creation is sure to impress.
If you enjoyed this tutorial, don’t forget to leave a comment and share your creations with us. We’d love to see your bags and feature them on our social media. Be sure to subscribe to my channel, hit the bell icon, and join me for more creative projects. See you soon with another fun tutorial.