
Free Crochet Pumpkin Amigurumi Pattern Perfect for Thanksgiving
Turn ordinary yarn into extraordinary fall magic with this crochet pumpkin amigurumi that’s full of charm and character.
Nothing says autumn quite like a cozy little pumpkin, and now you can bring that fall vibe into your home with this adorable handmade amigurumi. Cute, snug, and full of charm, this pumpkin is just the right size to brighten up any corner, whether it’s perched on a mantle, nestled into a festive table setting, or gifted to someone special. Who doesn’t love a unique seasonal treasure?
Must Try Crochet Pumpkin Amigurumi Pattern for This Fall
Shaped to mimic the beauty of real pumpkins, this project features soft ridges, a perfectly rounded body, and a stem that ties it all together. Its small but cozy size makes it an inviting piece for fall decor or even a cute addition to your collection of handmade keepsakes. Whether you’ve recently started crocheting or have some experience, this fun project provides just the right balance of ease and creativity.
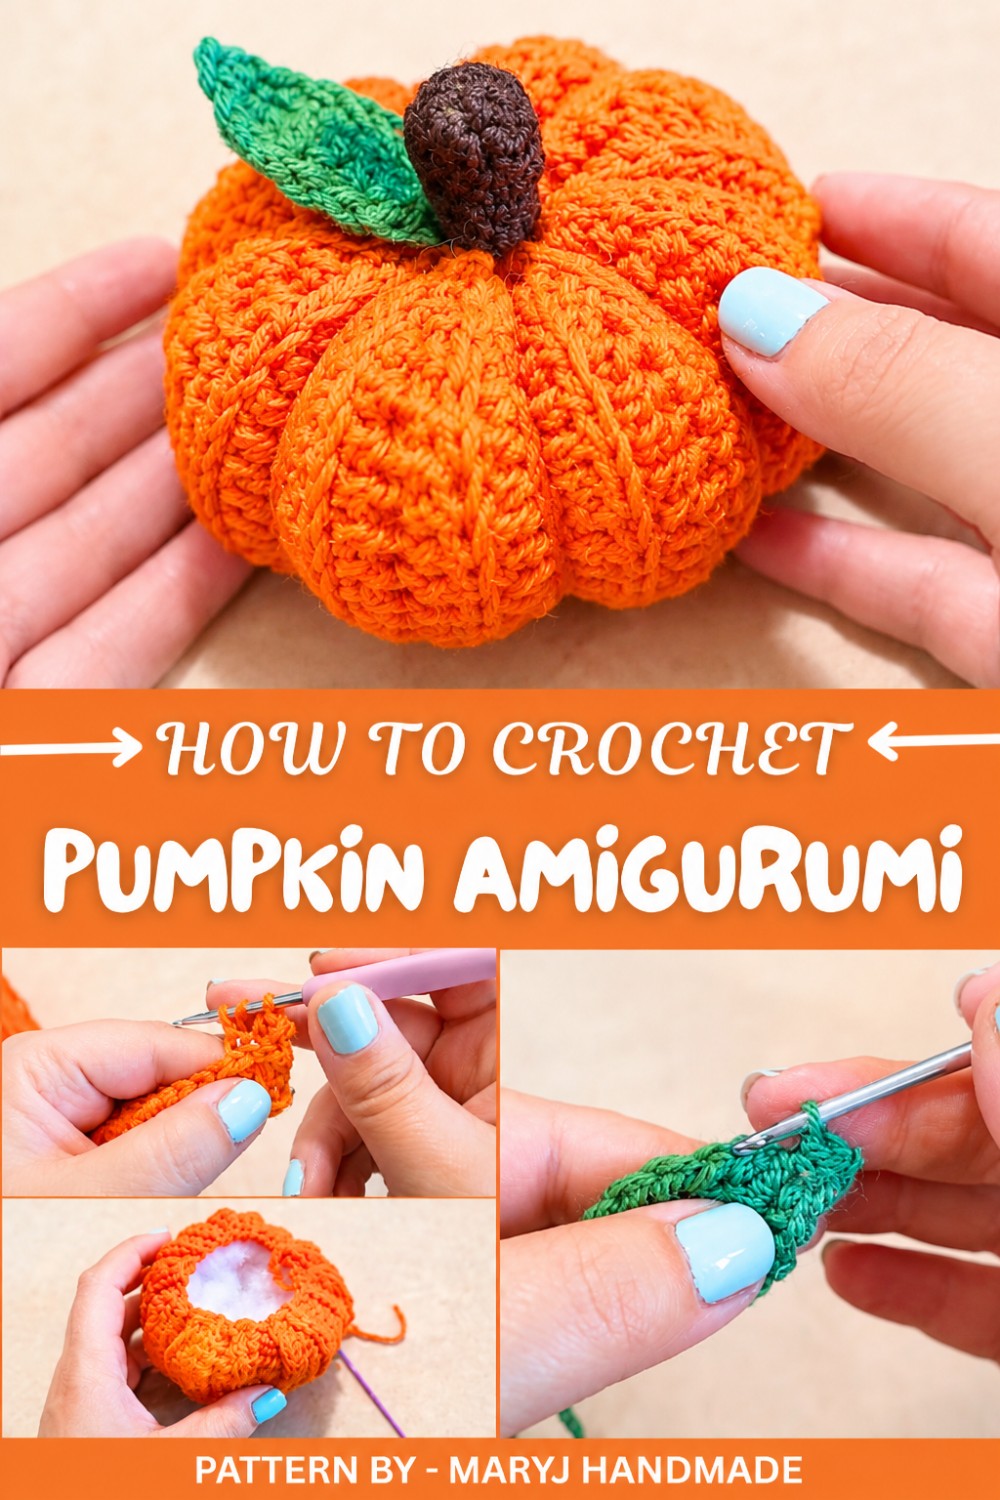
Techniques like single crochet, using a magic ring, and simple increases or decreases allow for smooth shaping, while worsted-weight yarn ensures both durability and softness. Don't forget to play with earthy tones or bright pops of orange and green for an extra festive touch.
Inspiration From MaryJ Handmade
This free crochet pumpkin amigurumi pattern will leave you excited to grab your yarn and crochet hook. With each stitch, you’ll see this little gem come to life, ready to spread warmth and autumn flair wherever it goes.
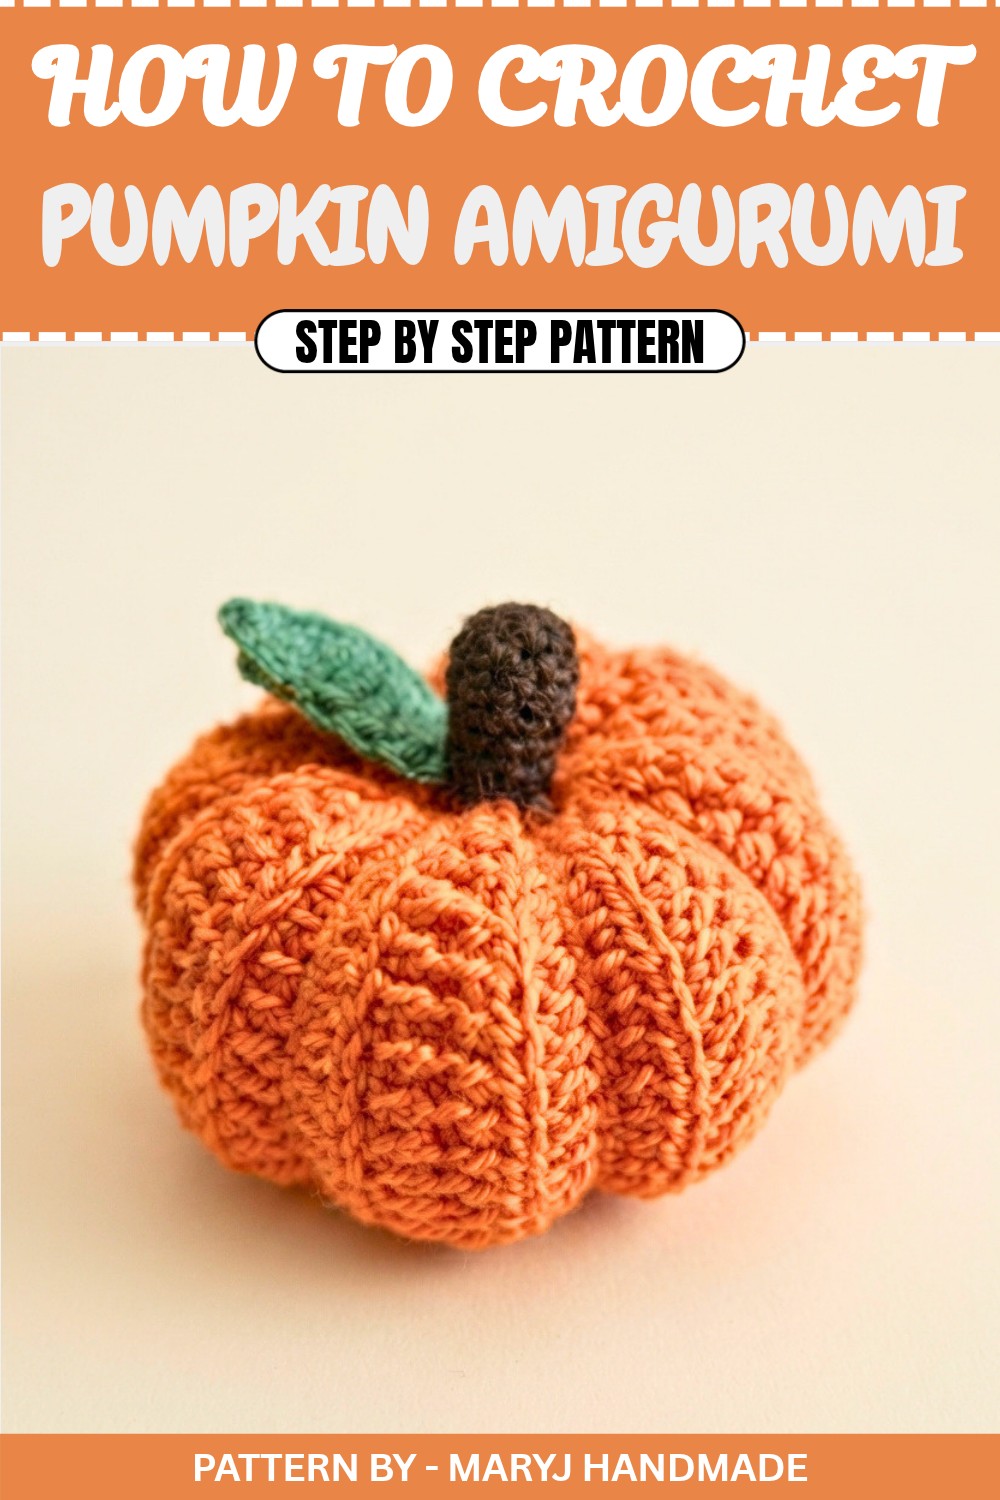
Crochet Decorative Pumpkin Pattern
Follow this step by step crochet pattern to make a beautiful decorative pumpkin, a perfect addition to your seasonal decor or a lovely handmade gift. Whether you're new to crocheting or experienced, this guide will walk you through creating both small and large pumpkins. Let's dive into the detailed pattern.
Quick Overview of the Pattern
- Crochet a textured pumpkin using half double crochet (HDC) stitches, working through the back loops to create ridges.
- Sew the edges together, gather the top and bottom, and stuff the pumpkin.
- Add leaves, a stem, and optional decorative elements for a polished finish.
Notes
- The size of your pumpkin will depend on the yarn thickness and crochet hook size you choose.
- Work all HDC stitches through the back loop only unless otherwise specified.
- This pattern includes steps for making a small pumpkin, stem, and leaf.
- Customize your pumpkin by adjusting the length of your foundation chain or using different colors.
Skill Level
Beginner friendly with basic crochet stitches and assembly techniques.
Materials
- Yarn: 3 different colors (e.g., orange for the pumpkin, brown for the stem, and green for the leaf).
- Crochet Hook: Size 3 mm (for small pumpkins) or 6 mm (for larger pumpkins).
- Synthetic Fiberfill: For stuffing the pumpkin.
- Scissors
- Yarn Needle: For sewing and weaving in ends.
- Stitch Marker (optional): To keep track of rounds.
Measurements / Sizing
- Small Pumpkin: Approximately 10 cm in diameter.
- Large Pumpkin: Approximately 20 cm in diameter (depending on chosen yarn and hook size).
Gauge
Gauge is not essential for this project, but aim to keep your stitches consistent.
Stitch Abbreviations
- CH: Chain
- HDC: Half double crochet
- SC: Single crochet
- SL ST: Slip stitch
- INC: Increase (2 stitches in the same stitch)
- BLO: Back loop only
Special Stitches
- Magic Ring (MR): Used to start crocheting in the round.
The Crochet Pattern
Pumpkin Body
- Start with the foundation chain: Make a slip knot and create CH 21.
- Turn and skip the first 2 chains (these count as your first HDC).
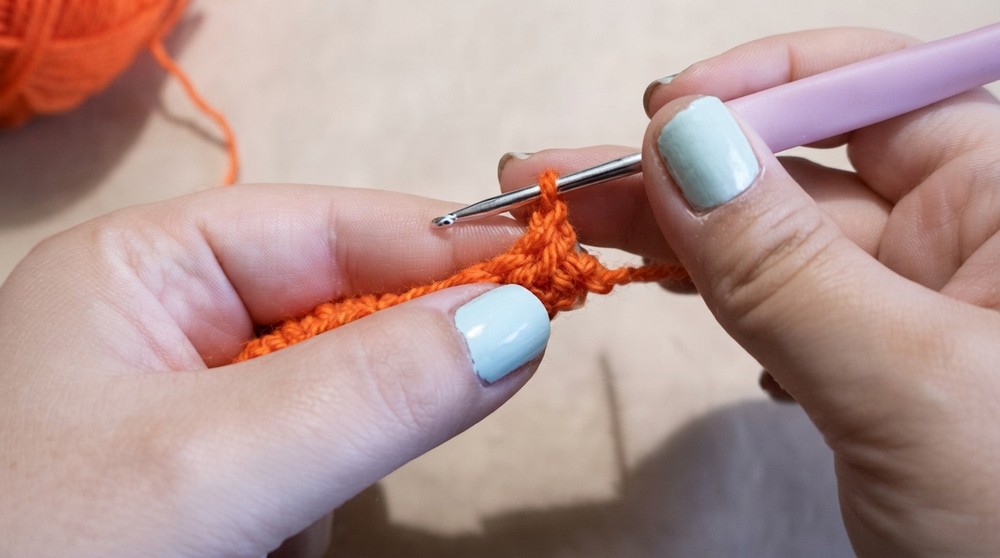
- Work HDC into each CH across. (You will have 20 HDC at the end of the first row.)
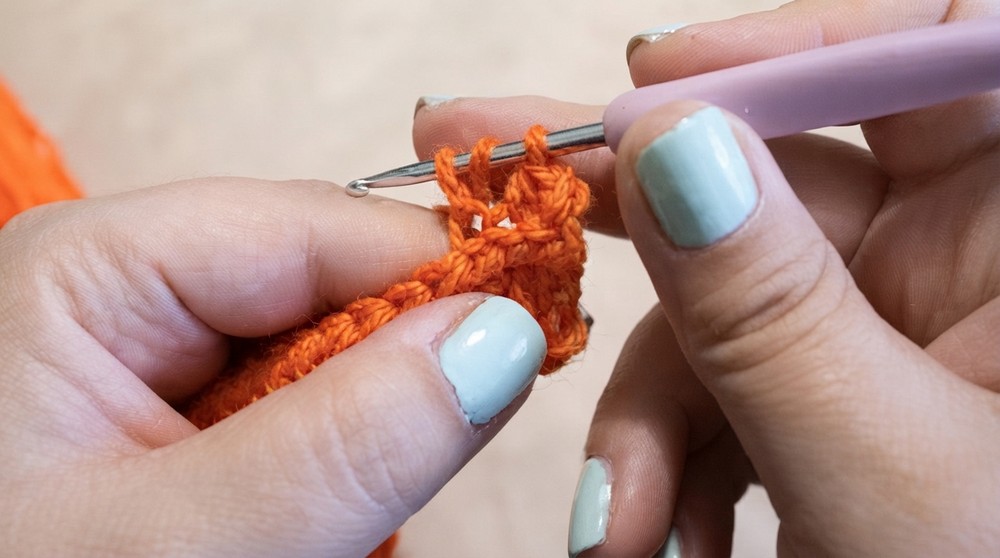
- Chain 1, turn your work, and crochet HDC through the back loop only (BLO) across the row.
- Repeat step 4 until you complete 28 rows, always working in BLO to create the ribbed pattern.
- Fold the ribbed rectangle in half with the rows running horizontally.
- Using slip stitches (SL ST), sew the two short edges together to form a tube.
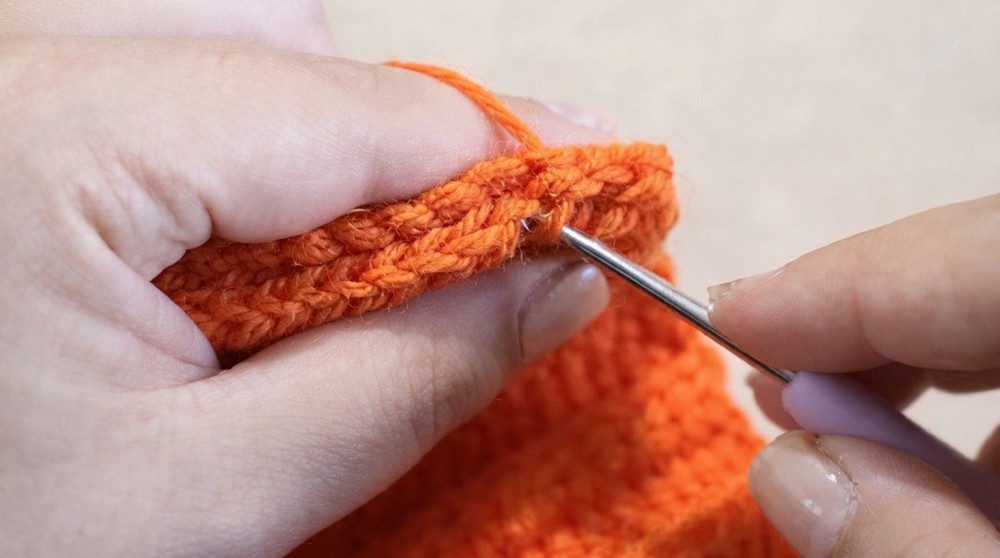
Closing the Pumpkin Ends
- Thread a long piece of yarn onto your needle and pass the needle through the stitches at one end of the tube, gathering them tightly to close the bottom.
- Tie off the yarn with a knot and weave in the ends.
- Turn the pumpkin inside out so the seam runs inside. Stuff the pumpkin with synthetic fiberfill until it is firm.
- Repeat step 1 to gather the top of the pumpkin, but do not close it completely. Pull gently to create a slightly defined top.
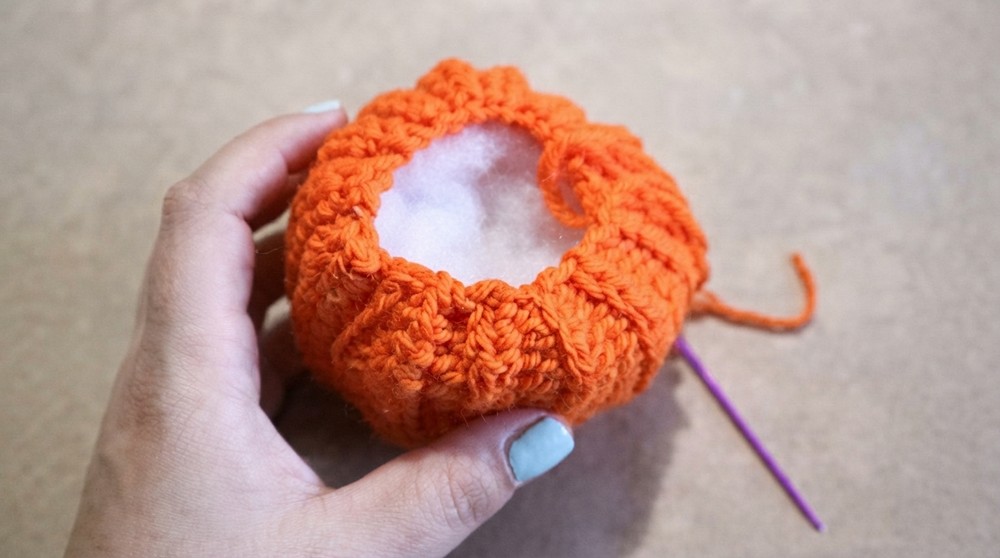
Dividing the Pumpkin Sections
- Cut a long strand of yarn in the color of your pumpkin and thread it onto your needle.
- Insert the needle through the top of the pumpkin and bring it out at the bottom.
- Pull the yarn tightly to create an indent, and pass the needle back to the top, creating one full section.
- Repeat this step 5 to 6 times (or more for smaller sized sections). Ensure even spacing for each section.
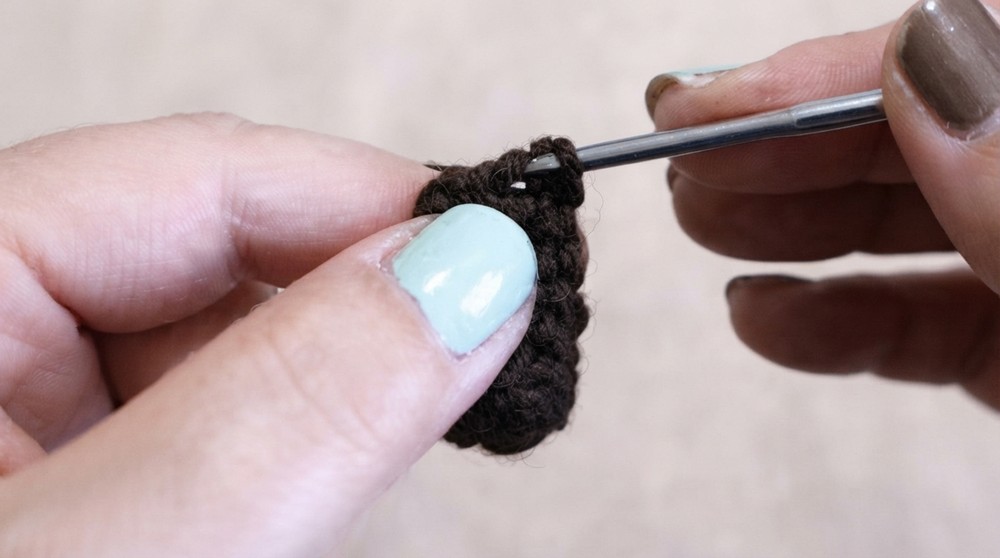
Crochet the Stem
- Start with a magic ring (MR) and 6 SC into the ring. Pull the loop tight.
- For round 2, work [1 SC, 1 INC] around (9 stitches).
- For round 3, work 1 SC into each stitch in BLO (9 stitches).
- For rounds 4 to 7, continue with 1 SC in each stitch.
- SL ST, cut the yarn, and leave a long tail for attaching the stem.
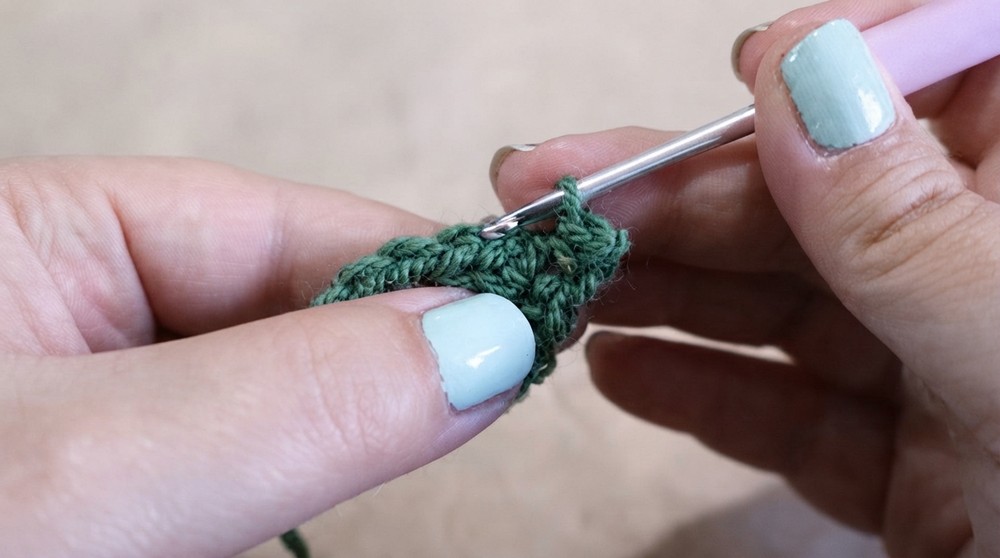
Crochet the Leaf
- Create a slip knot and CH 5.
- Skip the first chain, and work the following in the next stitches: SC, HDC, DC.
- In the last CH, work 3 DC all in the same stitch.
- CH 3, skip one CH, then SL ST back down the initial CH where you started the leaf base.
- Along the other side of the chain, repeat steps 2-4 for a symmetrical leaf.
- Cut the yarn and leave a tail for attaching the leaf to the pumpkin.
Assembly & Finished Size
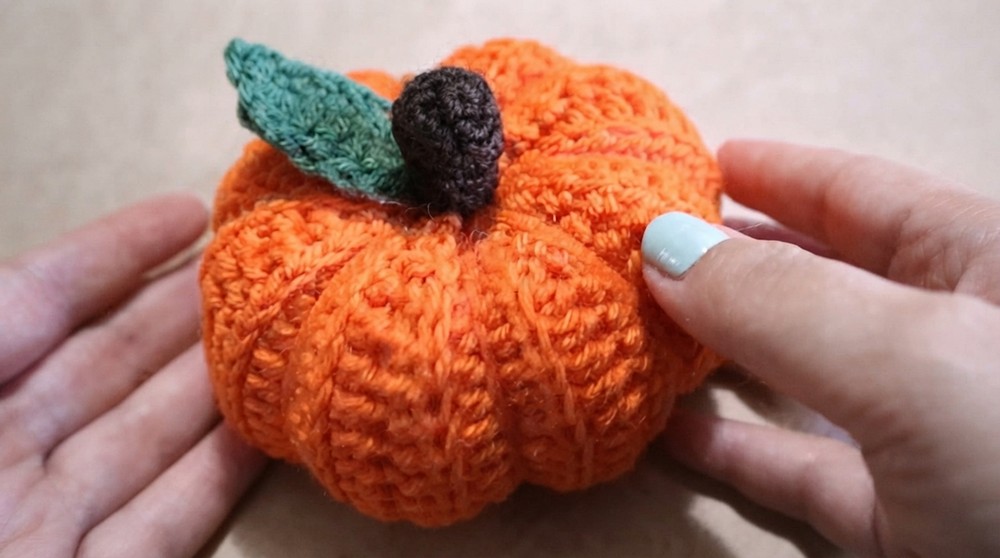
- Use the long tail from the stem to sew it securely to the top center of the pumpkin.
- Attach the crocheted leaf beside the stem using its tail.
- Optionally, embellish your pumpkin with ribbons, twine, or small pinecones for added charm.
- Depending on the hook size and yarn used, your finished pumpkin will measure approximately 10 to 20 cm wide.
Conclusion
Congratulations, Your crochet pumpkin is now complete. This cozy fall decoration is perfect for your home, a thoughtful gift, or even a creative way to welcome the changing seasons. You can easily customize in size or color to fit your preferences. If you enjoyed this pattern, share your beautiful pumpkins on social media or with friends and family.