
How to Crochet Realistic 3D Flower That Never Wilt Away
Make stunning 3D crochet flowers easily with this fun pattern, perfect for decorating your bags, hats, or to give as sweet handmade gifts.
Have you ever wanted to add a personal, handmade touch to your favorite bag, hat, or gift? Crocheting a beautiful 3D flower is not only fun but also a creative way to make something truly special. Make a realistic flower that looks full of life and can brighten up almost anything. This flower design is perfect for beginners and uses simple crochet stitches like single crochet (sc), double crochet (dc), and treble crochet (tr) to create soft, layered petals. With this pattern, you’ll be amazed at how easy it is to turn yarn into art.
Pattern By MaryJ Handmade
The layered petals give it a realistic look, making it ideal for adding a pop of elegance to any project. You can use it to decorate bags, as hair accessories, or even sew it onto a pillow for a touch of handmade charm. The stitches you’ll work with are common and versatile, meaning you can apply them to create other designs like leaves, stars, or even mini flowers.
Unique Handmade Crochet Flower to Add Beauty Anywhere
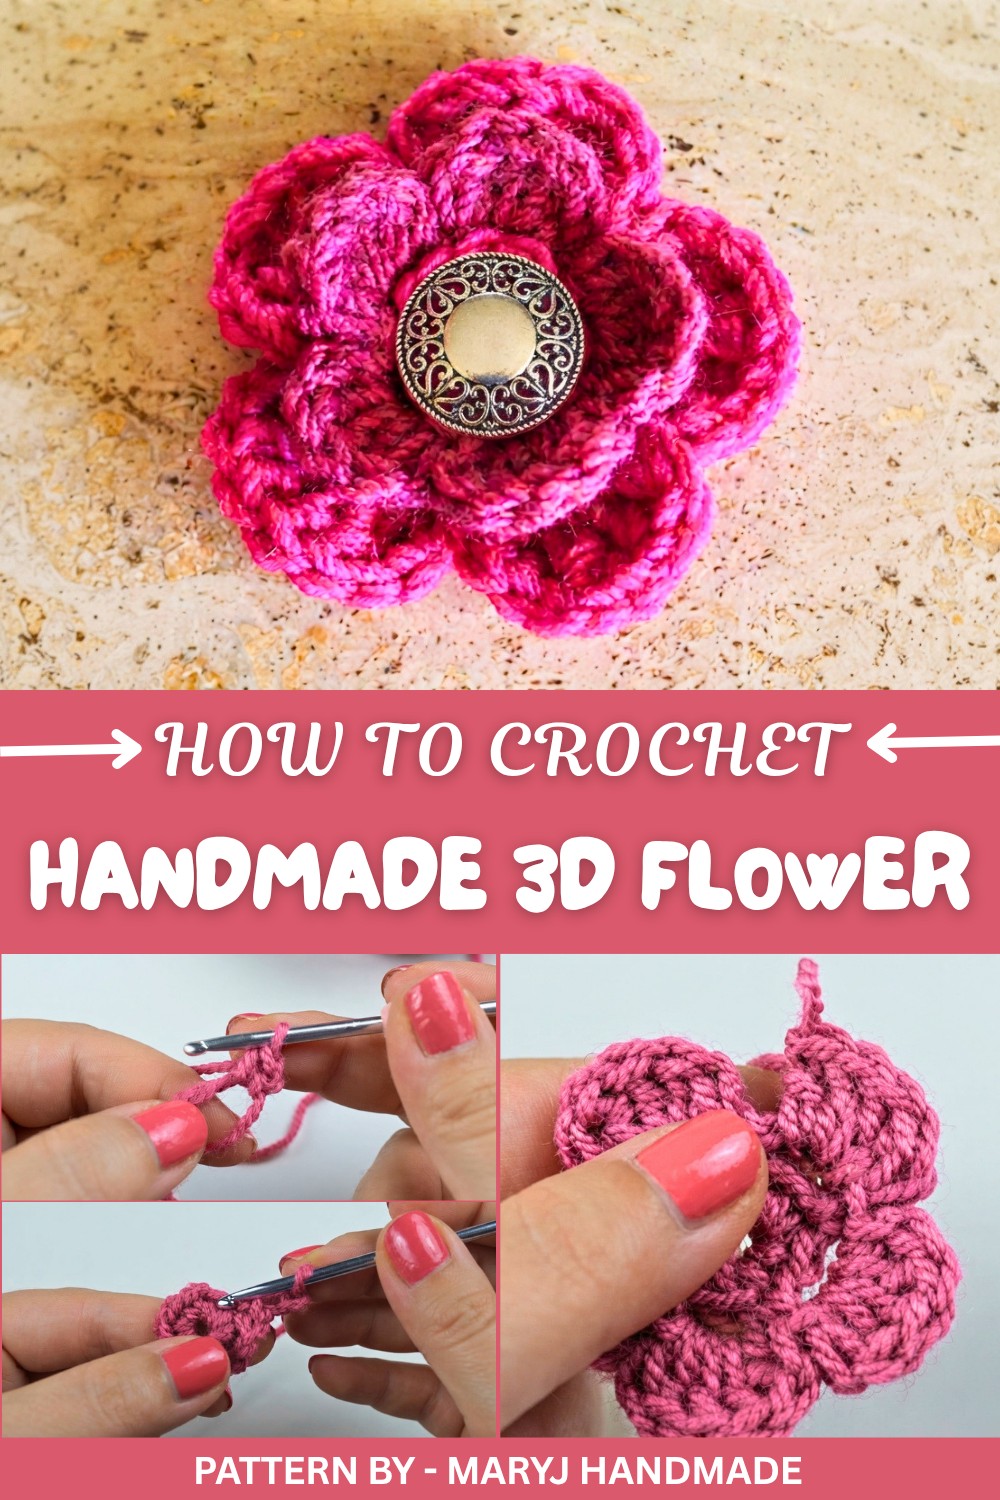
From this pattern, you’ll learn step by step how to create a flower with two levels of petals using chain spaces. You’ll also pick up techniques for creating a magic loop (a cool way to start your crochet projects) and working treble crochet stitches for larger petals.
Once you have mastered this pattern, the possibilities are endless. You can make bouquets, wall hangings, or even simple garlands using the same design. With a little creativity, this flower can become the base for a variety of fun crochet projects.
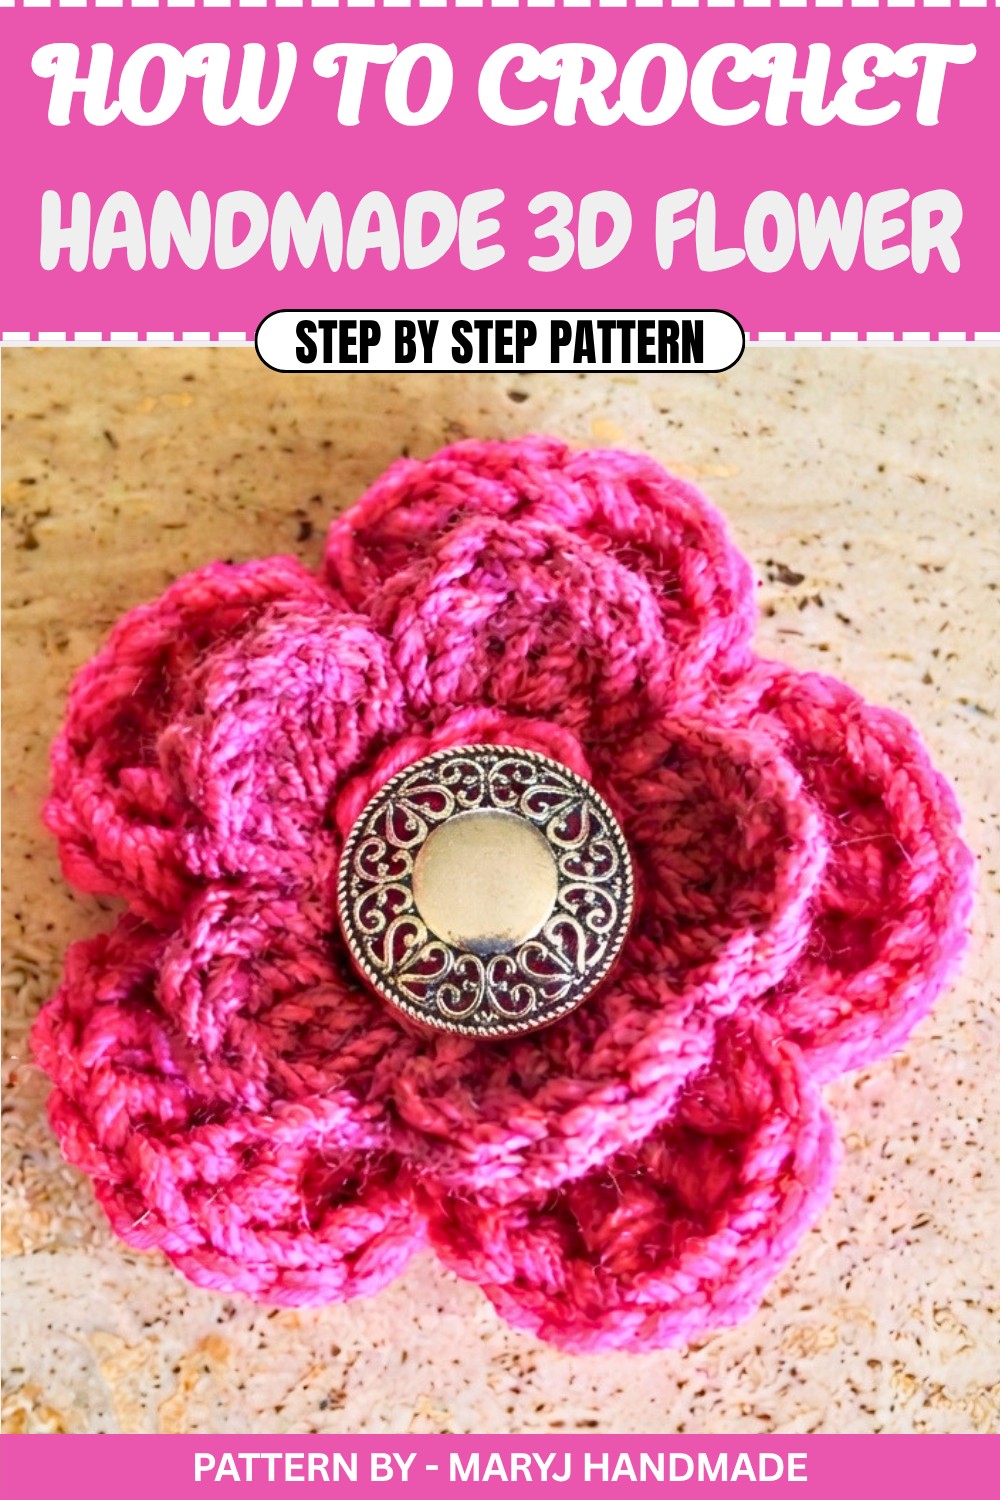
Cute Handmade Crochet 3D Flower Pattern
Quick Overview of the Pattern
- Rounds: 5 rounds to complete the flower.
- Petals: Two levels of petals will be created.
- Technique: Magic loop, single crochet, double crochet, treble crochet, chain spaces, slip stitches.
- Uses: Perfect for decorating purses, hats, or gifting as thoughtful embellishments.
Notes
- Work through the video as you crochet—it's easier shown than explained.
- Change the yarn color if you wish to make the center of the flower different from the petals to add contrast.
Skill Level
🌼 Easy – Beginners who know basic crochet techniques like single crochet (SC), double crochet (DC), and treble crochet (TR) can easily follow these steps.
Materials
- Yarn: Light acrylic yarn in your color choice.
- Hook: 3.5 mm crochet hook.
- Other Tools: Needle, scissors, optional decorative button.
Measurements / Sizing
The flower measures approximately 2.5 to 3 inches in diameter, depending on your tension and yarn type.
Gauge
Gauge is not critical for this pattern. Adjust hook size and yarn type to achieve your desired flower size.
Stitch Abbreviations
- CH – Chain
- SC – Single crochet
- DC – Double crochet
- TR – Treble crochet
- SS – Slip stitch
- Inc – Increase
Special Stitches
Magic Loop: Create a loop of yarn, insert your hook into the loop, and crochet into it as your starting foundation. Pull the tail to close the loop.
Crochet Pattern Step by Step
Round 1: Magic Loop Foundation
- Create a magic loop or chain 4 and join into a loop.
- Work 10 single crochets into the loop.
- Insert your hook into the loop, pull through yarn, and complete the first SC (yarn over, pull through 2 loops).
- Continue until you have 10 stitches.
- Pull the tail tight to close the loop.
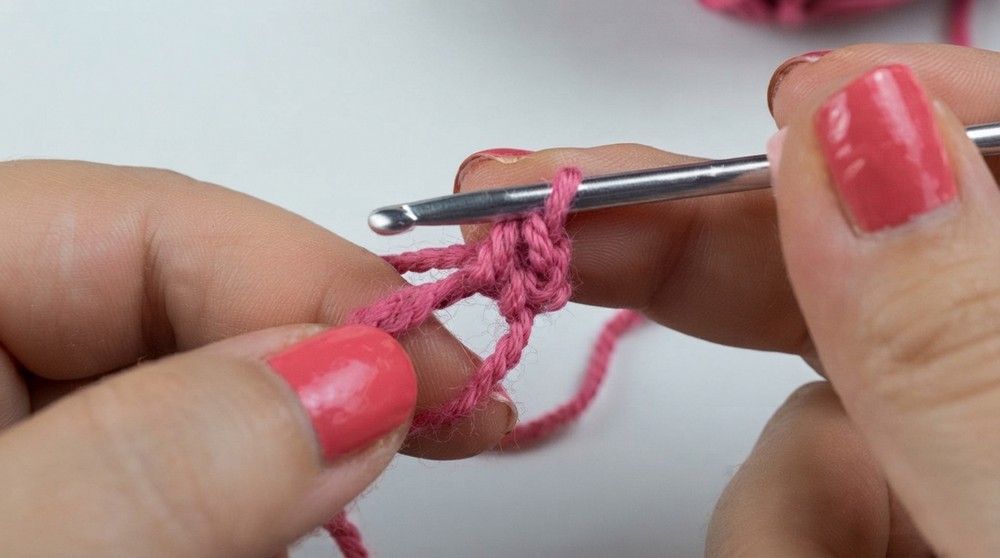
Round 2: Chain Spaces
- Start Round 2 with a single crochet near the first stitch from Round 1.
- Chain 2, then skip one stitch and single crochet into the next stitch.
- Repeat the sequence (chain 2, skip one stitch, and SC) until you complete 5 chain spaces around the round.
- Finish the round with a slip stitch into the first SC of this round.
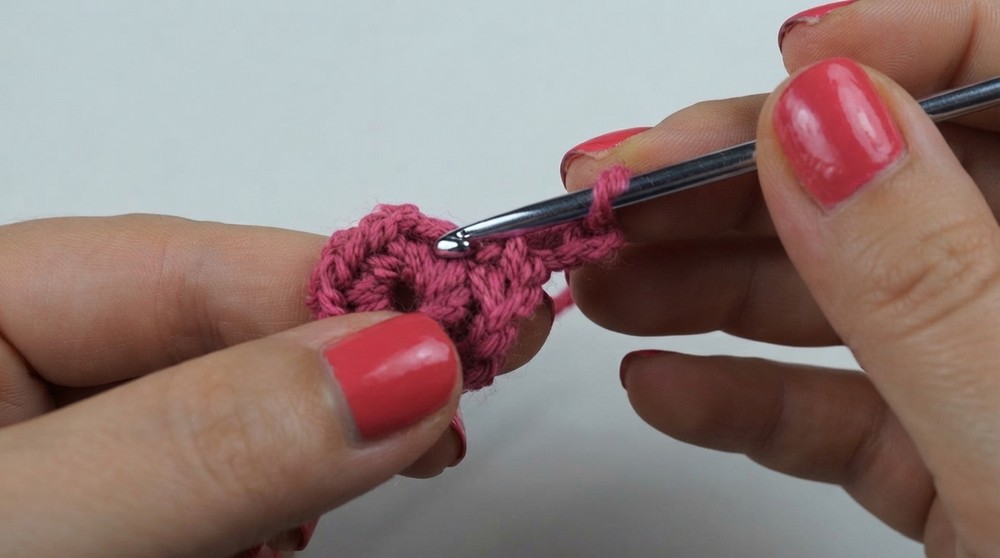
Round 3: First Level of Petals
- Work into each of the 5 chain spaces you created earlier. In each chain space:
- Slip stitch in the chain space.
- Work 5 double crochets.
- Yarn over, insert hook into space, pull up yarn → yarn over, pull through 2 loops → yarn over, pull through next 2 loops; repeat for all 5 DCs.
- Slip stitch in the same chain space.
- Repeat this sequence (1 slip stitch, 5 double crochets, 1 slip stitch) for all 5 chain spaces.
- Finish the round by weaving your yarn into the first chain and tying off.
Round 4: Back of the Flower – Creating Chain Spaces for the Second Level of Petals
- Turn the flower to work on the back, where the existing chain spaces are visible.
- Chain 1 and go around the single crochets from Round 2, working only on the back side:
- Slip stitch around the single crochet that formed the base of the chain space in Round 2.
- Chain 3, then continue with another slip stitch, securing around another single crochet from Round 2.
- Repeat this sequence (chain 3, slip stitch) until you have 5 chain spaces on the back of the flower.
- Finish Round 4 by completing a slip stitch into the first SC from the start of this round.
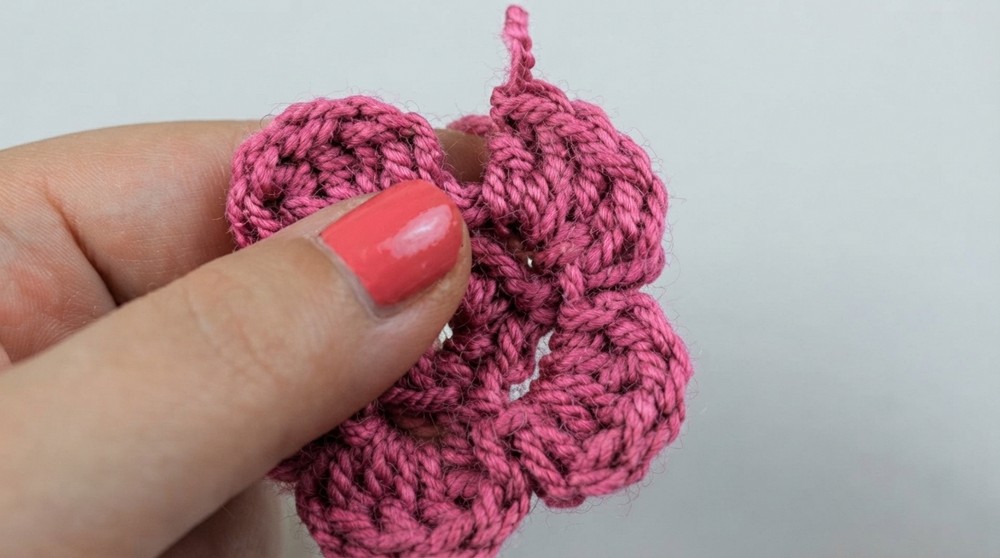
Round 5: Second Level of Petals
- Change yarn color for added contrast (optional).
- Work into each chain space created in Round 4 to form petals:
- Start with 1 single crochet in the chain space.
- Work 8 treble crochets into the same space.
- Yarn over twice, insert your hook into the space, pull through yarn → yarn over, pull through 2 loops → yarn over again, pull through 2 loops → yarn over once more, pull through last 2 loops (repeat for all 8 TRs).
- Finish with another single crochet in the same chain space.
- Repeat this sequence (SC, 8 TR, SC) for all 5 chain spaces.
- Complete Round 5 by making a slip stitch into the first SC of this round.
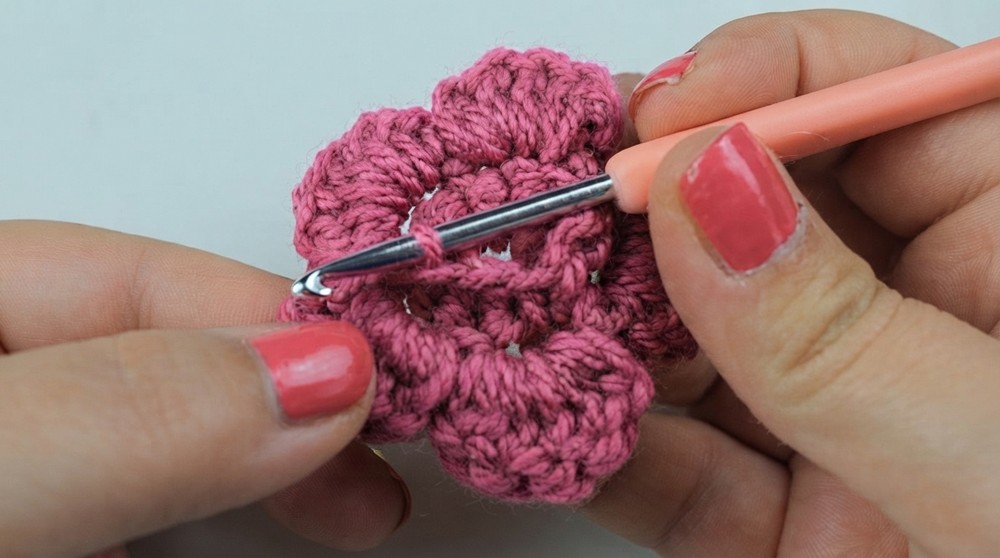
Assembly & Final Finishing
- If you want to add a decorative touch, make a small center for the flower:
- Make a magic loop or chain 4 into a loop.
- Work 5 single crochets into the loop.
- Pull the tail tight to close the loop.
- Work 1 increase in each stitch by crocheting 2 single crochets into each stitch.
- Finish with a slip stitch into the first SC; cut the yarn and tie off the round.
- Attach the center circle in the middle of the flower using stitches or glue.
Finished Size
Your finished flower will measure approximately 2.5 to 3 inches in diameter.
Conclusion
And voilà, your beautiful 3D crochet flower is complete! This cute little design is perfect for bags, accessories, or even gift embellishments. I hope you enjoyed this detailed step by step tutorial and found it easy to follow. Let me know in the comments how you plan to use these flowers.