
Crochet the Perfect Beach Bag Free Pattern for Summer Adventures
Carry all your sunny day essentials in style with this easy crochet beach bag pattern designed to help you stitch a lightweight tote for your next trip.
Making your own crochet beach bag is a fun and satisfying project that serves both form and function. This bag is perfect for sunny beach outings, trips to the market, or even as a stylish everyday accessory. With its lightweight, breathable design and ample storage, it’s not only practical but also incredibly chic. The process of creating it, starting with a sturdy circular base and working up to its elegant mesh sides, is simple enough for everyone.
Summer Ready Free Crochet Beach Bag Pattern You’ll Adore
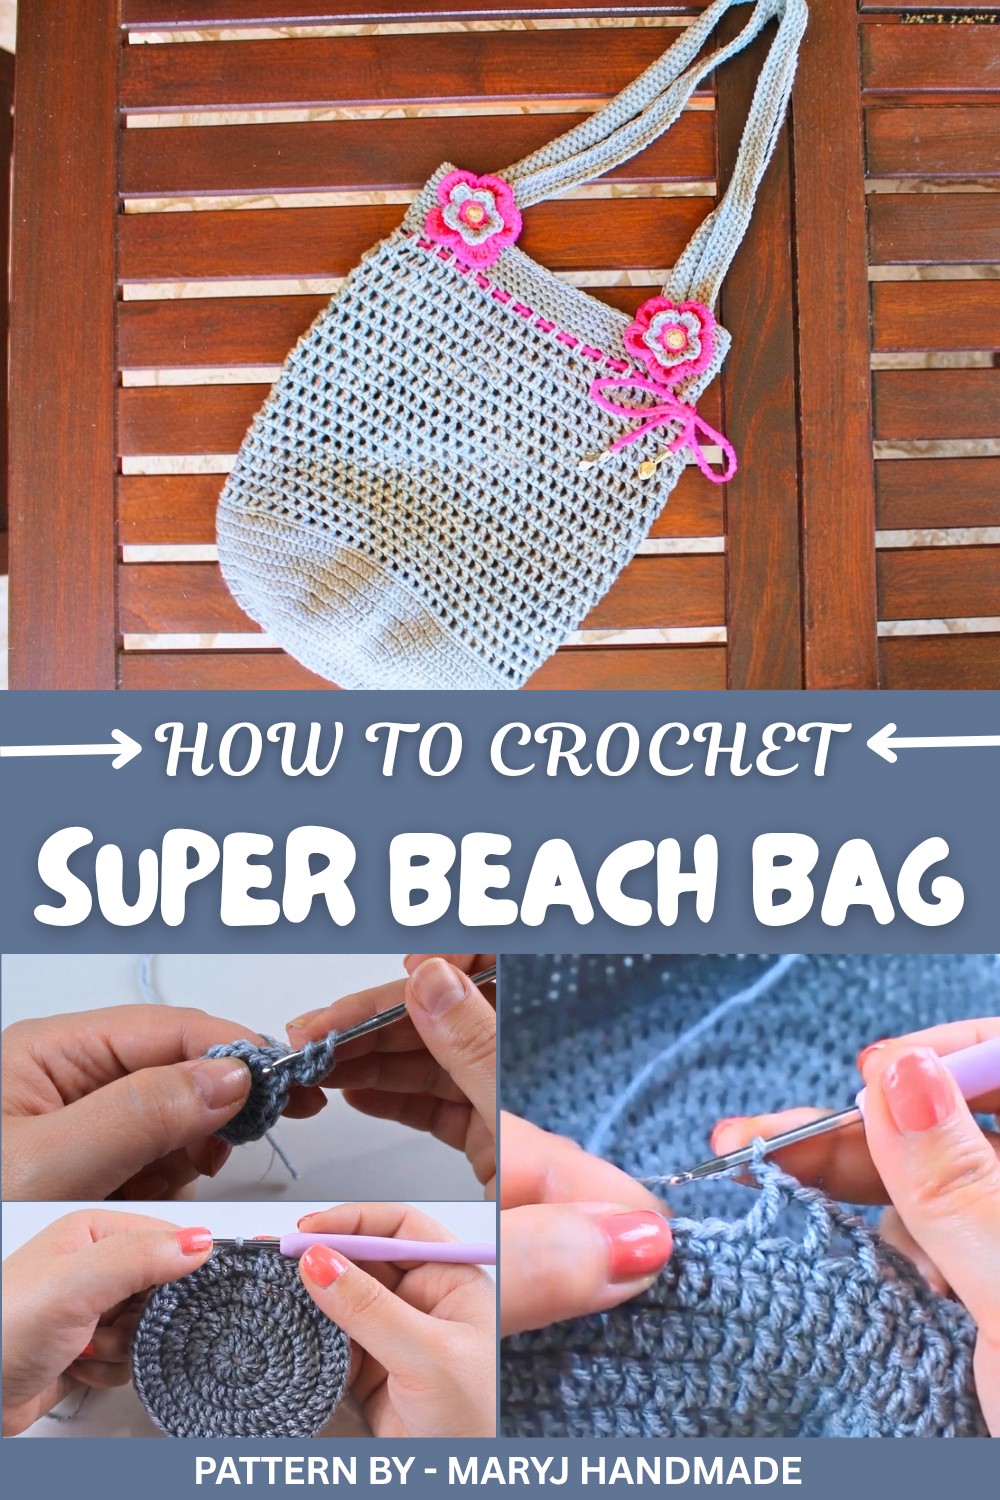
In her detailed tutorial, MaryJ Handmade provides step by step guidance for crocheting this beautiful bag. The video includes clear instructions, helpful tips, and a friendly teaching style that ensures your crochet experience is smooth and enjoyable. The design features a sturdy base, a decorative mesh pattern for the sides, and strong handles that are both comfortable and functional.
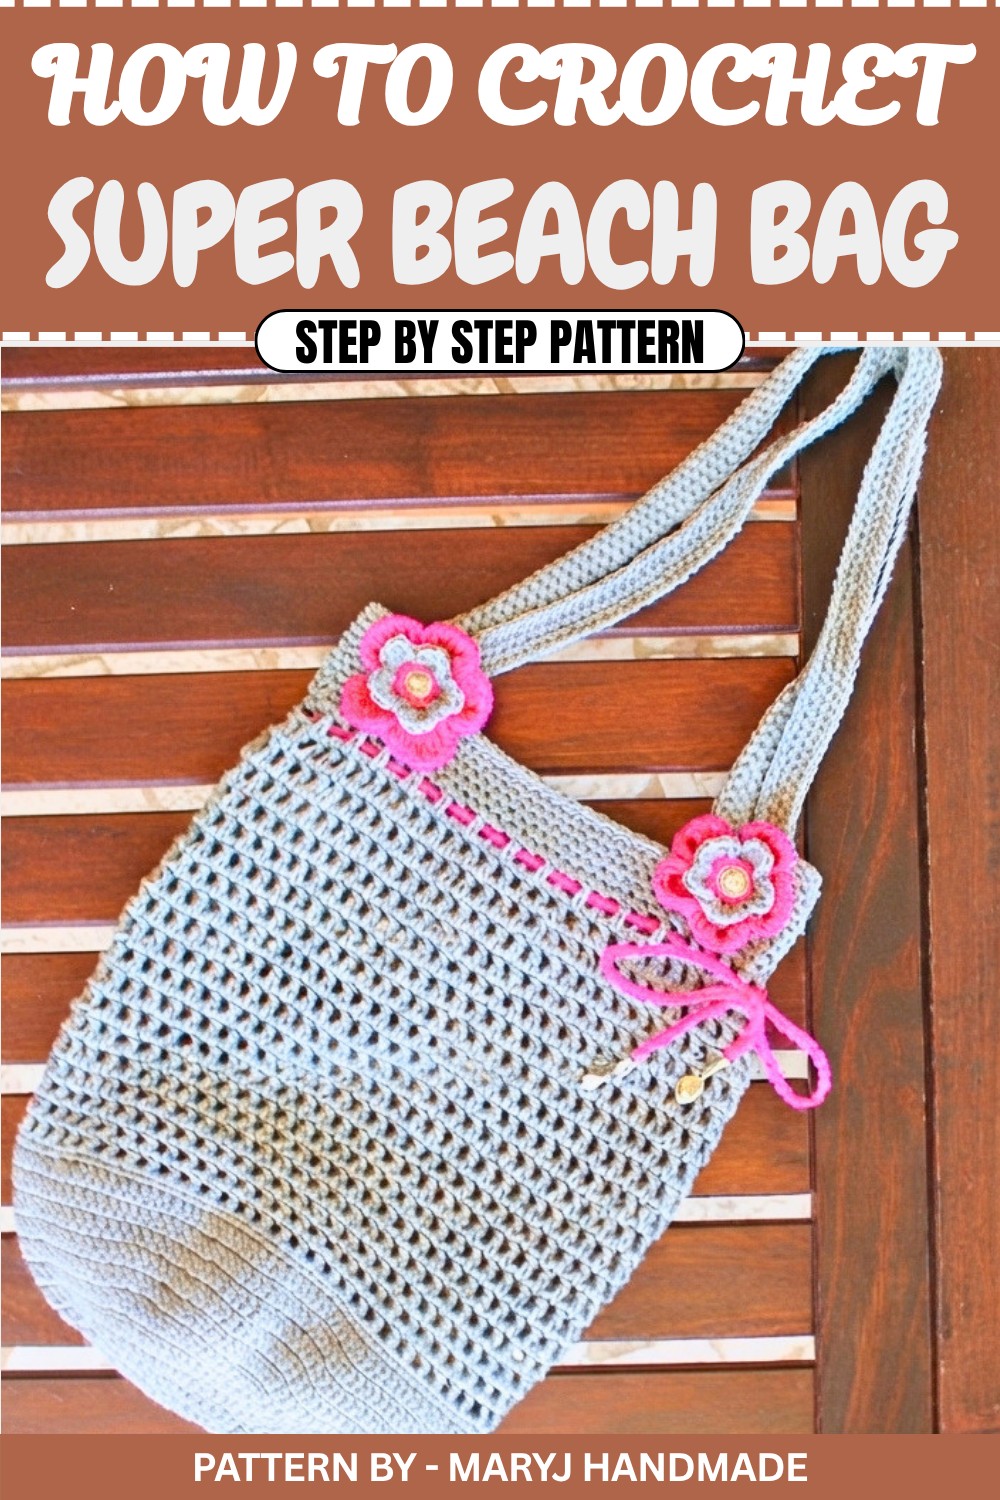
The airy mesh pattern gives it a modern and stylish look while keeping it lightweight and easy to carry. You can customize its size to suit your preferences, and, for an extra creative touch, add embellishments like crocheted flowers or strings. This beach bag isn’t just a functional item; it’s a statement piece that reflects your creativity and personal style. Whether you’re a crochet enthusiast or just starting out, this pattern is an enjoyable and rewarding project that you’ll love to show off.
Crochet Pattern: Market or Beach Bag
Quick Overview of the Pattern
- Type: Easy and functional bag with a mesh stitch pattern.
- Structure: Circular crocheted base leading to mesh sides and sturdy handles.
- Rounds: 21+ rounds (base + sides + handles).
- Uses: Ideal as a shopping bag, beach bag, or stylish accessory.
Notes
- Adjust the size by adding or subtracting rounds in the base or sides.
- Place a stitch marker at the beginning of the rounds to help track progress.
- If you need a longer bag, add a few more mesh rounds.
Skill Level
🧶 Beginner Friendly – Basic crochet techniques like chaining, slip stitches, single crochet, double crochet, and increases are used.
Materials
- Yarn: Approximately 150 grams of acrylic yarn.
- Hook: 3.0 mm crochet hook.
- Other Supplies: Scissors, needle, markers (optional but helpful).
Measurements / Sizing
Finished bag size (approx.):
- Diameter of the base: 12–15 inches
- Height of the bag: 16 inches
- Handle length: 100 chains
Gauge
Gauge is not critical for this project since it is flexible in size.
Stitch Abbreviations
- CH – Chain
- SC – Single crochet
- DC – Double crochet
- SS – Slip stitch
- Inc – Increase
Special Stitches
Magic Loop: Make a circular foundation by creating an adjustable loop and working the first stitches in the loop. Pull the tail to close it.
Crochet Pattern: Step by Step
Chapter 2: Crocheting the Base
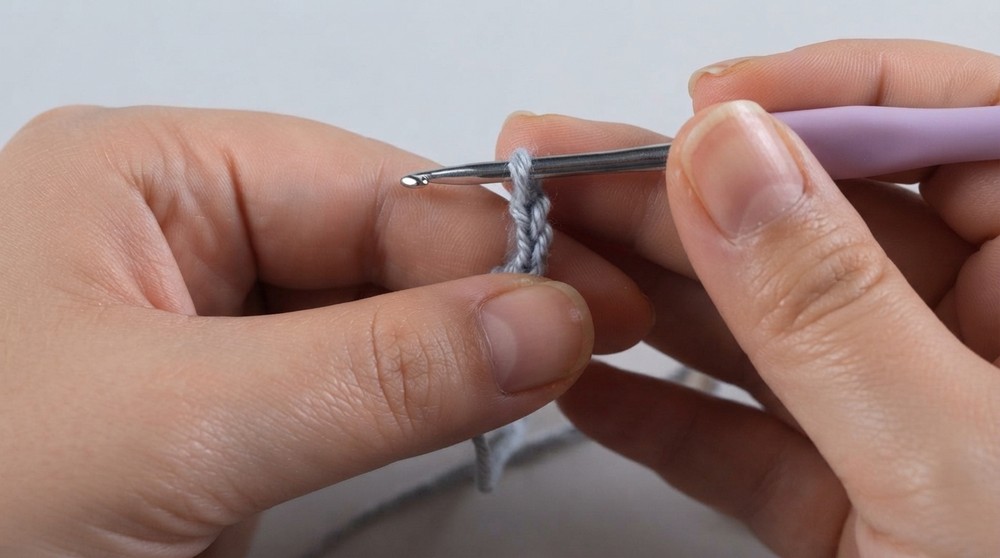
Round 1:
- Start with a magic loop, or chain 4 and close it into a ring with a slip stitch.
- Work 12 double crochets into the loop. Replace the first DC with 2 chains.
- Yarn over, insert hook into the ring, pull up yarn → yarn over, pull through 2 loops → yarn over, pull through next 2 loops.
- Pull the tail of the magic loop to close the ring and finish the round with a slip stitch into the second chain of the starting DC substitute.
Round 2:
- Work 12 increases: Crochet 2 double crochets in each stitch from Round 1 (total: 24 stitches).
- Replace your first DC with 2 chains, then crochet another DC into the same stitch.
- Repeat for each stitch in the round. Close with a slip stitch.
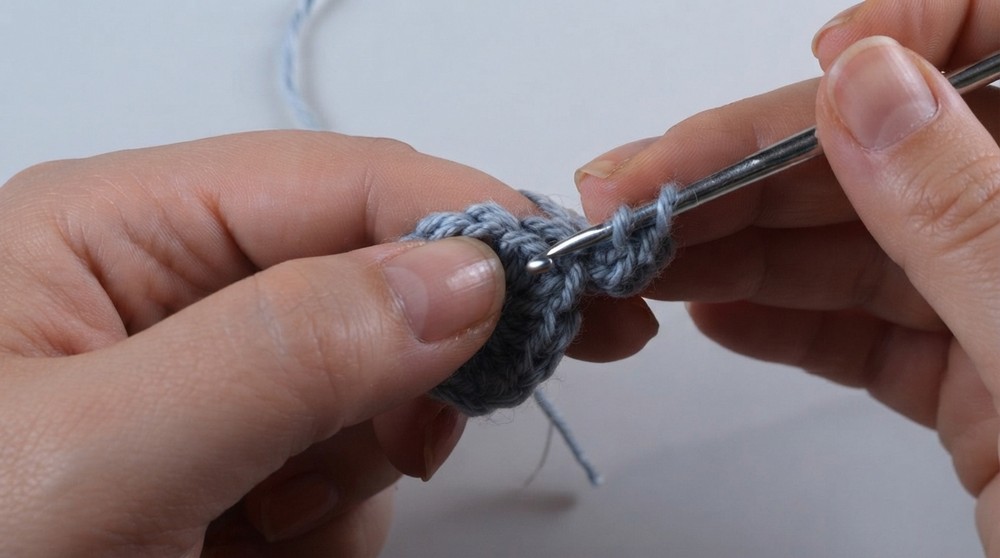
Round 3:
- Alternate 1 double crochet and 1 increase around (total: 36 stitches).
- Start with 2 chains to replace the first DC, then crochet 2 DC in the following stitch.
- Repeat the sequence: 1 DC, 1 increase until the end. Close with a slip stitch.
Round 4:
- Work 2 double crochets and 1 increase in the next stitch (total: 48 stitches).
- Start with 2 chains, then DC in the next stitch, and work 2 DC in the following stitch. Repeat: DC in 2 stitches, increase.
Round 5:
- Work 3 double crochets and 1 increase around (total: 60 stitches).
- Substitute the first DC with 2 chains, then crochet 3 DC, followed by an increase (2 DC in the same stitch).
Round 6 – Round 10:
- Continue adding an additional DC between increases in every round (e.g., Round 6: 4 DC, 1 increase; Round 7: 5 DC, 1 increase, and so on).
- By the end of Round 10, you will have 120 stitches in total.
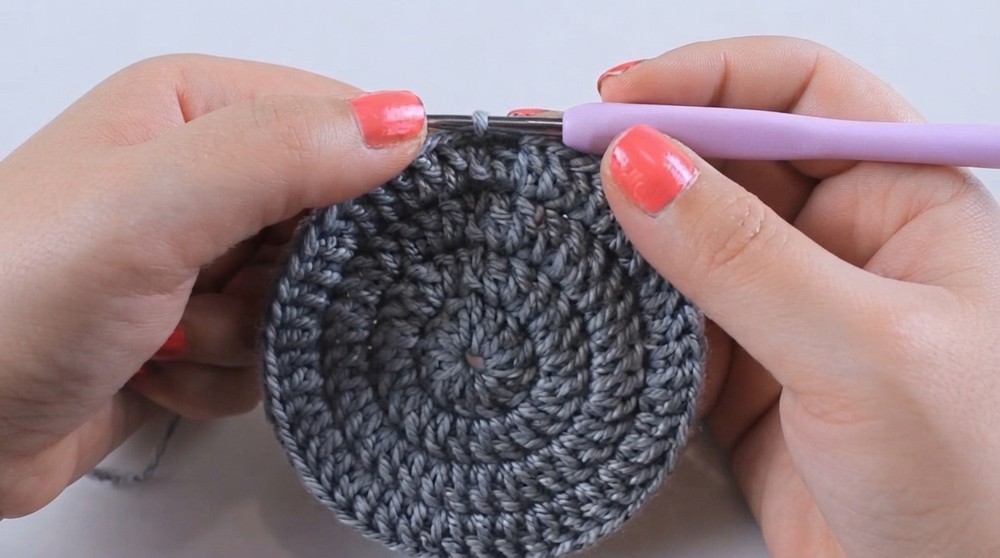
Chapter 3: Crocheting the Sides
Round 11 – Round 13:
- Crochet 1 double crochet in each stitch (no increases). Work 120 DC per round.
- Use stitch markers to track the beginning of each round or finish rounds with a slip stitch for consistency.
Round 14:
- Work 1 single crochet in each stitch.
- Replace the first SC with a chain, and then crochet around. (Total: 120 single crochets.)
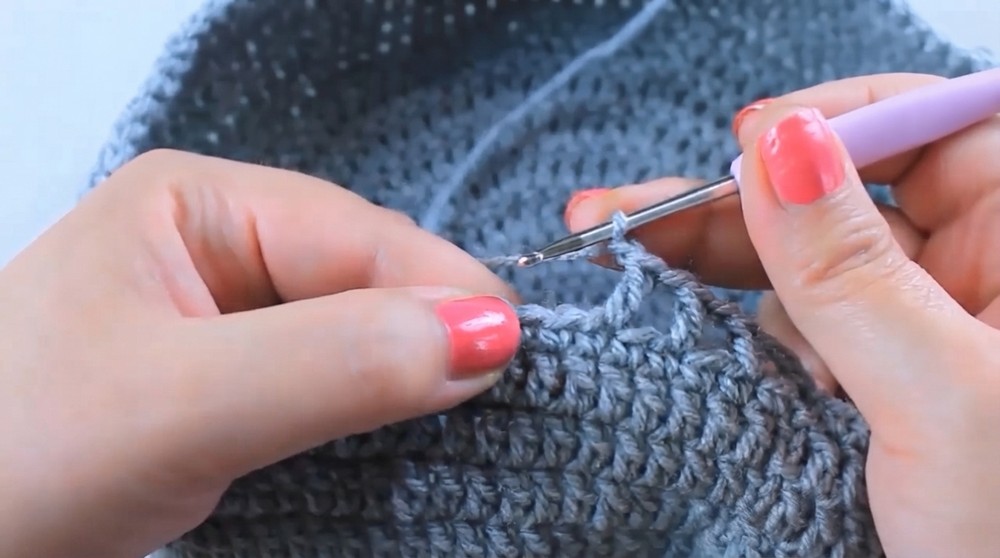
Round 15: Mesh Pattern Begins
- Replace the first DC with 2 chains, then chain 1 more.
- Skip 1 stitch, and work 1 DC into the next stitch.
- Repeat the sequence: CH 1, skip 1 stitch, 1 DC until the end of the round.
Round 16 – Round 35:
- Continue the mesh pattern for 20 rounds: Slip stitch to the next chain space, start with CH 2, then CH 1 and DC into each chain space around.
- If you want a longer bag, add more mesh rounds.
Round 36:
- Transition back to single crochets: Work 2 single crochets into the first space, and 1 SC in the next space.
- Repeat: 2 SC, 1 SC until the end of the round.
Round 37 – Round 41:
- Work 1 single crochet in each stitch for 5 rounds.
Chapter 4: Adding the Handles
Round 1 of Handle Base:
- Crochet 100 chains to create the first handle.
- Ensure the chain is not twisted, then skip 25 stitches and attach the chain using single crochet in the next stitch.
- Single crochet 19 stitches, then create the second handle with another 100 chains.
- Skip 25 stitches and attach the chain with a single crochet.
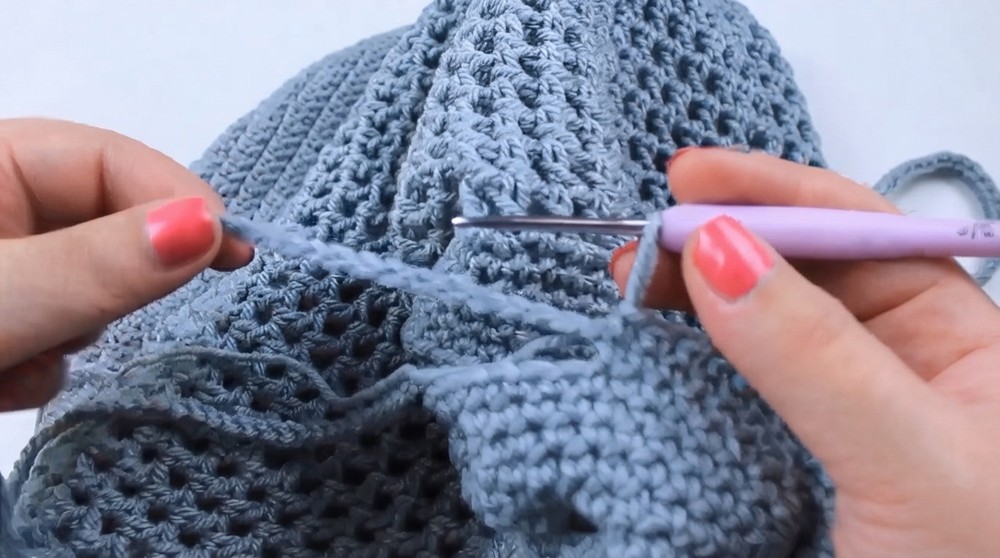
Round 2 of Handles:
- Work 1 single crochet into each chain of both handles, continuing around with SC in the stitches between the handles.
Round 3 – Round 6 of Handles:
- Repeat single crochets for three more rounds. Skip 1 stitch before and after each handle to maintain shape.
- Place a marker at the start of each round or work seamlessly in a spiral.
Chapter 5: Finishing Touches
- Slip stitch at the end of the final round. Cut your yarn and fasten off securely.
- Decorate the bag with optional embellishments, such as crocheted flowers or tassels, and add finishing details like a string for extra flair.
Assembly & Finished Size
Your finished bag will have a diameter of around 12–15 inches at the base and stand 16 inches tall (excluding the handle height). The handles are sturdy and wide enough for daily use.
Conclusion
And voila, Your crochet market or beach bag is complete. This versatile bag is durable, lightweight, and perfect for carrying groceries, beach essentials, or even your yarn projects. I hope you enjoyed this tutorial and found it helpful.