
Crochet Dog Bone Keychains Pattern to Style Your Keys
Create neat crochet dog bone keychains using this simple pattern that lets you learn basic stitches while making useful and cute items you can carry with you.
Crocheted keychains are a simple yet adorable way to add a touch of personality to everyday items like your keys, bags, or jackets. MaryJ Handmade, a talented crochet artist, shares a creative and original design for dog bone shaped keychains on her YouTube channel.
These charming dog bone designs are versatile and can serve multiple purposes. Originally designed as appliqués, they can easily be adapted into trendy pins, decorations for blankets, or stylish keychains. Their playful bone shape highlights the design’s beauty and makes it ideal as a vibrant accessory for pet lovers or even a gift for a dog owner. Crocheted using basic stitches such as single crochet, half double crochet, and double crochet, the project is beginner friendly, yet the variety of stitches adds an elegant and textured touch to the shape.
Crochet Dog Bone Keychains Pattern for Cute Pet Accessories
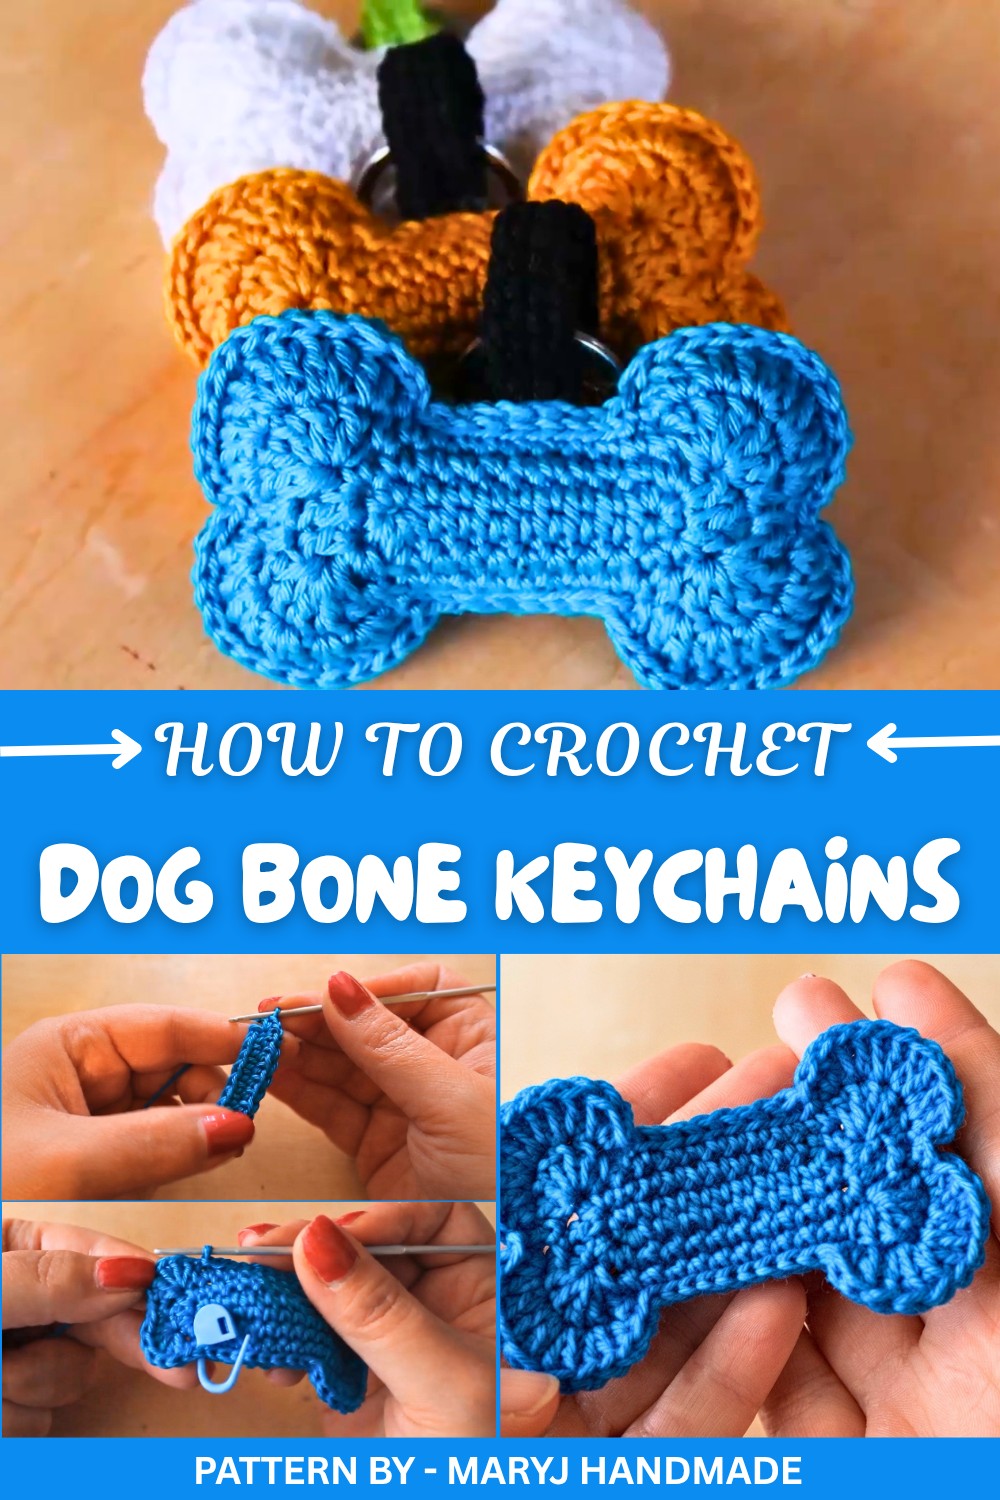
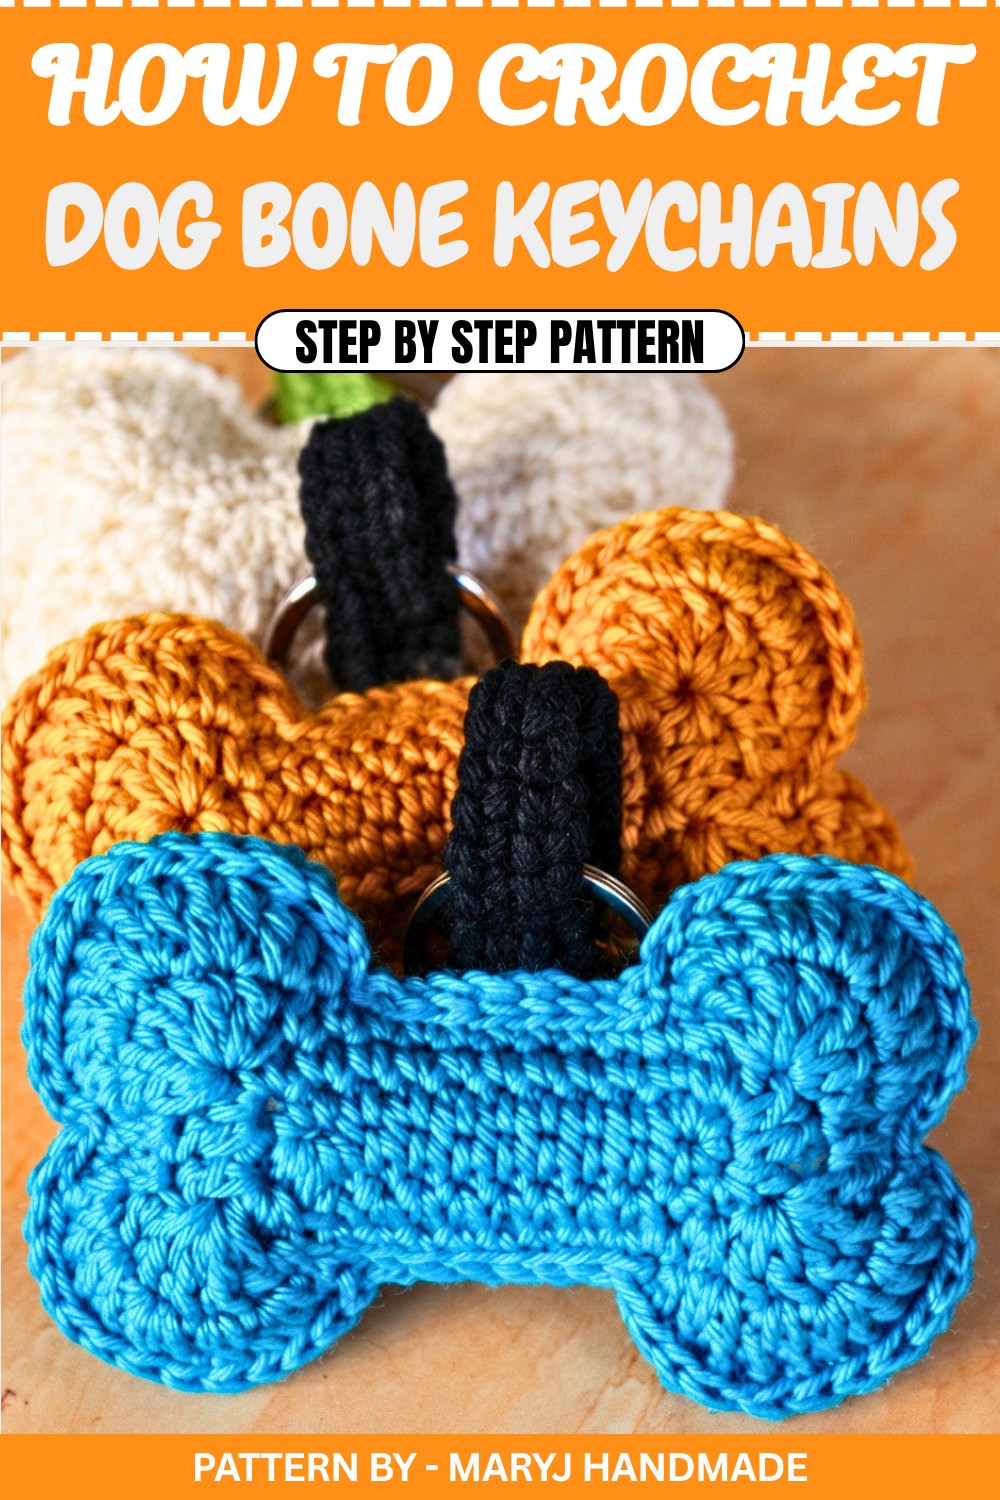
One of the most attractive features of this pattern is the meticulous attention to symmetry. The delicate combination of stitches helps crochet rounded edges, giving the bone a smooth and adorable finish. The pattern also includes a step to create a small crochet loop in contrasting colors, making the keychain more eye catching than using typical metal connectors. Pairing two identical pieces and sewing them together adds a soft 3D effect that can be further enhanced with padding.
Whether you’re keeping busy with a fun project or making the perfect handmade gift, these keychain bones are a great way to explore creativity. Check out MaryJ Handmade’s channel for her step by step videos and discover more delightful crochet ideas.
Crochet Bone Shaped Keychain Pattern
In today’s tutorial, we will create adorable bone shaped appliqués and transform them into charming keychains. Originally designed to serve as appliqués, these cute bones are versatile and can easily be customized for different projects, such as decorations for blankets, jackets, or keychains.
Quick Overview of the Pattern
- Project: Crochet bone shaped appliqué/keychain.
- Design Features: A simple and fun project that features two identical shapes sewn together to create dimensionality.
- Uses: Perfect for crafting keychains, appliqués for accessories, or decorative pins.
- Skill Level: Beginner friendly.
- Customization: Adjust size or colors for different purposes.
Notes
- The project is worked in spirals, not rounds, to achieve seamless continuity.
- Use any type of yarn and hook you have available. The thickness of the yarn determines the final size of the bone.
- The edge of the work is joined using a combination of single crochet (sc) and slip stitches (sl st).
- You can add embellishments, such as ribbons or embroidered designs, to the finished piece.
Skill Level
Beginner-friendly. You’ll learn essential techniques such as chains, single crochet (sc), working in spirals, and basic sewing.
Materials
- Yarn: Cotton yarn (e.g., Catania) or any preferred type.
- Crochet Hook: 2.5 mm (or appropriate for your chosen yarn).
- Other Supplies:
- Yarn needle
- Stitch marker
- Scissors
- Keychain ring (optional)
- Stuffing material
Measurements / Sizing
The size of the finished bone keychain depends on the yarn and hook used. A medium weight yarn with a 2.5 mm hook will create a standard keychain sized piece.
Gauge
Gauge is not vital for this pattern but may impact the final size of your piece.
Stitch Abbreviations
- ch: Chain
- sc: Single Crochet
- sl st: Slip Stitch
- st: Stitch(es)
Special Stitches
Spiral Rounds
Unlike traditional rounds that close with a slip stitch, spiral rounds involve starting each new round directly after the last stitch without closing. This method creates a smoother appearance.
The Crochet Pattern!
Step 1: Start with the Base
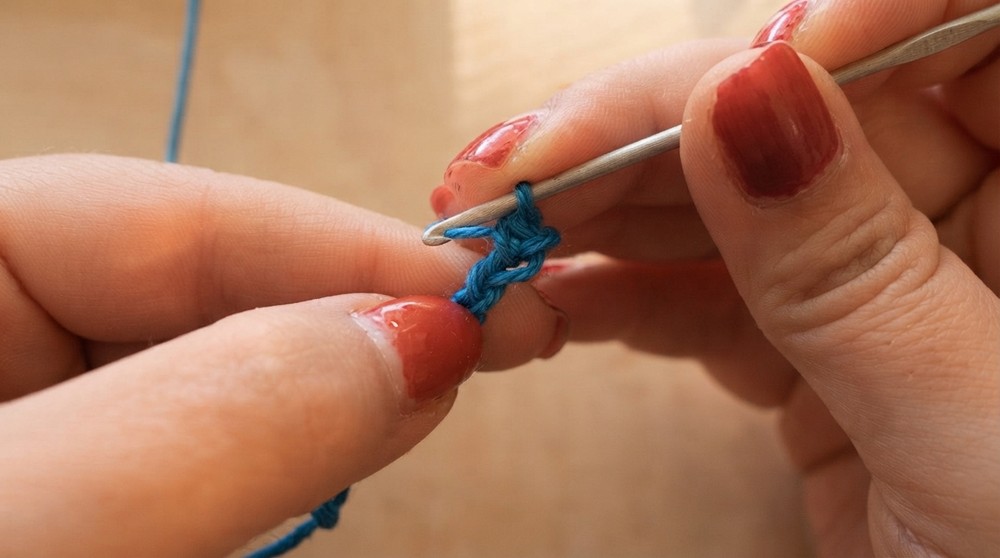
- Begin with a slip knot and chain 10 stitches.
- Skip the first chain and work 8 single crochets (sc), one in each stitch starting from the second chain.
- Example: Insert your hook into the next chain, yarn over, pull the loop through, yarn over again, and pull through both loops. Repeat for 8 sc.
Step 2: Create Rounded Ends
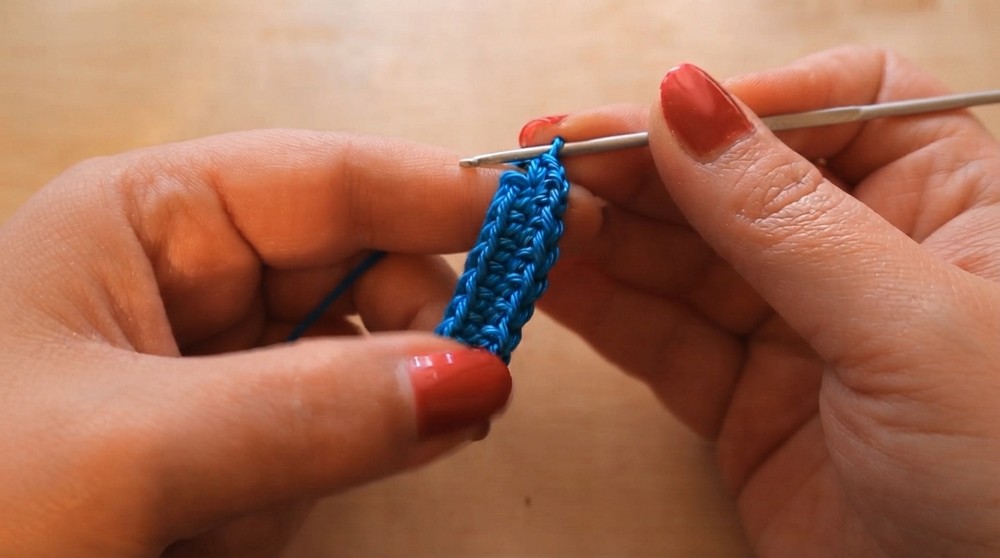
- In the last chain, work 4 single crochets (sc) into that one chain.
- This creates a curve at the end. Make sure all these stitches go into the same chain.
- Rotate your work to begin stitching along the opposite side of the chain. Work 7 single crochets (sc), one in each stitch.
- In the last stitch, work 3 single crochets (sc) into the same stitch.
Step 3: Work in Spiral Rounds
You will now begin working in spirals. Do not join the rounds; simply continue working directly into the next stitch.
- Work 9 single crochets (sc), one into each stitch from the previous round.
- Use a stitch marker to keep track of the first stitch in the round.
- Next, in the following stitch:
- Work 1 sc, 1 half double crochet (hdc), and 1 double crochet (dc)—all in the same stitch.
- Move to the next stitch, and work the sequence in reverse: 1 dc, 1 hdc, and 1 sc (all in the same stitch).
- Continue with 9 single crochets (sc) in the next stitches.
- Repeat the previous sequence:
- In the next stitch: 1 sc, 1 hdc, 1 dc (all in the same stitch).
- In the following stitch: 1 dc, 1 hdc, 1 sc (all in the same stitch).
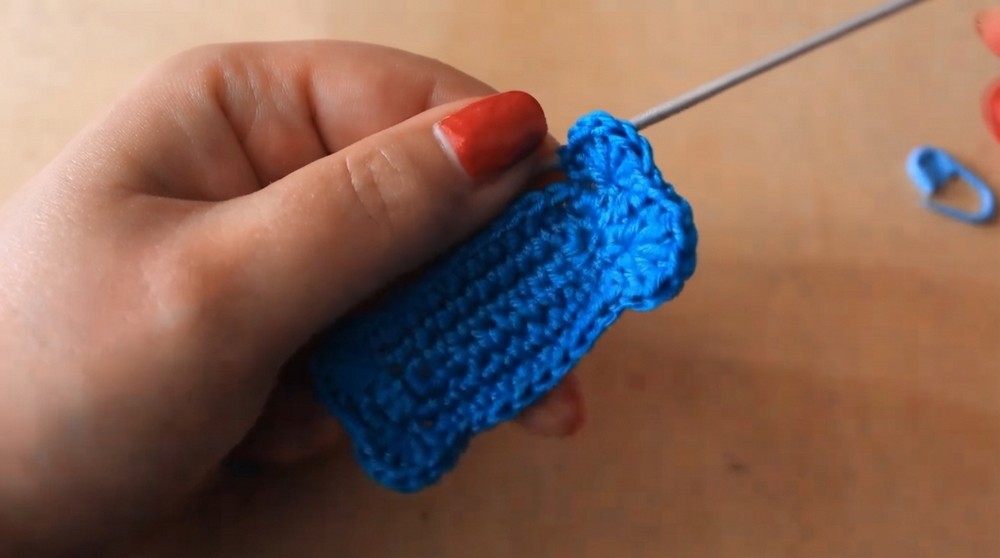
Step 4: Add Dimension
- Begin working 10 single crochets (sc), one in each stitch.
- In the next stitch, work 5 double crochets (dc) into the same stitch.
- Make 1 sc in the next stitch and another sc in the subsequent stitch.
- Work 5 double crochets (dc) into the next stitch.
- Continue with 11 single crochets (sc).
- Repeat: In the next stitch, work 5 dc into the same stitch; sc in the next two stitches.
- End with 5 dc in the second to last stitch and finish the round with 1 sc in the last stitch.
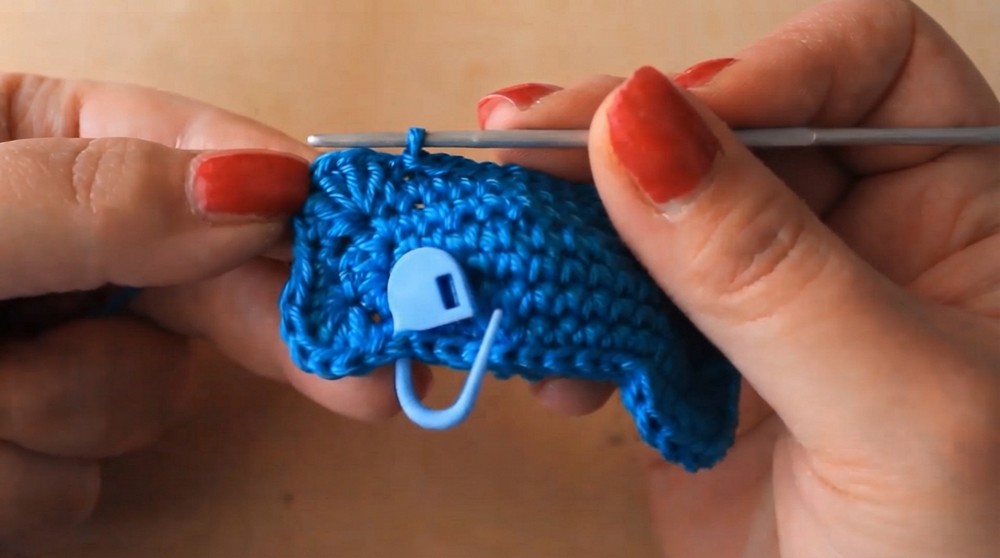
Step 5: Final Edges and Shaping
- Begin the final round by working 10 slip stitches (sl st) across the edge.
- Insert the hook into the stitch, yarn over, and pull through both loops.
- In the next stitch, make 2 double crochets (dc).
- Continue working more double crochets (dc) into subsequent stitches in the following quantities:
- Two dc, two dc, three dc, two dc, two dc (all in respective stitches).
- Insert two slip stitches (sl st) in the next two stitches. Repeat the sequence mentioned earlier for the opposite edge of the bone.
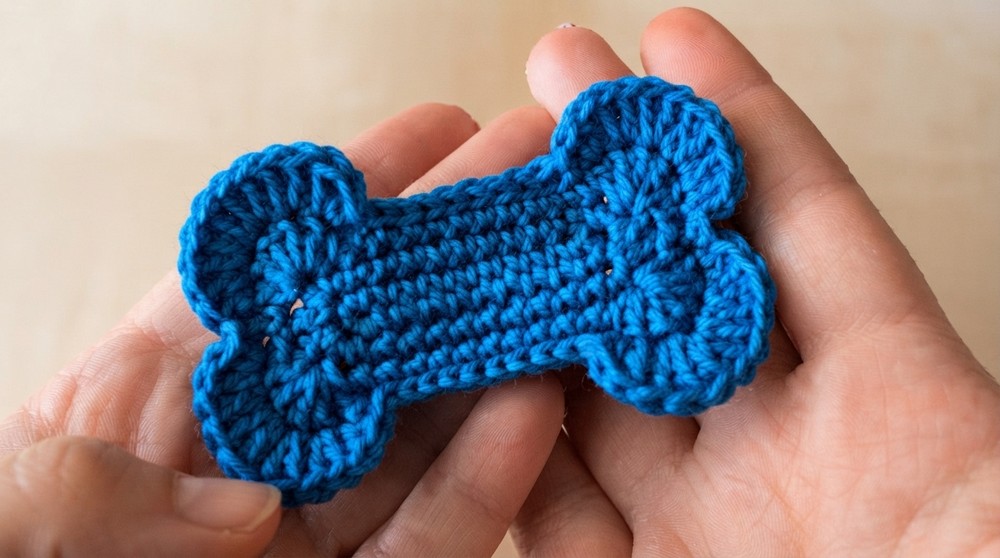
Optional: Add the Keychain Holder
- Create a small strap to attach to the keychain ring:
- Work 16 chains to start.
- Skip the first chain and work 14 sc, one sc into each stitch.
- Work 3 sc into the last chain, rotate, and continue with 13 sc on the other side.
- Finally, in the last stitch, work 2 sc.
- Close the round with a slip stitch.
Assembly
- Make two identical bone shapes and position them as a pair (wrong sides together).
- Attach yarn and sew the edges together using sc stitches on the curved parts and sl st on flat sections.
- Attach your strap to the top and secure the keychain ring.
Conclusion and Ending Words
Congratulations, Your adorable crochet bone shaped keychain is complete. These charming bones are versatile and can be used in many creative ways, such as appliqués for blankets or embellishments for bags. Try experimenting with colors and textures to personalize your projects even more.