
Create Easy Crochet Doily Pattern for a Vintage Chic Vibe
Forget dusty old table mats from grandma because this quick easy crochet doily brings modern boho charm straight to your bedroom nightstand today.
Who knew that something as simple as twisting and looping yarn could result in a little piece of decor that feels like a hug from the past? This easy to make doily not only carries a touch of old school charm but also fits right into modern living spaces. Think about a delicate lace coaster under your coffee cup or a dainty accent for your bedside table. The secret lies in a combination of loops and stitches working together to form a lacy, openwork design that’s as practical as it is pretty.
Pattern By Anerom
During this process, you’ll pick up some nifty tricks like how to start with a magic ring, add texture with double crochets, and form clusters that might remind you of tiny flower petals. What's really surprising is how quick it is to finish perfect for when you want to try something new but don’t have all day to dedicate to it. All you need is a little yarn, a crochet hook, and some enthusiasm.
Quick Crochet Doily Pattern for Stunning Coaster
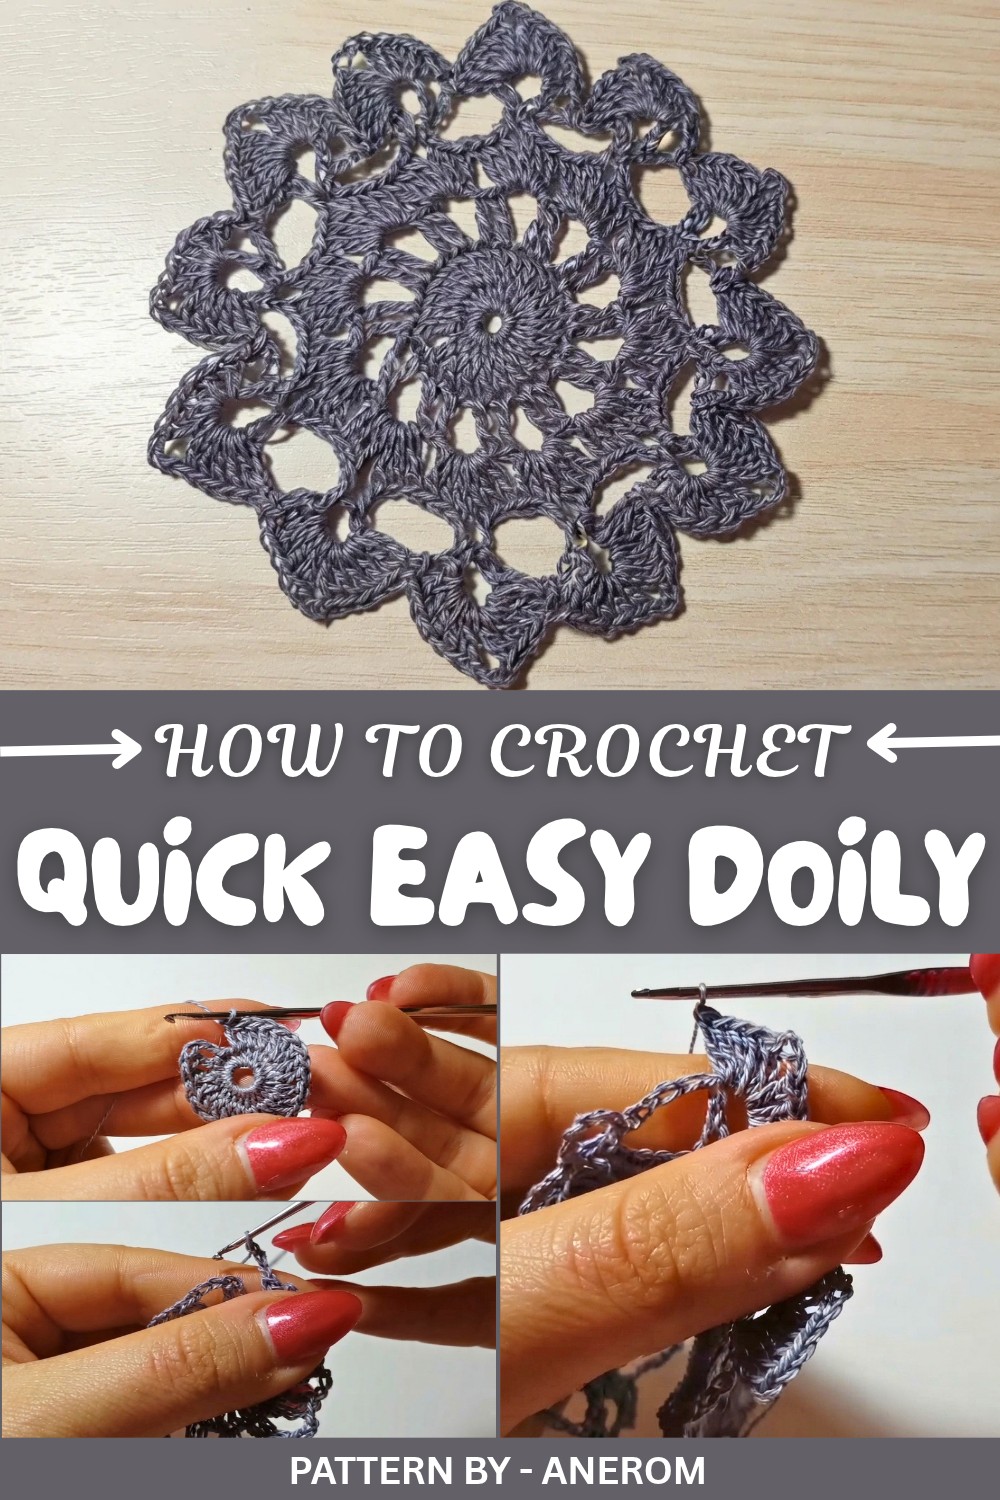
These skills don’t stop at doilies. Once your fingers get the hang of it, you could experiment with similar loops and stitches to make intricate jar covers, gift toppers, or even decorative placemats.
Featured By Anerom
Of course, it’s not always smooth sailing. The shapes might not seem perfect the first time around, or you might find yourself losing track of your loops. That’s completely normal. A quick tip: keep a stitch marker handy and count after each round. Also, don’t sweat the imperfections, they’re part of what makes handmade items so unique. By the time you finish, you’ll not only have a gorgeous vintage inspired piece, but also a new skill to feel proud of.
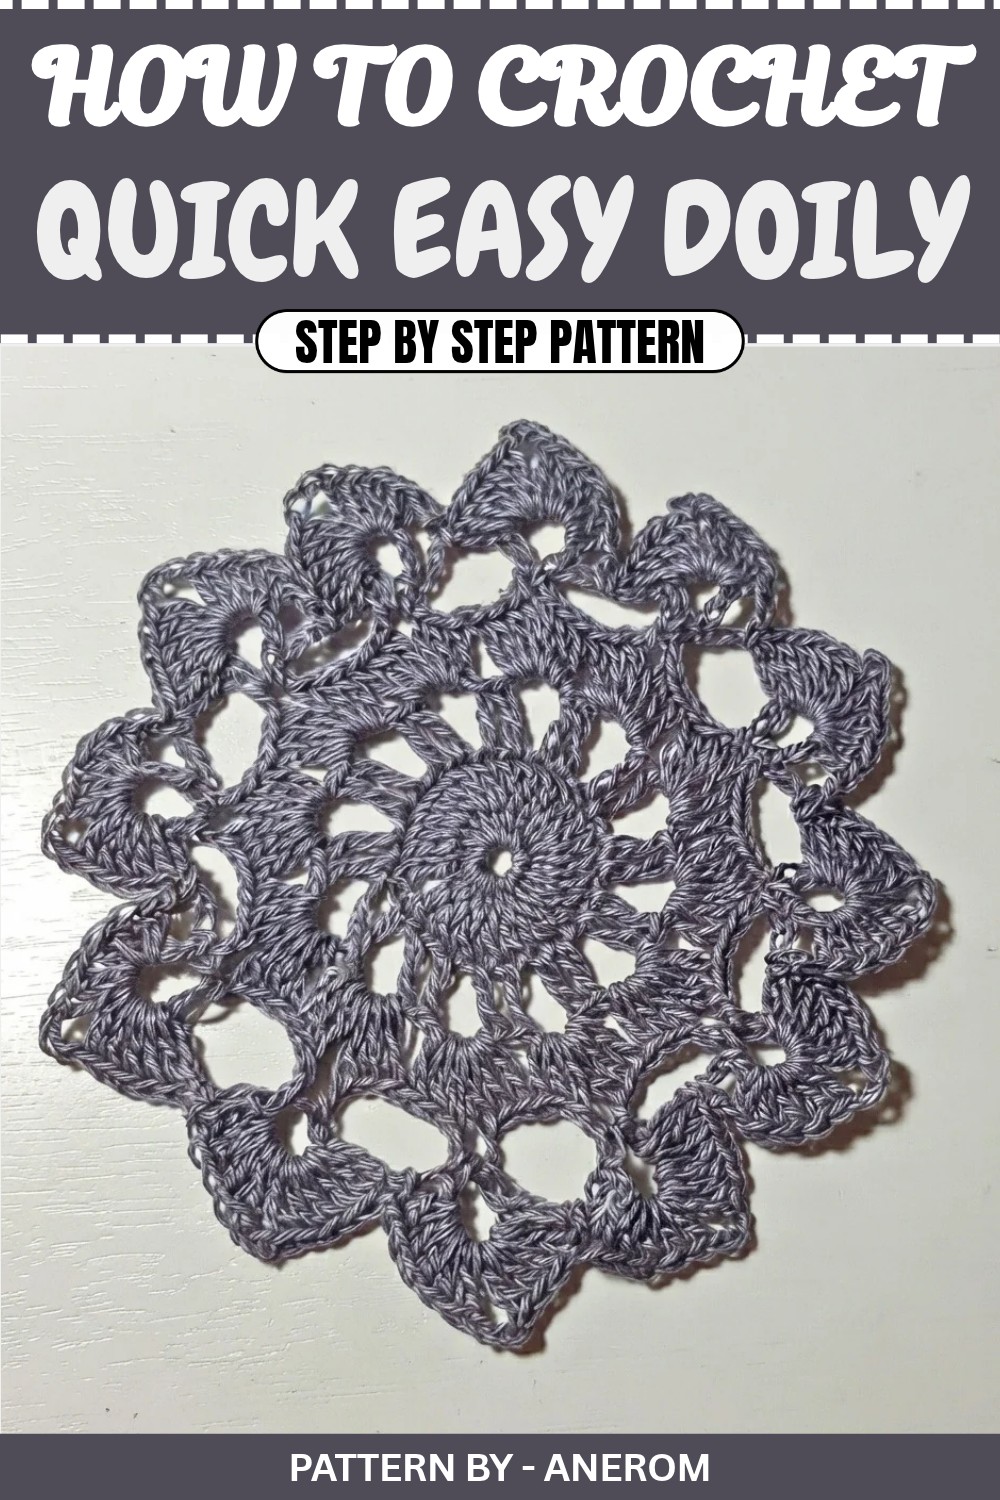
Crochet Doily Pattern
In this video I show you how to make this little doily. As you can see, it is very, very small. I decided to make it because I wanted to do something a bit different, so not always large doilies, but some smaller ones.
Obviously the use is different: if you stiffen it, you can use it as a coaster; if you iron it, you can use it as a small lamp mat. The uses are multiple and depend on what you want to do. I propose the pattern, and then it’s up to you to decide how to use it.
I hope this tutorial is clear; the pattern itself is very simple and really basic. I decided to work it in grey, but of course you can make it in any color you like. I hope you enjoy the tutorial. Let me know if you manage to make it; if you need help, leave me a comment and I’ll answer as soon as I can. Now I greet you and leave you to the tutorial.
Quick Overview Of Pattern
- Small round crochet doily worked in joined rounds
- Begins with a magic ring and single crochets
- Second round in double crochet to form a solid base
- Third round: pairs of double crochets separated by chain spaces
- Fourth round: shells (3 dc, 3 ch, 3 dc) in each chain space
- Fifth round: arches of 5 chains with single crochets anchoring them
- Final round: large decorative shells (5 dc, 3 ch, 5 dc) with single crochet between
- Ideal as a coaster, lamp mat, or mini decorative doily
Notes
- This piece is intentionally small; it is designed as a mini doily rather than a large centerpiece.
- A small opening in the center from the magic ring is part of the intended look.
- The yarn used in the tutorial is light-colored; if you are learning, you may find a slightly darker color easier to see.
- The pattern is very repetitive and straightforward, perfect for beginners who want to practice working in the round with basic stitches.
- You can stiffen the finished doily (with fabric stiffener or homemade methods) if you want to use it as a coaster.
Skill Level
Beginner
You should be comfortable with:
- Magic ring (magic circle)
- Single crochet (sc)
- Double crochet (dc)
- Chain stitch (ch)
- Slip stitch (sl st)
- Working in joined rounds
Materials
From the video:
- Yarn / Thread: Fine cotton thread (doily or lace weight). Color: grey in the tutorial, but any solid or variegated color is suitable.
- Hook: 1.50 mm crochet hook.
- Tapestry needle: For weaving in ends.
- Scissors: To cut the yarn.
- Optional:
- Iron for gentle blocking/flattening.
- Fabric stiffener or starch if you want to use it as a coaster.
Measurements / Sizing
- Finished size: a very small round doily (approximately 8–10 cm / 3–4" in diameter with fine thread and a 1.50 mm hook, depending on personal tension).
- If you use thicker yarn (e.g., fingering or sport weight) and a larger hook, the doily will be bigger but maintain the same structure.
Gauge
Gauge is not essential for this project:
- The doily is decorative, and small differences in size are not critical.
- With fine thread and a 1.50 mm hook, you will get a delicate, compact mini doily.
- Changing hook or yarn thickness will only change the overall diameter, not the pattern itself.
Stitch Abbreviations (US Terms)
- mr – magic ring
- ch – chain
- sc – single crochet
- dc – double crochet
- sl st – slip stitch
Special Stitches
- Magic Ring (mr):
Make a loop with the yarn, insert the hook into the loop, yarn over and pull up a loop. Chain 1 if needed to secure, then work the required number of stitches into the loop. When finished, pull the yarn tail to close the ring.
No other special stitches are used; the pattern uses basic sc, dc, chains, and slip stitches.
The Crochet Pattern
Work in joined rounds. Each round is closed with a sl st into the indicated stitch or chain.
Round 1– Center of the Doily
- Make a magic ring (mr).
- Into the magic ring, work 24 sc:
- Insert hook into the ring, yarn over, pull up a loop, yarn over, pull through both loops (1 sc).
- Continue until you have 24 sc in the ring.
- Pull the tail of the magic ring to tighten the center (a small hole may remain; this is intentional).
- Close the round: insert the hook into the first sc made and work 1 sl st to join into a circle.
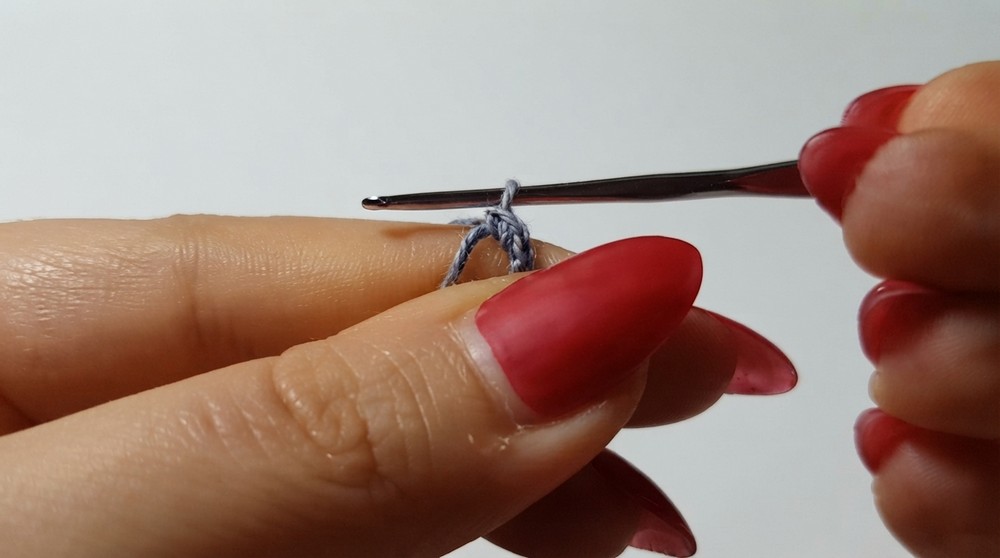
You now have a solid round center of 24 single crochets.
Round 2 – Round of Double Crochets
- Begin with ch 3 – this counts as the first dc of the round.
- In each sc from Round 1, work 1 dc:
- Dc in the next stitch, and continue around, working 1 dc into each sc.
- At the end of the round, you will have 24 dc in total (including the ch-3 as a dc).
- To close the round, insert the hook into the 3rd chain of the starting ch-3 and work 1 sl st.
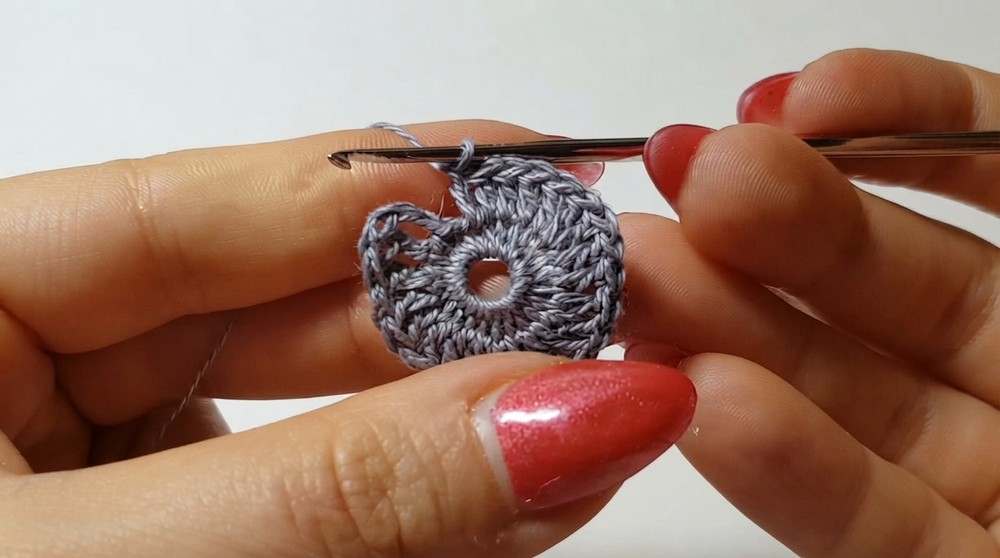
You now have a flat circle made entirely of double crochets.
Round 3 – Pairs of Double Crochets with Chain Spaces
- Begin the round with ch 3 – counts as the first dc of this round.
- In the next stitch, work 1 dc.
- In the following stitch, work another dc.
- At this point, you effectively have two consecutive dc (the ch-3 counts as 1 dc, plus the next dc).
- Now work ch 3.
- In the next stitch, work 1 dc.
- In the following stitch, work 1 dc again.
- You have another pair of dc.
- Repeat this sequence around:
- (2 dc, ch 3, 2 dc, ch 3) all around the circle.
- That is, every group is 2 dc followed by 3 chains, then 2 dc again, etc.
- When you reach the end of the round and have worked your final ch 3, close by working a sl st into the 3rd chain of the starting ch-3.
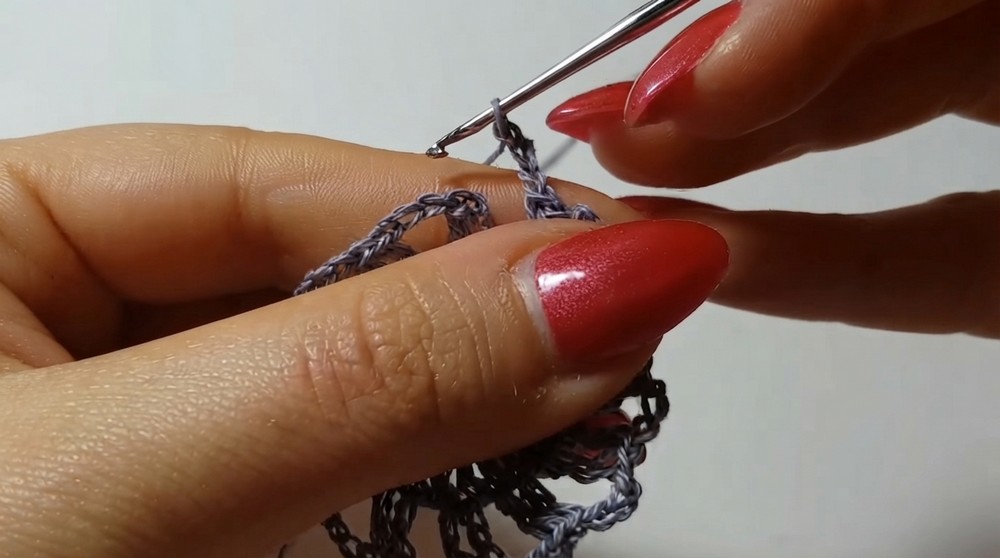
The ch-3 spaces you created form the small arches/spaces where you’ll work shells in the next round.
Round 4 – Shells of 3 dc, 3 ch, 3 dc in Each Space
- To move into the first ch-3 space, work 1 sl st directly into that space. Now your hook is positioned inside the first arch.
- Inside this ch-3 space, work:
- ch 3 (counts as first dc),
- 2 dc in the same space,
- then 3 dc more in the same space.
The video describes working 3 dc, 3 ch, 3 dc in each 3-chain space; the initial ch-3 substitutes one of the dc in the first group. So each space effectively holds a shell.
- Move to the next ch-3 space.
- In every ch-3 space around the round, work the same shell:
- 3 dc, 3 ch, 3 dc in that space (you may think of the first dc as the ch-3 at the beginning of that shell).
- Continue this in all chain spaces around the round, working a full shell into each.
- At the end of the round, join with a sl st into the 3rd chain of the starting ch-3.
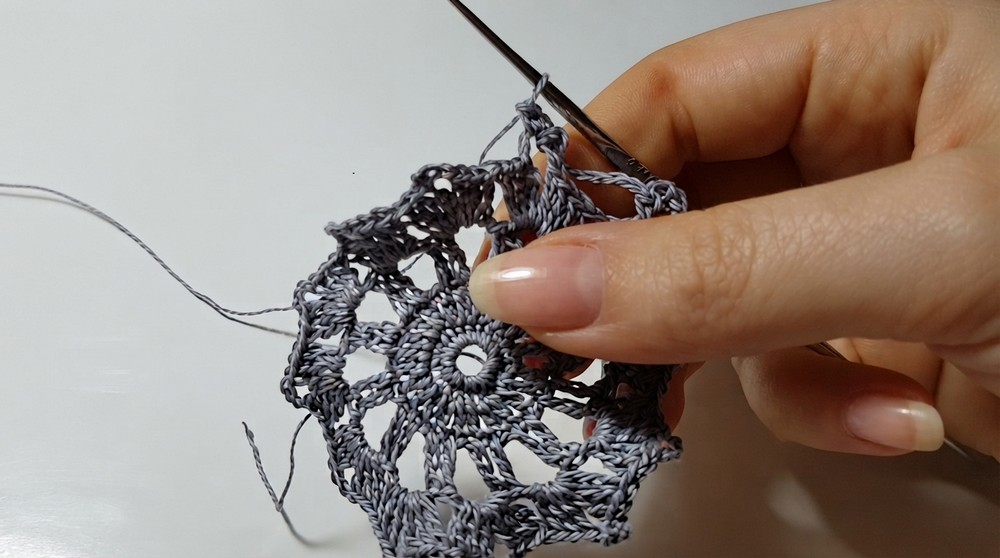
You now have a round of shells, each made up of dc groups separated by 3 chains. These shells create larger arches/spaces for the next round.
Round 5 – Arches of 5 Chains with Single Crochet
- You need to move into one of the small shell spaces:
- Work 1 sl st into the next stitch (one of the dc of the shell).
- Then 1 sl st into the ch-3 space of the shell. Now your hook is inside the shell’s center chain space.
- Inside this space, work:
- ch 5,
- then 1 sc in the same space.
This forms a small arch anchored by a single crochet.
- Again, work ch 5.
- Move to the next shell’s center space (next ch-3 space) and work 1 sc into that space.
- Repeat the same movement:
- In each shell center space: ch 5, sc in that space,
- then ch 5 and sc in the next shell center space, and so on.
- Continue this around the entire round: it is a very simple pattern—just 5 chains and single crochets anchoring them into each chain space.
- At the end of the round, after your final ch 5, instead of working a sc, join with a sl st into the same space to close the round.
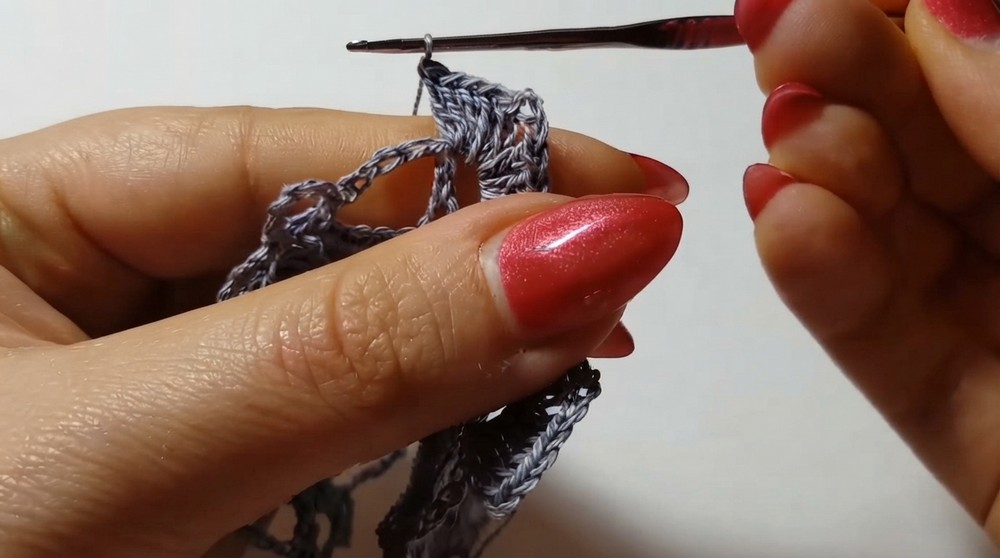
You now have a ring of small arches (ch-5 loops) all around the doily.
Round 6 – Final Decorative Shells
This is the last round; it creates a rich, scalloped edge.
- Make sure you are in one of the ch-5 arches where you will work your decorative shell.
- In this arch, begin with ch 3 – counts as your first dc.
- In the same arch, work 4 dc more:
- Combined with the initial ch-3, you now have 5 dc in that arch.
- Work ch 3.
- In the same arch, work 5 dc again.
- So each decorative shell consists of: 5 dc, ch 3, 5 dc in the same ch-5 loop.
- Move to the larger space between shells (the space between arches from the previous round):
- In this space, work 1 sc to anchor and separate the shells.
- Repeat the sequence all the way around:
- In each ch-5 arch: 5 dc, ch 3, 5 dc,
- In each large space between arches: 1 sc.
- Continue until you have worked shells in all arches and a sc in each space between them.
- At the end of the round, in the last larger space, work 1 sc.
- Then insert your hook into the 3rd chain of the starting ch-3 and close with 1 sl st.
- Pull the yarn, cut it, and weave in the ends with a tapestry needle.
Your small doily is now complete.
Assembly & Finished Size
- After finishing Round 6, pull the yarn tightly, cut it, and weave in all tails neatly through the stitches on the wrong side.
- If the doily looks slightly ruffled or not completely flat:
- You can gently block or iron it (preferably under a cloth) to flatten and open the pattern.
- For use as a coaster, you can stiffen the doily with commercial fabric stiffener or a homemade starch solution, shaping it flat and letting it dry.
- The finished doily is a tiny round piece, perfect as a coaster, lamp mat, or small decorative accent on a table, shelf, or dresser.
Conclusion and Ending Words
Once this last round is finished, this is your doily. The work is simple and easy to follow, yet the result is delicate and pretty. I hope the pattern was easy for you to make and that you liked it.
Remember, you can use any color and adapt its use: as a coaster, lamp mat, or little decorative piece. If you need help or want to show your finished work, leave me a comment.