
Free Crochet Doily Pattern for a Touch of Handmade Elegance
Try this Amazing Easy Crochet Doily Pattern to give an old side table a fresh look and enjoy a handmade detail that fits neatly into your favorite reading spot.
Add a touch of elegance to your home with the stunning free crochet doily pattern presented by Anerom. Known for their easy to follow and expertly crocheted tutorials, Anerom brings you a timeless design that’s as functional as it is beautiful. This doily, with its soft neutral tones of gray and white, is the perfect blend of subtle sophistication and intricate detailing, making it an ideal centerpiece for your dining table, coffee table, or even as framed wall art.
This doily is so captivating with its delightful combination of delicate arches, floral inspired motifs, and lac -like textures. Each round builds upon the last, forming a harmonious and symmetrical piece that looks intricate yet is surprisingly simple to achieve with a bit of patience. Its gently rounded edges and elegant structure make it suitable for adding warmth and charm to any space, no matter the style of your décor.
Easy Free Crochet Doily Pattern for Gorgeous Centerpieces
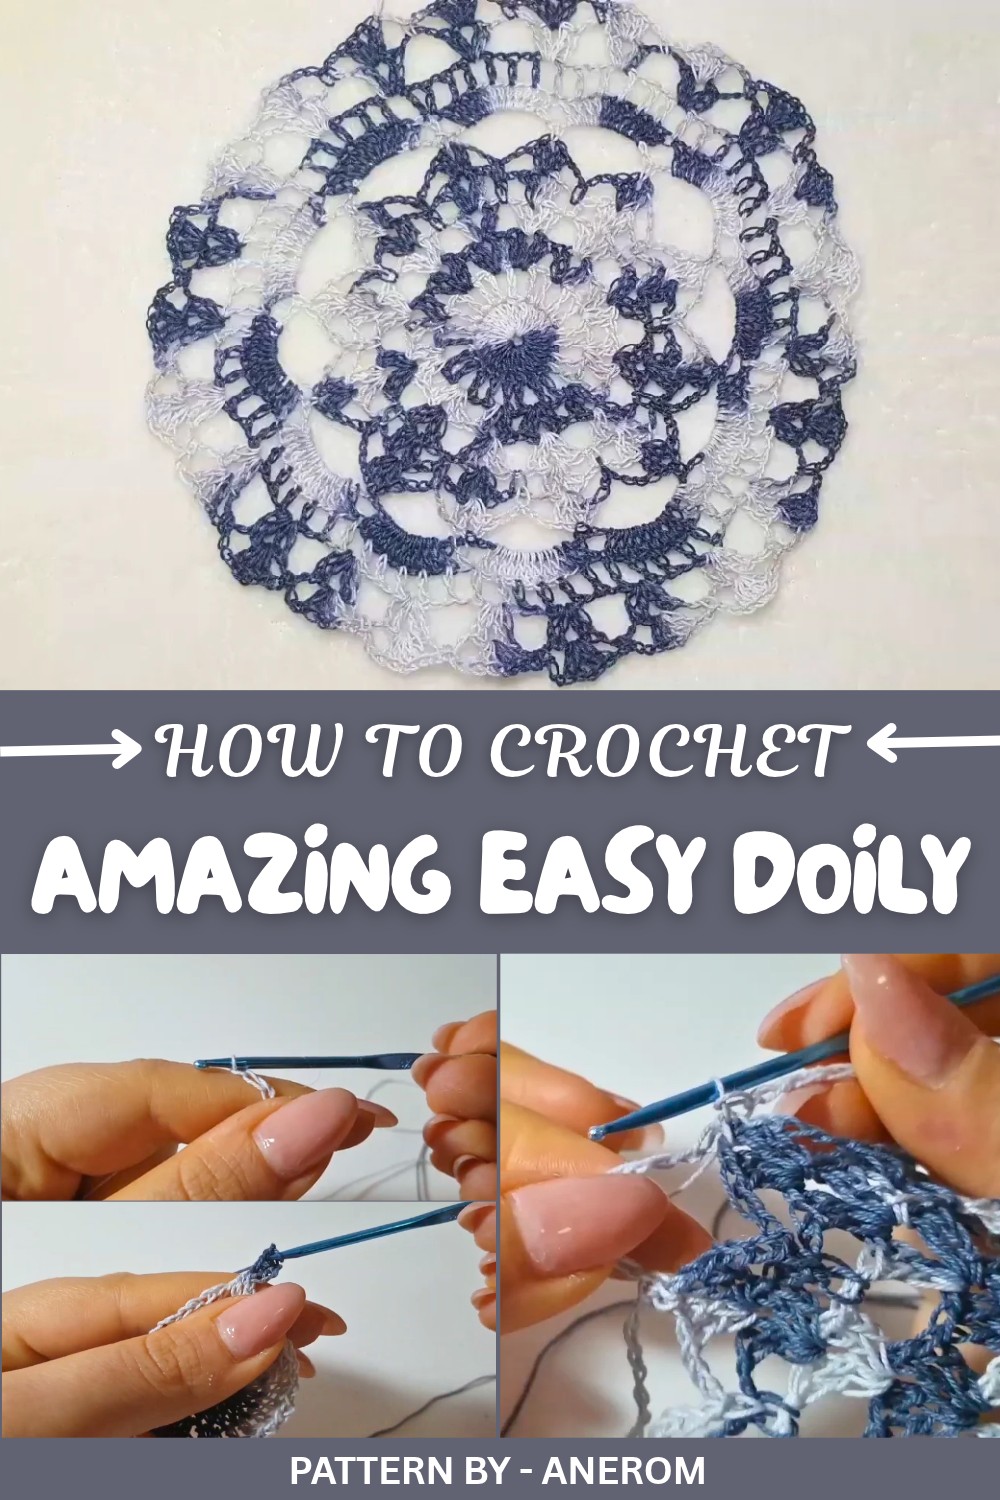
The process of working on this design is soothing and satisfying. Building from a magic ring foundation, you’ll move through a manageable set of repetitive stitches, including double crochets, chains, and slip stitches. Even beginners can take it on confidently, while experienced crocheters will appreciate how seamlessly the pattern brings the design to life.
Whether you’re crocheting this for your home or as a heartfelt gift, the doily is sure to leave a lasting impression. Its ability to adorn a space while showcasing the artistry of crochet makes it a project worth every moment of your time.
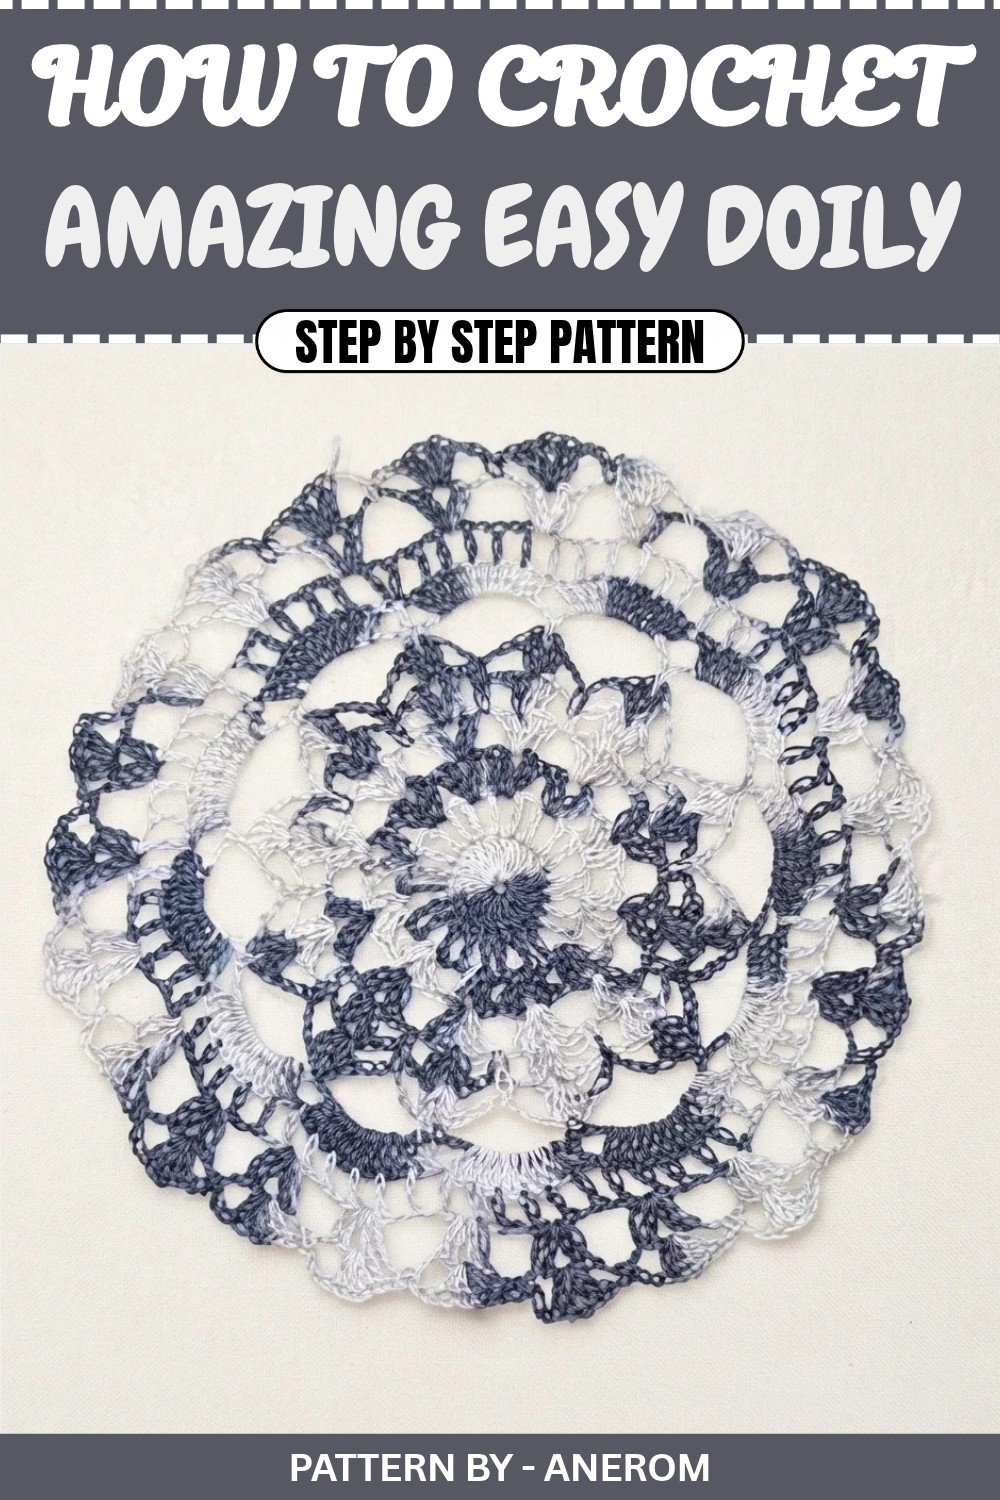
Elegant Crochet Doily Pattern
Quick Overview Of Pattern
- Pattern Type: Round doily with decorative edges.
- Key Features:
- Neutral tones with gradient yarn.
- Layered texture perfect for tabletop decoration.
- Skill Level: Advanced beginner.
- Uses: Great for home decor or as a thoughtful gift for loved ones.
Notes
- This doily is designed to expand in rounds, starting with a magic ring.
- The entire pattern incorporates a repetitive module, making it easy for beginners to learn after finishing a few rounds.
- Make sure to use stitch markers to help keep track of rounds and spaces.
Skill Level
Advanced Beginner: You will need to know how to make a magic ring, chain stitches, single crochet, slip stitches, and double crochet.
Materials
- Thread: A fine #12 gradient thread in white and gray.
- Hook Size: Corresponding crochet hook as recommended for #12 thread (size 1.25mm–1.5mm works best).
- Scissors: For cutting excess thread.
- Tapestry Needle: For weaving in ends.
Measurements / Sizing
Approximate final size of the doily is 25–30 cm in diameter. Adjustments may vary based on thread tension.
Stitch Abbreviations
(Using US Terms)
- ch: Chain
- sc: Single crochet
- dc: Double crochet
- sl st: Slip stitch
- MR: Magic ring
Special Stitches
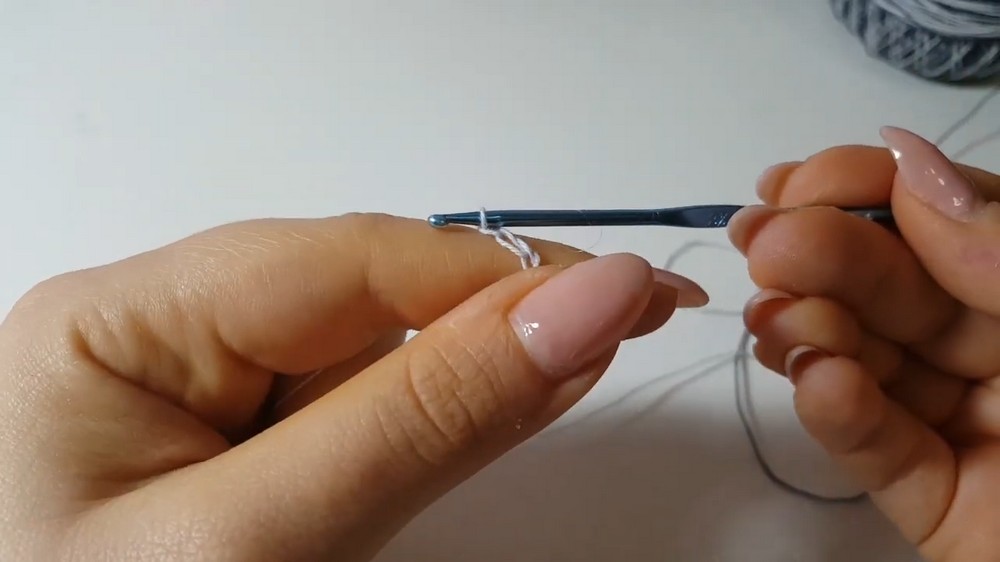
Magic Ring (MR):
- Loop the thread around your fingers to form a circle, insert the hook, and pull through a loop. Tighten the ring by pulling the tail once the stitches are added.
The Crochet Pattern
Round 1: Foundation
- Begin with a magic ring (MR).
- Work 23 double crochets (dc) into the ring.
- Tighten the magic ring by pulling the tail until the circle is closed.
- Slip stitch (sl st) into the third chain of the first set of chains to close the round.
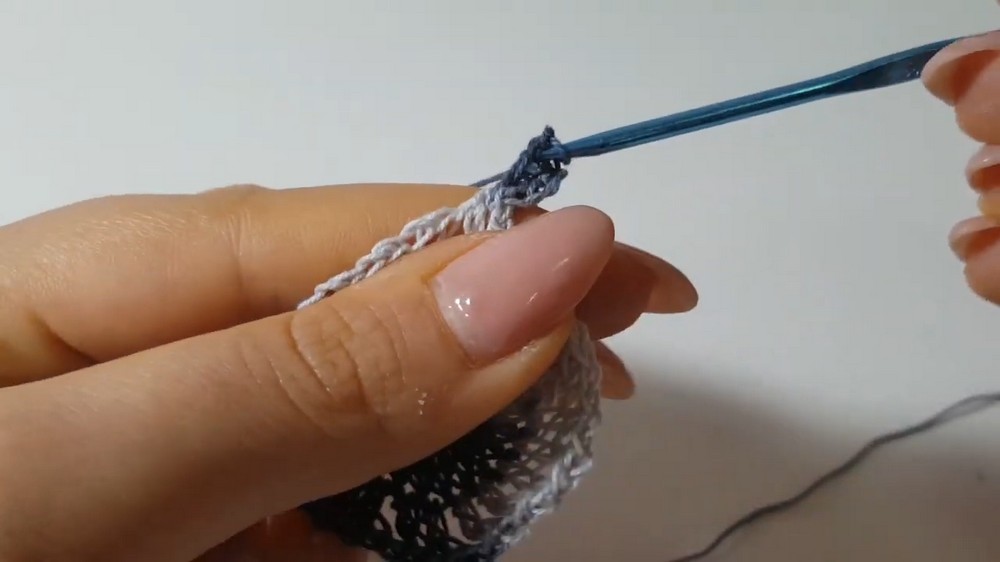
Tip: The 3 initial chains substitute as your first double crochet.
Round 2: Alternating DC and Chain 1
- Start with 4 chains (3 chains for the first dc and 1 chain for the space).
- Work 1 dc into the next stitch, followed by 1 chain.
- Repeat: 1 dc, 1 chain in every stitch around.
- When you reach the end of the round, close with a sl st into the third chain of the starting chains.
Round 3: Shell Modules
- Move to the first chain space with a sl st.
- Start the round with 3 chains (counts as 1 dc).
- Work another dc, 1 chain, and 2 dc in the same chain space.
- (This is your shell: 2 dc, 1 chain, 2 dc).
- Skip the next chain space, and repeat the shell in the next.
- Continue repeating: Skip 1 space, work a shell in the next space until the round is complete.
- Slip stitch into the third starting chain to close.
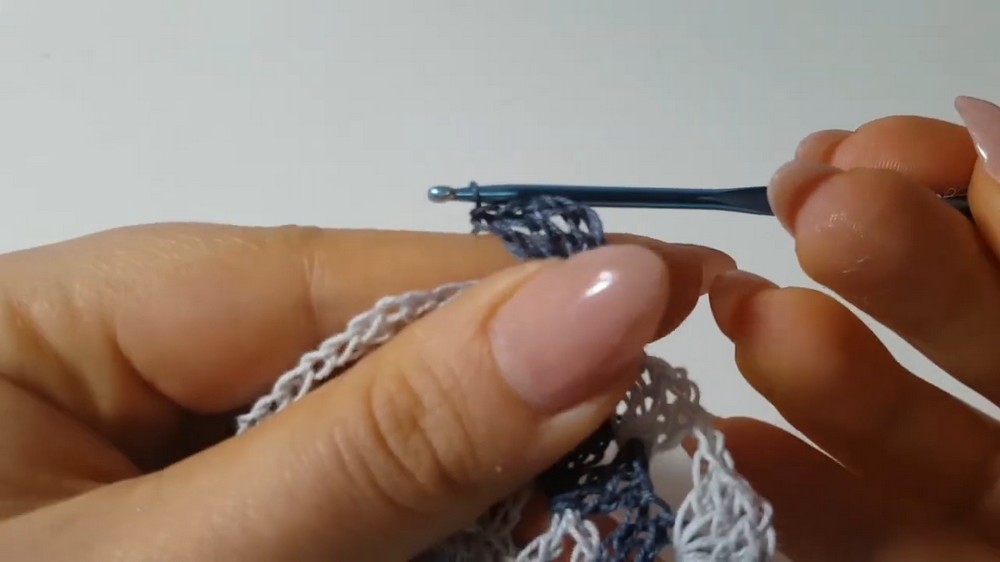
Round 4: Expanding Shell Pattern
- Slip into the chain 1 space of the first shell and begin with 3 chains (counts as 1 dc).
- Work 1 dc, 1 chain, and 2 dc in the same space.
- Add 1 chain for separation.
- Skip the next shell and move into the chain 1 space of the next shell from the previous round.
- Repeat: 2 dc, 1 chain, 2 dc, 1 chain.
- Close the round with a sl st into the third chain of the first dc.
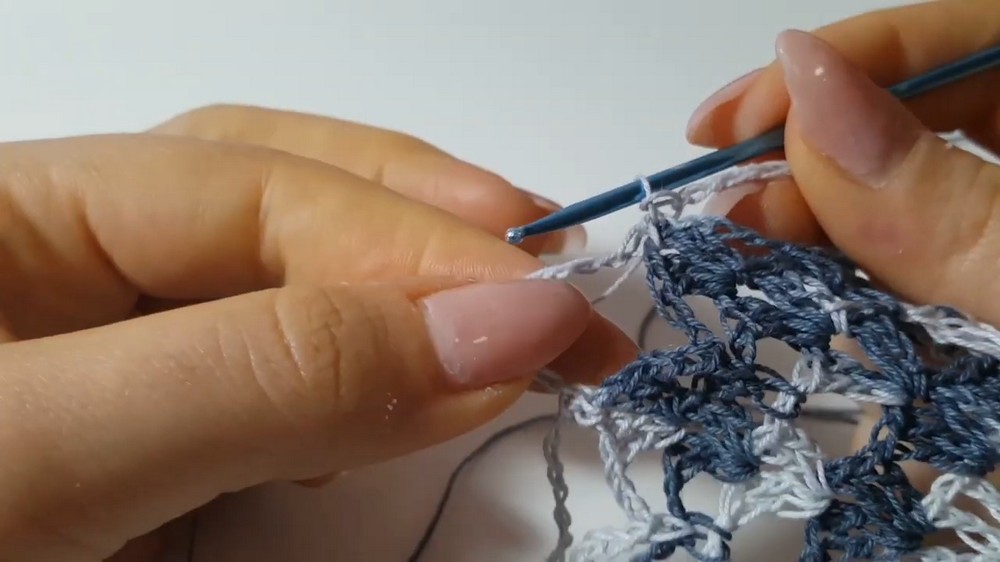
Round 5: Introducing Wider Spaces
- In the first chain space of the shell, repeat the shell module: 3 chains, 1 dc, 1 chain, and 2 dc.
- Add 2 chains for separation.
- Work a single crochet in the chain space between the shells.
- Add 2 chains; repeat the shell module in the next shell’s chain space.
- Alternate between the shell module and single crochet separated by chains until the round is complete.
Round 6: Expanding the Spaces Further
- Move into the shell’s chain space with a sl st.
- Work 3 chains, 1 dc, 1 chain, and 2 dc in the shell space.
- Add 3 chains for separation.
- Work a single crochet in the next single crochet from the previous round.
- Continue: 3 chains, and repeat the shell pattern in the next shell, followed by 3 chains and single crochet.
- Complete the round by slip stitching into the initial chain.
Round 7: Creating Large Arches
- Move into the shell’s chain space with sl st.
- Work 9 chains and secure with a sc in the single crochet from the previous round.
- Chain 9 again and secure into the next single crochet.
- Continue this process until there are large arch patterns around the doily.
- Slip stitch into the initial chain to finish the round.
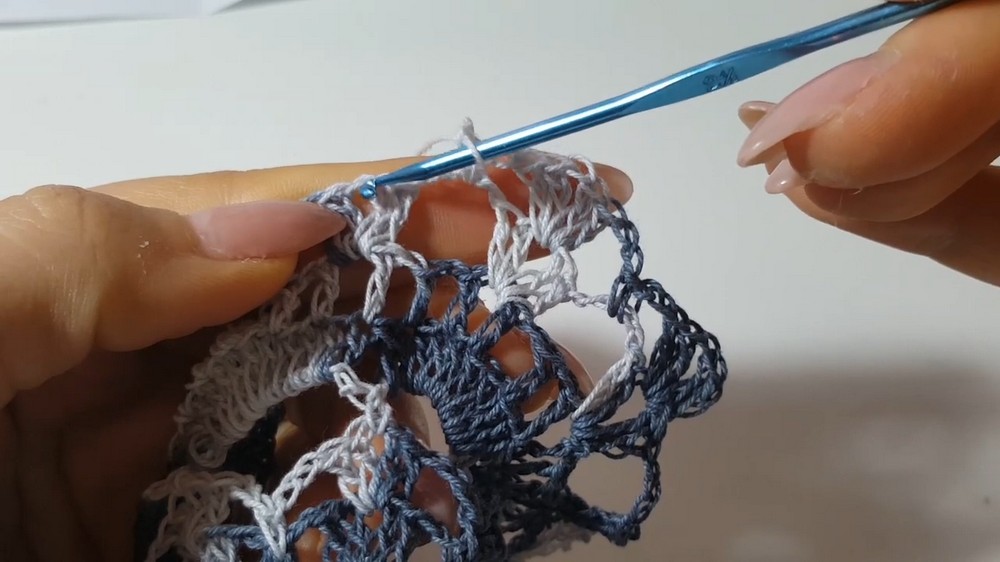
Round 8: Adding Density to the Arches
- Move into the first large arch with a sl st.
- Work 3 chains (counts as 1 dc), then work 11 dc into the same arch.
- Skip to the next large arch and repeat, working 12 dc into each arch around the doily.
- Slip stitch into the initial chain to close the round.
Round 9: Decorative Finishes
- Begin with 4 chains, skip one stitch, and work a dc in the next stitch.
- Repeat: 1 chain, skip 1 stitch, dc in the next stitch around the round.
- When the round is complete, slip stitch into the third chain of the initial chain.
Round 10: Final Modular Enhancements
- Move into the chain 1 spaces created by the previous round.
- Work 2 dc, 1 chain, 2 dc into each chain 1 space, separated by 4 chains.
- Skip the next two chain spaces and repeat the same shell module into the space after.
- Continue this pattern until the round is complete.
- Slip stitch to close.
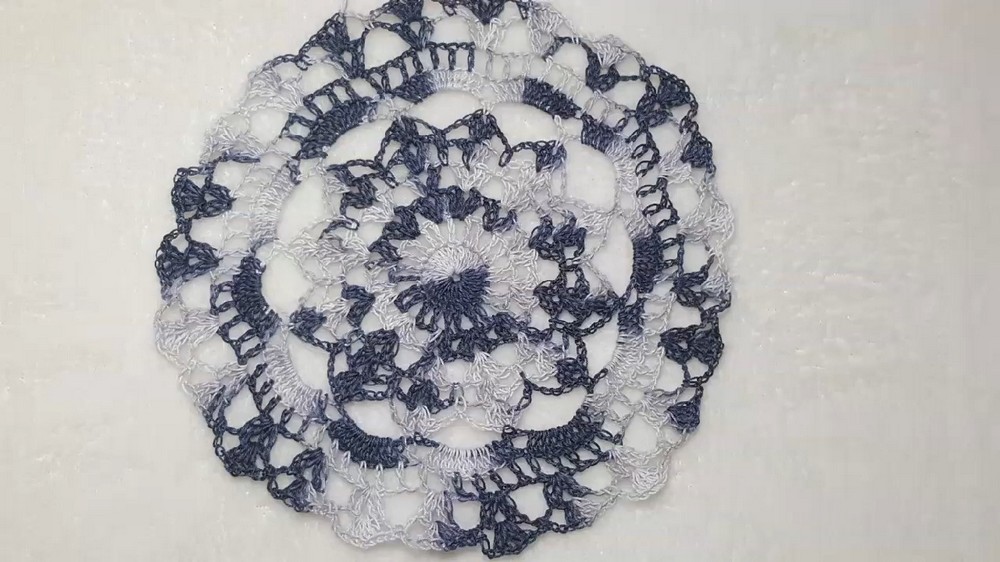
Assembly & Finished Size
At the end of the crochet rounds, tie off and weave in all loose ends using a tapestry needle. Gently block the completed doily to smoothen out the arches and shells. The final size varies but should be approximately 25–30 cm in diameter.
Conclusion
Congratulations on completing your elegant crochet doily, This handmade piece adds a graceful touch to any table or interior, perfect for styling your living room, kitchen, or even gifting to someone special. The repetitive shell module makes this an ideal project for relaxation and creativity.