
Deliciously Cute Free Crochet Donut Amigurumi You’ll Enjoy
Crochet donut that look absolutely adorable with this free easy pattern, featuring fun icing shapes and lots of ways to decorate them creatively.
Everyone love a cute, soft version of a treat that looks good enough to eat. Inspired by a love for sweet treats and playful décor, this free crochet donut amigurumi pattern is all about fun and creativity. With its endearing round shape and customizable frosting, these donuts are as delightful to look at as they are to hold. Each donut features a soft and cozy base topped with colorful, wavy frosting that can be embellished with sprinkles, beads, or anything your imagination comes up with.
Big or small? Pastel or bold neon? The options are virtually endless, this project is as customizable as it gets. Whether you’re making a mini keychain donut or a larger decoration for your home, you can adjust the size simply by switching your yarn weight and hook size.
Free Crochet Donut Pattern to Create Lovely Amigurumi
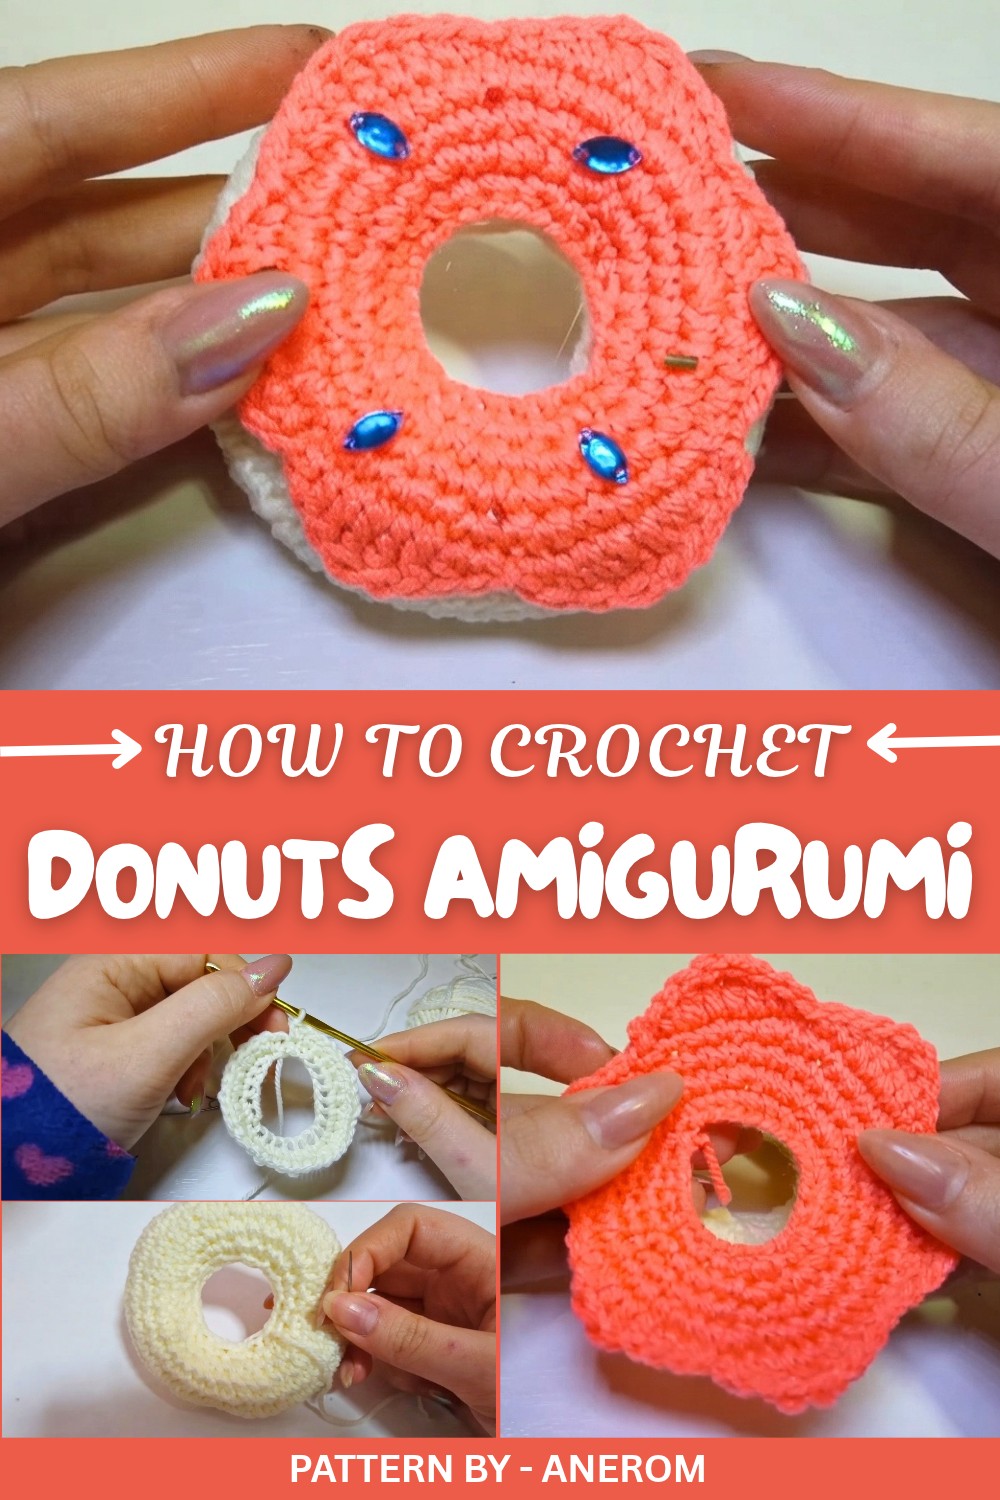
Crocheting these donuts is a stress free experience. The use of basic stitches like single crochet, increases, and decreases, makes it approachable, even if you’re new to amigurumi. The soft texture is brought to life with a little fiberfill stuffing, ensuring your donut holds its perfect round shape. A wavy frosting edge mimics real icing, giving the final piece its distinct, adorable charm. The addition of colorful “sprinkles” truly takes it to a whole new level.
Pattern By Anerom
This is an ideal project for anyone who enjoys quick, satisfying projects that result in something as cute as they are functional. With just a few materials like yarn, stuffing, a crochet hook, and basic supplies like scissors and a darning needle, you’ll have everything you need to surprise a loved one or add a sweet touch to your own space. No calories, no mess, just 100% handmade joy in every bite sized stitch.
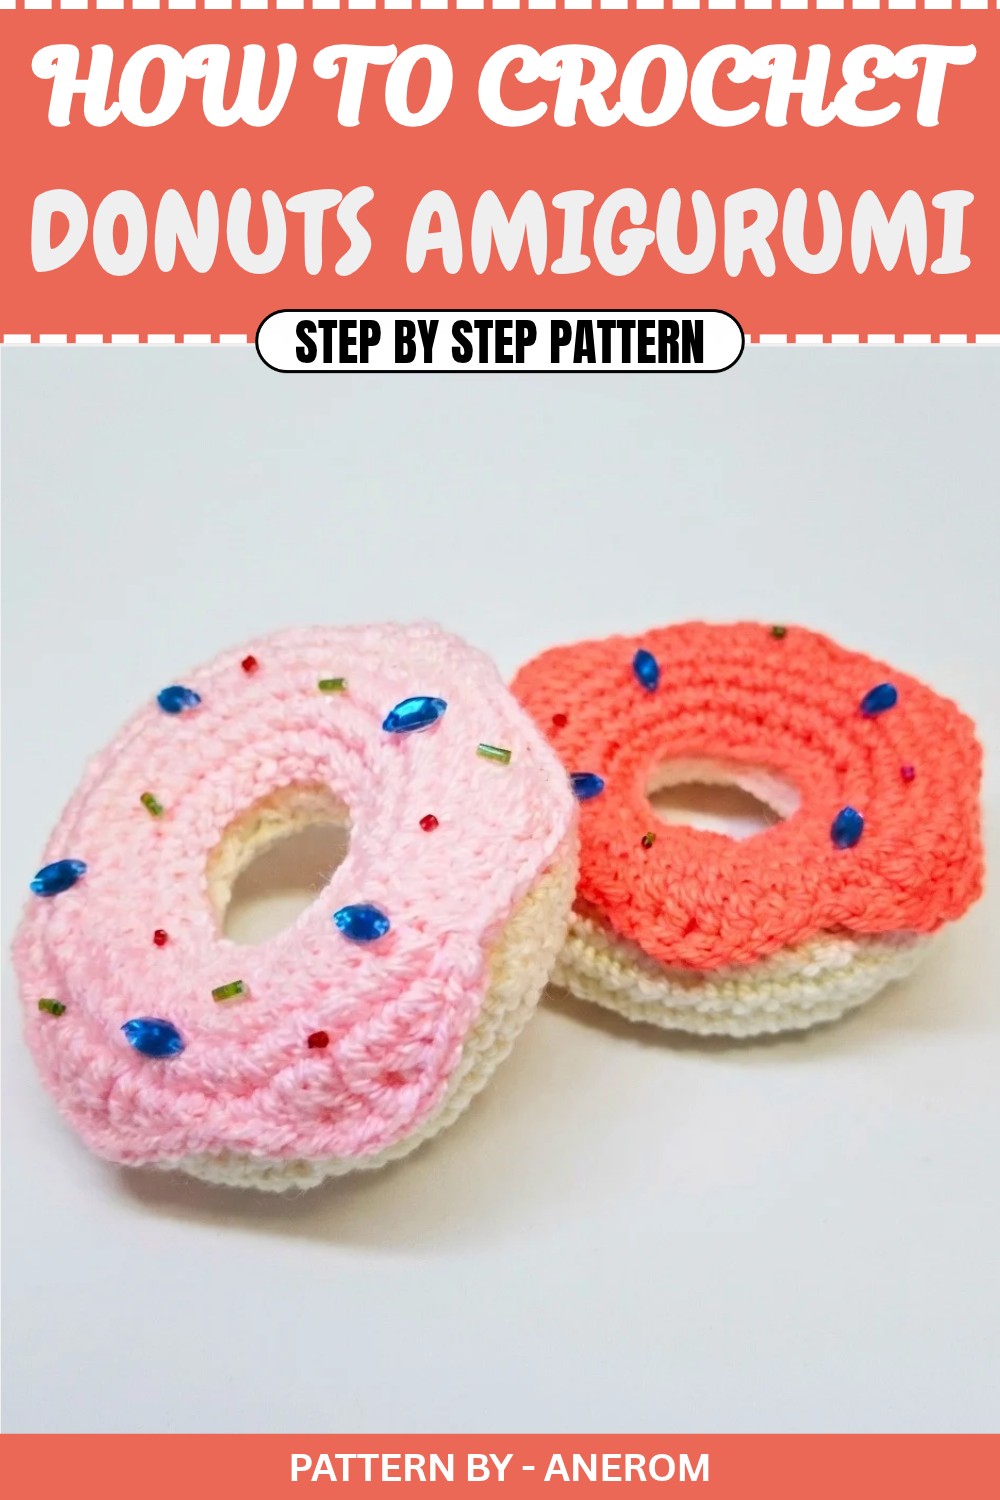
Crochet Pattern: Amigurumi Donut with Icing
Quick Overview of Pattern
- Crochet a large, stuffed donut topped with colorful icing.
- Suitable for amigurumi projects.
- Embellish with beads, small pearls, or other decorations for a realistic "sprinkle" effect.
- Perfect for keychains, home décor, or gifting your loved ones something handmade.
Notes
- This pattern is worked in a continuous spiral; no joining rows unless otherwise specified.
- Use a stitch marker to keep track of the beginning of each round.
- If you’re using beads, be careful if gifting the donut to small children to avoid choking hazards.
- You can change yarn and icing colors as you like! Pastel or vibrant neons look lovely for this project.
Skill Level
Beginner to Intermediate
Materials
- Yarn: Size 3 in two colors:
- Color 1: Beige (for the donut base—can also use white or light brown).
- Color 2: A vibrant color (like neon orange or pink for the icing).
- Hook: Size 3mm crochet hook (or appropriate size for your chosen yarn).
- Stitch marker.
- Yarn needle.
- Scissors.
- Polyester fiberfill stuffing.
- Small beads, pearls, or any decorative items for sprinkles.
- Hot glue gun (for assembling icing and attachments).
Measurements / Sizing
- Approximate height after assembly: ~5 to 6cm.
- Diameter (including icing): ~10 to 12cm.
Gauge
Gauge is not crucial for this project. Just ensure your stitches are tight enough to prevent stuffing from escaping through the gaps.
Stitch Abbreviations
- ch: Chain
- sl st: Slip Stitch
- sc: Single Crochet
- hdc: Half Double Crochet
- dc: Double Crochet
- tr: Treble Crochet
- inc: Increase (2 sc in the same stitch)
- dec: Decrease (crochet 2 sc together)
Special Stitches
- Half Double Crochet (hdc): Yarn over, insert hook into stitch, yarn over, pull up a loop (3 loops on hook), yarn over, and pull through all 3 loops on the hook.
- Treble Crochet (tr): Yarn over twice, insert hook into stitch, yarn over, pull up a loop (4 loops on hook), yarn over, pull through 2 loops at a time until 1 loop remains.
- Decrease (dec): Insert the hook into the front loops of the next two stitches, yarn over, pull through both loops, yarn over again, and pull through all the loops on the hook.
The Crochet Pattern
Donut Base
- Start with Color 1 (Beige or chosen color for the donut base).
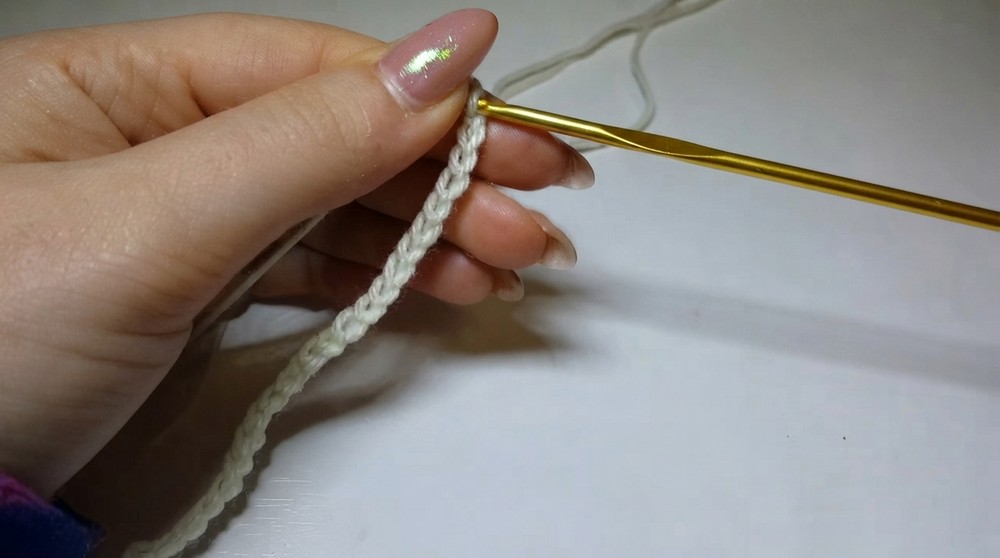
- Create a slip knot and ch 24. This will form the base of the donut.
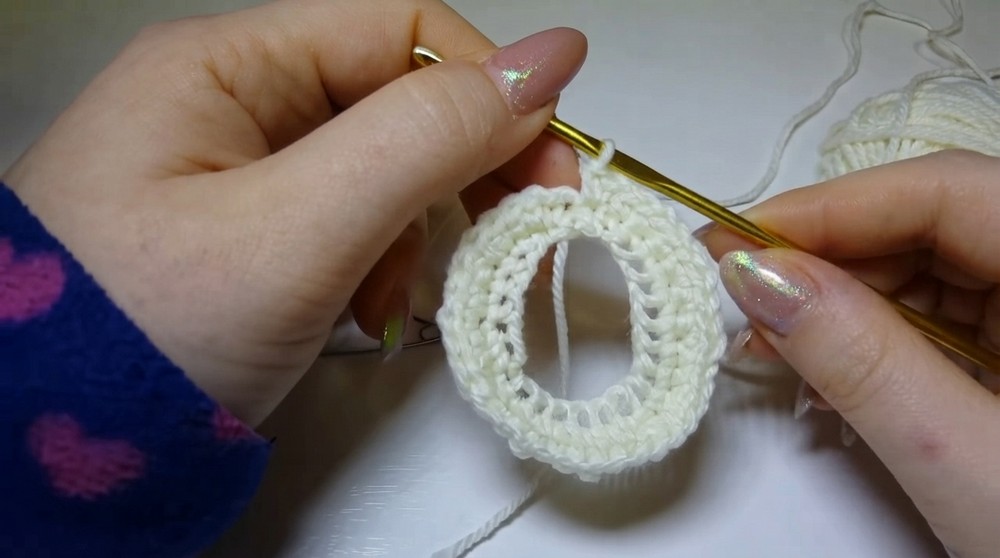
- Join the chain into a loop with a sl st into the first ch.
- Round 1: Work 1 sc in each chain around (24 sc). Do not join—work in a continuous spiral.
- Round 2: Start this round with 1 sc and insert a stitch marker in the first stitch to mark the beginning of the round.
- Pattern: 1 sc, inc (2 sc in the same stitch)—repeat from * to the end of the round.
- Round 3: Work 1 sc in each sc around (no increases).
- Round 4: Repeat Round 2: 1 sc, inc—repeat around the round.
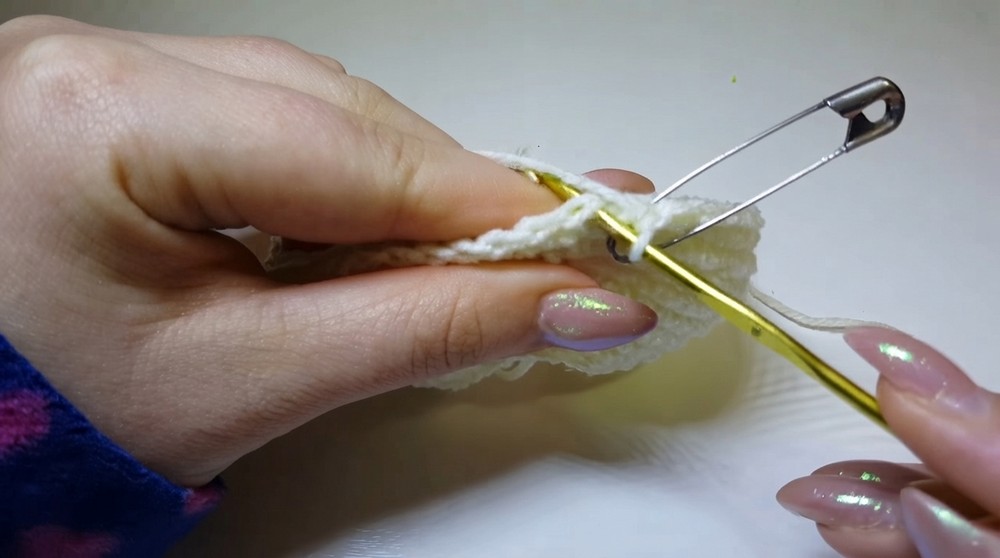
- Rounds 5 to 9 (5 Rounds): Work 1 sc in each stitch around without increasing. Remember to move your stitch marker to track progress.
- Stuff the donut as you go. Gradually begin adding stuffing, a little bit at a time, to make it firm but not overstuffed.
Closing the Donut Base
- Round 10: Pattern: 1 sc, dec (sc2tog)—repeat around the round.
- To make a decrease, insert your hook into the next two stitches, yarn over and draw through both loops, and then yarn over and draw through the remaining loops.
- Round 11: Work 1 sc in each stitch around following your stitch marker.
- Round 12: Repeat a combination of 1 sc and 1 dec around the circle.
- Final Round: Work 1 sc in each stitch.
- When the circle is small enough, finish with a sl st to close the round and leave a long tail for sewing.
Stuffing and Finishing the Donut Base
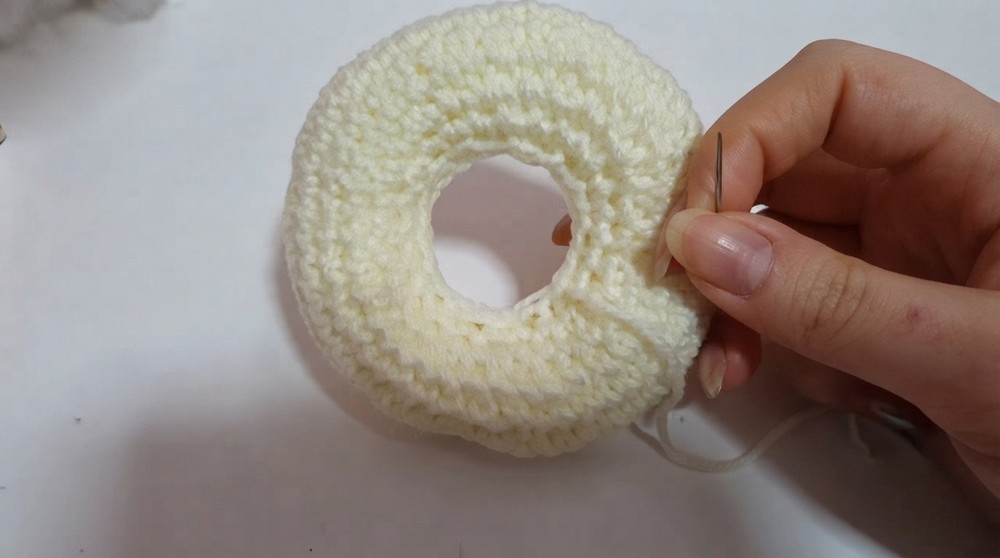
- Use your polyester fiberfill stuffing. Continue to stuff the donut to give it that round and plump look.
- Thread the remaining yarn tail through your yarn needle.
- Sew the two edges of the donut opening together securely. Use running stitches across both edges. Pull gently to avoid puckering the stitches.
- Hide the tail ends and trim off any excess yarn.
Icing
- Start with Color 2 (for icing).
- Create a slip knot and ch 24, just like for the donut base.
- Join the chain into a loop with a sl st into the first ch.
- Round 1: Work 1 sc in each chain around (24 sc). Move stitch marker as needed.
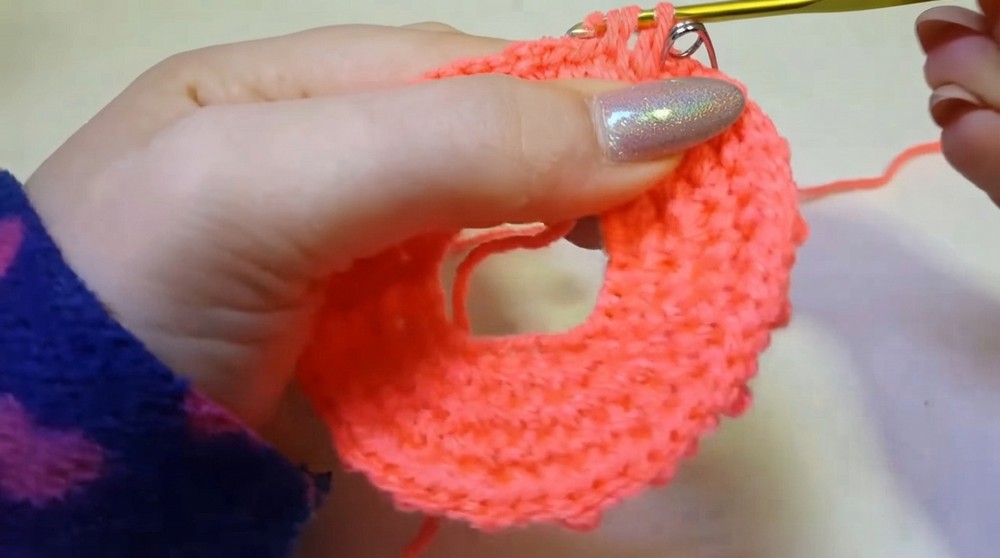
- Round 2: Work 1 sc, inc—repeat this sequence all the way around.
- Round 3: Work 1 sc in each stitch around (no increases).
- Round 4: Work 1 sc, inc—repeat this sequence all the way around.
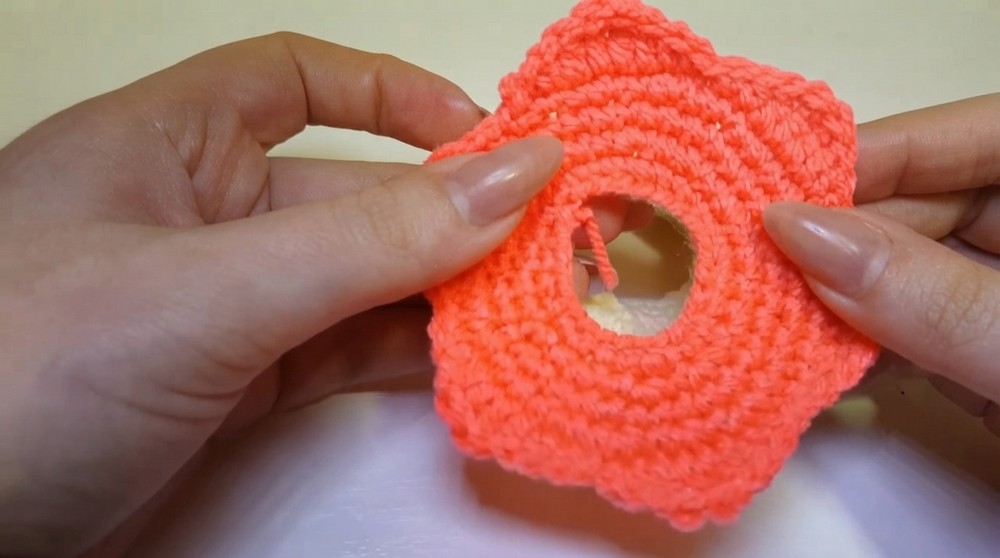
- Decorative Edge Round:
- Work the following sequence in each stitch:
- 1 sl st
- 1 sc
- 1 hdc
- 1 dc
- 2 tr in the same stitch (for a wavy “icing” edge)
- 1 dc
- 1 hdc
- 1 sc
- 1 sl st
Repeat this pattern all around the circle, and then finish with a sl st into the first stitch of the round.
- Work the following sequence in each stitch:
- Cut the yarn, leaving a minimal tail.
Assembly
- Place the icing over the donut base, centering it.
- Use a hot glue gun to adhere the icing to the donut. First, focus on securing the inner circle of the icing to the donut evenly.
- Next, apply glue around the outer edges of the icing and press it down on the donut, ensuring it curves along with the donut for a natural look.
- Use small decorations, such as beads, pearls, glitter, or tiny yarn stitches, to decorate the icing as "sprinkles." Hot glue or sew those into place accordingly.
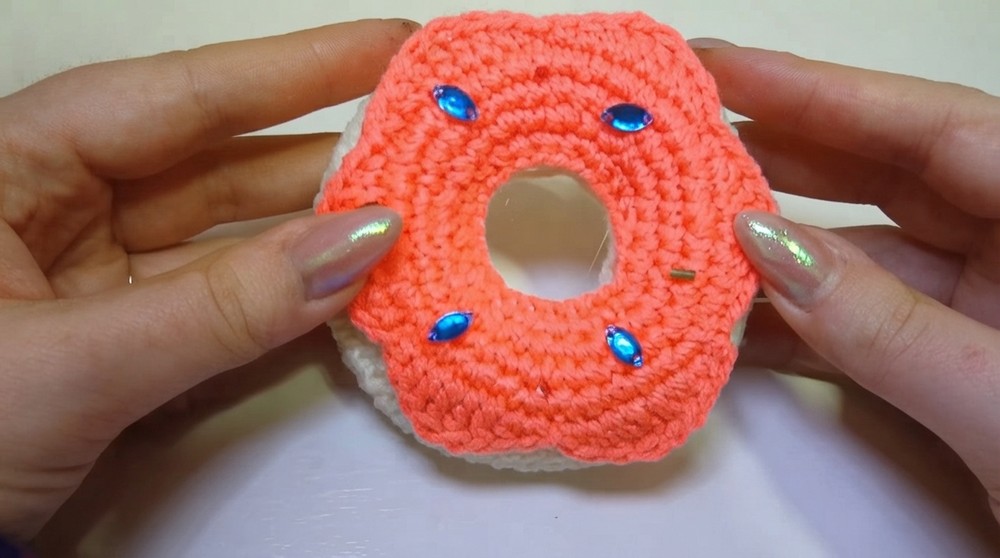
Finished Size
- The finished donut measures approximately 10–12cm in diameter and 5–6cm in height.
Conclusion
Congratulations, You’ve just completed your adorable crochet donut complete with colorful icing and sprinkles. This creative project is great for adding a touch of handmade charm to your décor or gifting your friends and family. Try experimenting with different colors for unique designs, pastel tones and neon shades are especially playful.