
Free Crochet Candy Pattern That’s Sweeter Than the Real Thing
Sweeten your day with colorful crochet candy by following this simple amigurumi pattern that transforms your yarn into the cutest and most delightful treats.
Crocheting adorable little candies is such a fun way to add charm to your projects, whether you're making decorations, party favors, or small gifts for loved ones. These sweet amigurumi candies are colorful, with a soft, rounded body and beautifully crafted wrappers at each end that mimic real candy packaging. What makes them even more special is their customizable design, you can make them in pastel shades for a delicate look, or use bold neon colors for something vibrant and playful. Adding unique color combinations for the candy and wrappers gives you endless possibilities to match your style or any occasion.
Free Crochet Candy Pattern That’ll Spruce Up Your Feed
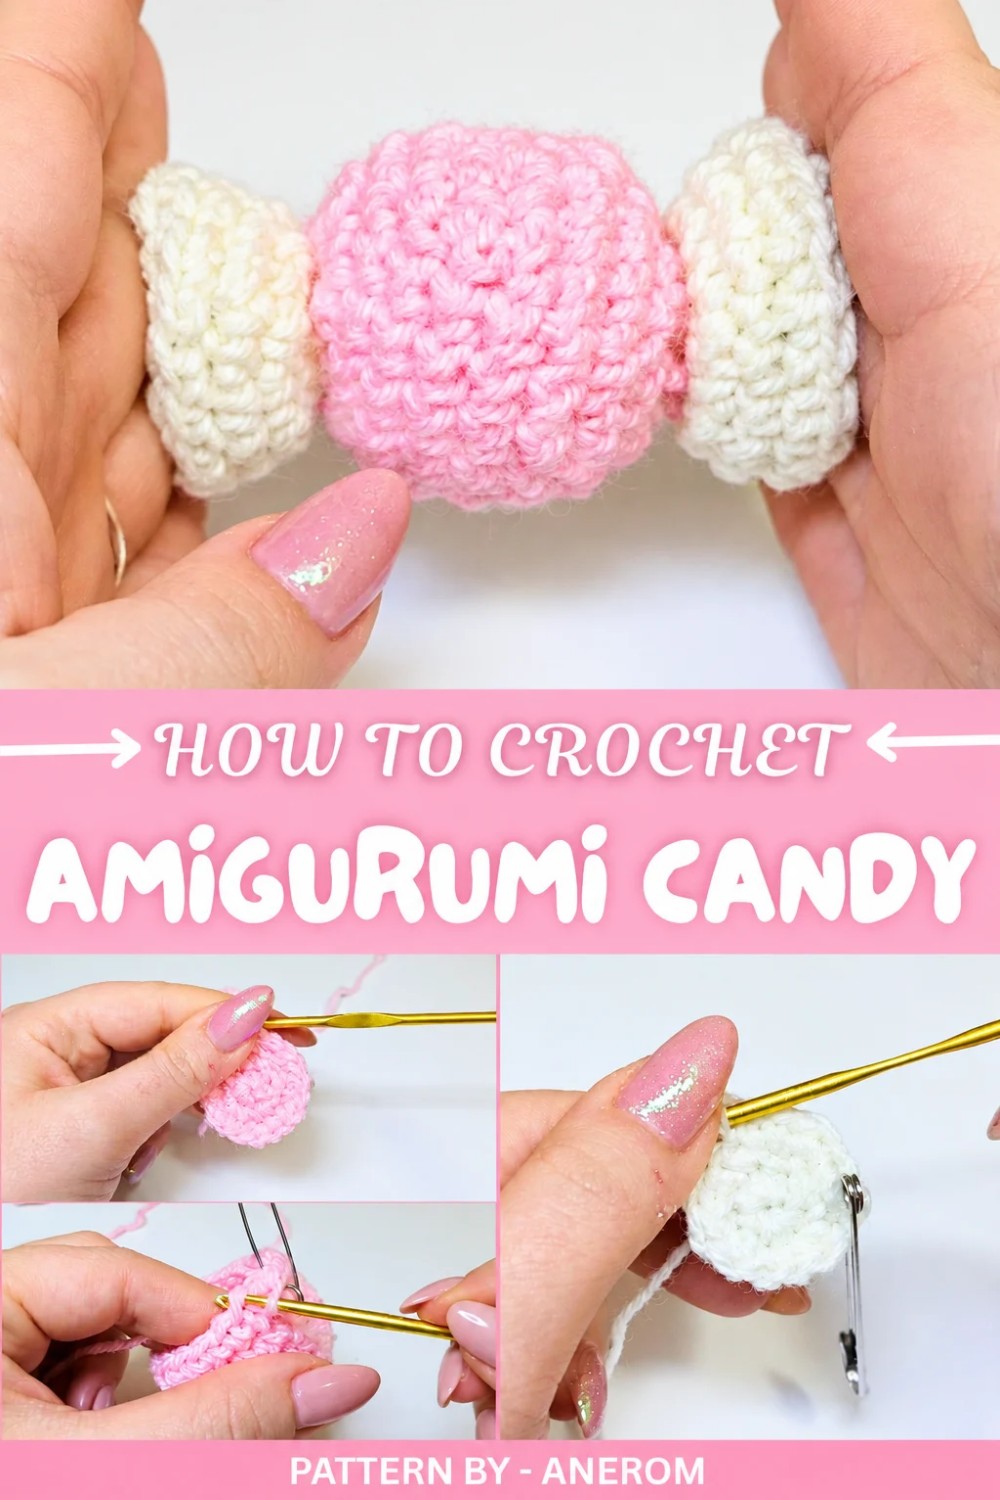
The process involves working on three separate pieces, the main candy body and two wrapper ends, that come together in a simple and quick assembly. The body is crocheted in a rounded shape using basic stitches, and then filled with fiber stuffing or cotton wool to give it that plump candy like texture. The wrapper ends are made with a clean, compact shape using lighter or contrasting yarn colors like white or cream, though any shade can work beautifully. Once each piece is ready, they can either be glued together effortlessly with fabric friendly hot glue or hand sewn for a more durable hold.
This charming design is thoughtfully shared by Anerom, a YouTube channel known for its helpful and delightful crochet tutorials. The video walks you step by step through creating candies from start to finish, with a friendly and clear explanation of how to nail the stitches and bring your projects to life quickly. These candies are not just fun to make, they’re a wonderful way to spread handmade joy.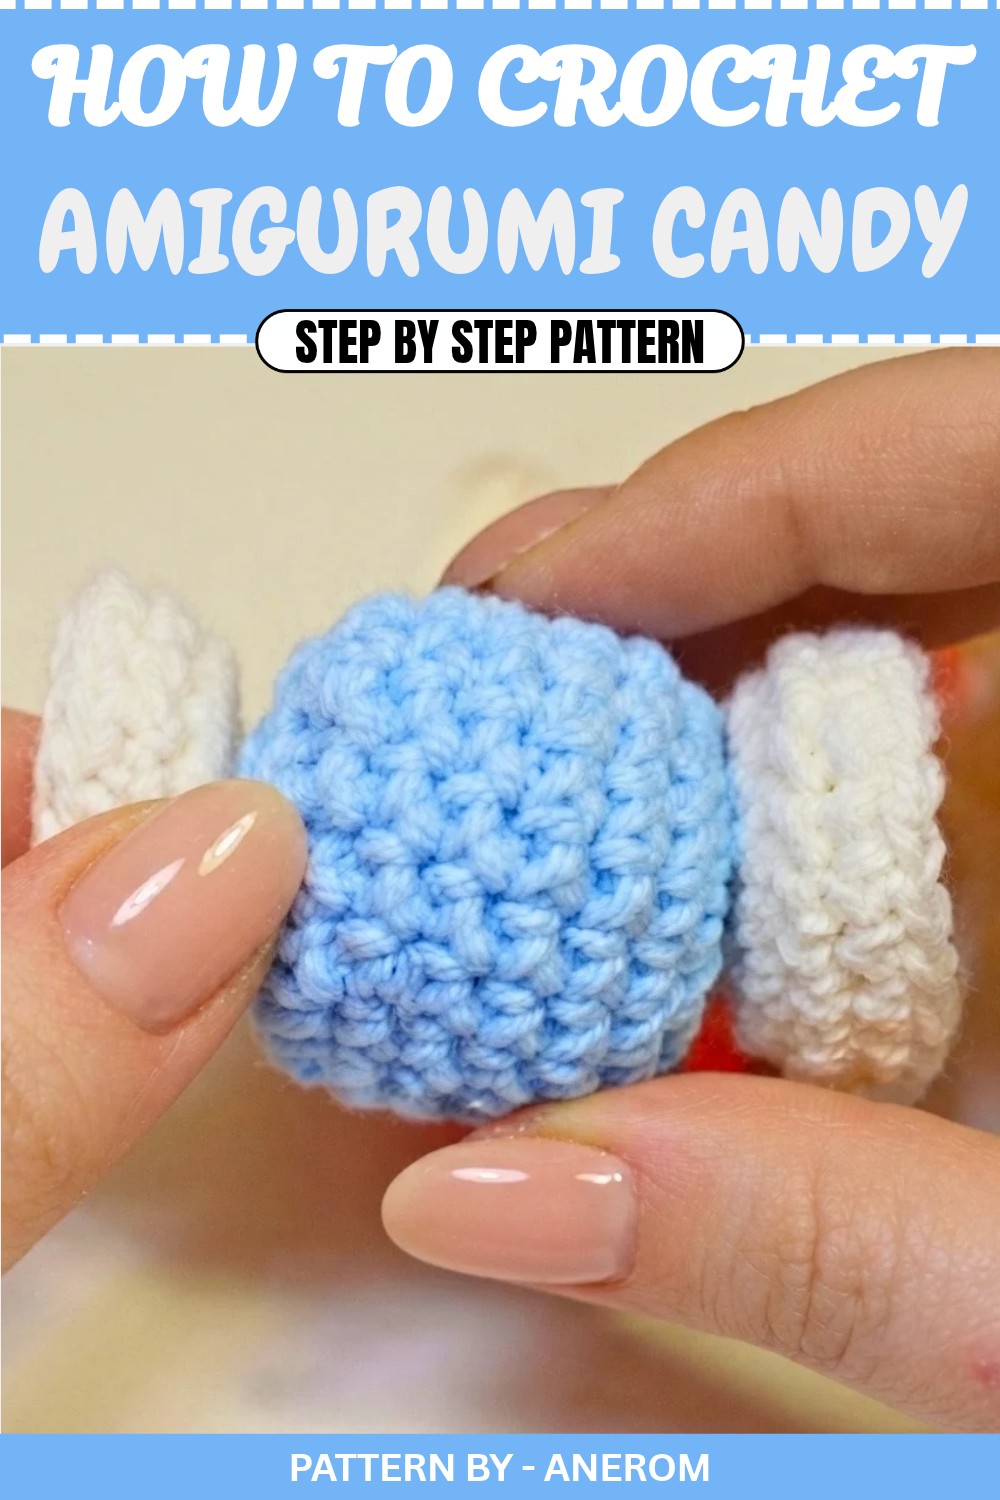
Crochet Tutorial: Amigurumi Candy Pattern
This crochet amigurumi candy pattern is designed to be both fun and simple, making it ideal for crocheters of all skill levels. The candy is created in three separate pieces, the candy body and two wrapper ends, and then assembled to create an adorable treat. Follow this guide for clear and detailed instructions.
Materials
To make this project, you will need:
- Yarn: Choose a main color for the candy and a light color (such as cream or white) for the wrapper ends.
- Crochet Hook: Use a size appropriate for the yarn (typically 3.0–3.5 mm).
- Stuffing: Fiberfill or cotton to stuff the candy body.
- Tapestry Needle: For sewing pieces together and weaving in ends.
- Stitch Marker: Optional, but useful for keeping track of rounds.
- Scissors: For trimming yarn.
- Hot Glue (Optional): For quick attachment of the wrapper ends.
Pattern Breakdown
The candy is made in three separate parts: the main candy body and two wrapper ends, which are then assembled. Follow the detailed instructions provided for a seamless result.
PART 1: The Main Candy Body
Step 1: Start with a Magic Ring
- Create a magic ring to begin.
Step 2: Round 1
- Inside the magic ring, work 6 SC (single crochets).
- Result: A small circle with 6 stitches.
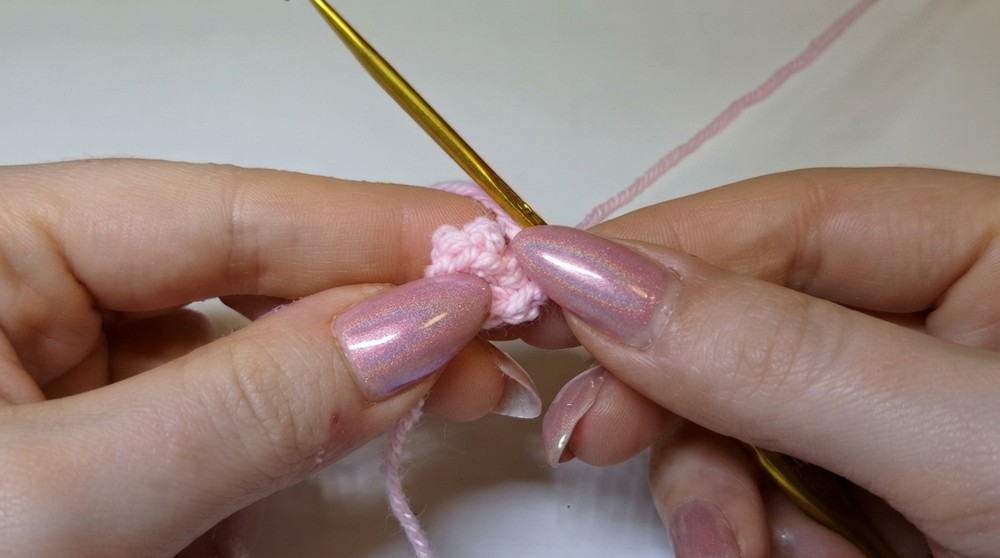
Step 3: Round 2
- Increase in each stitch (work 2 SC in each stitch).
-
- Result: 12 stitches total.
Step 4: Round 3
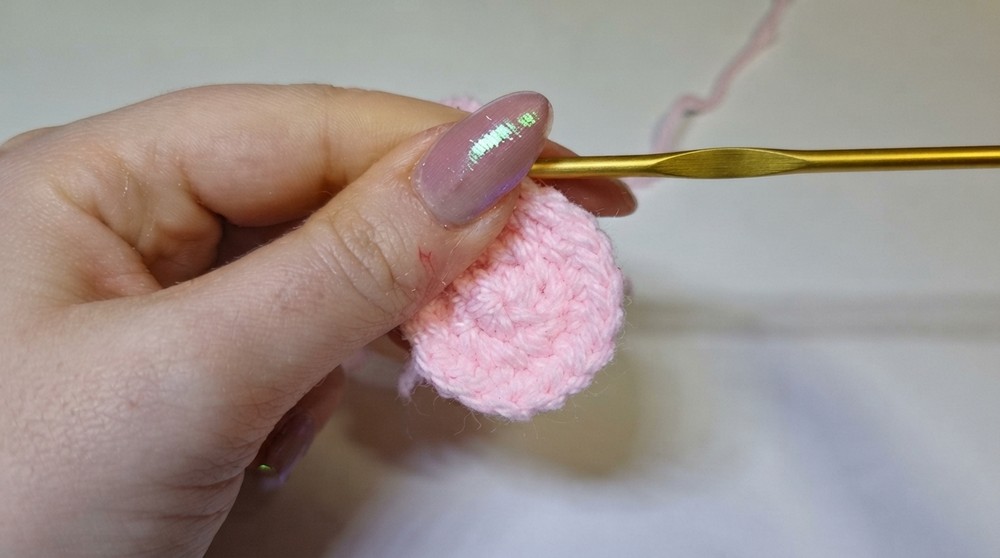
- Alternate 1 SC, 1 Increase (work SC in one stitch, 2 SC in the next stitch) around the circle.
-
- Result: 18 stitches total.
Step 5: Rounds 4–8 (5 rounds)
- Work 1 SC in each stitch around, maintaining the same total of 18 stitches.
-
- This creates the tubular body of the candy.
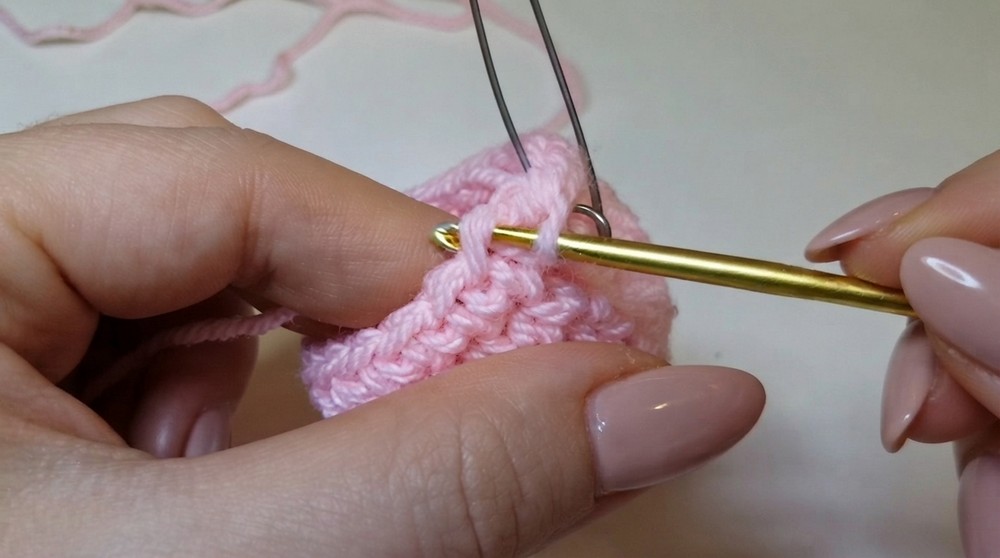
Step 6: Round 9 (Decreasing)
- Alternate 1 SC, 1 Decrease (use invisible decrease by crocheting only the front loops of the next two stitches).
- Result: 12 stitches total.
Step 7: Stuffing the Candy Body
- Pause and fill the candy body with fiberfill stuffing.
-
- Push the stuffing evenly into the tubular shape, ensuring it’s firm but not overstuffed.
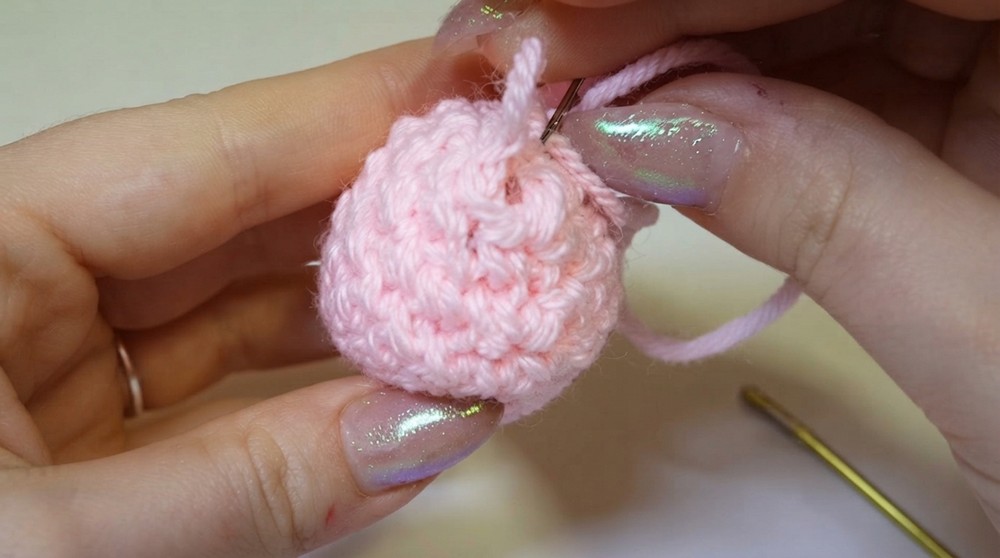
Step 8: Round 10 (Closing the Candy Body)
- Work 6 consecutive decreases to close the candy body.
- Fasten off the yarn and use the tapestry needle to close the remaining hole at the top.
- Weave in the ends to secure the stitches.
PART 2: The Wrapper Ends
Note: You will need to make two identical wrapper ends.
Step 1: Start with a Magic Ring
- Create a magic ring to begin.
Step 2: Round 1
- Inside the magic ring, work 6 SC (single crochets).
Step 3: Round 2
- Increase in each stitch (work 2 SC in each stitch).
- Result: 12 stitches total.
Step 4: Round 3
- Alternate 1 SC, 1 Increase (work SC in one stitch, 2 SC in the next stitch) around the circle.
- Result: 18 stitches total.
Step 5: Rounds 4–5 (2 rounds)
- Work 1 SC in each stitch around for 2 rounds, maintaining the same total of 18 stitches.
- This creates the height needed for the wrapper ends.
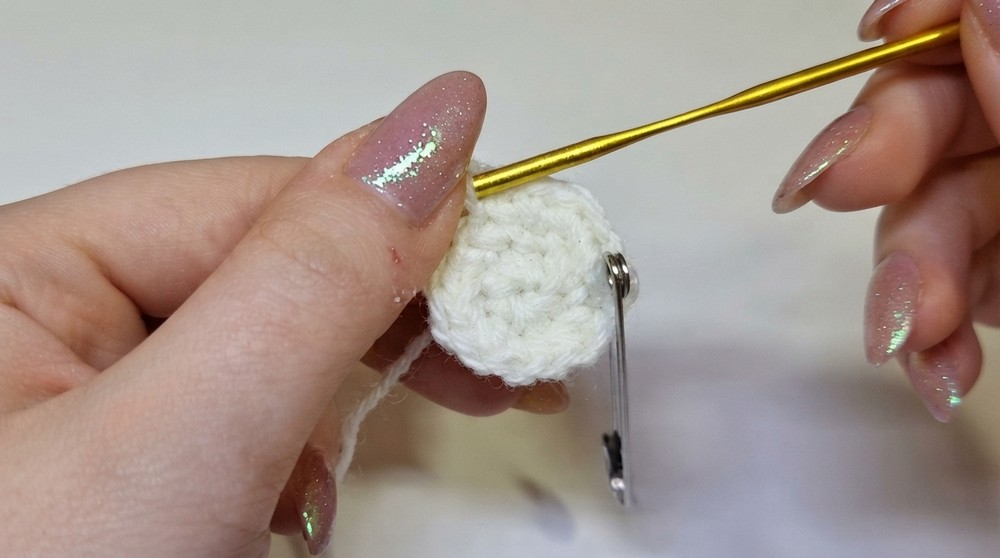
Step 6: Finish the Wrapper Ends
- Slip stitch into the next stitch and fasten off the yarn.
- Weave in the ends using the tapestry needle.
- Repeat the steps above to create the second wrapper end.
Assembly
Step 1: Attach the Wrapper Ends to the Candy Body
- Position the wrapper ends on either side of the candy body.
- Ensure they are centered for a symmetrical look.
Step 2: Joining (Two Methods)
- Hot Glue Method:
- Apply hot glue around the edge of the wrapper end.
- Press the wrapper end onto the candy body and hold firmly until the glue dries.
- Repeat for the second wrapper end.
- Sewing Method:
- Using the yarn tail and tapestry needle, sew the wrapper ends onto the candy body.
- Stitch around the edge carefully, ensuring no gaps are left.
- Weave in the yarn ends to secure the attachments.
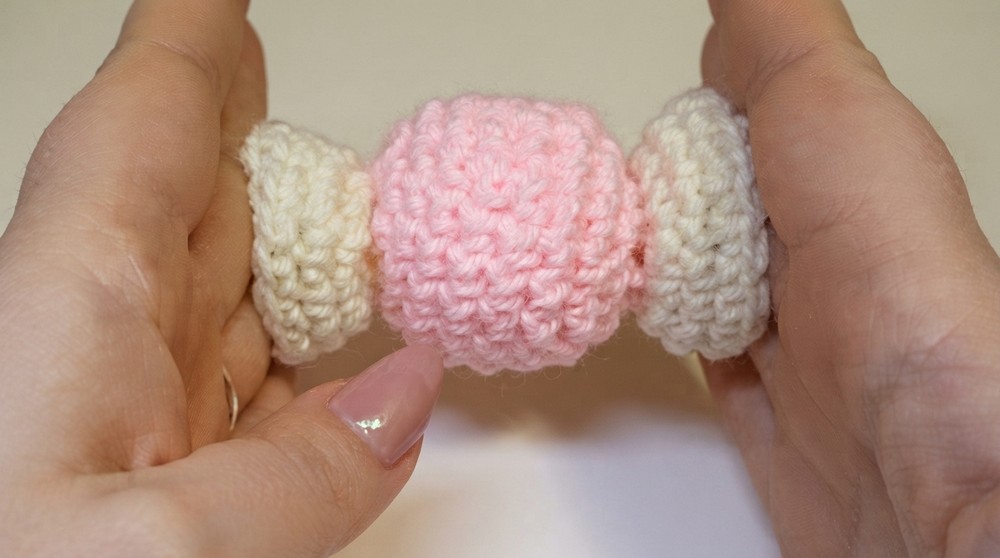
Finished Size
The completed amigurumi candy will measure approximately 3–5 inches long, depending on the yarn and hook size used. The stuffed candy body gives it a soft, rounded appearance, perfect for display or gifting.
Tips for Customization
- Change Colors: Use pastel colors for soft, sweet aesthetics or bold neon shades for a playful design.
- Add Decorations: Attach small bows, beads, or miniature snowflakes for extra festive appeal.
- Adjust Size: To make larger candies, increase the starting number of stitches for the body and wrapper ends.
Conclusion
Congratulations on completing your crochet amigurumi candy. This charming little project is quick, beginner friendly, and perfect for adding whimsical flair to your space or gifting to loved ones. Assemble with glue for speedy crafting or sew for a sturdier finish, the choice is yours.