
Free Crochet Large Flower Pattern for Spring Wreaths
Add flair to your life by crocheting big, vibrant flower with this free simple and fun pattern just for yarn lovers.
Pattern By Anerom
A blooming flower can instantly brighten any space, which is why I love sharing this free crochet large flower pattern. Perfect for decorating your home, adding flair to totes, or even creating stunning statement pieces, this project brings a bold and beautiful floral charm to life. The flower features an expansive design with layered petals for added dimension, giving it a full, textured look. Its oversized, striking shape makes it a standout accessory for almost any crochet project, from wall hangings to cushions to hair accessories.
This project comes together in layers, with each petal elegantly stacked to create depth and volume. The base is worked as a foundation circle, and from there, you’ll add rounds that gradually build up into large, robust petals. While it uses simple stitches like chains, double crochets, and slip stitches, the arrangement has been thoughtfully designed to give the flower a professional and polished feel.
Free Pattern to Crochet Flower for Wall Art or Frames
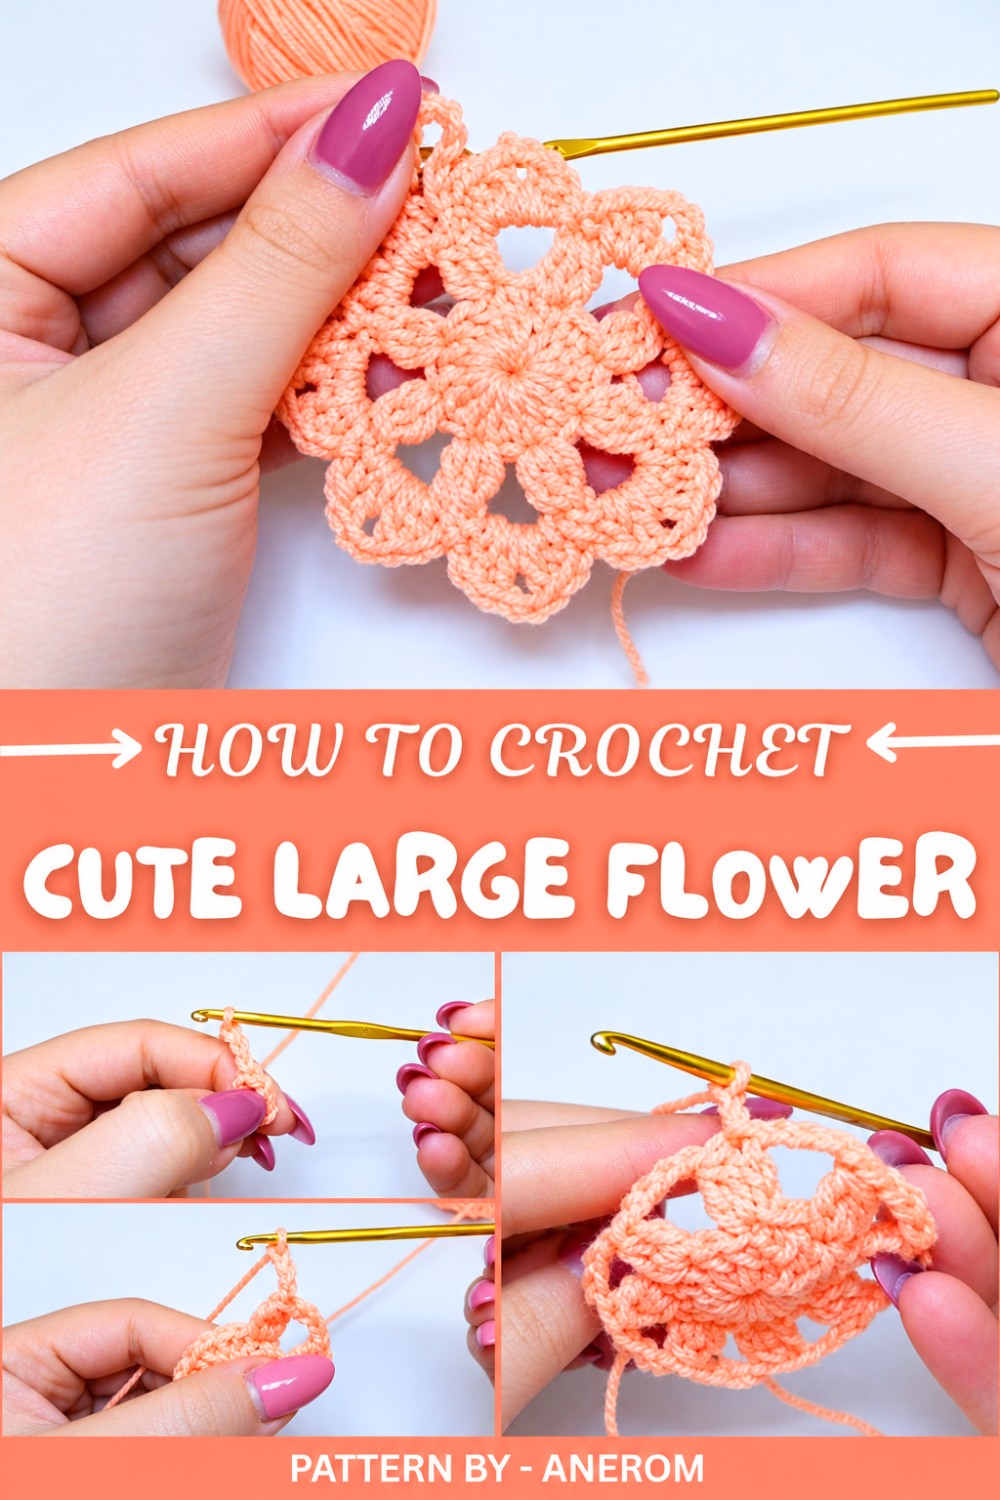
The inspiration for this design came from the blooming flowers I grew up seeing in my grandmother’s garden. I wanted to capture that lush, oversized look while keeping it easy to make for crocheters of all skill levels. To achieve the best results, I recommend using medium weight cotton yarn for that balance of structure and softness, though acrylic works well for brighter, bolder pieces. Experiment with combining multiple colors for an ombré effect or stick with a single shade for a classic, timeless flower.
Whether you’re an experienced crocheter or just looking for a fun, versatile project, this pattern is easy to follow and yields stunning results. Large and vibrant, this flower is sure to catch the eye and bring a little extra beauty wherever it’s displayed.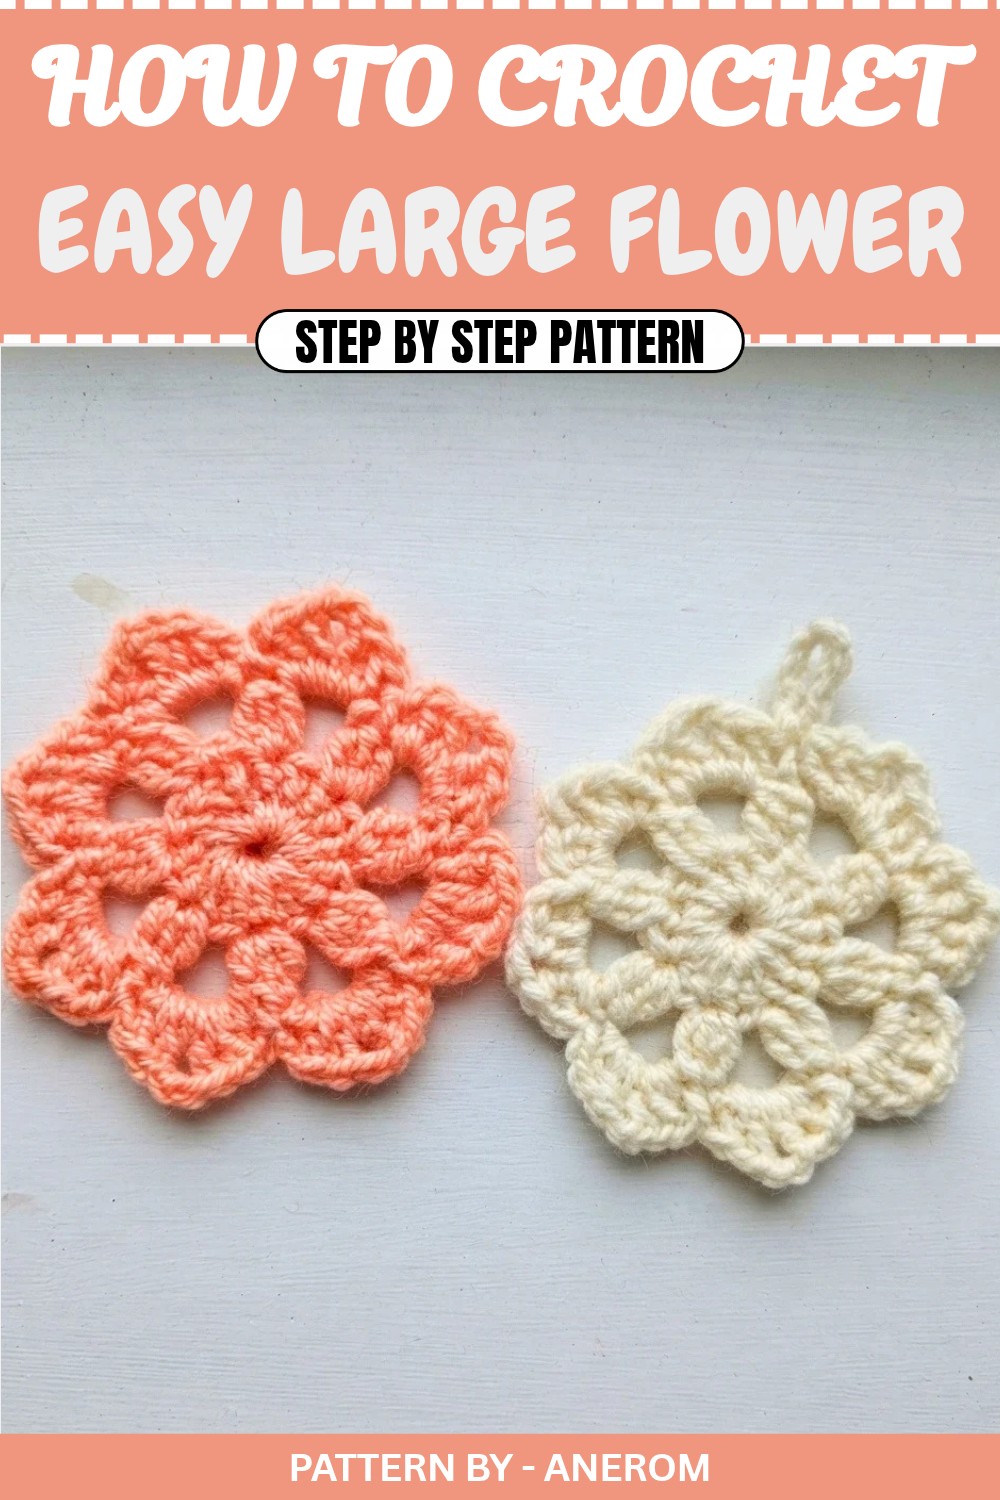
Crochet Pattern: Simple Floral Design with Hanging Loop
Quick Overview of Pattern
- A crochet floral design with a hanging loop made using simple stitches.
- The flower can be used as a decorative piece, an accessory like earrings, or a charm for hanging.
- Ideal for both beginners and intermediate crocheters.
Notes
- This pattern uses basic crochet techniques and is worked in various rounds.
- The hanging loop (optional) is created at the end with simple chains and slip stitches.
- You can adjust the size of the flower by using thicker or thinner yarn and hooks.
Skill Level
Beginner to Intermediate: Includes basic and slightly advanced stitches like slip stitches, chains, single crochet, double crochet, and cluster stitches.
Materials
- Yarn: Acrylic yarn (weight 2.5 mm; color of choice – orange used for the demonstration).
- Crochet Hook: Corresponding to the yarn size (hook size: 2.5 mm recommended).
- Scissors
- Tapestry Needle (for weaving in ends)
Measurements
- Finished flower diameter: Approximately 4–5 cm, depending on yarn and hook size.
- Loop length: Adjustable (demonstration features approximately 10 chains).
Gauge
Gauge is not critical for this project but should be uniform to achieve consistent results.
Stitch Abbreviations
- ch: Chain
- sl st: Slip Stitch
- sc: Single Crochet
- dc: Double Crochet
- 3 dc cluster: Three double crochets closed together in one stitch
Special Stitches
3 Double Crochet Cluster
- Yarn over, insert hook into specified stitch, yarn over and pull up a loop (three loops on hook).
- Yarn over, pull through two loops on the hook (leave one loop unworked).
- Repeat steps 1–2 two more times from the same stitch until there are four loops on the hook.
- Yarn over and pull through all loops to close the cluster.
Crochet Pattern
Foundation Round
- Create a slip knot on your hook.
- Chain 6, then join the first chain with a sl st to form a ring.
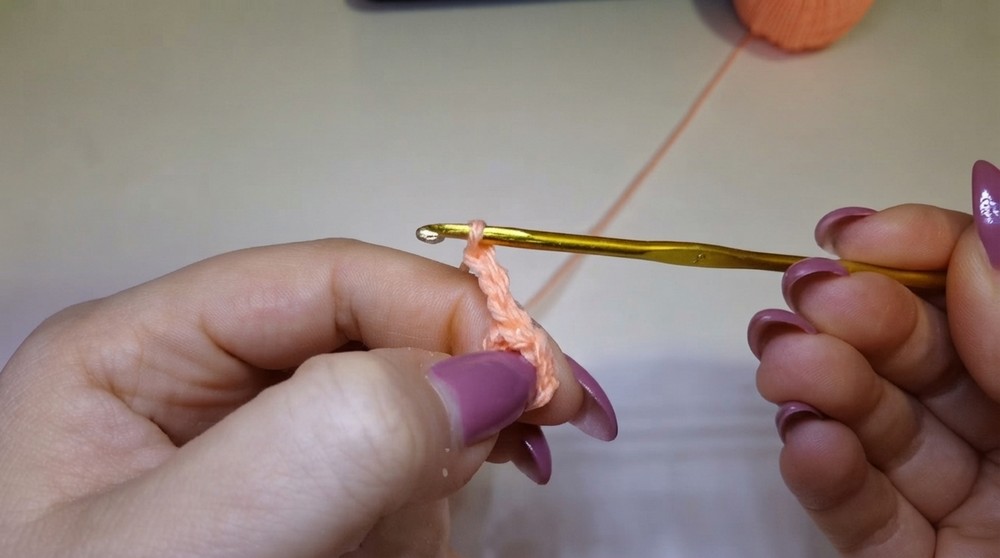
Round 1: Create the Center
- Ch 3 (counts as the first dc).
- Work 15 dc inside the ring. (You should have 16 dc stitches in total, including the starting ch 3).
- After completing the 15 dc, pull the tail of your yarn to close the ring tightly.
- Join with a sl st into the third chain of the initial ch 3 to close the round.
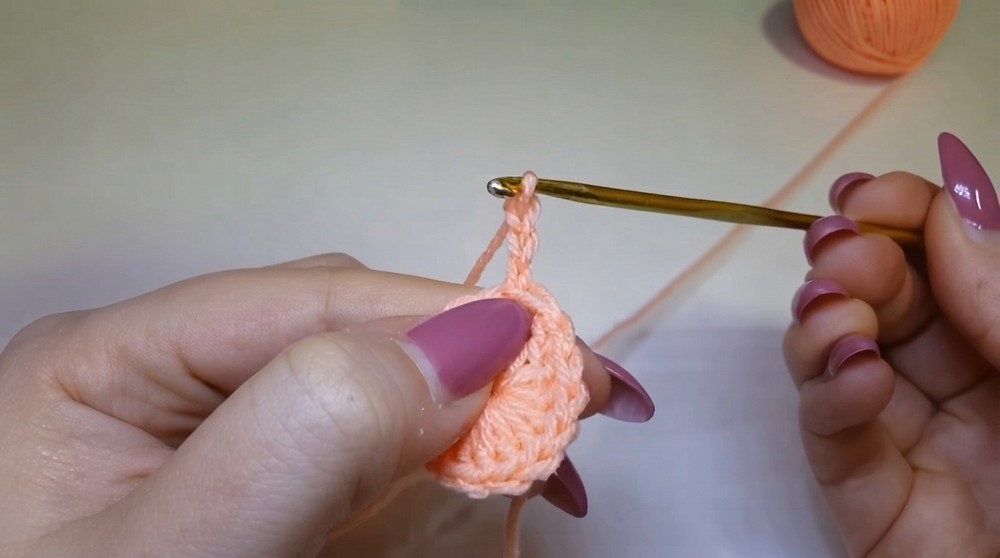
Round 2: Form Petal Bases
- Ch 3, then work 2 dc clusters (two dc stitches closed together) into the same stitch as the ch 3.
- Ch 4, skip the next stitch, and in the following stitch, work a 3 dc cluster.
- Repeat the sequence: ch 4, skip one stitch, and work a 3 dc cluster into the next.
- Continue the sequence around the circle until you have 8 clusters separated by ch 4 spaces.
- After the last ch 4, join with a sl st to the top of the first cluster.
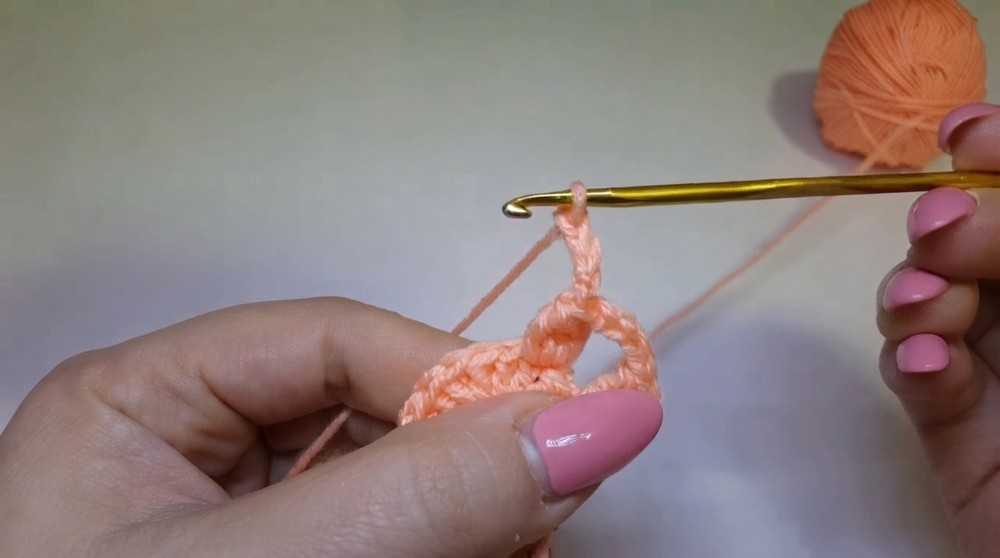
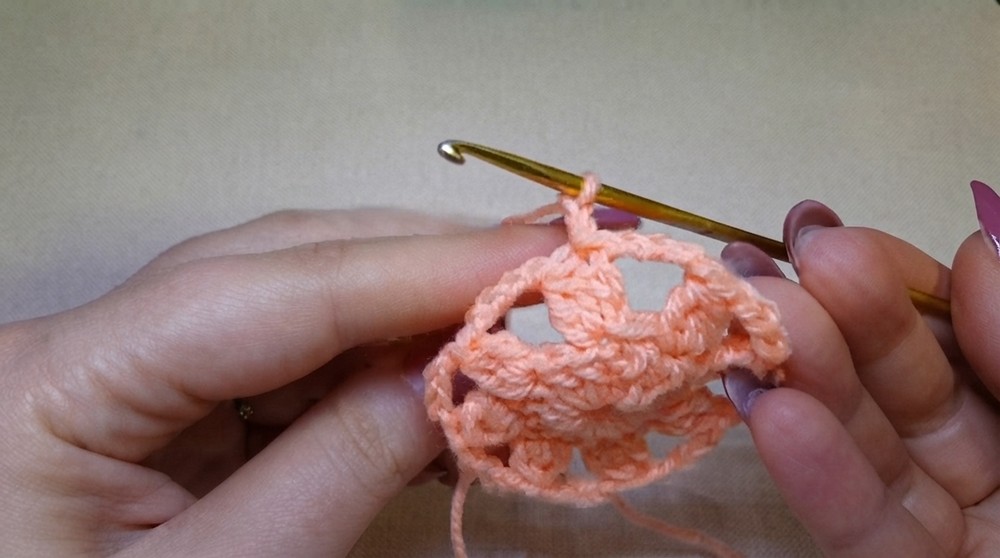
Round 3: Create Petals
- Start the round with ch 2.
- In each ch 4 space from the previous round, work the following:
- 2 dc
- ch 2
- 2 dc
- After completing the stitches in the ch 4 space, ch 1, then work a sl st into the top of the cluster from the previous row.
- Repeat this sequence for each ch 4 space to complete all 8 petals.
- At the end of the round, join to the base of the first petal with a sl st.
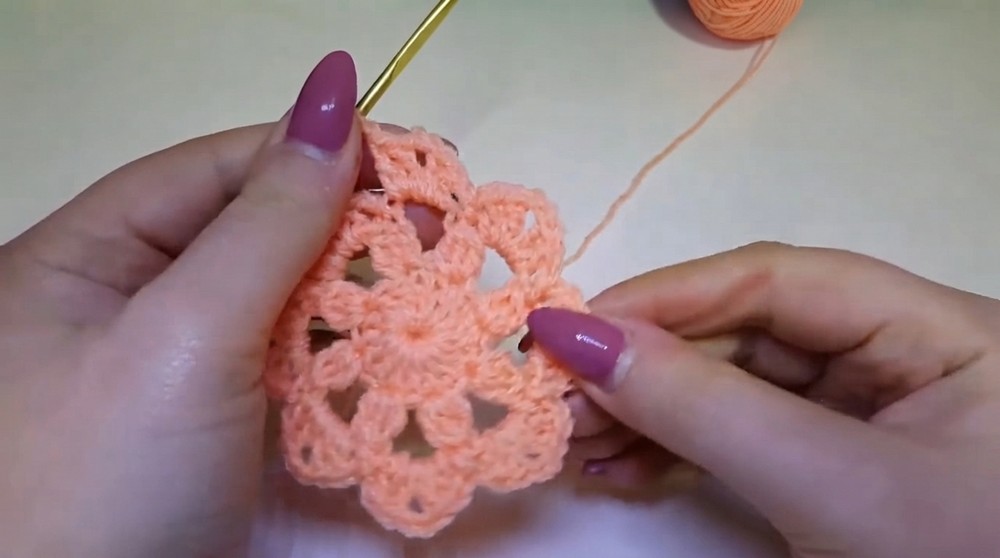
Optional Hanging Loop
- To create a hanging loop, ch 10.
- Join the last chain back to the base of the petal with a sl st to form the loop.
- Fasten off the yarn and weave in the ends with a tapestry needle.
Assembly & Finished Size
- The flower, when completed, should measure approximately 4–5 cm in diameter.
- The size may vary slightly based on your tension or the yarn used.
Assembly Ideas:
- Use thinner yarns such as cotton if creating earrings or smaller accessories.
- For larger projects (e.g., garlands), use thicker yarn and larger hooks to make bigger flowers.
- Attach the flower to a keychain, a gift wrap, or a decorative string for added creativity.
Conclusion
This crochet flower pattern is simple, fun, and versatile, allowing you to play with colors and sizes. Whether you use it as a hanging decoration or incorporate it into other projects, this design is sure to add a handmade touch of beauty to your space.