
Crochet Evil Eye Keychain Pattern For Your Favorite Purse
Level up your creativity and craft a colorful evil eye keychain with this super easy and beginner friendly crochet pattern that's fun to make.
Inspiration From kcihangir
A pop of color and a touch of charm, that’s what the Evil Eye Keychain brings to the table. Inspired by the traditional evil eye bead known for its protective symbolism, this playful circular accessory stands out with its layered rings of black, blue, and white. The cozy texture and petite size make it a perfect addition to any bag, purse, or keyring, and it doubles as a thoughtful handmade gift with a cultural twist.
Whether you prefer bold, high contrast colors or want to freshen it up with softer shades, it’s easy to customize. The stuffing gives it a cushiony feel and a tidy rounded shape, while the single crochet edge provides strength and a polished finish, making it durable even for regular use. Cotton yarn works wonderfully here; it highlights the texture beautifully and keeps the colors vibrant. Personal touches, like changing yarn types or adding embellishments, can make it uniquely yours.
Create The Ultimate Lucky Evil Eye Keychain Pattern
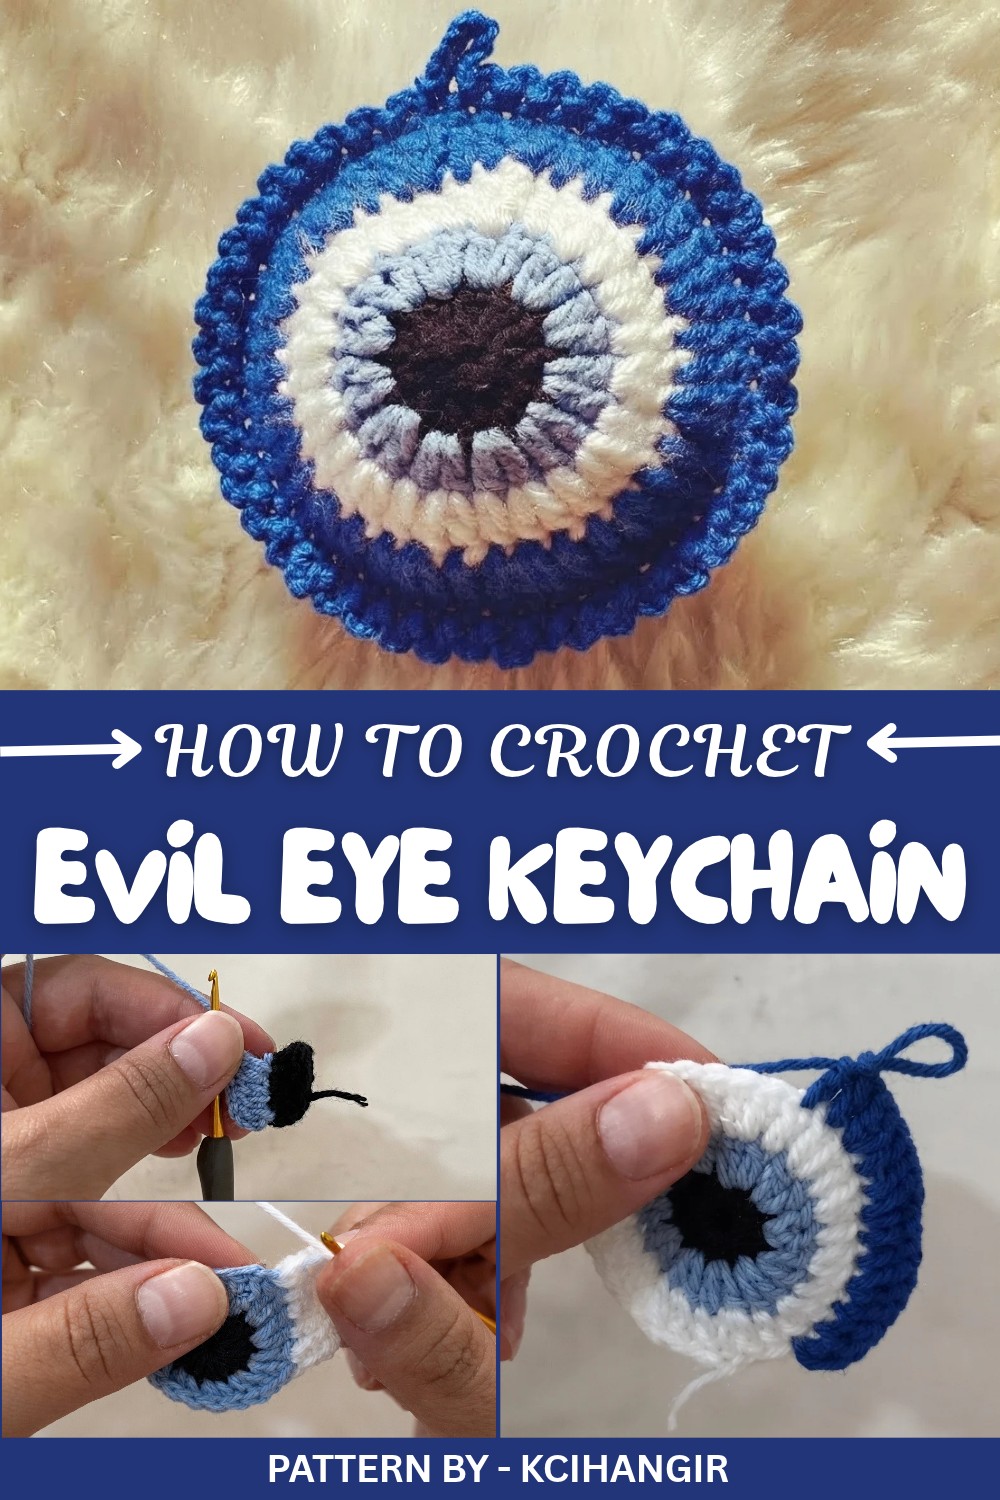
As quick and relaxing as this project is, the meaning behind it gives it extra heart. The evil eye motif isn’t just stylish, it’s a symbol of positivity and protection that’s appreciated across cultures. That makes these little keychains perfect gifts for birthdays, housewarmings, or “just because” moments. With a few color adjustments, you can even coordinate them for seasonal themes or special occasions.
So why not add a splash of personality to your day? These keychains are fun to make, easy to customize, and bring a little bit of good luck wherever they go.
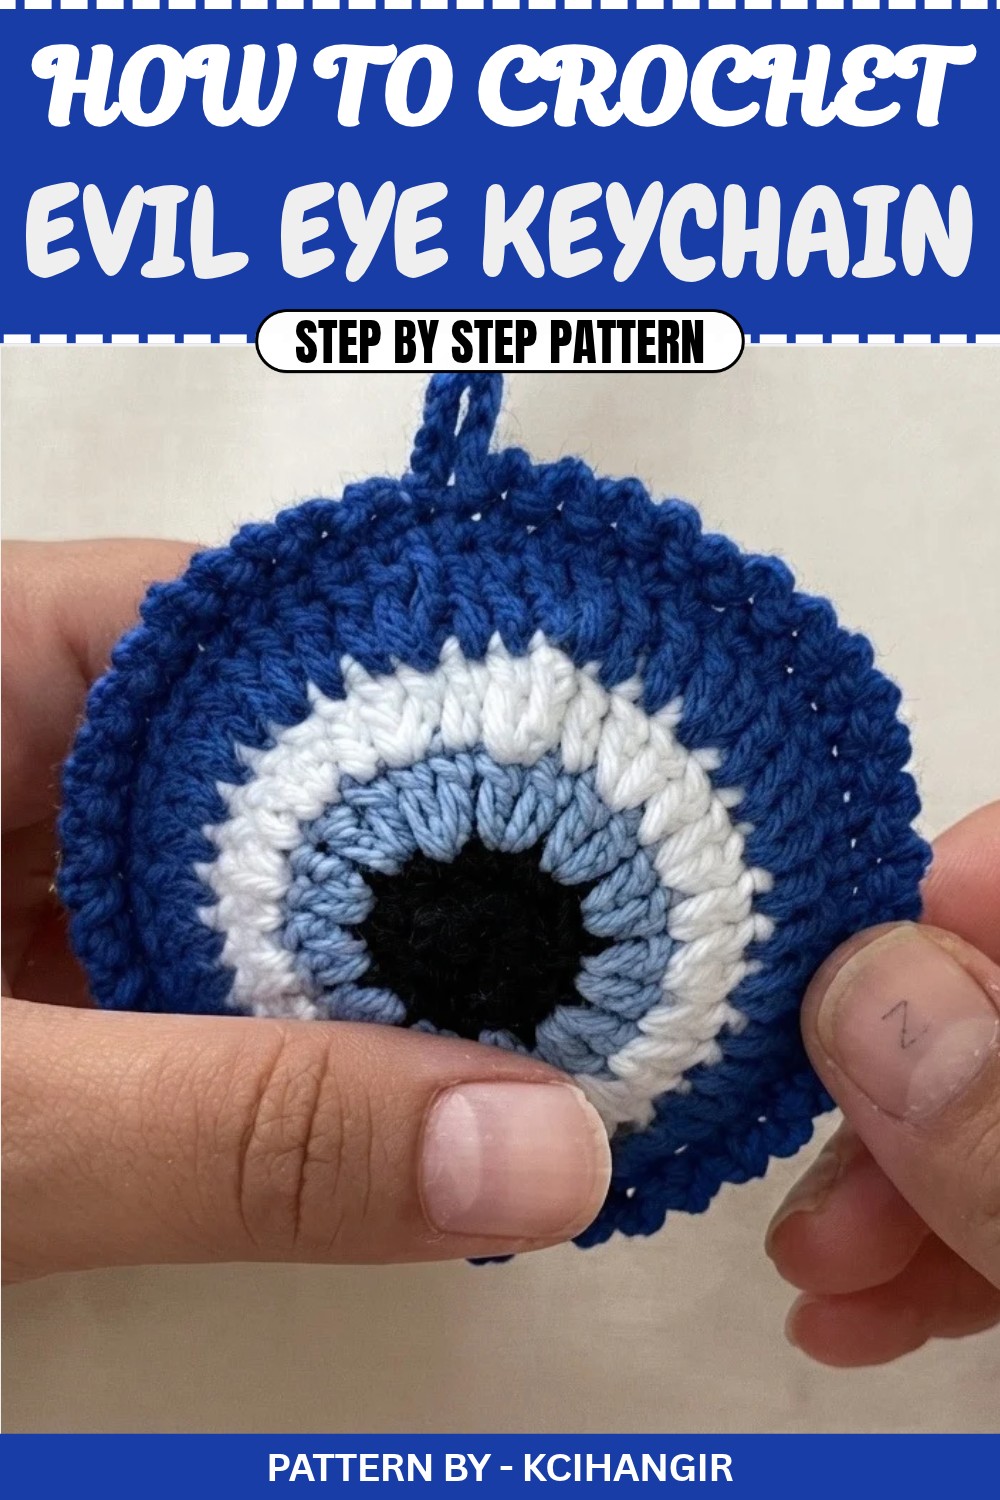
Crochet Pattern: Nazar Boncuğu (Evil Eye) Keychain
This pattern guides you through creating a lovely handcrocheted Nazar Boncuğu (Evil Eye) keychain step by step, including all construction, assembly, and finishing details. You will crochet two identical pieces and join them together, stuffing them to create a soft and decorative keychain. Follow this detailed guide carefully to achieve your handmade accessory.
Materials Needed
- Yarn: Black, light blue, white, and dark blue (cotton or acrylic yarn recommended).
- Crochet Hook: 3.00 mm.
- Stuffing: Fiberfill/polyester stuffing.
- Keychain Hardware: Keyring or hook attachment.
- Scissors: For cutting yarn.
- Yarn Needle: For weaving in ends and finishing touches.
Skill Level
Beginner – You will use basic crochet techniques, including the magic ring, chain stitch, double crochet, and slip stitch.
Gauge
Exact gauge is not critical for this project, but ensure your stitches are uniform. Each finished piece is approximately 6-7 cm in diameter.
Stitch Abbreviations
- mr = magic ring
- ch = chain
- dc = double crochet
- sl st = slip stitch
- sc = single crochet
Pattern Instructions
Piece 1 & 2 (Repeat these steps to create two identical pieces):
Row 1 – Black Center
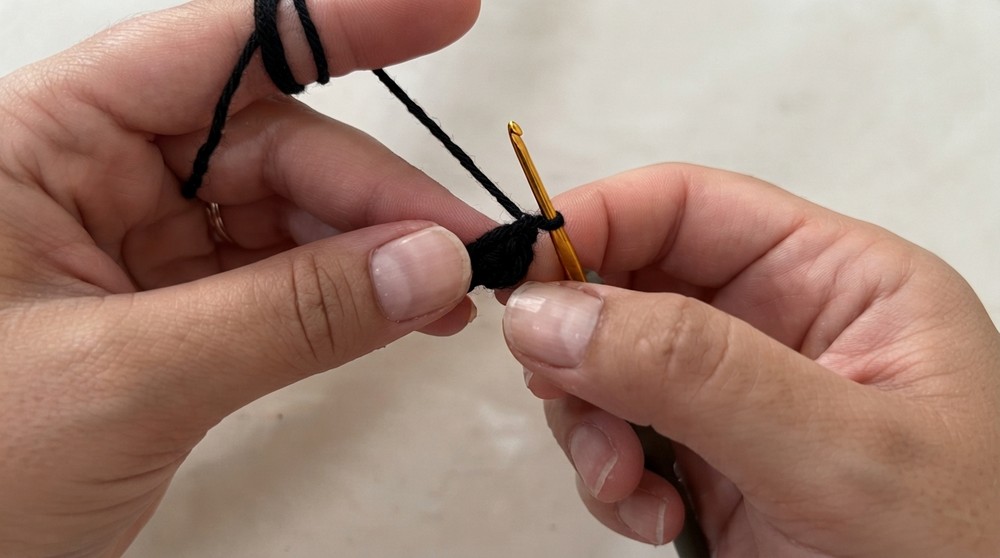
- Start with a magic ring:
- Wrap the black yarn around your finger, creating a loop. Insert the crochet hook into the loop, pull the yarn through, and chain 1 to secure.
- Pull the yarn end tightly to create an adjustable ring.
- Work into the magic ring:
- Ch 3 (counts as the first dc).
- Crochet 11 dc inside the ring (total of 12 stitches, counting the initial ch-3).
- Close the row:
- Pull the loose end tightly to close the ring completely.
- Sl st into the top of the ch-3 to join and secure the row.
- Cut the black yarn and fasten off.
Row 2 – Light Blue Row
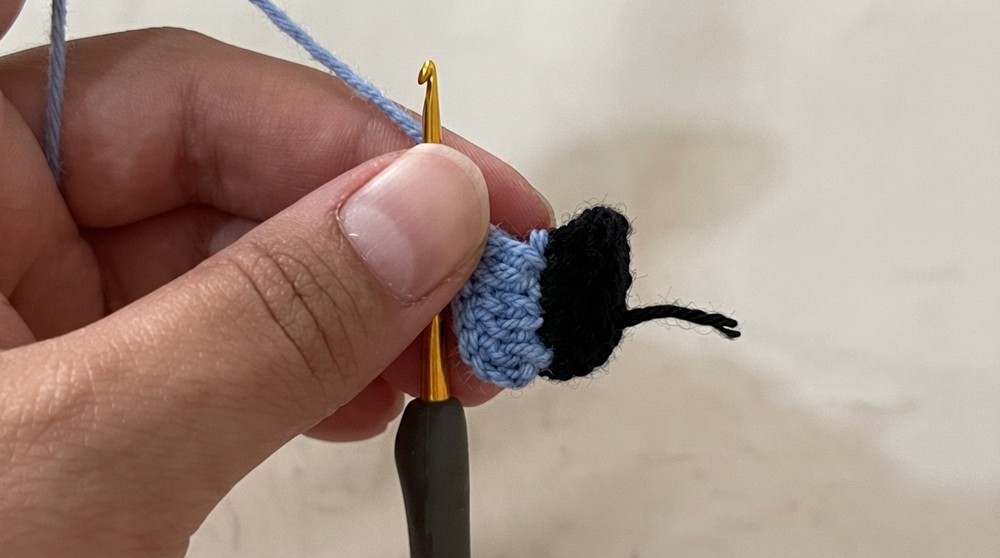
- Attach the light blue yarn to any stitch.
- Ch 1.
- Work 2 dc (increase) into each stitch from Row 1 (for a total of 24 dc).
- Close the row:
- Sl st into the starting stitch to join the row.
- Cut the light blue yarn and fasten off.
Row 3 – White Row
- Attach the white yarn to any stitch.
- Ch 3 (counts as the first dc).
- Work a sequence of 1 increase (2 dc in one stitch) followed by 1 single dc:
- Repeat this pattern around the entire circle for a total of 36 dc.
- Close the row:
- Sl st into the starting stitch to join the row.
- Cut the white yarn and fasten off.
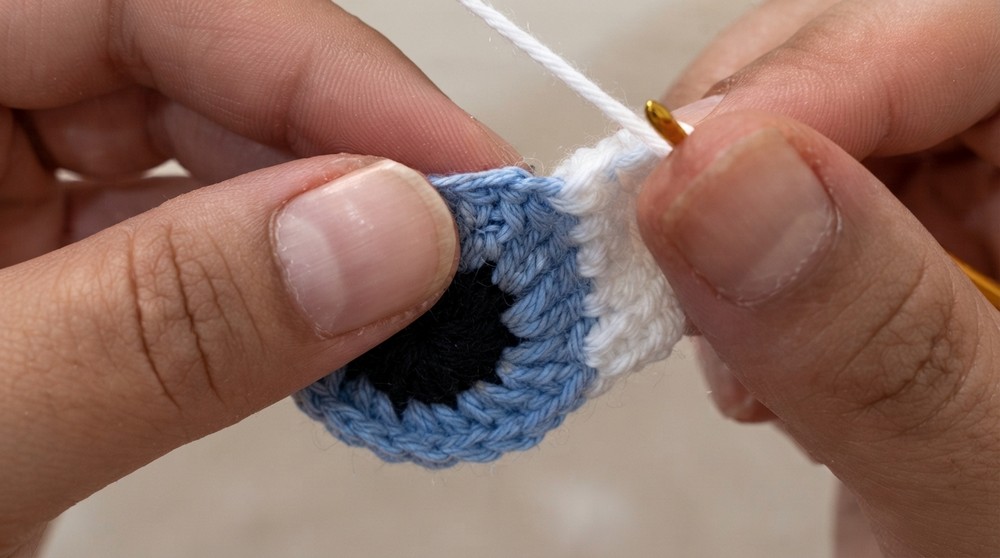
Row 4 – Dark Blue Row
- Attach the dark blue yarn to any stitch.
- Ch 3 (counts as the first dc).
- Work a sequence of 1 increase (2 dc in one stitch) followed by 2 single dc:
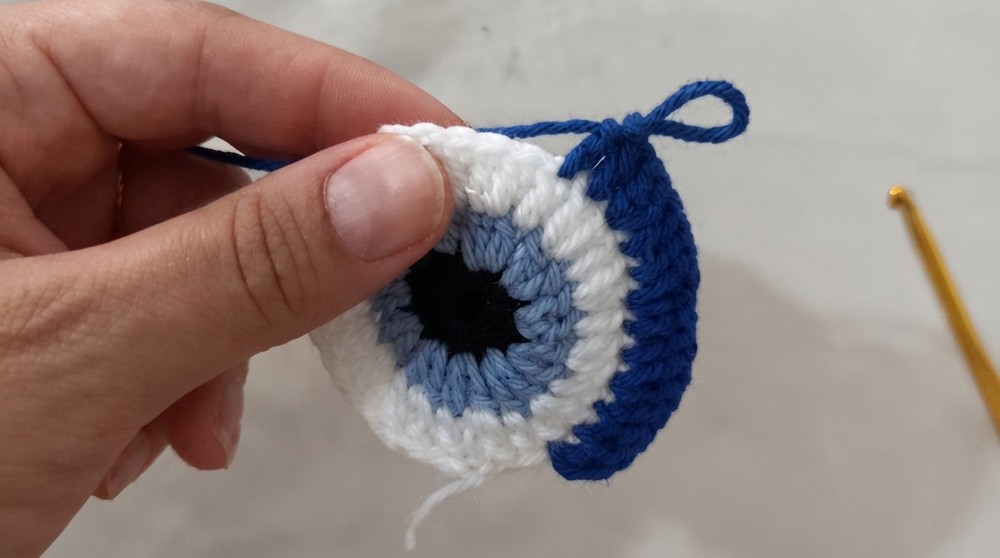
- Repeat this pattern around the entire circle for a total of 48 dc.
- Close the row:
- Sl st into the starting stitch to join.
- Do not cut the dark blue yarn.
Assembly and Finishing
Joining the Pieces
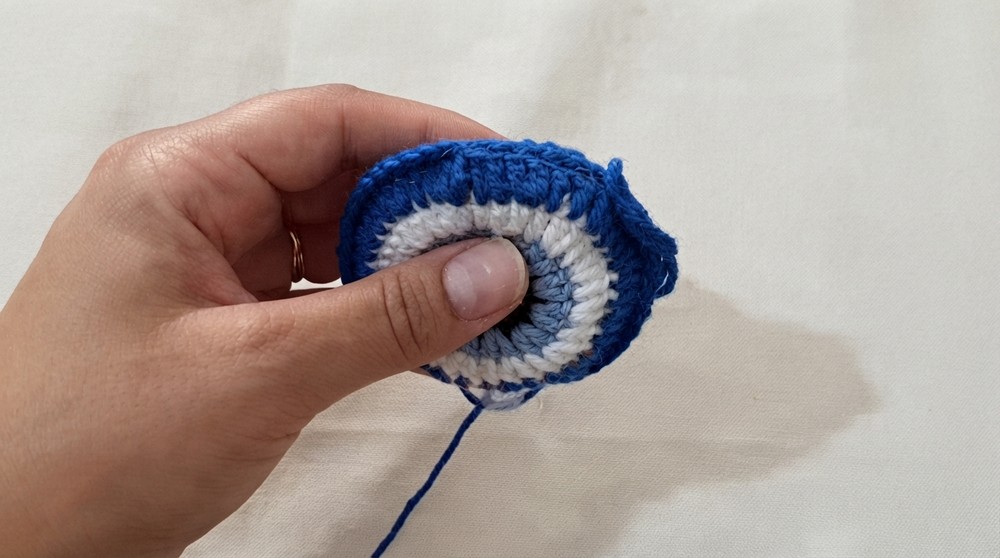
- Place the two finished pieces back to back, ensuring the colors align properly.
- Using the dark blue yarn, work single crochet (sc) to join the two layers:
- Insert the hook through the corresponding stitches of both layers and work sc around the edge.
- Continue until the pieces are almost fully joined—leave a small opening.
Stuffing
- Use fiberfill stuffing (e.g., polyester fiberfill):
- Insert stuffing through the opening you left earlier.
- Adjust the amount of stuffing to achieve your desired firmness—avoid overstuffing to maintain the circular shape.
- Once stuffed, continue working sc to close the opening completely.
Decorative Border
- After fully closing the piece:
- Ch 3 and work a sl st into the next stitch.
- Repeat this sequence (ch 3, sl st in next stitch) around the edge to create a scalloped border.
Keychain Loop
- Create the loop for the keychain attachment:
- Work 8 ch at the final stitch.
- Attach the chain loop to the top of the keychain with a sl st.
- Fasten off and cut the yarn.
Weaving Ends
- Using a yarn needle, weave in all loose threads, hiding them inside the stuffed piece for a clean finish.
Finished Size
Each finished Nazar Boncuğu piece will measure approximately 6-7 cm in diameter, excluding the keychain loop.
Conclusion
Congratulations, You’ve completed your handmade Nazar Boncuğu (Evil Eye) keychain. This unique accessory is perfect as a thoughtful gift or personal keepsake. The bright colors and compact design make it an eye catching addition to your keychain or bag.
Be sure to try out variations with different color combinations or embellishments to customize your project further.