
Free Pattern: Stylish Baby Booties for Every Outfit
Start your first baby project with this free crochet baby booties pattern and make sweet little shoes using clear and simple directions.
Creating adorable baby shoes is both fun and heartwarming, and the pair inspired by Beyzalle CRAFT’s video tutorial has so much charm. These baby booties stand out because they are thoughtfully designed to be stylish yet functional. With their double layered, thick soles, they are durable and cozy, making them perfect for little ones to wear comfortably at home. The upper part of the booties is worked with care, featuring a snug fit around the ankle for proper support.
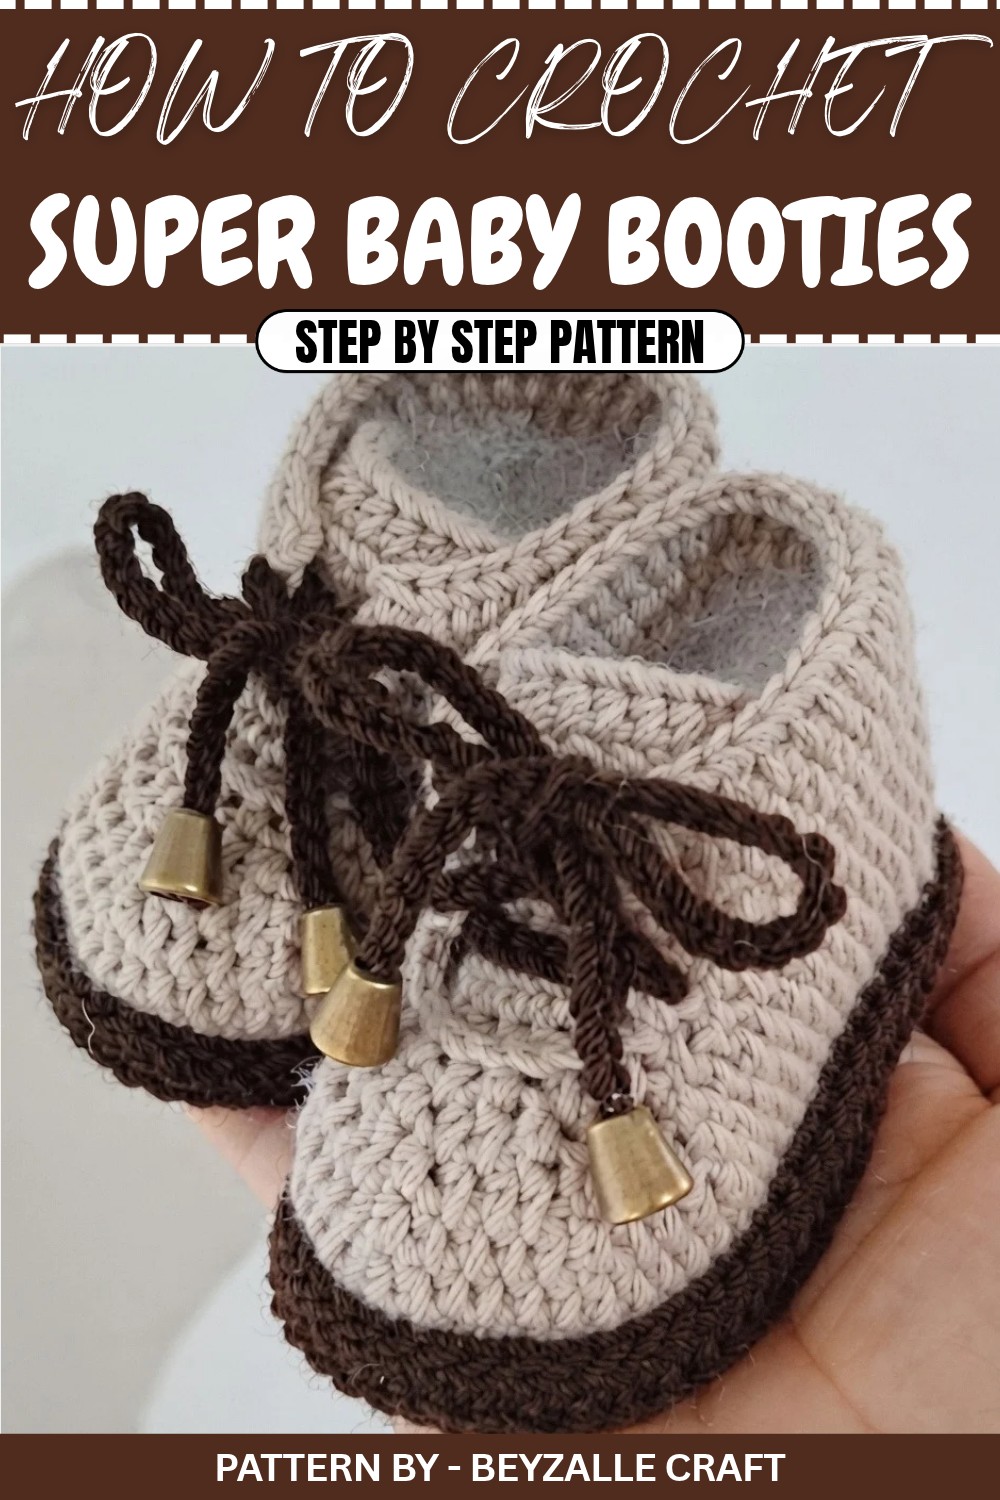
One of the most attractive features of these baby booties is their shape. They resemble tiny house shoes but with a modern twist, the added tongue and delicate crochet laces give them a more polished and classy appearance. They are both cute and practical, making them ideal for everyday use, baby shower gifts, or even a way to contribute to your family’s budget by selling them.
Free Pattern to Crochet Soft and Cute Baby Booties Today
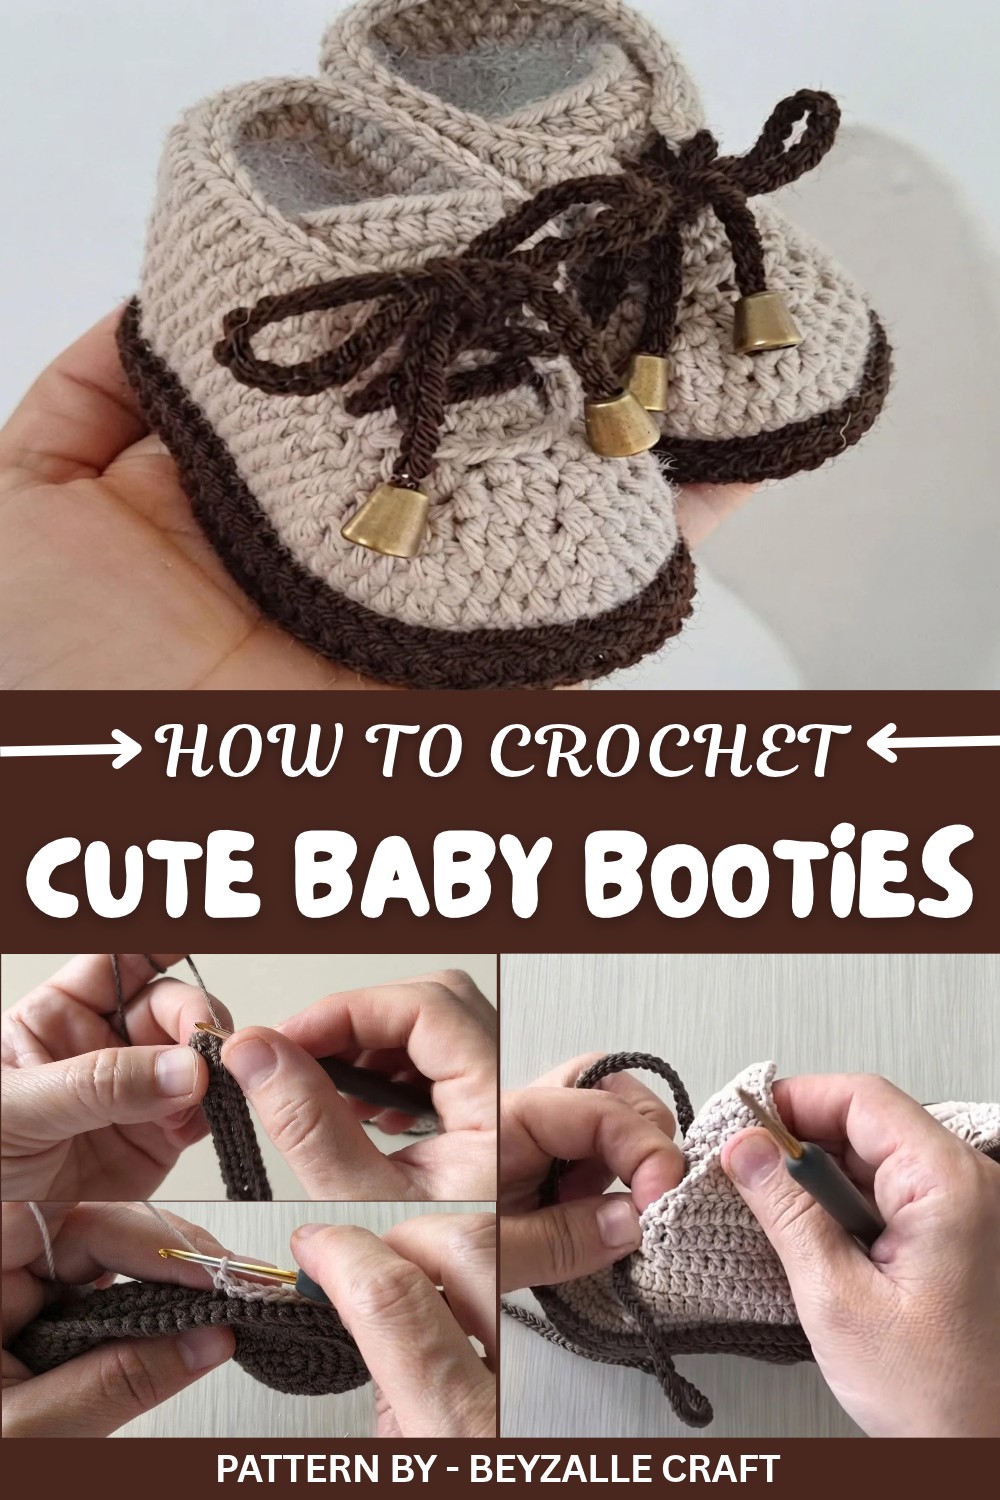
The booties are made using the amigurumi technique, with detailed guidance for each stitch, row, and increase. The thick, flexible anti pilling yarn recommended in the video ensures that the booties remain soft and are able to fit babies of different ages, from newborns to toddlers up to 1.5 years old.
Whether you are crocheting your first baby booties or are an experienced crocheter looking for inspiration, these stylish booties are a project you’ll enjoy. To make them truly unique, you can even try experimenting with color combinations.
Crochet Pattern: Baby Booties
This pattern guides you on how to create adorable baby Booties that are soft, comfortable, and perfect for little ones aged 6 months to 1.5 years. These shoes are made using the amigurumi technique, with a double layer sole for added durability. Whether you're looking for a thoughtful handmade gift, a creative way to stock items for sale, or just something cozy for your little one, this pattern is the perfect start.
Quick Overview of Pattern
- Project Type: DIY Crochet Baby Shoes
- Main Features: Double layer sole and amigurumi technique for structure, with an optional lace up design for added charm.
- Uses: Perfect as indoor baby shoes, baby shower gifts, or even for craft sales.
- Difficulty Level: Beginner friendly with simple stitches and step by step guidance.
Notes
- The pattern is adjustable for different sizes depending on yarn thickness, hook size, and stitch tension.
- Gauge isn't crucial for this project, as baby shoes are naturally flexible.
- The base length of 13 cm fits most babies aged 6 months–1.5 years.
- A firm tension is recommended for a structured and neat look.
Skill Level
Beginners to Intermediate: Requires knowledge of basic crochet stitches like single crochet (SC), half double crochet (HDC), and double crochet (DC), as well as basic increasing/decreasing techniques.
Materials
- Yarn:
- Soft, medium weight yarn suitable for baby projects.
- Anti pilling yarn is recommended for durability (e.g., a Nako Pırlanta or a similar soft, slightly thick yarn).
- Crochet Hook: 2.5 mm crochet hook.
- Tools: Tapestry needle for sewing seams and weaving in ends.
- Scissors: To finish edges cleanly.
- Optional: Baby shoe lace end caps or decorations for extra detailing.
Measurements / Sizing
- Length of Sole: 13 cm.
- Fits babies aged 6 months to 1.5 years, depending on the stretch of the yarn and size of the baby’s foot.
Gauge
Gauge isn’t critical for this project. However, for reference:
- 10 cm x 10 cm square = 22 SC x 28 rows with a 2.5 mm hook and medium-weight yarn.
Stitch Abbreviations
- Ch: Chain
- SC: Single Crochet
- HDC: Half Double Crochet
- DC: Double Crochet
- Sl St: Slip Stitch
Special Stitches
- Increase: Work 2 SC, HDC, or DC in the same stitch.
- Decrease: Insert hook into the first stitch, yarn over and pull up a loop, insert into the next stitch, yarn over and pull through both loops, then pull through all loops on the hook.
Construction Steps
1. Sole (Make 2)
Foundation & Row 1
- Chain 16 loosely.
- Starting from the 3rd chain, work 13 SC evenly. In the last chain, work 3 SC into the same stitch.
- Continue along the other side of the foundation chain: 13 SC, then work 3 SC into the final loop on the other side.
- Join with a Sl St to the first SC to complete the round. (32 stitches)
Row 2
- Chain 1 and work 13 SC, followed by 3 increases (work 2 SC into each stitch at the curve).
- Continue with 13 SC along the opposite side, then work 3 increases at the curve.
- Slip stitch to join. (38 stitches)
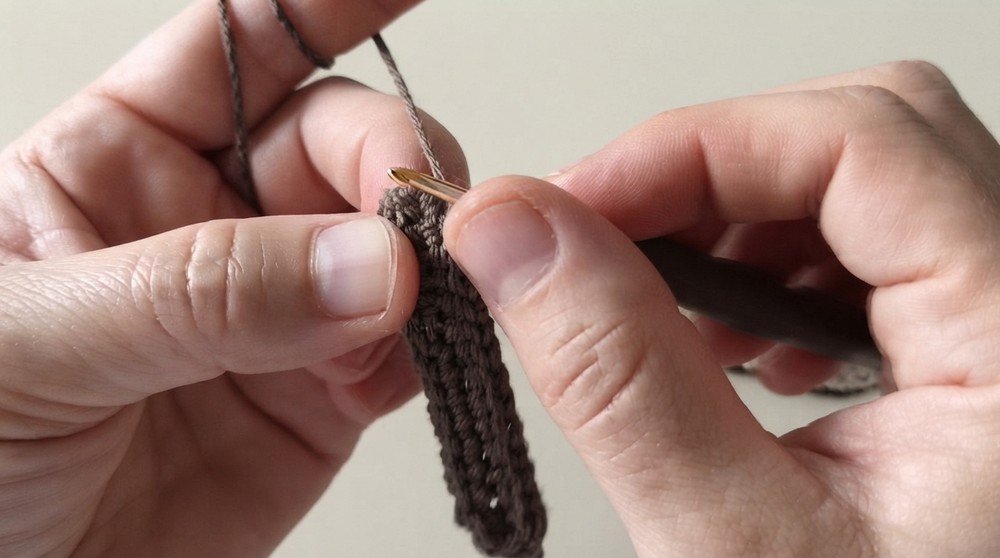
Row 3
- Chain 1, then:
- Work 7 SC, 3 HDC, 3 DC, 6 DC increases, 3 DC, 3 HDC, 8 SC, and 5 SC increases.
- Slip stitch to join. (49 stitches)
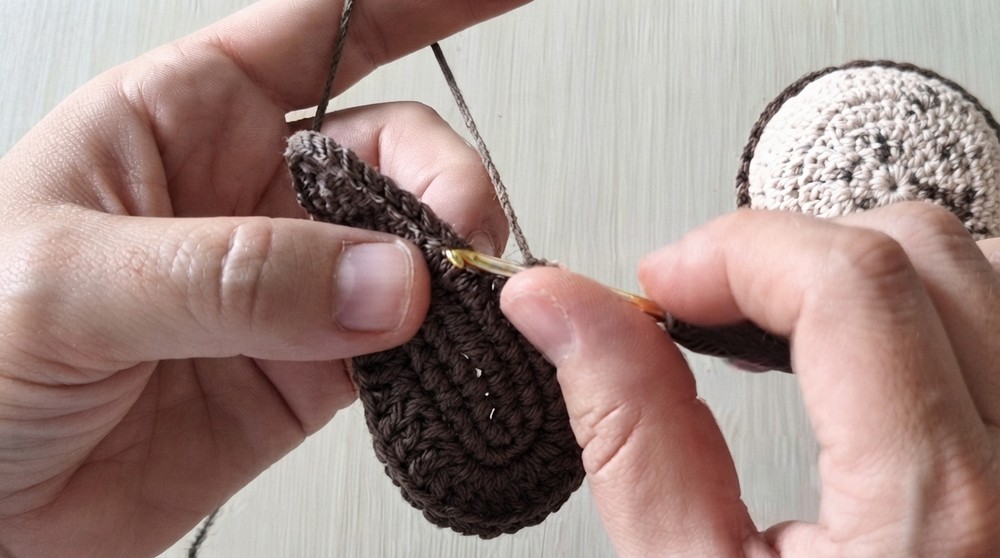
Row 4
- Chain 1, then:
- Work 7 SC, 3 HDC, 6 DC, 6 DC increases, 6 DC, 3 HDC, 9 SC, and 5 increases (with spacing of 1 SC between each increase).
- Slip stitch to join. (60 stitches)
Row 5
- Chain 1, work 60 SC evenly.
- Slip stitch to join.
Assembly
- Take both soles. Place them back-to-back with their right sides facing outward.
- Join them using Sl St, crocheting through the inner loops of each sole stitch to make a strong and neat double sole.
- Then, work 1 round of SC around the edge through the outer loops for a cleaner finish.
2. Upper Part
Row 1: Base Section
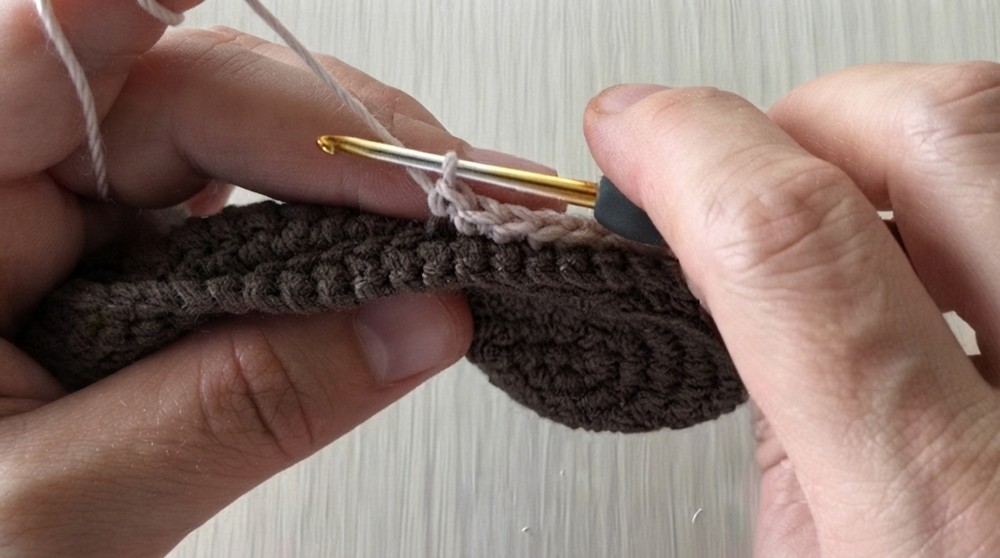
- Attach yarn at the center of the heel.
- Work 60 SC evenly into the inner loops of the joined sole area.
- For the toe section, add 6 increases evenly spaced while continuing stitch count for the rest of the round. (66 stitches total)
Row 2
- Work 66 SC evenly around without increasing or decreasing stitches.
Row 3: Toe Decreases
- Work:
- 21 DC, then 12 decreases (double crochet decreases) at the toe section, followed by 21 DC for the remaining part of the shoe.
Row 4
- Work:
- 20 DC, then 7 decreases at the toe section, followed by 20 DC.
Row 5: Toe FLO Section
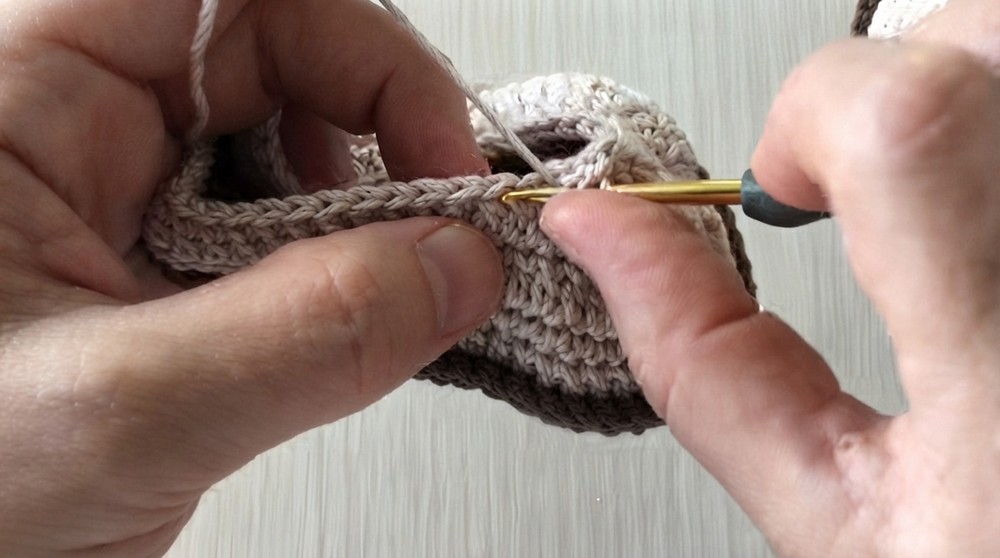
- Switch to Front Loop Only (FLO):
- Work 18 DC, 5 decreases (in FLO), and 17 DC.
- Leave the back loops untouched for later tongue construction.
3. Boot / Ankle Section
Row 6: Create Ankle Opening
- Skip 24 stitches from the heel center and attach yarn.
- Work 18 DC evenly across the row.
Row 7–9: Shape the Opening
- Work back and forth across the section:
- Skip the first DC stitch of each row to gradually taper the ankle’s width.
Row 10: Edge Finish
- Work 30 SC evenly across the top edge.
4. Tongue Section
Rows 1–2
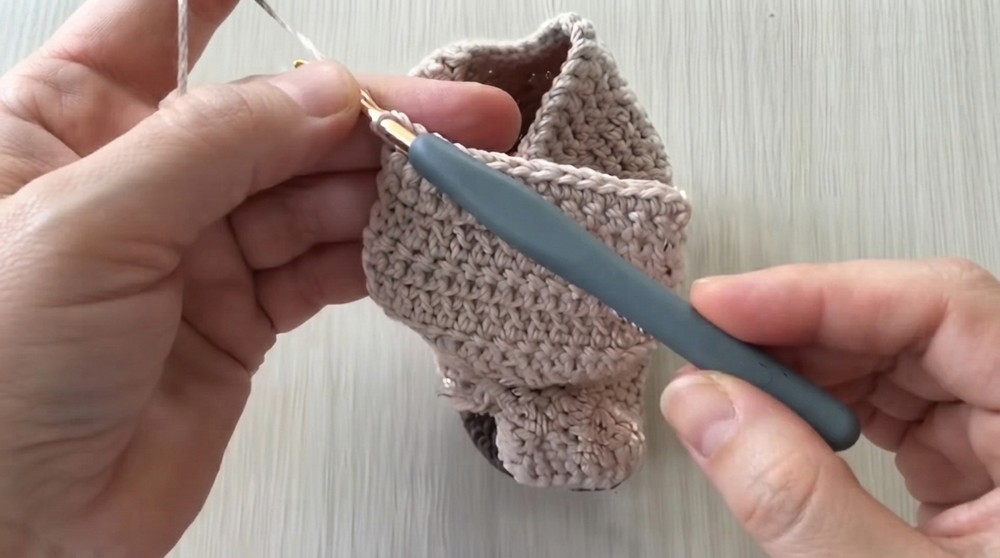
- Use the back loops left from Row 5’s toe section.
- Work 12 DC back and forth for two rows.
Row 3: Expansion
- Increase at both ends of the row by working 2 DC into each edge stitch. (14 stitches total)
Rows 4–6
- Continue making straight rows of 14 DC for three rows.
Row 7: Side Edging
- Finish with 1 row of SC evenly across the tongue for structure.
- Add a decorative DC row if preferred.
5. Finishing Touches
Laces
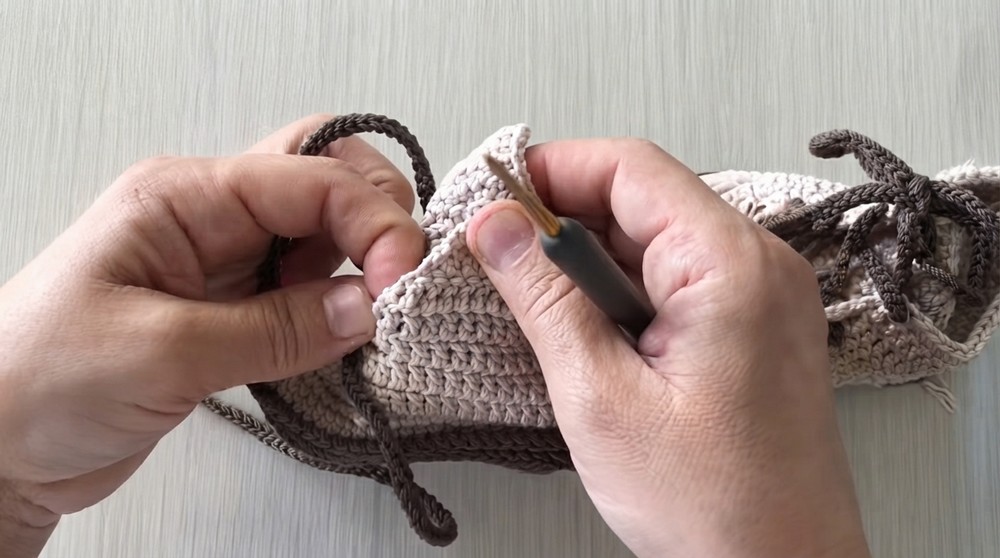
- Use double stranded yarn to create a cord of 135–140 chains.
- Thread the cord through the shoe eyelets in a criss cross pattern, mimicking shoelaces.
- Secure ends by tying knots or attaching shoe lace caps for a polished finish.
Conclusion
Congratulations on completing the baby crochet shoes! These beautiful handmade shoes are perfect for gifting, selling, or simply adding something cozy to your baby’s collection. Experiment with colors, lace patterns, and decorations to add your unique touch.