
Free Crochet Floral Square Pattern for Cute Pocket Patches
Let your imagination bloom with this free crochet floral square pattern that’s perfect for making colorful blankets and pretty handmade projects.
Vibrant colors, delicate shapes, and timeless charm turn this floral square into a true masterpiece. Shared on the Легкие петельки channel, this square is a beautifully layered design that begins with a blooming flower center and grows outward into intricate arches and neat corners. The result is an eye catching motif that’s both elegant and endlessly versatile.
Free Crochet Floral Square Pattern for a Lovely Bedspread
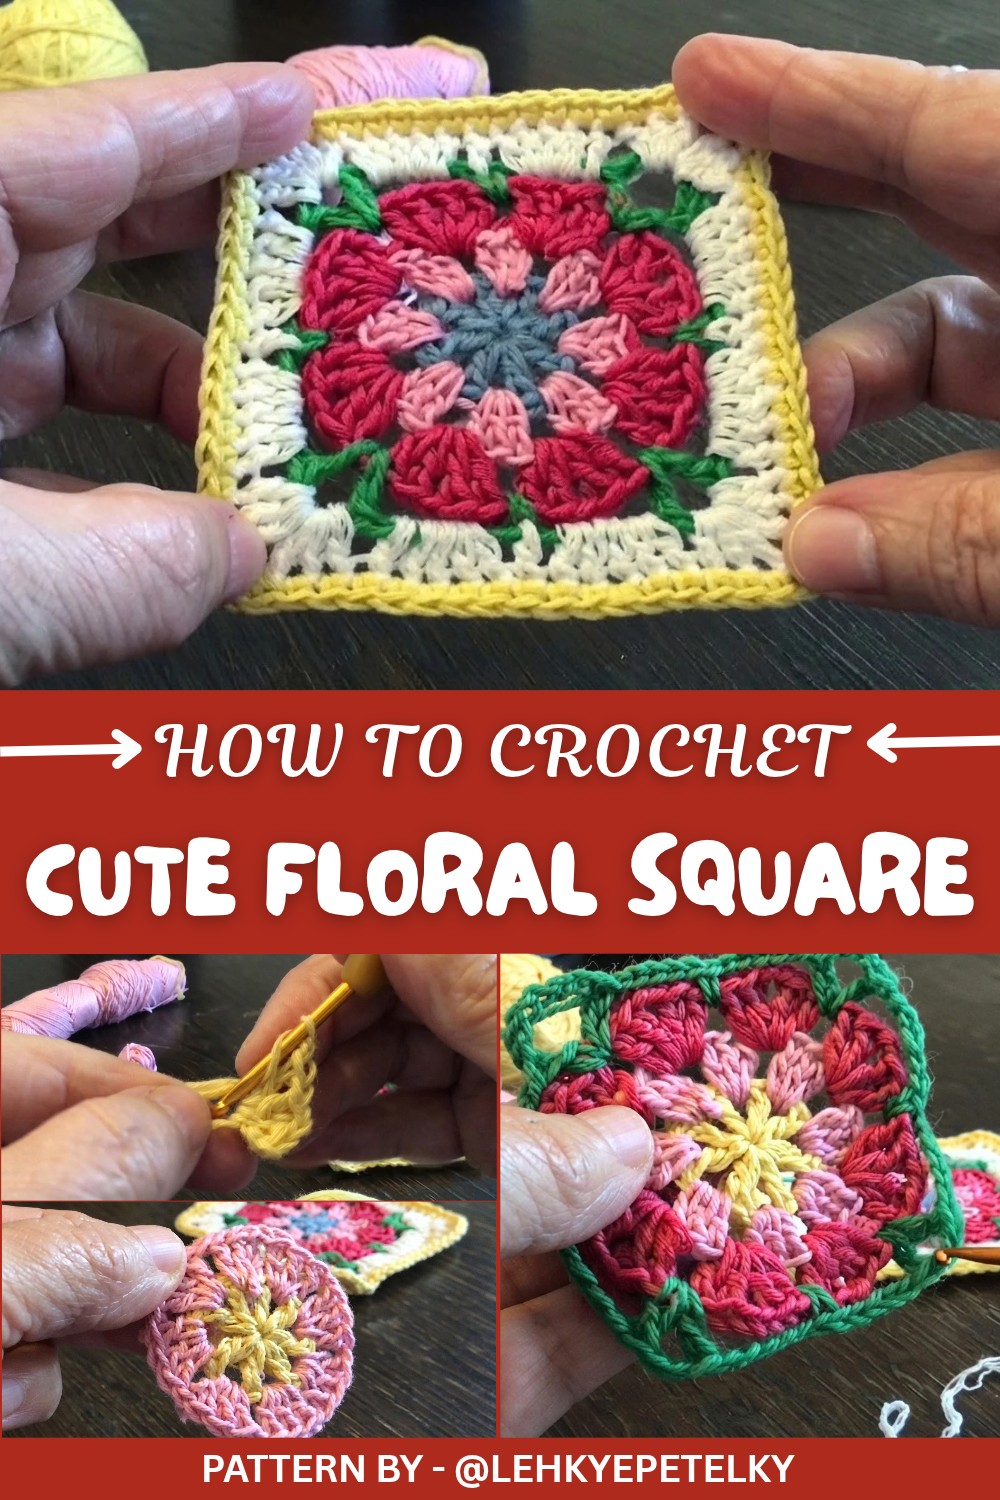
Perfect for all kinds of projects, this floral square fits effortlessly into home décor, fashion items, or cozy creations. Use it to crochet soft blankets, pillow covers, shawls, or even as embellishments for cardigans or bags. Its distinct shape adds style and personality wherever it's used—whether displayed as a standalone piece or part of a larger design.
The pattern itself is simple, yet intricately gorgeous. It starts with a circular floral center and progresses with layered textures that mold it into a floral square hybrid. Every round builds upon the last, allowing the design to bloom and evolve with every new stitch. The possibility for creativity is endless, as you can mix and match yarn colors to fit your taste, creating custom designs that truly stand out.
This floral square isn’t just a beautiful crochet; it’s an opportunity to relax and focus on embracing each thread and hole. It’s an approachable project that offers satisfaction every step of the way. With this design, your ideas can branch out in ways limited only by your imagination and choice of colors, a perfect project for adding artistry to everyday items.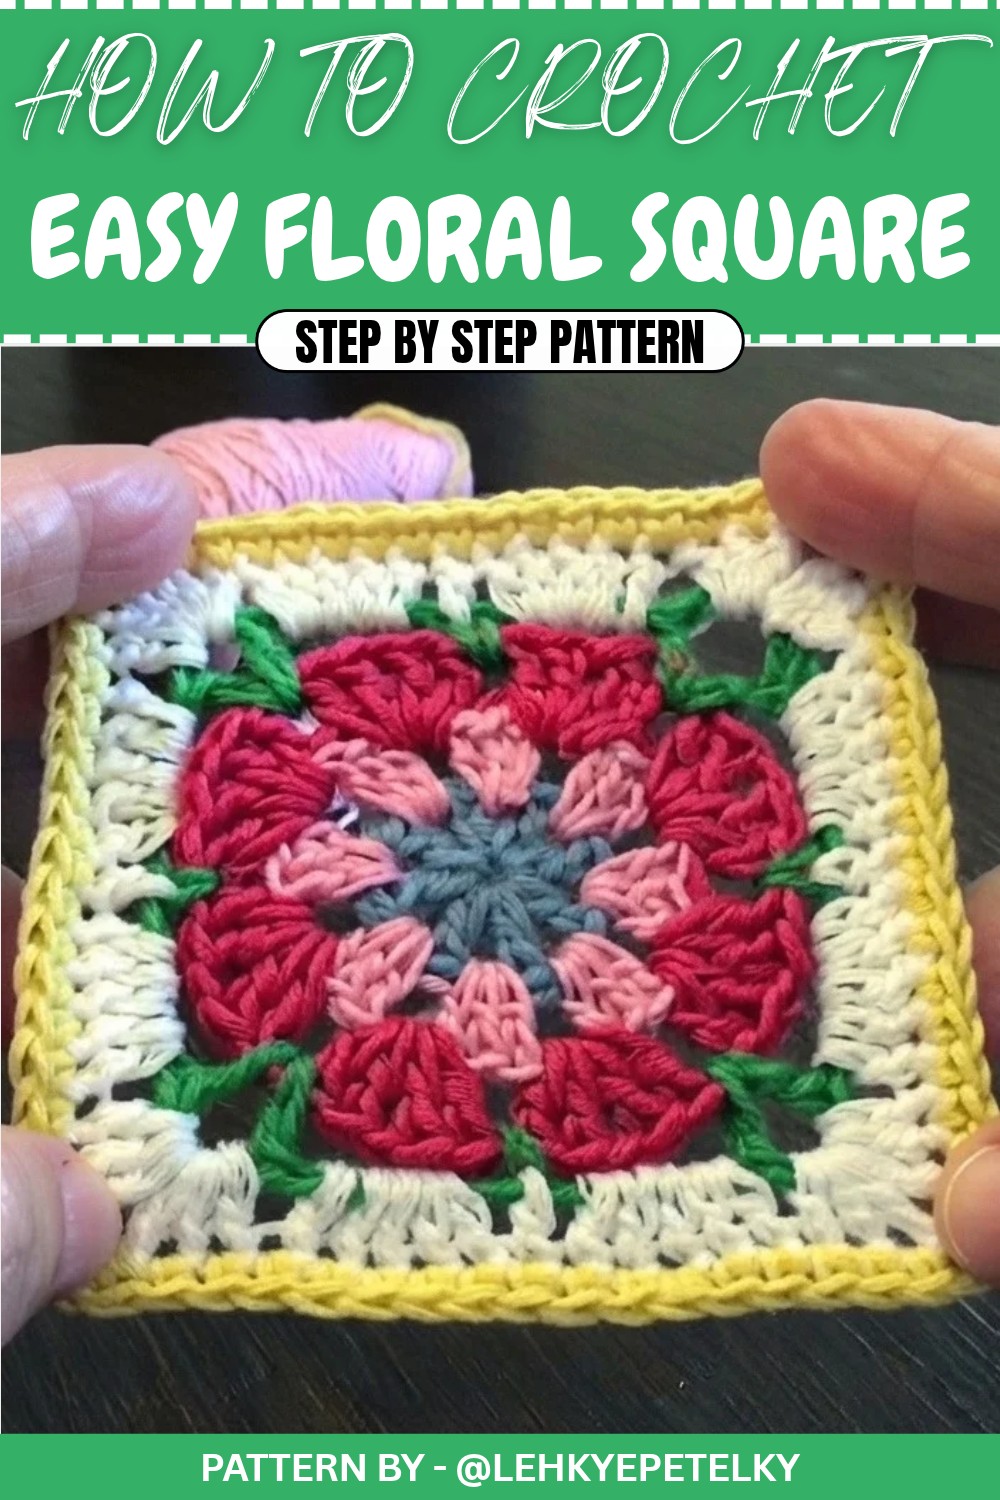
Step by Step Pattern: Crochet Flower Square Motif
This detailed pattern will guide you through creating a stunning flower inspired square crochet motif. Perfect for making throws, tablecloths, garments, or any project you can imagine. With clear instructions, even beginners can follow along to create something beautiful.
Quick Overview of Pattern
- Motif Shape: Square with floral design at the center
- Techniques Used: Working in rounds, color changes, and making corner spaces
- Versatility: Suitable for blankets, cushion covers, doilies, and more.
- Focus Stitches: Double crochet (DC), single crochet (SC), and chain (CH).
Notes
- This motif is worked in the round. The stitch count for corners and sides should match the instructions for symmetry.
- Hide yarn tails neatly for a polished, reversible finish.
- Adjust colors as desired to match your project theme.
Skill Level:
Beginner to Intermediate. Knowledge of basic crochet stitches is helpful.
Materials
- Yarn Colors:
- Color 1: Base color for the center ring (e.g., yellow or white).
- Color 2: Inner petal color (e.g., pink).
- Color 3: Corner color (e.g., blue or green).
- Color 4: Edge color (e.g., white).
- Hook Size: Suitable size for your yarn (e.g., 3.5mm–4mm).
- Additional Tools: Scissors, tapestry needle for weaving ends.
Measurements / Sizing
Each completed square measures approximately 10x10 cm (or customize it by using thicker yarn for a larger motif).
Gauge (Optional)
Match your gauge to the materials you are using or adjust the hook size to achieve desired dimensions.
Stitch Abbreviations
- CH: Chain
- SC: Single Crochet
- DC: Double Crochet
- Sl St: Slip Stitch
- YO: Yarn Over
Special Stitches
- Cluster Stitch: Multiple double crochets joined at the top to form one stitch.
- Picot Edge: Create a decorative edge by chaining 3 and slip stitching into the first chain.
The Crochet Pattern
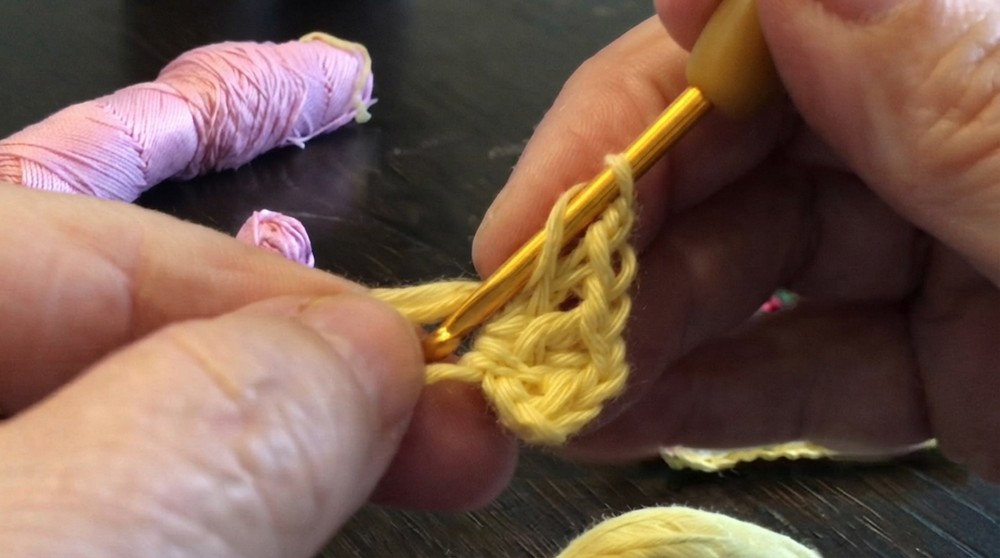
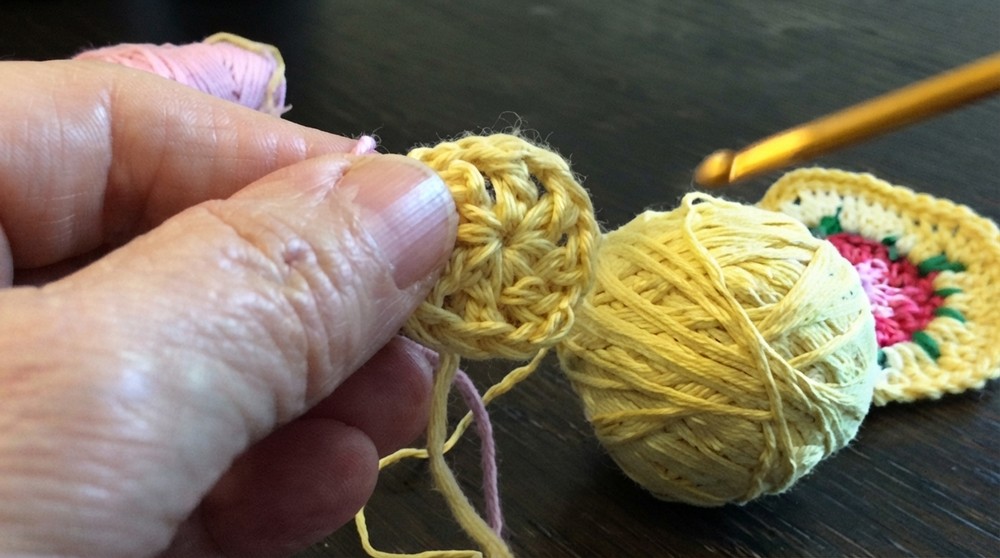
Round 1: Central Ring (Color 1)
- Create a magic ring and secure it with a slip knot.
- Chain two (this counts as the first DC).
- Work 7 more DCs into the loop.
- Between each DC, chain one. (You will have 8 DCs and 8 chain spaces in total.)
- Pull the magic ring tightly to close the circle.
- Join the round with a slip stitch and fasten off the yarn.
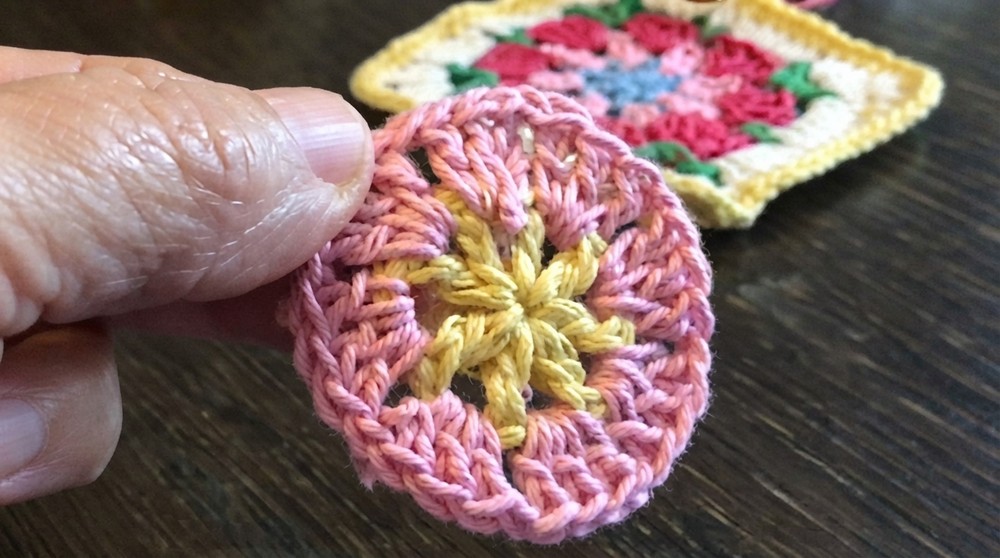
Round 2: Creating Inner Petals (Color 2)
- Attach the pink yarn (or your second color) into any chain space from the previous round.
- Chain two (this counts as the first DC).
- Into the same chain space, work two more DCs.
- Chain one. Skip to the next chain space and work three DCs. Continue this pattern for every chain space.
- You should now have 8 clusters of 3 DCs separated by one chain.
- Join the round with a slip stitch and fasten off the yarn.
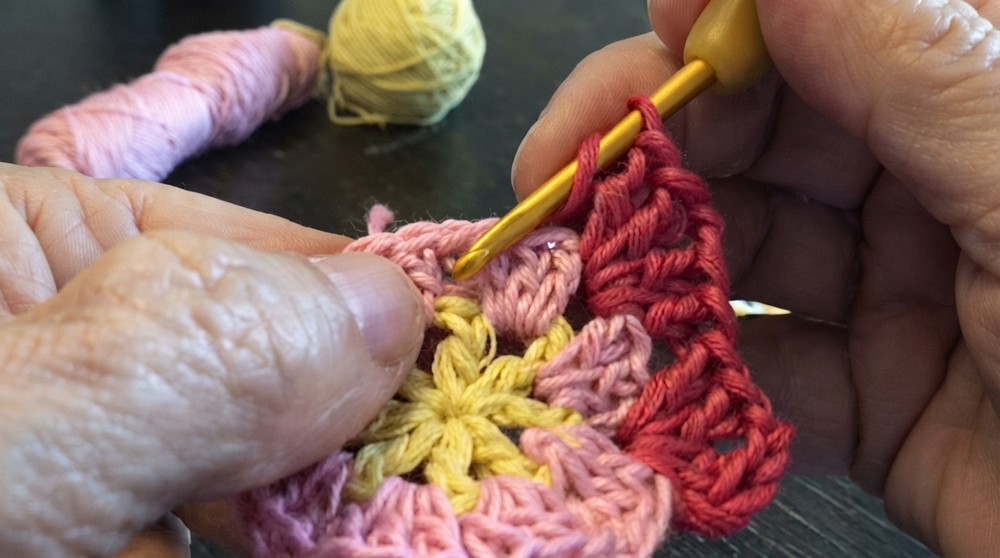
Round 3: Adding Corner Arches (Color 3)
- Attach the third color yarn into any chain space from Round 2.
- Chain two (counts as the first DC).
- In the same space, work one DC, two chains, and two more DCs.
- You’ve created the first corner.
- Into the next chain space, work two DCs.
- Repeat the following around the round:
- Into every corner chain space: Work 2 DC + 2 CH + 2 DC.
- Into every side chain space: Work two DCs.
- At the end of the round, join with a slip stitch. Fasten off the yarn and weave in ends.
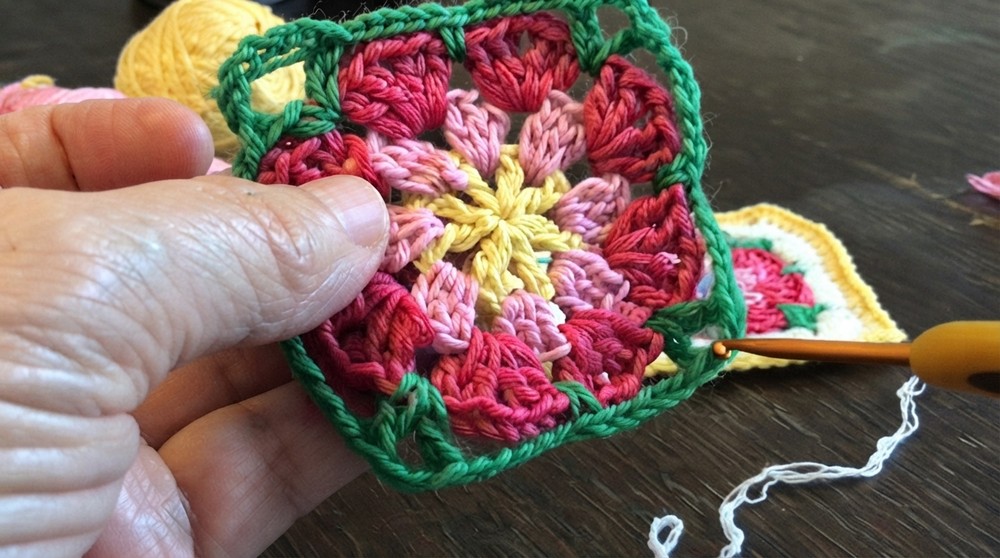
Round 4: Adding Points for Leaves (Color 4)
- Attach green yarn into any gap between clusters (not the corner spaces).
- Chain eight stitches.
- Work one DC into the same gap to form a loop.
- Chain five stitches and work one single crochet (SC) into the next space.
- Repeat the following sequence around:
- Chain five, then work DC + CH2 + DC into the next chain space (corner).
- Chain five, then work SC into the next chain space.
- Continue this pattern until you have created four corners with leaves.
- Join the round with a slip stitch and secure the yarn.
Round 5: Bordering the Motif (Color 4)
- Attach white yarn (or your final color) to any corner space.
- Chain three to start the first DC, then work two more DCs into the same corner space.
- Chain three and work three more DCs into the same corner space. This creates the first full corner.
- For the sides:
- Work five DCs into the first arch (chain 5 space).
- Work one DC in the stitch at the base of the next arch.
- Work five DCs into the next arch.
- Repeat this pattern (3 DCs + 3 CH + 3 DCs for corners and 5 DCs per arch for sides) around all 4 sides.
- Join the round with a slip stitch to finish.
Round 6: Final Edge (Optional, Color 4)
- Attach white yarn to any corner.
- Work three single crochets (SC) in the corner chain space.
- Work one SC into every stitch along the edge, including DC and chain spaces.
- When you reach the next corner, work three SCs again in the corner space.
- Repeat this pattern for all sides and corners.
- Secure your yarn at the end and weave in the ends neatly.
Assembly & Finished Size
- Once all rounds are complete, ensure all loose ends are tied off and woven in.
- If creating a larger project, join the motifs together using your preferred join as you go method or sew them together.
- Each completed motif will measure around 10 cm x 10 cm (or as per your chosen yarn and hook size).
Conclusion and Final Thoughts
Congratulations on completing your flower square motif. This versatile design can be used for a variety of crochet projects, from blankets to garments. Experiment with different color combinations to make each square unique and personalized.