
Free Crochet Pearl Headband Pattern for Elegant Style
Follow this easy crochet pattern to make a pearl headband that looks pretty and is great for creating gifts or stylish handmade accessories.
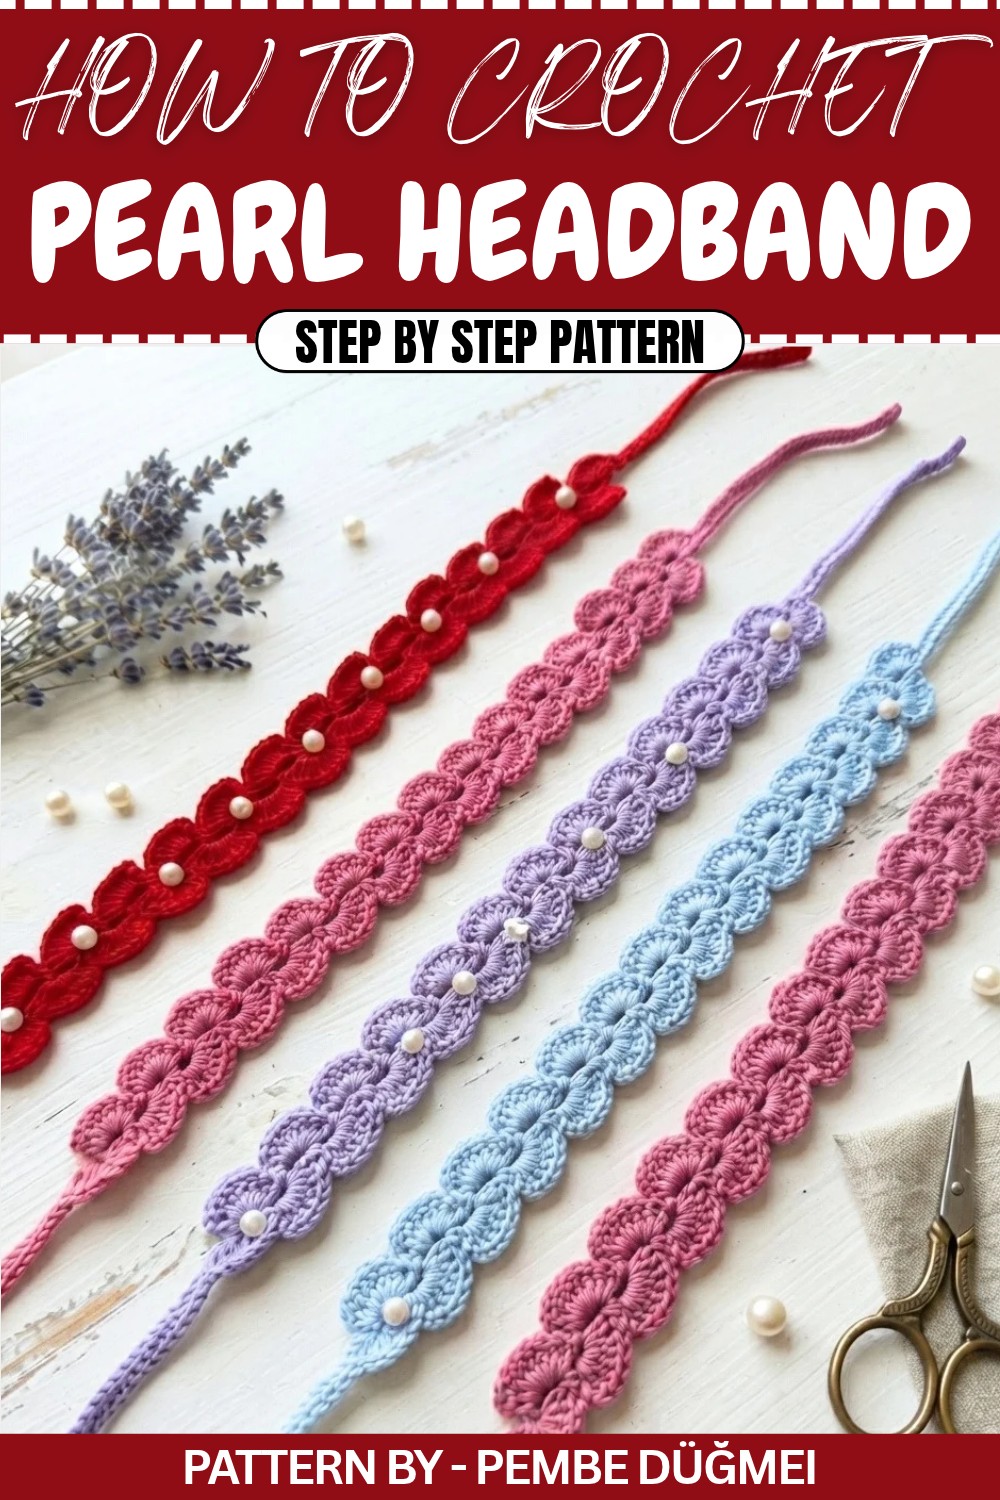
Crocheting accessories is a wonderful way to personalize your wardrobe, and this free crochet pearl headband pattern is an ideal project for anyone seeking a touch of elegance. Perfect for special occasions or adding a sophisticated flair to everyday outfits, this headband combine practicality with beauty. Its smooth, delicate design is accentuated by pearl beads that give it a refined and graceful look, making it as much of a statement piece as it is functional.
Free Crochet Pearl Headband Pattern You’ll Love
The texture is soft yet structured, thanks to fine cotton or lightweight yarn that allows the stitches to hold their intricate shape without overwhelming the design. The headband's shape is sleek and comfortable, designed to fit securely with an adjustable tie closure. Its standout feature, the scattered pearls, complements the stitch pattern beautifully, creating an eye catching, timeless accessory that can pair well with casual or formal ensembles.
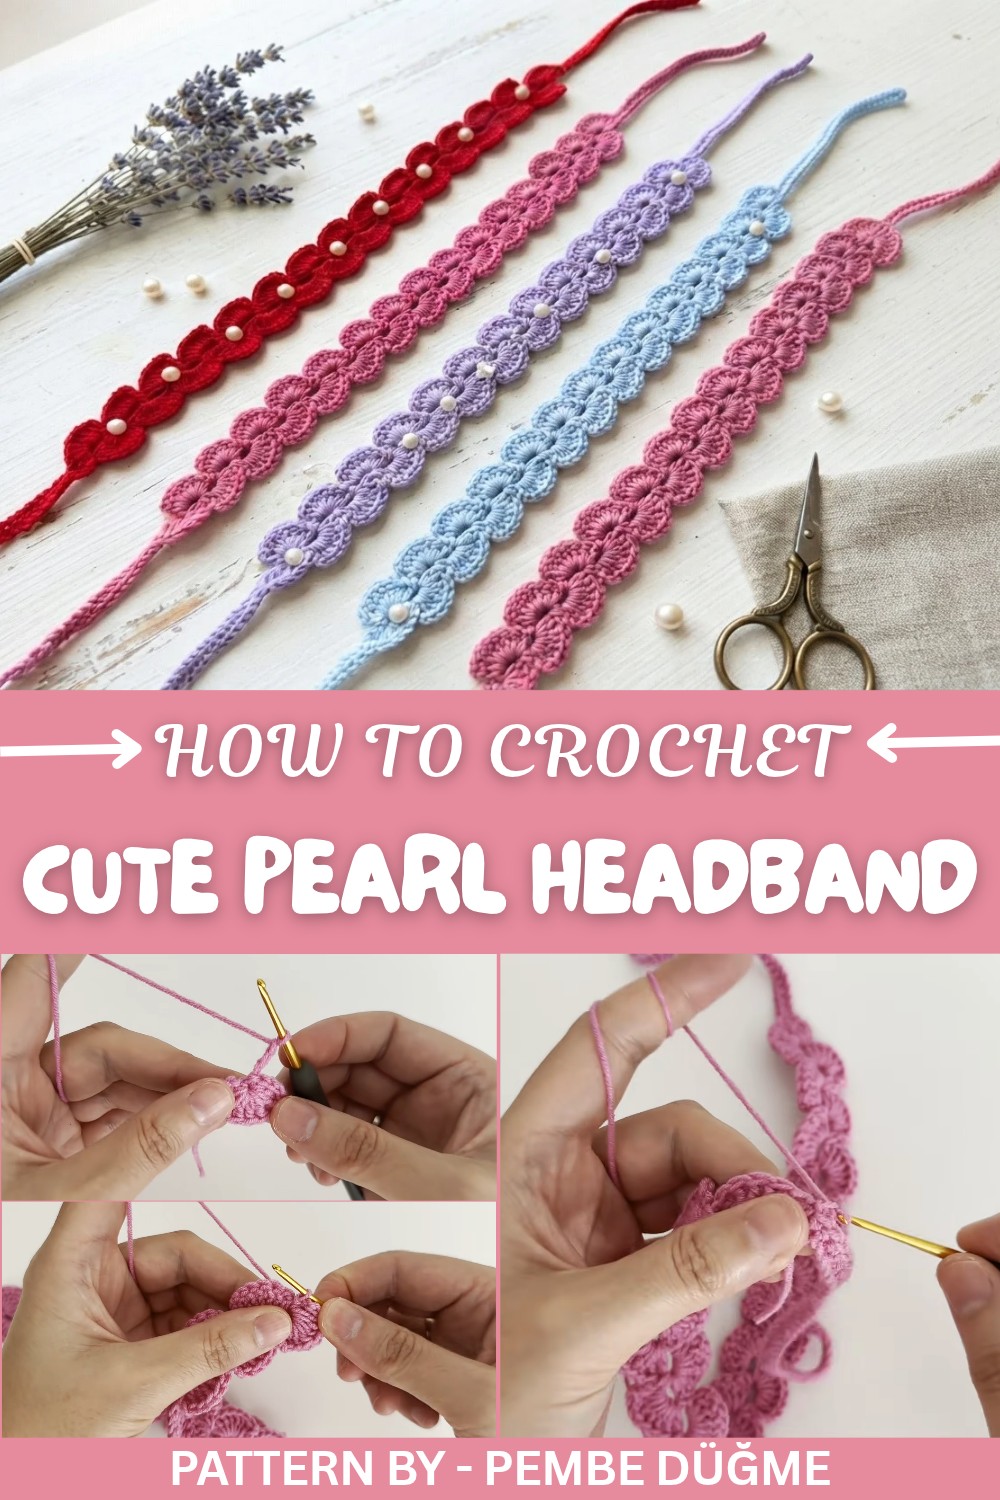
This design was inspired by the simple elegance of vintage pearl jewelry, incorporated into a modern and relaxed crochet form. To achieve the best results, I recommend using mercerized cotton yarn for its smooth finish and ability to enhance the subtle details of the stitching. The pattern also balances a mix of sturdy and airy techniques, making the headband lightweight while maintaining durability.
Pattern By Pembe Düğme
Though the construction involves basic crochet stitches, incorporating the pearls adds a creative touch that can be easily mastered with a little practice. A helpful tip is to thread all the beads onto the yarn before starting, which will make placement easier as you crochet. For those seeking a project that blends artistry with functionality, this pearl headband is a satisfying and rewarding endeavor. Whether for yourself or as a gift, this design is sure to make anyone feel special.
Simple Crochet Hairband Pattern
This crochet hairband is a beginner friendly and stylish accessory that you can create with minimal effort. Using Alize Cotton Gold yarn and a 2.20 mm crochet hook, the hairband measures approximately 34 cm in length before adding the ties. Follow the detailed step by step pattern below to craft this lovely project.
Project Overview
- Pattern Name: Crochet Hairband with Tied Ends
- Skill Level: Beginner
- Techniques Used: Magic ring, chain stitch, double crochet, single crochet, and slip stitch
- Time Required: Approximately 2–3 hours
Notes
- Maintain proper tension for consistent stitches and a neat finish.
- Feel free to adjust the length of the hairband or ties for younger children or different head sizes.
- Beads can be added to the ties for extra decoration if desired.
Materials
- Yarn: Alize Cotton Gold yarn
- Hook: 2.20 mm crochet hook
- Accessories: Scissors, yarn needle
- Optional: Beads for embellishment
Measurements
- Band Length: Approximately 34 cm (can be adjusted according to required size).
- Tie Length: 41 chains on each side (adjustable).
Stitches and Abbreviations
- ch = Chain
- dc = Double crochet (treble crochet in UK terms)
- sc = Single crochet
- sl st = Slip stitch
- magic ring = Magic loop for starting
Step by Step Instructions
Foundation – Creating a Magic Ring
- Wrap the yarn around your fingers to form a loop and leave a small yarn tail.
- Insert your 2.20 mm crochet hook into the loop, yarn over, and pull through.
- Chain 3 to start. This chain acts as your first double crochet (dc) stitch.
First Row – Double Crochets in the Magic Ring
- Yarn over, insert the hook into the magic ring, and pull up a loop (3 loops on your hook).
- Yarn over, pull through the first two loops, then yarn over and pull through the remaining two loops to complete one double crochet (dc) stitch.
- Repeat this process until you have 7 double crochet stitches in the magic ring.
- Pull the yarn tail to tighten the magic ring and close the center.


Turning and Starting a New Row
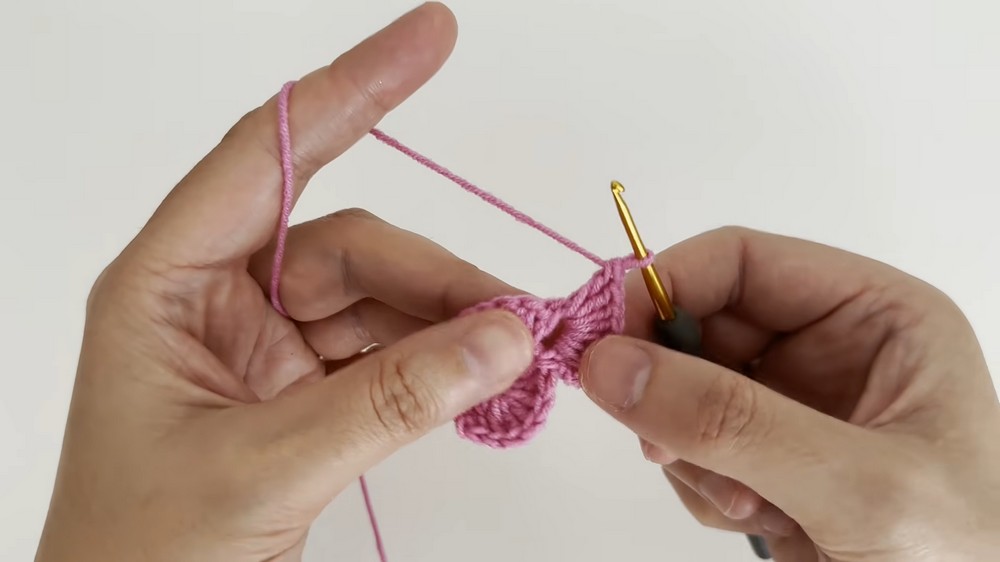
- Chain 3, turn your work.
- Insert the hook into the space between the chain and the previous row’s group of double crochets.
- Yarn over and work 7 double crochet stitches into this gap.
Repeating Rows
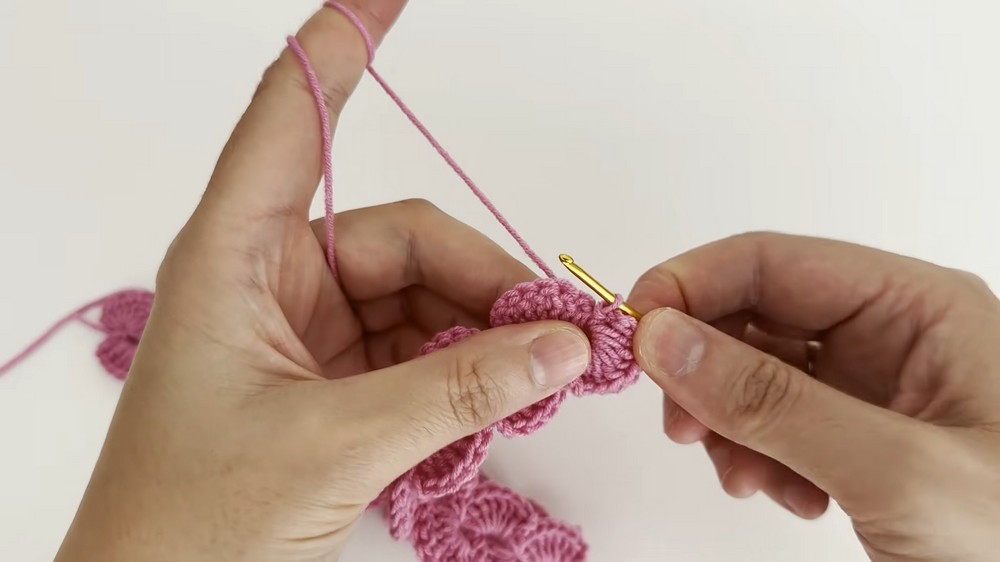
- For every new row, chain 3, turn your work, and continue working 7 double crochet stitches into the space created by the chain and the last group of double crochets in the previous row.
- Repeat this until the band piece measures 34 cm (or your desired length).
- Once the desired length is achieved, secure the last row with a slip stitch (sl st) and cut the yarn.
Adding Ties
Border and First Tie
- Attach your yarn to one end of the band and work a small border:
- Chain 1, then work 2 single crochet (sc) stitches into the gap at the edge.
- Work 1 single crochet into the top of the last double crochet stitch.
- Begin the first tie:
- Chain 41 (or adjust based on your desired tie length).
- Starting from the second chain from the hook, work 1 single crochet (sc) into each chain across.
- When you reach the base of the tie (the edge of the band), secure it with a slip stitch. Cut the yarn and weave in the ends with a yarn needle.
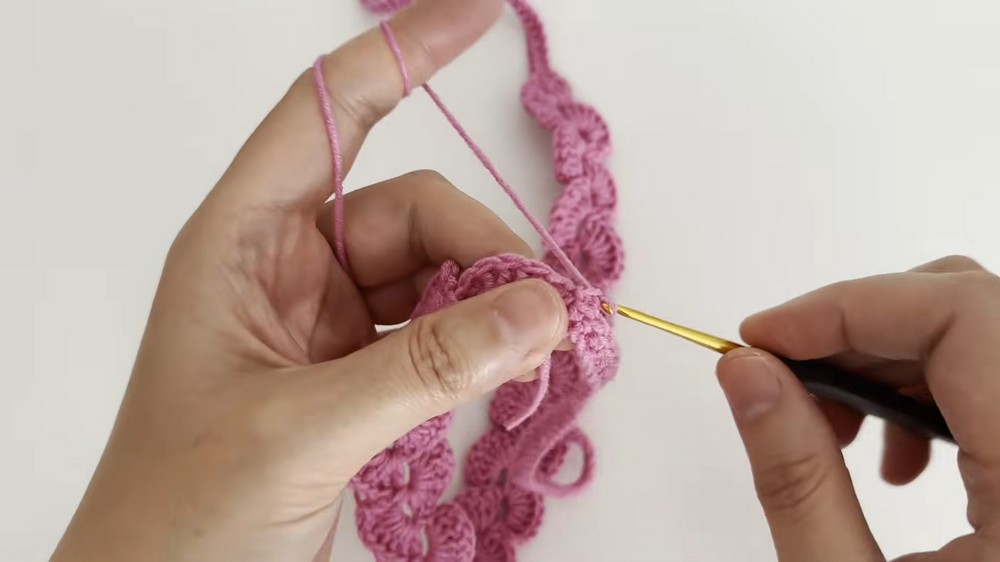
Second Tie
- Repeat the same steps to create the second tie on the opposite side of the band:
- Attach the yarn to the opposite end of your band at the starting chain.
- Work 2 single crochets in the gap and 1 single crochet into the top of the last double crochet stitch.
- Chain 41, and work 1 single crochet into each chain stitch back to the base.
- Slip stitch to secure, fasten off the yarn, and weave in the ends.

Optional Decoration
- If desired, add beads of various sizes to the ends of the ties to decorate the hairband. Use a yarn needle to thread the beads onto the ties or secure them using a knot.
Finishing Touches
- Use a yarn needle to weave in any loose threads along the back side of your work. Trim any excess yarn.
- Gently stretch the piece to check for even tension, or block it if required to smooth out any uneven sections.
- Ensure both ties are of equal length and attached securely to the band.
Conclusion
Congratulations, You’ve successfully completed a stylish and versatile crochet hairband. This beginner friendly project can be personalized with different yarn colors, sizes, and decorations like beads. It’s a perfect accessory for any occasion or a thoughtful handmade gift for family and friends.