
Free Crochet Christmas Bauble Pattern for a Merry Tree
Spruce up your Christmas tree with this free crochet bauble pattern, a delightful project to transform yarn into festive magic and bring holiday cheer to your decor.
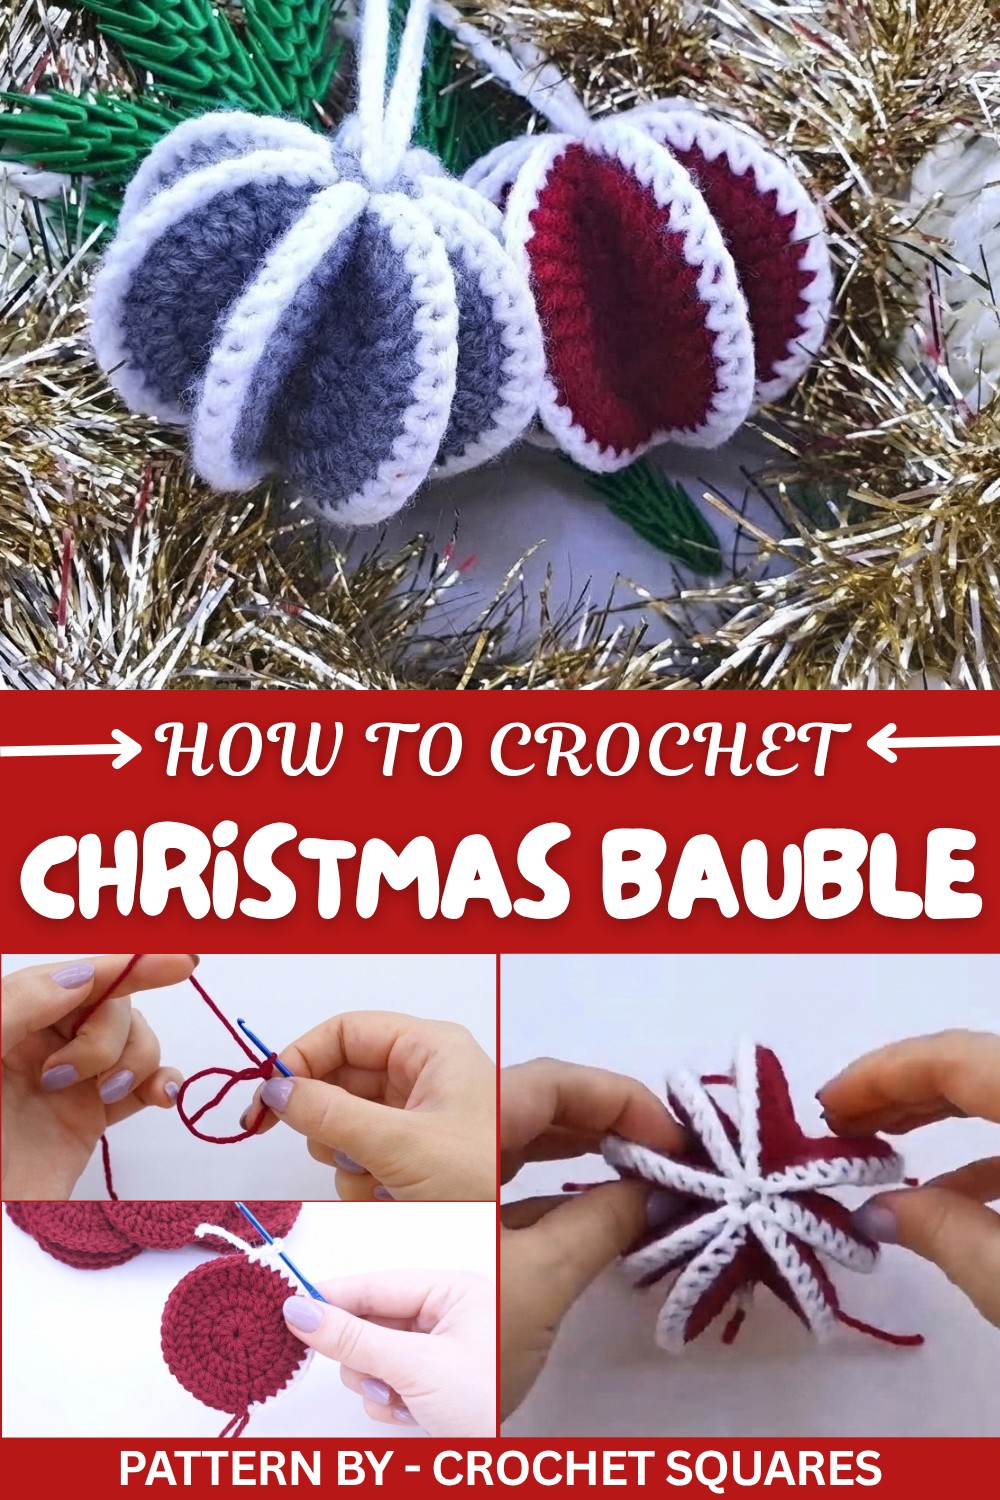
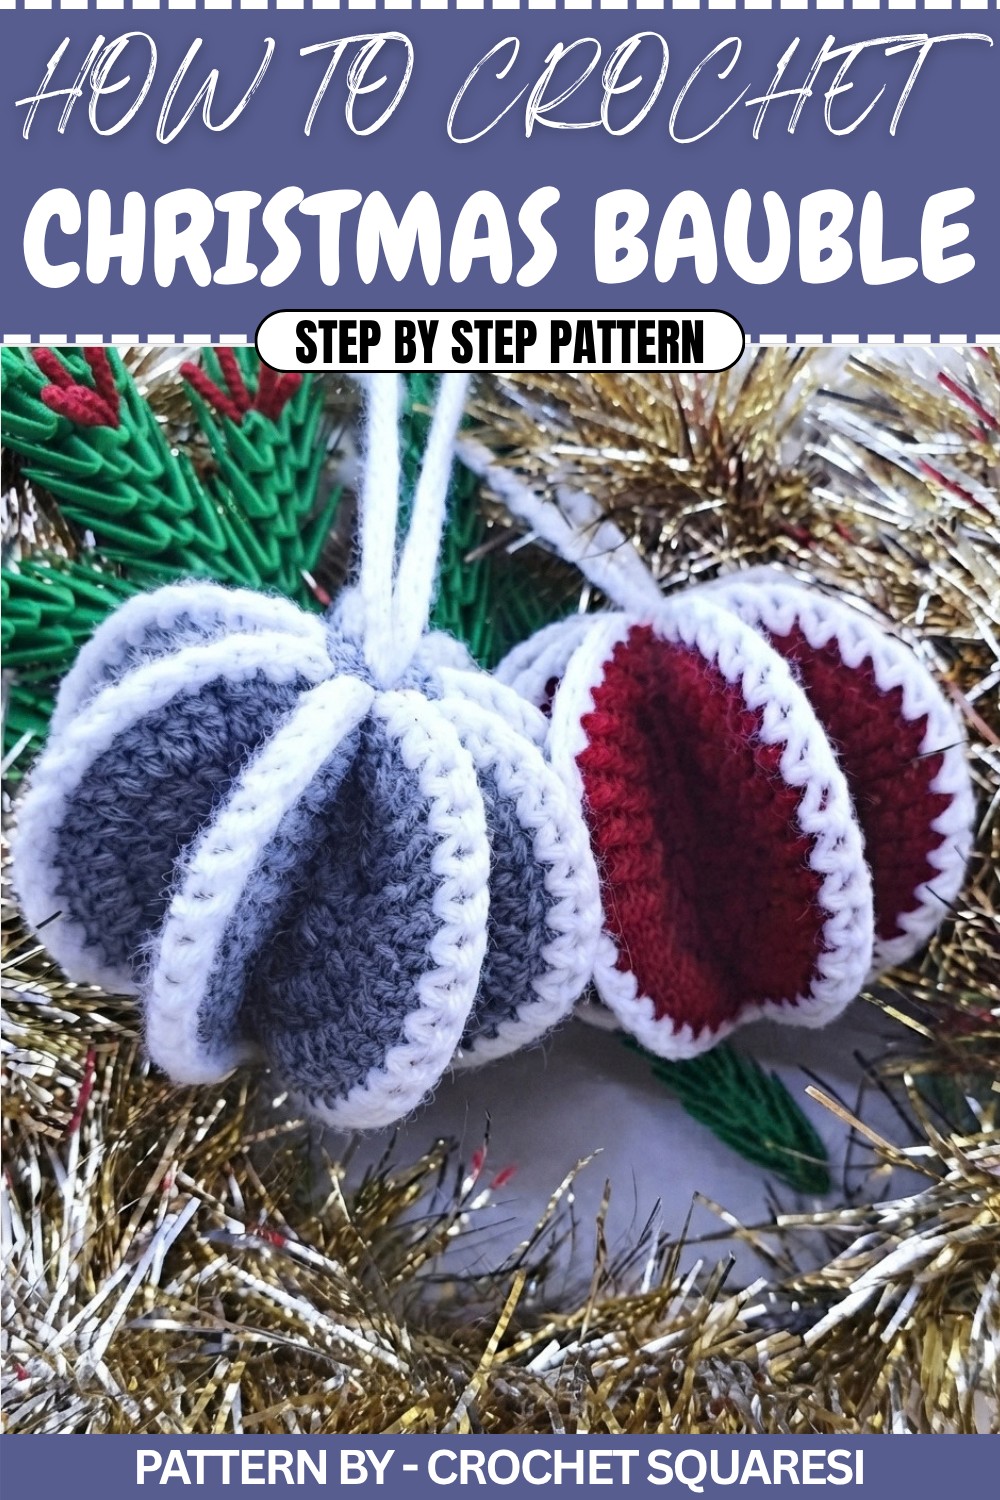
Handmade holiday decorations have a way of filling a home with warmth and charm, and this Free Crochet Christmas Bauble Pattern is a simple yet festive project that’s sure to stand out. This bauble, with its round shape and soft texture, brings a classic holiday feel with just the right touch of elegance. The textured surface gives it character, making it a beautiful addition to your tree, wreath, or holiday centerpiece.
Free Crochet Christmas Bauble Pattern for Pretty Ornaments
The bauble is made by working in the round, starting from a magic ring. Using basic stitches such as double crochet and slip stitches, it’s approachable for beginners while still being enjoyable for experienced crocheters. You can work with lightweight or DK yarn in traditional Christmas shades like red, green, or white, or go for a modern twist by choosing metallic or pastel hues. Choosing yarn with a smooth finish and a slight sheen allows the stitch details to pop, giving your bauble a polished look.
Pattern By Crochet Squares
What inspired this design was the nostalgia of vintage ornaments from childhood, combined with the joy of adding a personal handmade touch to the holidays. A foam ball inside the completed piece helps maintain its sphere shape, but you can also lightly stuff the bauble with fiberfill. And here’s a little tip: keep your tension steady, and use stitch markers to ensure every row of the bauble lines up just right.
Whether it’s hanging on your Christmas tree or gifted as a thoughtful keepsake, this bauble brings a personal and joyful touch to the season. It’s a fun, relaxing project to work on while cozying up under a blanket with a warm cup of cocoa—it doesn’t get much better than that.
Crochet Christmas Ornament Pattern
Let's create this beautiful and festive Christmas ornament. This step by step guide will walk you through how to crochet a magical Christmas globe that will look stunning on your tree or as a part of your holiday decor.
Quick Overview of the Pattern
- What You’ll Crochet: A beautiful handmade crochet Christmas ornament/globe.
- Sections: The pattern consists of 8 identical parts that are joined together to form a sphere.
- Main Techniques: Magic circle, single crochet (sc), double crochet (dc), and slip stitches (sl st).
- End Goal: Create a festive ornament with a hanging loop and secure assembly for durability.
Notes
- The pattern uses basic crochet stitches combined into simple repetitive rounds, making it beginner friendly.
- Precision matters during the assembly to ensure all eight parts join seamlessly to create a perfect globe shape.
- Work each section carefully and tension evenly so that the pieces match in size when assembled.
Skill Level
Beginner to Intermediate – Basic stitches like chain, slip stitch, single crochet, and double crochet are used. Assembly involves stitching pieces together, which requires attention to detail.
Materials
- Yarn: Two colors (e.g., red for parts and white for the joining and loop). Preferred yarn type is cotton or acrylic for structure.
- Crochet Hook: 3.0 mm or the recommended size for your chosen yarn.
- Scissors: To cut the yarn.
- Needle for Yarn: For sewing the pieces together and weaving in ends.
Measurements / Sizing
- Final Ornament Diameter: Approximately 8 to 10 cm, depending on yarn and hook size.
- Hanging loop length: Roughly 50 chain stitches long (~12 cm when folded).
Gauge
Gauge isn't critical for this project. However, maintain consistent tension to ensure all 8 parts are the same size.
Stitch Abbreviations
| Abbreviation | Meaning |
|---|---|
| ch | Chain |
| sc | Single Crochet |
| dc | Double Crochet |
| sl st | Slip Stitch |
| mc | Magic Circle |
| st | Stitch/Stitches |
Special Stitches
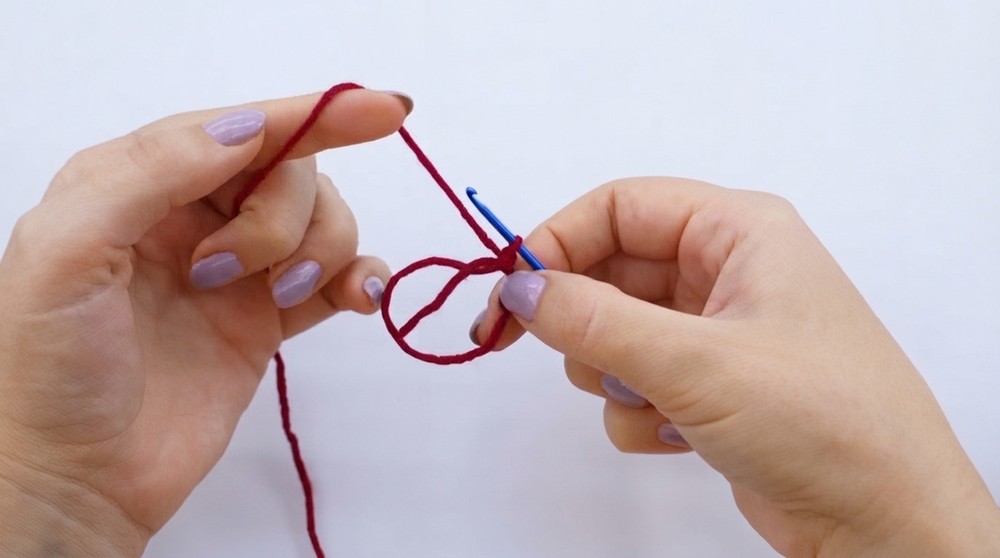
Magic Circle (mc)
- Start by creating a loop with your yarn.
- Insert hook into the loop, yarn over, and pull up a loop.
- Chain 1 to secure and begin working stitches into the loop. Pull the tail to tighten the loop.
The Crochet Pattern
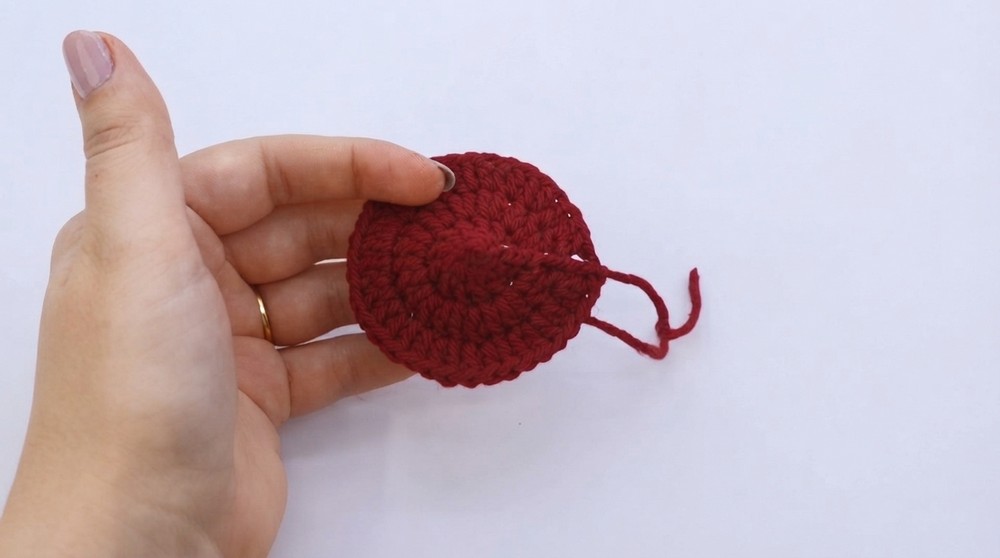
Step 1: Creating One Segment (Repeat for 8 Total Pieces)
- Start with a Magic Circle (MC):
- Create a magic circle with your yarn.
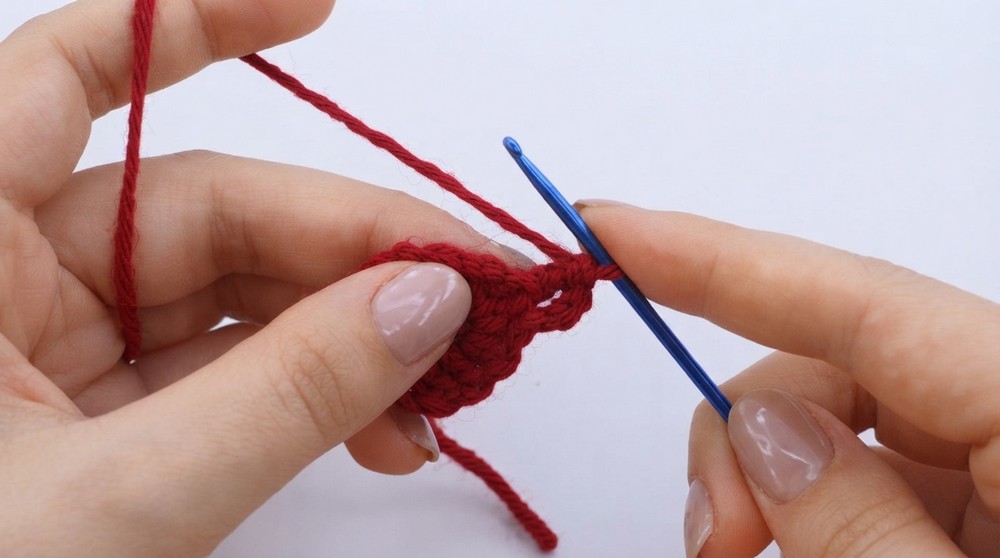
- Round 1:
- Chain 2 (ch 2), and make 11 double crochets (dc) into the magic circle.
- Tighten the magic circle by pulling the tail, and join to the first double crochet with a slip stitch (sl st).
- Round 2:
- Chain 3 (ch 3). In the third chain (ch) of the beginning chain, make 1 double crochet (dc). This is the start of your next round.
- In the same stitch, make 3 more double crochets.
- Continue working 2 double crochets into each stitch around. This will give you a total of 24 double crochets (dc).
- Join the round with a slip stitch (sl st).
- Round 3:
- Chain 3 (ch 3).
- In the next stitch, work 1 double crochet (dc) into the same stitch.
- Continue as follows: (1 double crochet into the next stitch, 2 double crochets into the next stitch) x 12. Repeat this pattern for the round.
- At the end of this round, you should have a total of 36 double crochets.
- Join with a slip stitch (sl st).
- Fasten Off:
- Cut the yarn, leaving about 1 to 2 cm of tail, and fasten off securely.
- Repeat Steps 1 to 5 to make 7 more identical parts for a total of 8 segments.
Step 2: Joining the Segments
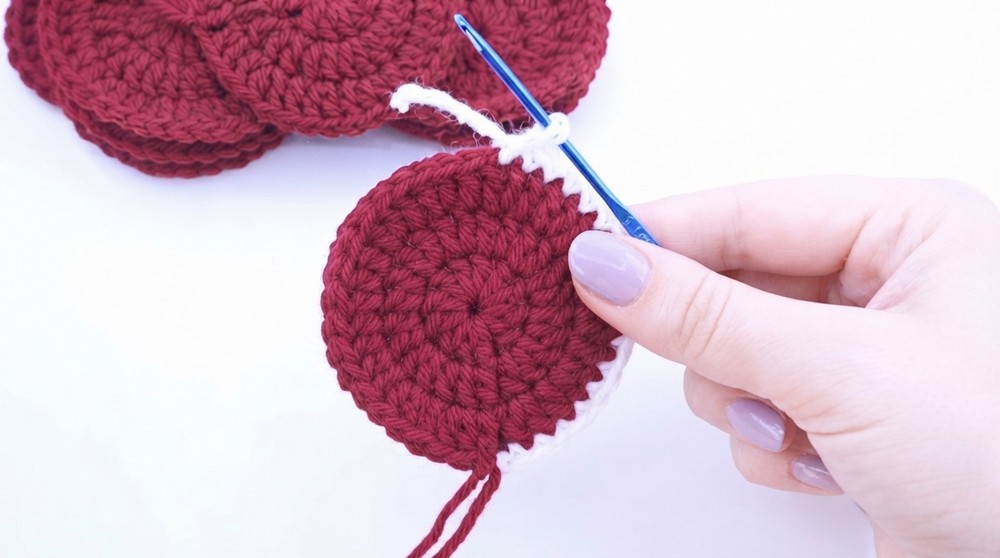
- Positioning the Pieces:
- Take two pieces and place them back to back, ensuring their edges align perfectly.
- Joining Edges:
- Attach the white yarn at the top of the aligned edges. Insert your hook through both pieces’ edges in the first stitch.
- Chain 1 (ch 1). Work slip stitches (sl st) through both pieces on the aligned edges. Ensure each stitch is worked snugly to join the two completely.
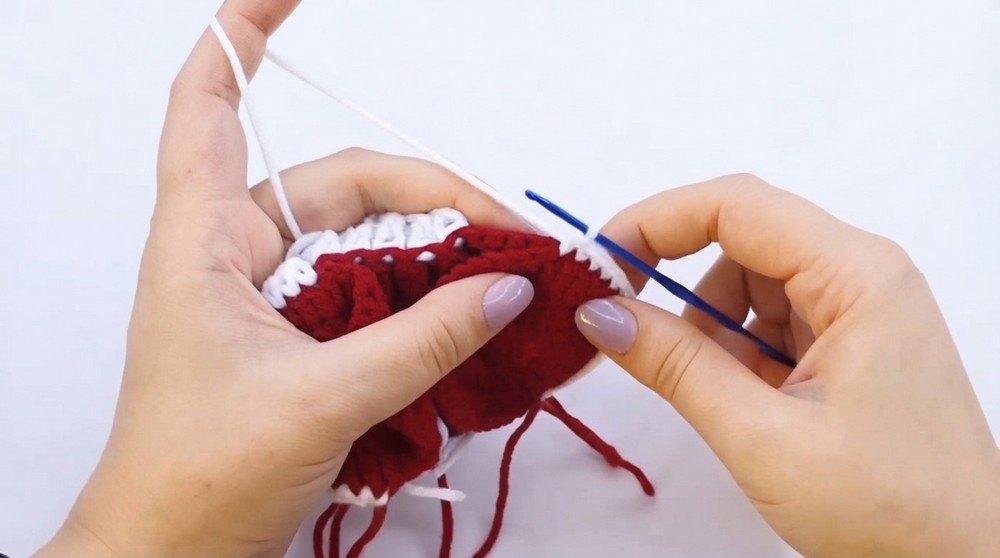
- Continue Joining:
- Attach additional pieces using the same slip stitch technique. Join them two by two until all 8 pieces are connected.
Step 3: Adding the Hanging Loop
- Create the Loop:
- With the white yarn, create a slip knot and chain 50 stitches to form the hanging loop.
- Fasten off and leave a small tail (1 to 2 cm). Knot the tail securely with the beginning chain.
- Attach the Loop:
- Insert the loop at the top of the crochet ornament.
- Using your yarn needle, weave the yarn tails inside and secure them.
Step 4: Final Touches
- Finish the Edges:
- Tie knots with any remaining yarn tails from the joining process. ([15:29])
- Weave the tails inside the ornament using your yarn needle for a clean finish.
- Adjust the Shape:
- Cut any remaining loose threads, tuck them inside the ornament, and check for evenness.
Assembly & Finished Size
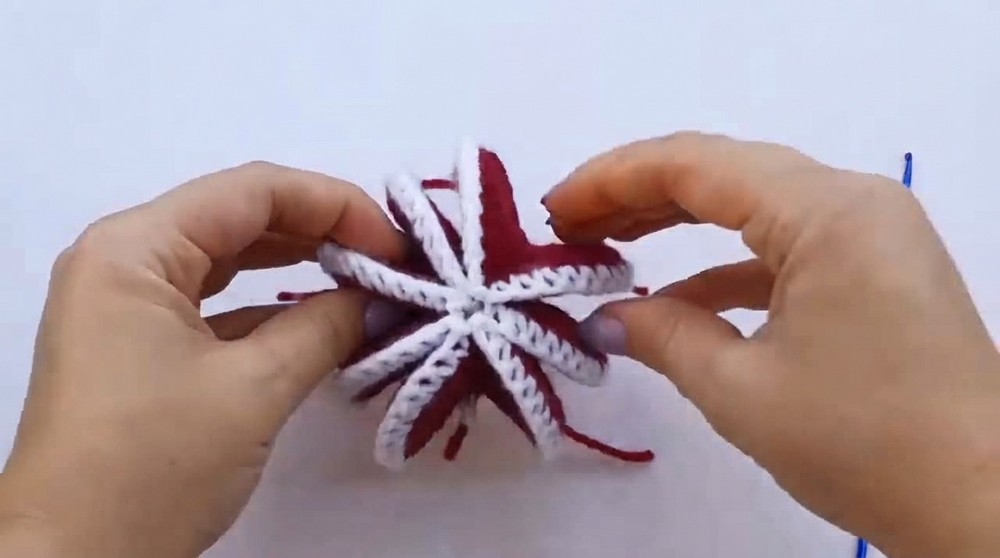
After completing and assembling all the parts, the ornament should form a spherical globe with a neat and decorative hanging loop. The final diameter will be approximately 8 to 10 cm, depending on the yarn and hook used.
Conclusion
Congratulations! You've just completed a festive crochet Christmas ornament to add a handmade touch to your holiday celebrations. These globes make perfect Christmas gifts, decorations, or even family keepsakes for years to come. Thank you for following along with this tutorial—don’t forget to subscribe for more fun crochet patterns.