
Adorable Free Crochet Small Bear Pouch Pattern Idea
Catch the cutest little pouch ever with this free crochet small bear pouch pattern that is simple, fun, and perfect for crocheting a heartfelt gift everyone will adore.
Carrying small accessories around can sometimes be a hassle, but a thoughtful and handy solution can make life so much easier. This project is perfect for making an adorable small bear pouch that’s both functional and charming. With its tiny ears and neatly crocheted round shape, this pouch is not only practical but also adds a touch of fun to everyday tasks. It can hold essentials like lip balm, keys, or wireless earbuds, keeping everything organized and within reach.
Featured By CrochetLilWeaves
The pouch is made using straightforward techniques like the magic ring, single crochets, double crochets, and slip stitches. The magic ring forms the foundation, while the other stitches build up the body and detailed features, like soft bear ears. What’s exciting is how versatile these stitches are,once they’re part of your skill set, you can apply them to projects like coasters, small bags, and even toy accessories. It’s a favorite starting point for those trying out crochet.
Free Crochet Small Bear Pouch Pattern for Cute Style
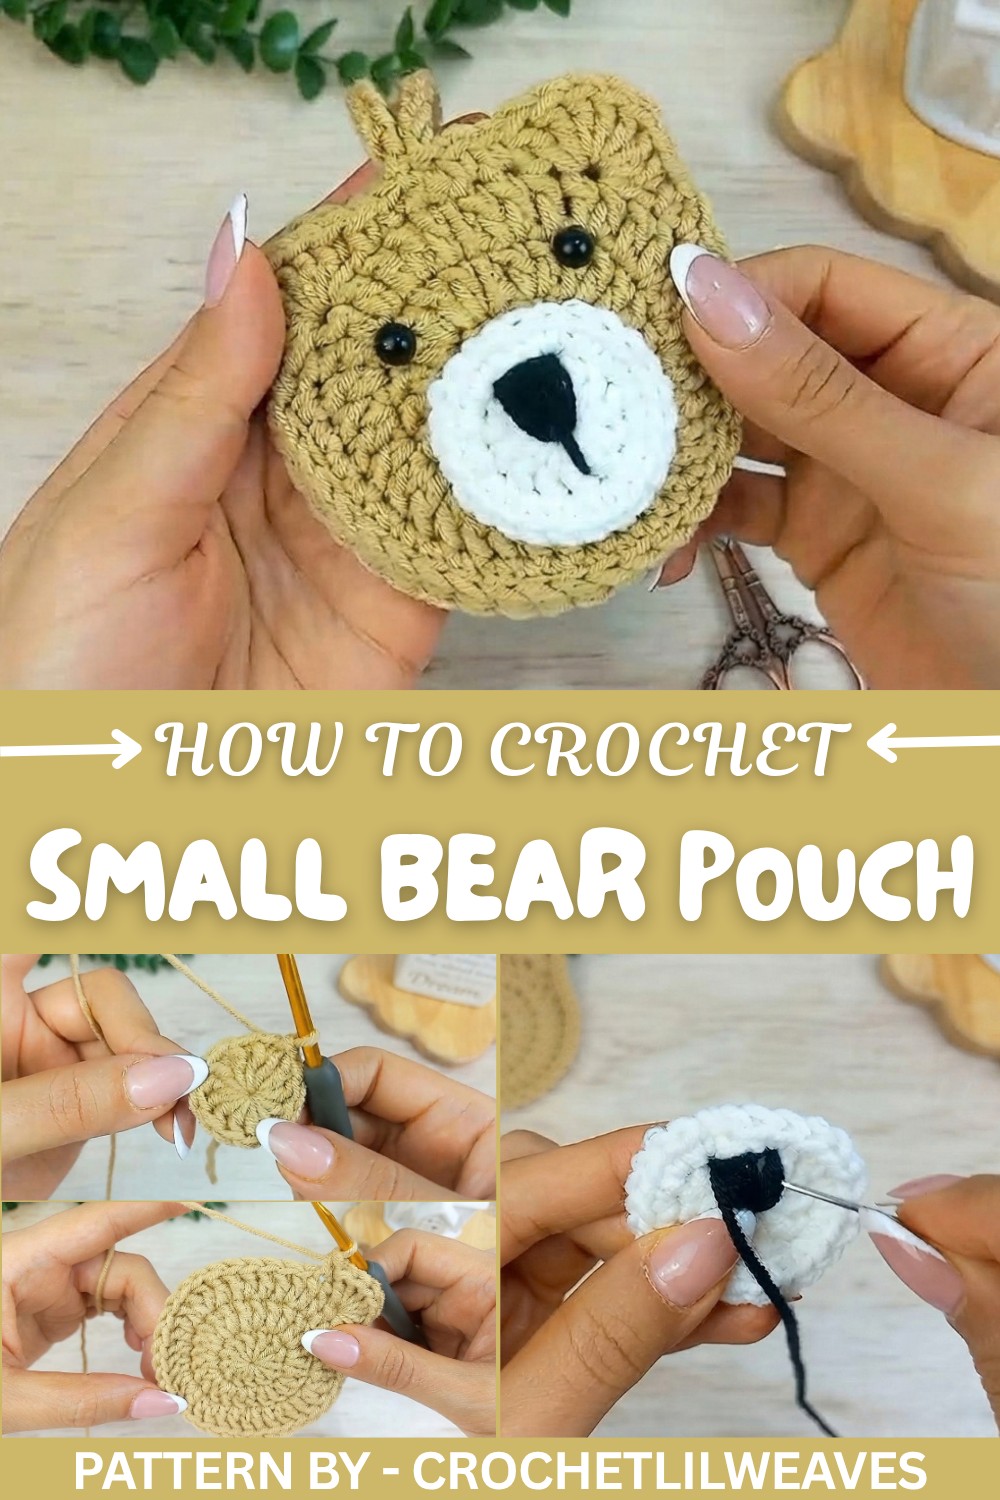
By working on this pouch, you will learn how to crochet in circles, form seamless joins, and evenly increase stitches to achieve a rounded shape. Adding final details like the bear ears, nose, and eyes offers a fun opportunity to try lightweight embroidery and creative adaptations for future projects. It's a fulfilling way to work on a structured piece without overwhelming steps.
This small bear pouch brings utility and a touch of playfulness to your everyday carry. An ideal gift material, it brings charm along with practicality. Working on this idea promises a rewarding and enjoyable experience to cherish.
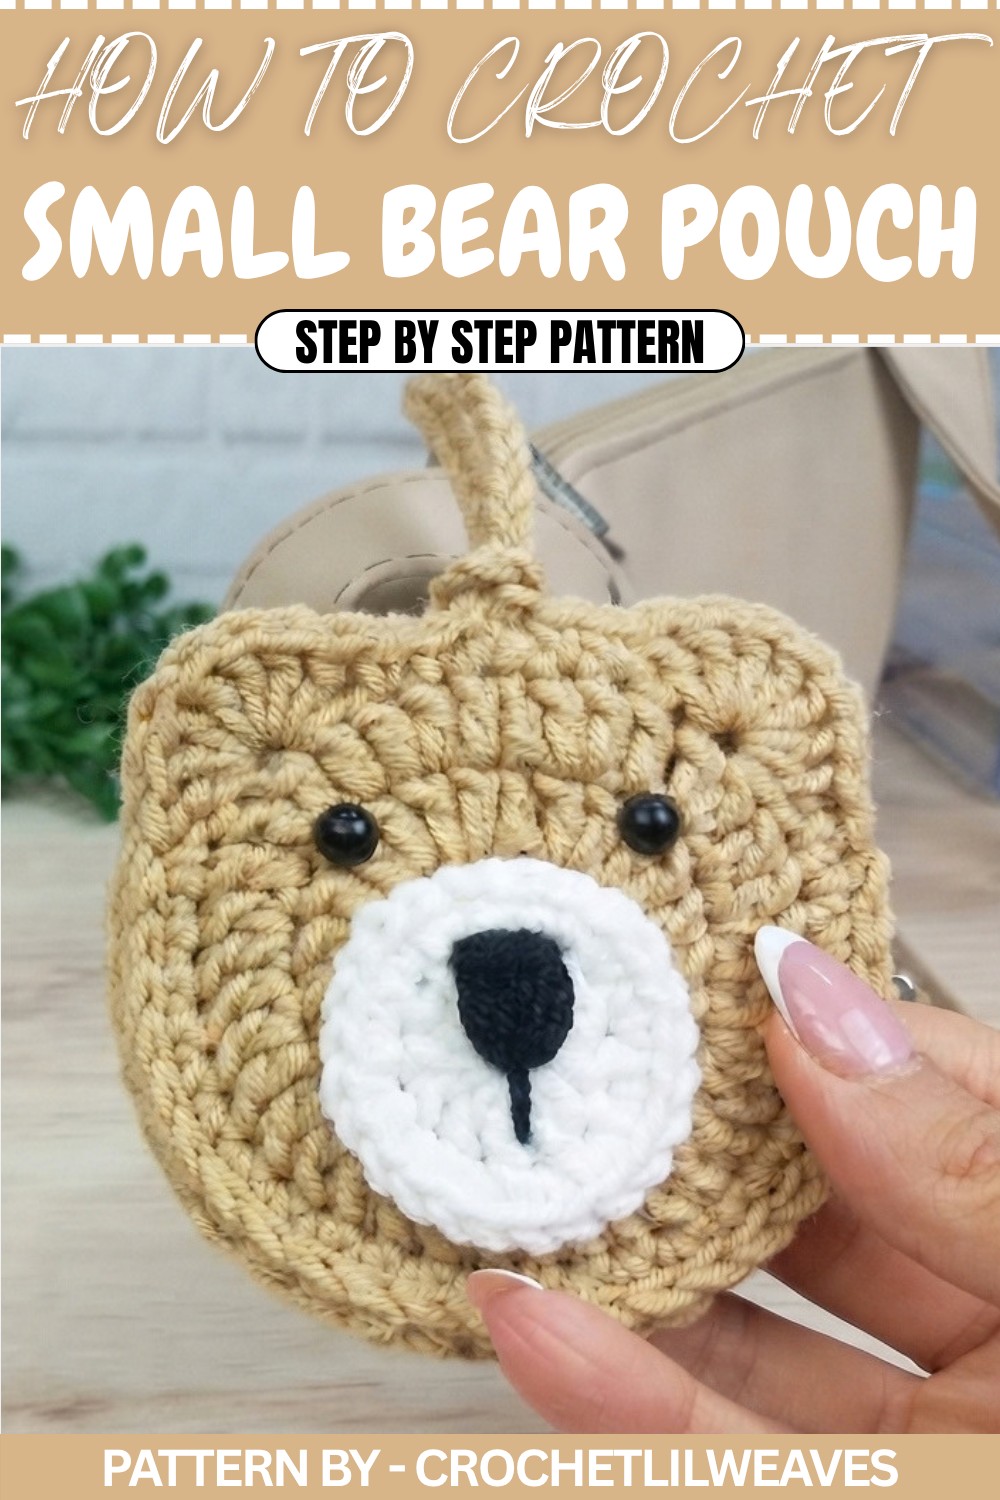
Crochet Bear Pouch Pattern
Quick Overview of the Pattern
- Project Type: Crochet Bear Pouch
- Uses: Storage for small items like keys or earbuds
- Components: Front piece, back piece, and nose piece
- Time to Complete: Approximately 1–2 hours
- Materials Required:
- 3 colors of worsted weight yarn (light brown, white, and black)
- 4 mm hook
- Scissors
- Yarn needle
- Pair of flat black safety eyes
- Multi purpose glue
Notes
- This pattern uses US crochet terminology.
- The pouch is worked in three pieces: front, back, and nose.
- Proper tension is essential to ensure that the front and back pieces align when stitching them together.
Skill Level
Beginner to Intermediate: Requires knowledge of basic crochet stitches like chains, single crochet, double crochet, and slip stitches.
Materials
- Yarn: Worsted weight yarn in three colors:
- Light brown (main color for the bear)
- White (contrasting color for the nose)
- Black (for details like stitching)
- Hook: 4.0 mm crochet hook
- Additional Tools:
- Scissors
- Yarn needle
- Multi purpose glue
- Accessories: 2 flat black safety eyes
Measurements / Sizing
- Pouch Dimensions: Approximately 3–4 inches in height and 4–5 inches in width (perfect for holding small items).
Gauge
Gauge is not critical in this project but aim for uniform and consistent stitches for a neat result.
Stitch Abbreviations
- ch: Chain
- sl st: Slip Stitch
- sc: Single Crochet
- dc: Double Crochet
- MR: Magic Ring
Special Stitches
- Magic Ring (MR):
- Make a loop with the yarn, ensuring the tail is behind the loop.
- Insert the hook into the loop, yarn over, and pull through to create a slip knot.
- Tighten the yarn by pulling on the tail after working stitches into the loop.
The Crochet Pattern
Front Piece
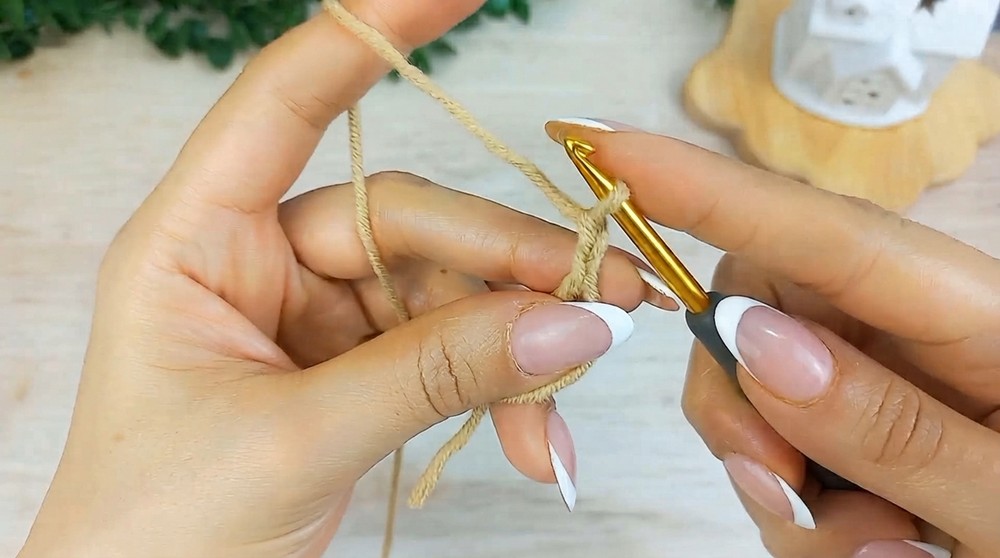
Round 1:
- Start with a magic ring.
- Ch 2 (does not count as a stitch).
- Work 12 dc into the magic ring.
- Pull the tail tightly to close the ring.
- Join with a sl st to the top of the first dc.
Round 2:
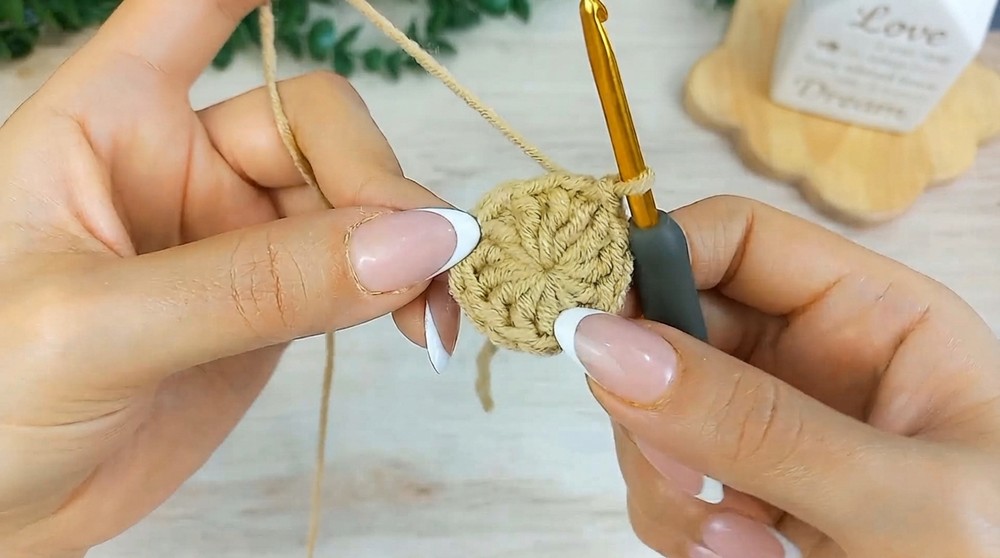
- Ch 2 (does not count as a stitch).
- Work 2 dc in each stitch around (increase in every stitch).
- You should now have 24 dc.
- Join with a sl st to the top of the first dc.
Round 3:
- Ch 2 (does not count as a stitch).
- In this round, alternate between:
- 1 dc in the first stitch.
- 2 dc in the next stitch (increase).
- Repeat this pattern around (1 dc, 2 dc).
- You should now have 36 stitches.
- Join with a sl st to the first dc.
Round 4 – Ears and Final Stitches:
- Ch 1.
- Work 1 sc in each of the first 3 stitches.
- First Ear:
- Skip the next stitch.
- Work 7 dc into the next stitch.
- Skip the next stitch.
- Sc in the next 25 stitches.
- Second Ear:
- Skip the next stitch.
- Work 7 dc into the next stitch.
- Skip the next stitch.
- Sc in the final stitch. Join with a sl st to the first sc.
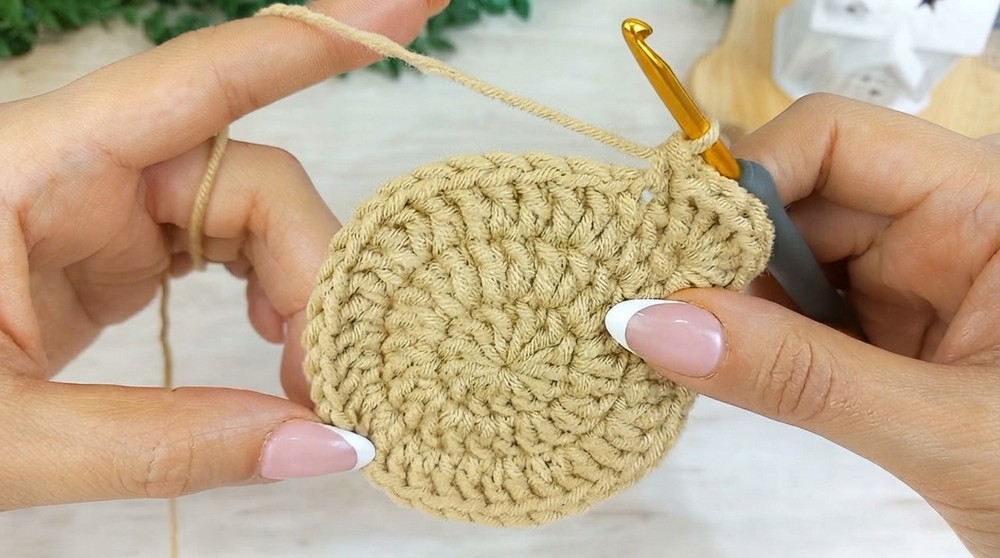
Chain Loop for Closing:
- Ch 50 to create the chain loop.
- Turn back to the original stitch where you joined.
- Work a sl st into the stitch.
- Fasten off, cut the yarn, and weave in tails.
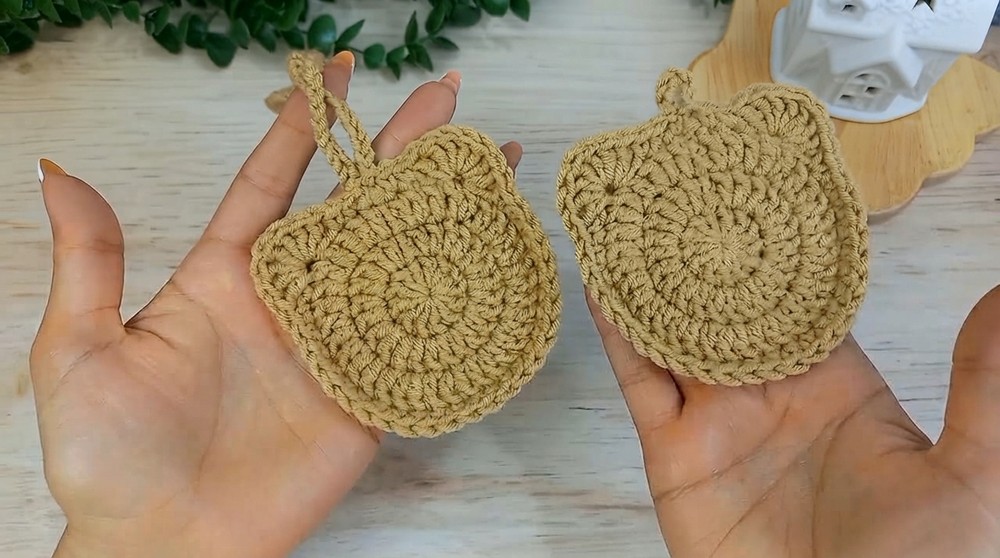
Back Piece
- Follow Rounds 1–3 from the Front Piece pattern.
- For Round 4:
- After completing the round, ch 5 (instead of 50).
- Work a sl st into the first stitch to create a small loop.
- Fasten off, cut the yarn, and weave in tails.
Nose Piece
Round 1:
- Start with a magic ring.
- Ch 2 (does not count as a stitch).
- Work 12 dc into the magic ring.
- Pull the tail tightly to close the ring.
- Join with a sl st to the top of the first dc.
Round 2:
- Ch 1.
- Work 2 sc in each stitch around (increase in every stitch).
- You should now have 24 sc.
- Join with a sl st to the first sc.
- Fasten off and weave in the ends.
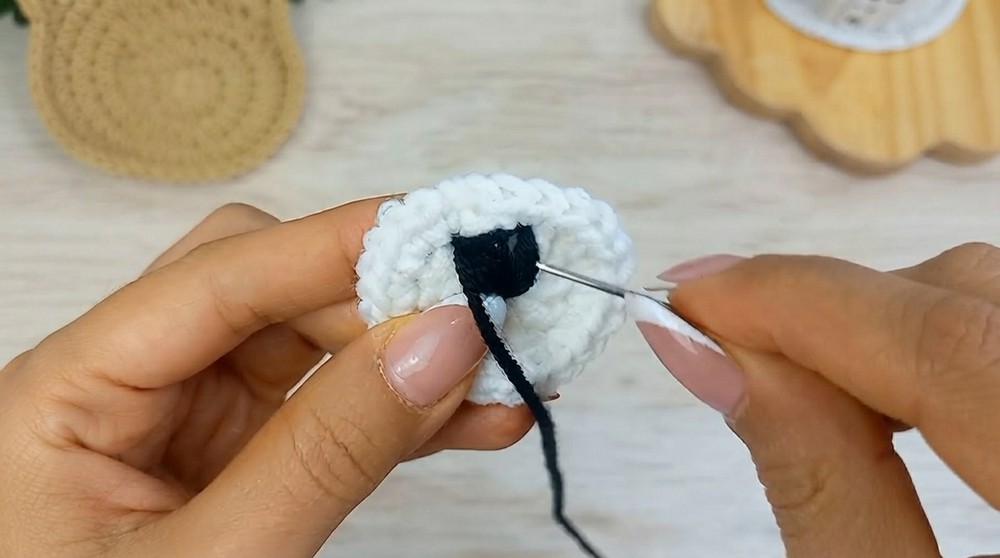
Add Nose Details:
- With black yarn:
- Thread a yarn needle and create a triangle shape starting from the first stitch of Round 1.
- Complete the triangle by stitching into the center of the magic ring for the bottom tip.
- Add a vertical line extending down from the triangle’s tip for the nose’s center.
Assembly
- Attach the Nose Piece:
- Use multi-purpose glue to attach the nose piece to the front piece, centering it beneath the ears.
- Press gently and let it dry completely.
- Attach the Eyes:
- Use glue or safety eye pins to attach the flat black eyes just below each ear, about 2 stitches down, centered between the edges.
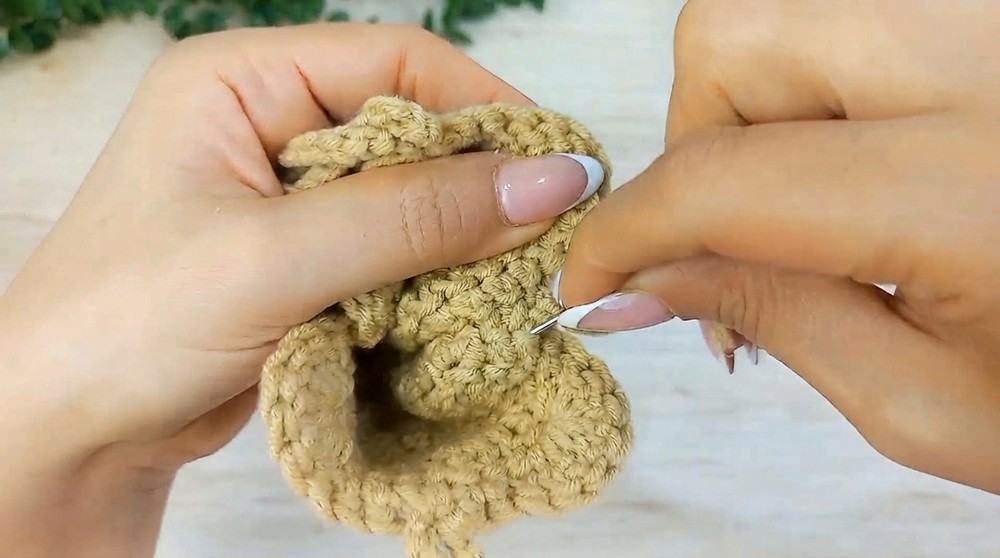
- Join the Front and Back Pieces:
- Hold both the front and back pieces together with the wrong sides facing in.
- Insert your hook into the first sc of the front piece and the last sc of the back piece.
- Create a sl st by pulling the yarn through both stitches and then through the loop on the hook.
- Repeat this for every pair of stitches around the edges to join the two pieces together.
- When you get to the final pair of stitches, ch 1, fasten off, and weave in the tail.
Assembly & Finished Size
- Finished Size:
- Approximately measures 3–4 inches in height and 4–5 inches in width.
- With the chain loop, the pouch can be closed securely for storing small items.
Conclusion
Your cute crochet bear pouch is now complete! This is both a functional and adorable accessory that can hold small items like keys, lip balms, or earphones. Perfect as a gift or for your personal use, this project is fun to make and incredibly versatile.