
Free Crochet Tulip Keychain Pattern with Fun Colors to Try
Turn simple yarn into a beautiful flower charm with this Crochet Tulip Keychain Pattern, a fun and creative way to add color to your daily essentials.
Making cute and practical items can be such a rewarding experience, and that's exactly what CrochetLilWeaves delivers with their fun tutorials. In one of their videos, they guide us through making a charming tulip keychain that’s perfect for adding a personal touch to your keys or bag. Their patient and detailed style makes learning a joy, whether you're a beginner or someone looking to refine their skills.
This tulip keychain stands out with its delicate and lifelike design. Crocheted in three parts, the string, the green leaf, and the tulip flower, it captures the beauty of nature in a small, handcrafted item. The tulip shape is especially captivating; its rounded petals are unique and resemble a blooming flower. The added touch of the textured green leaf enhances the design, making it even more eye catching.
Free Crochet Tulip Keychain Pattern with a Cute Spring Touch
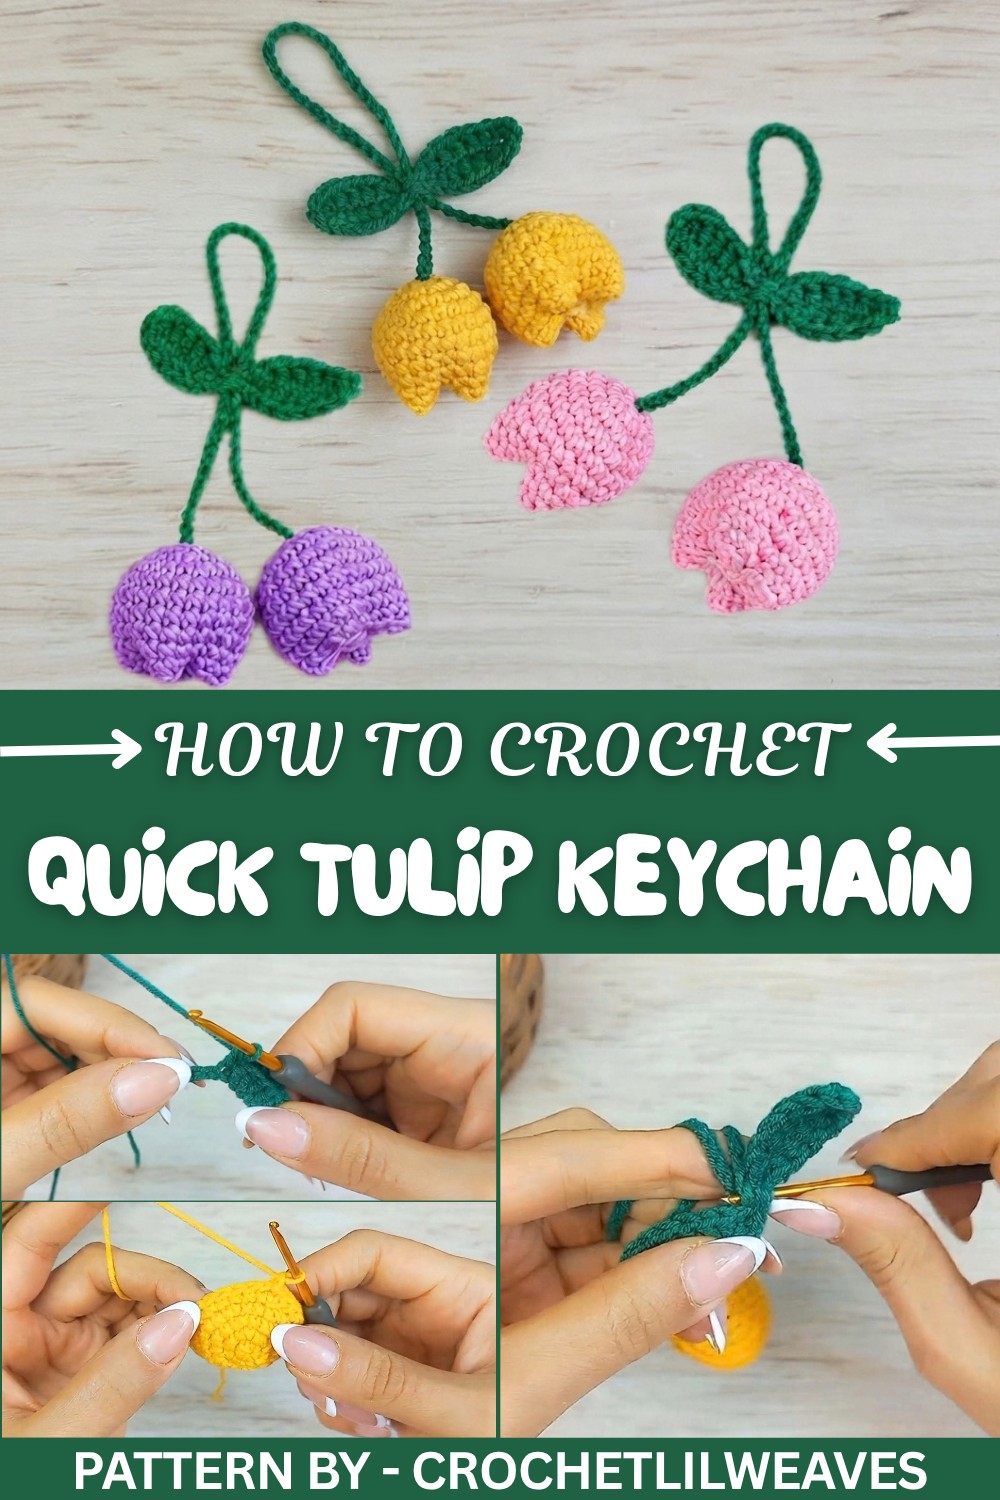
Making this tulip keychain is straightforward and enjoyable. It starts with simple techniques like chaining and slip knots for the string. The leaf requires basic stitches like single crochet, half double crochet, and double crochet. The tulip is formed using a magic ring, followed by structured rounds of single crochet, ensuring durability and neatness. The assembly process, including adding stuffing for the tulip’s rounded shape, is easy to follow and adds a professional touch.
This pattern isn’t just limited to keychains, you can adapt it to embellish bags, bookmarks, or even turn it into lovely wall art. It’s creative, practical, and full of possibilities, just like all the charming tutorials on CrochetLilWeaves.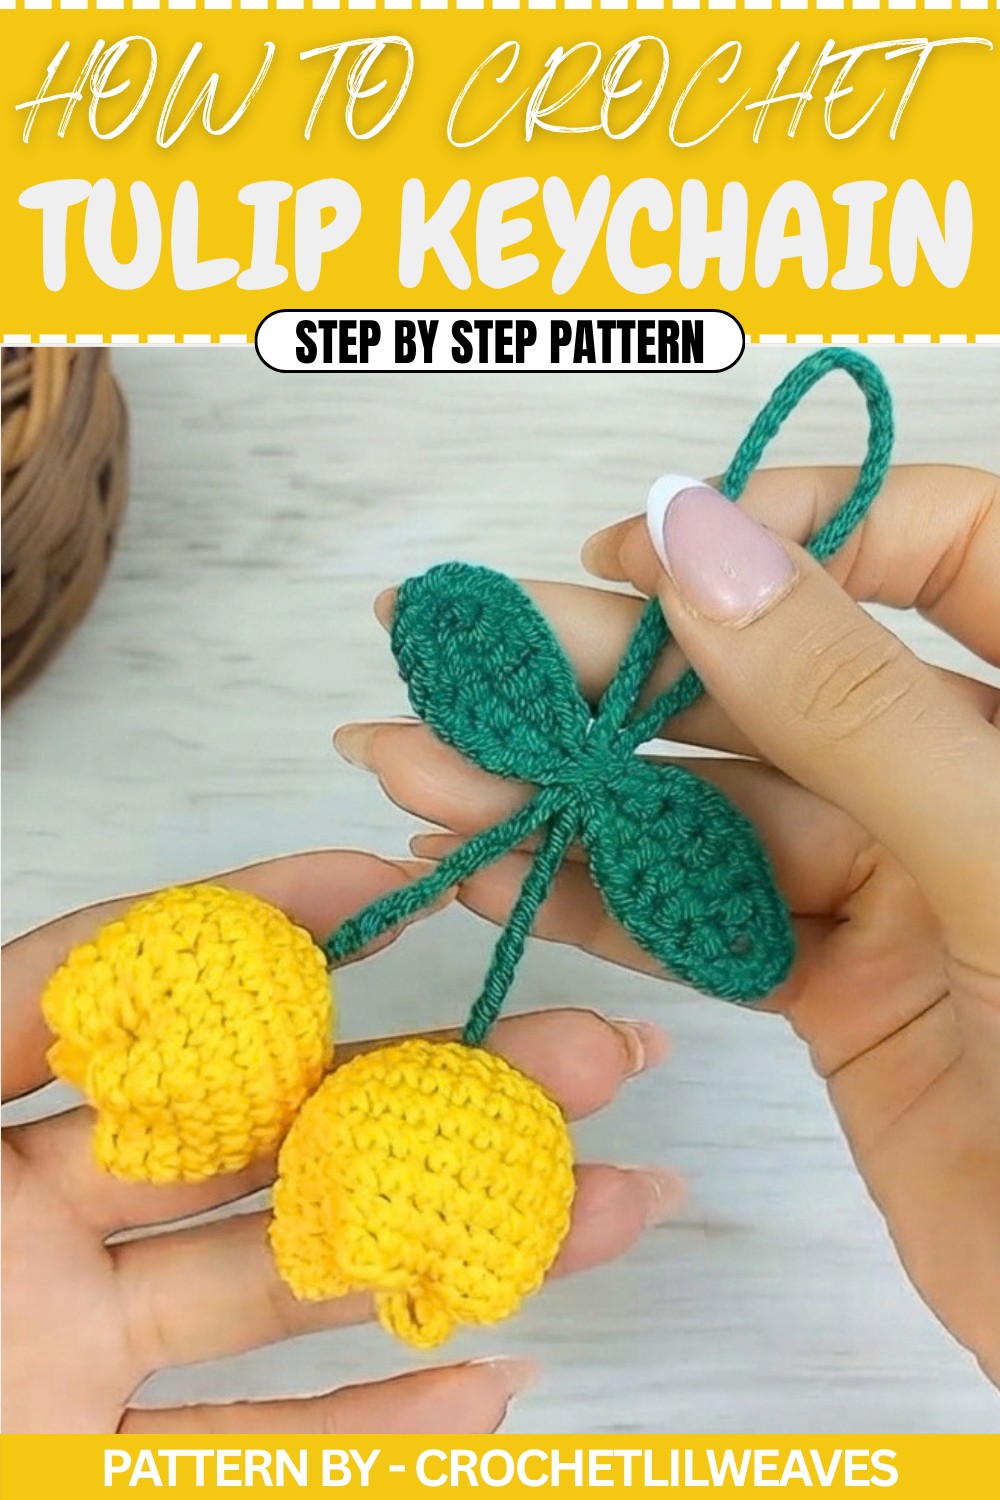
Crochet Tulip Keychain Pattern
Quick Overview of the Pattern
- Project: Cute Tulip Crochet Keychain.
- Contains: String, leaf, and flower (tulip).
- Construction: Simple and beginner friendly, with step by step instructions for each part.
- Assembly: All parts are sewn together to form the keychain.
Notes
- Use stitch markers for the tulip to track the rounds easily.
- Tension should remain even for all parts to create a neat finish.
- Always count your stitches at the end of each row or round.
- Customize the tulip keychain by changing up the colors of the string, leaf, and flower.
Skill Level
Beginner to Intermediate — Basic knowledge of crochet stitches like chain (ch), slip stitch (sl st), single crochet (sc), half double crochet (hdc), and double crochet (dc) is needed.
Materials
- Yarn: Worsted weight yarn in the following colors:
- Green: For the string and leaf.
- Your choice of color: For the tulip.
- Hook: 3.5mm (or size needed to achieve proper tension).
- Stuffing: Polyfill or other soft stuffing for the tulip.
- Needles: Tapestry needle for sewing and weaving in ends.
- Scissors.
- Stitch markers (optional).
Measurements / Sizing
- Length of the String: 50 chains (adjustable for your preference).
- Leaf Size: 16 chains (approx. 6 to 7cm).
- Tulip Diameter: 4 to 5 cm, depending on tension.
Gauge
Gauge is not critical for this pattern. However, for reference:
- Work 16 double crochets x 10 rows = 4” x 4”.
Stitch Abbreviations
| Abbreviation | Stitch |
|---|---|
| ch | Chain |
| sl st | Slip Stitch |
| sc | Single Crochet |
| hdc | Half Double Crochet |
| dc | Double Crochet |
| yo | Yarn Over |
Special Stitches
Slip Knot
- Wrap the yarn around your index finger twice from front to back, holding both the working yarn and tail end against your finger.
- Pass the first loop over the second loop.
- Pass the first loop over again and slide it off your finger.
- Tighten to form a knot and place the loop on the hook.
Magic Ring
- Lay the yarn over the back of two fingers, wrapping it around to form an X.
- Insert the hook under the first loop of the "X" and grab the working yarn, pulling it through the loop.
- Twist the hook to form one chain that secures the loop. Remove your fingers and tighten by pulling on the loose thread.
The Crochet Pattern
Part 1: String
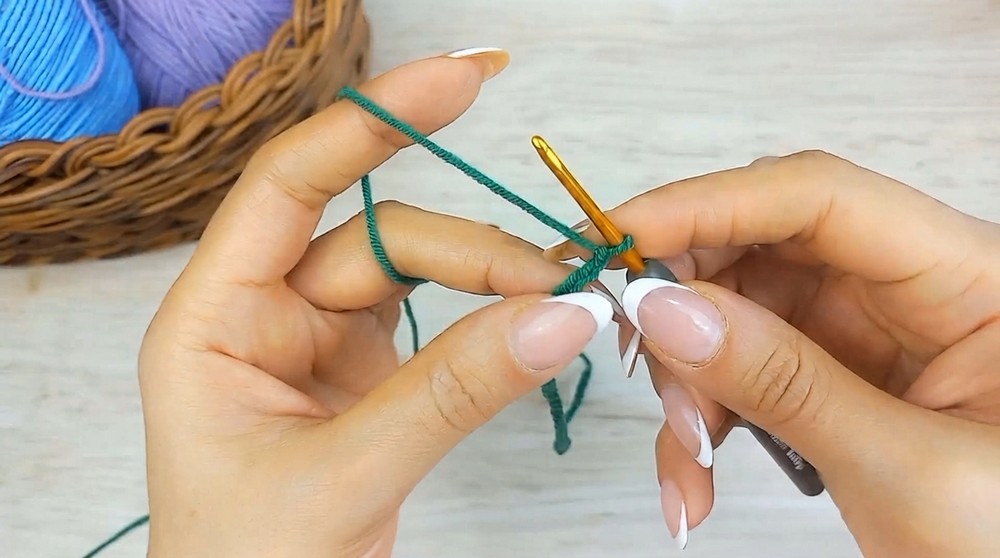
- Using green yarn, make a slip knot.
- Chain 50 stitches: Yarn over (yo), pull the yarn through the loop on the hook. Repeat to complete 50 chains.
- Fasten off:
- Make a single chain, cut the yarn, leave a small tail, and pull the tail through the loop on the hook. Tighten to secure.
Part 2: Leaf
Row 1: Foundation
- Use green yarn to make a slip knot.
- Chain 16 stitches.
Row 2: First Side of the Leaf
- Single Crochet (sc): Skip the first chain. In the second chain, insert the hook, grab the yarn, pull up a loop (2 loops on the hook). Yarn over and pull through both loops.
- Half Double Crochet (hdc): Yarn over, insert the hook into the next chain, pull up a loop (3 loops on hook). Yarn over, pull through all 3 loops.
- Double Crochet (dc):
- Work 3 dc, one in each of the next 3 chains. For each dc:
- Yarn over, insert the hook into the chain, pull up a loop (3 loops on hook).
- Yarn over, pull through first 2 loops, yarn over, pull through the last 2 loops.
- Work 3 dc, one in each of the next 3 chains. For each dc:
- Hdc: In the next chain, make 1 hdc.
- Sc: In the next chain after the hdc, make 1 sc.
- Slip stitch (sl st): Insert the hook into the next chain, grab the yarn, and pull through both loops on the hook.
Row 3: Mirror Side of the Leaf
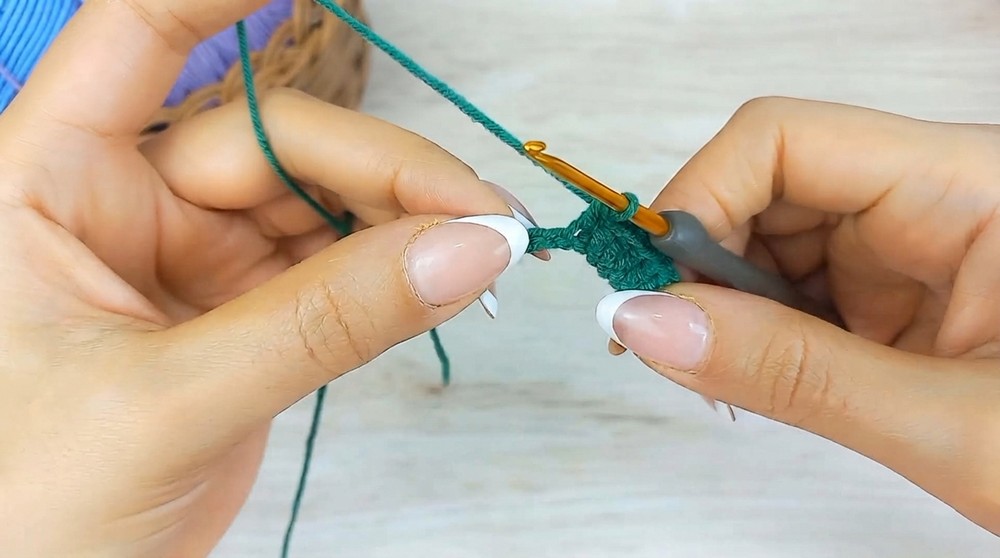
- Rotate your work clockwise. Work along the other side of the foundation chain.
- In the starting chain, work 2 sc to round the end of the leaf.
- Repeat the stitch sequence from the first side:
- Work hdc in the next chain, 3 dc in the next 3 chains, hdc in the next chain, sc in the next stitch, and sl st in the next.
Tie Off
- Work a sl st into the first chain, fasten off, and cut the yarn, leaving a small tail.
- Weave in the tail along the back of the stitches with a smaller hook for neatness.
Part 3: Tulip
Round 1:
- Start with your chosen tulip color and make a magic ring.
- Work 6 sc into the magic ring.
- Pull the starting tail to close the ring tightly.
- Join the round with a sl st into the first sc.
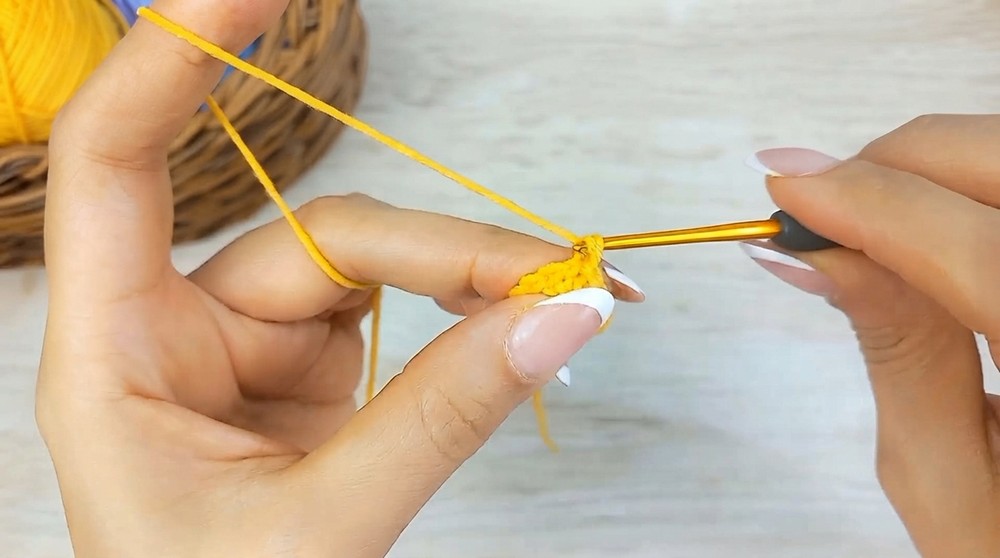
Stitch Count: 6 sc.
Round 2:
- Chain 1 and work 2 sc into each stitch from the previous round.
- Use a stitch marker to keep track of the first stitch in the round if needed.
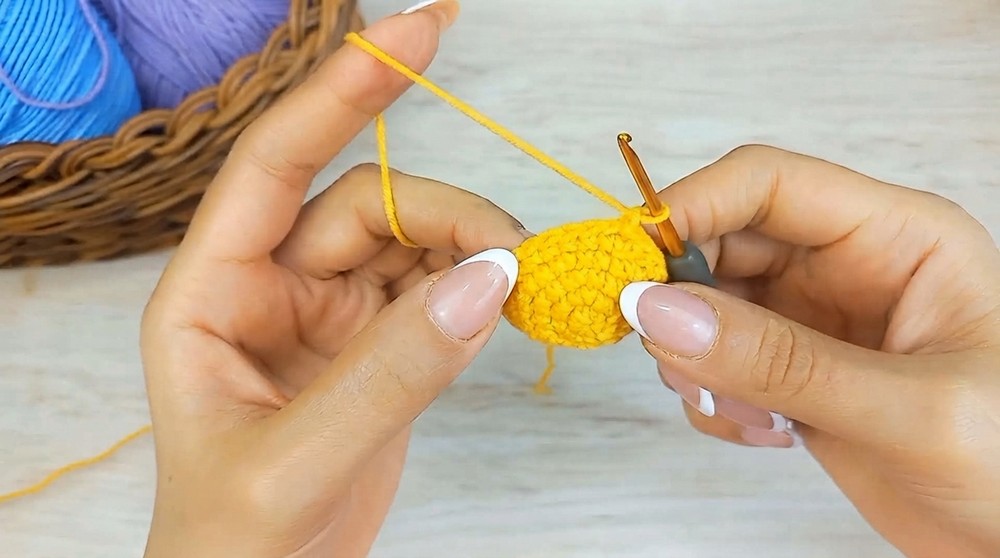
Stitch Count: 12 sc.
Round 3:
- Chain 1. Work 1 sc in the first st, 2 sc in the next st.
- Repeat 1 sc, 2 sc around the round.
Stitch Count: 18 sc.
Round 4:
- Chain 1. Work 1 sc in the next 2 sts, 2 sc in the next st.
- Repeat 1 sc, 1 sc, 2 sc throughout this round.
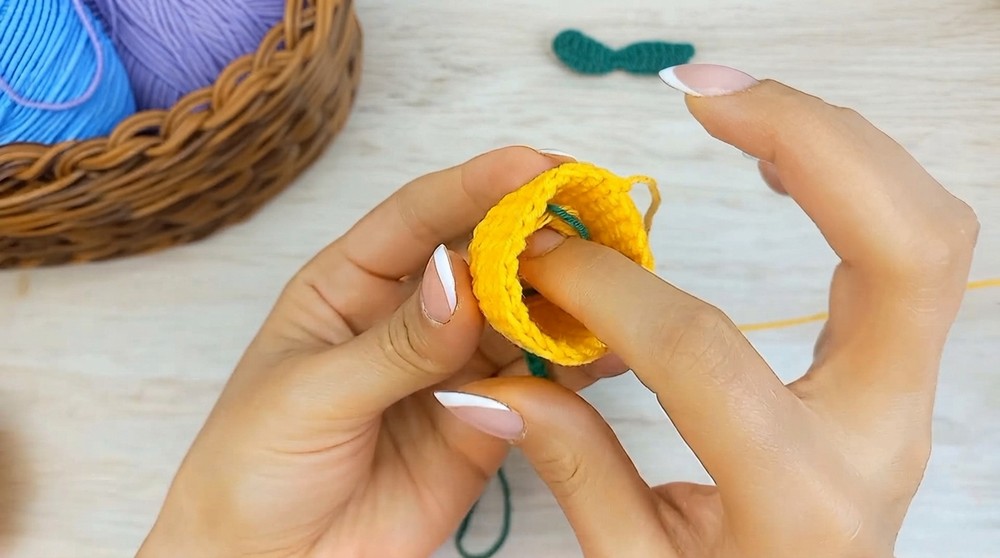
Stitch Count: 24 sc.
Rounds 5–10:
- Chain 1. Work 1 sc in each st around, with no increases.
- Continue until Round 10 is completed, maintaining the stitch count of 24.
Finalizing Tulip
- After Round 10, fasten off, leaving a long tail for sewing.
- Repeat all the steps to create 2 tulips.
Assembly & Finished Size
- Attach the String:
- Thread the string’s tail through the eye of a tapestry needle.
- Insert the needle through the center of the magic ring at the bottom of one tulip, pulling it through to the other side.
- Tie the ends of the string and magic ring securely, then insert stuffing into the tulip.
- Close the Tulip:
- Insert the needle containing the tail of the tulip through opposite stitches in the final round, sewing the tulip closed.
- Repeat the sewing process for all 4 sides, alternating stitches to ensure an even and secure closure.
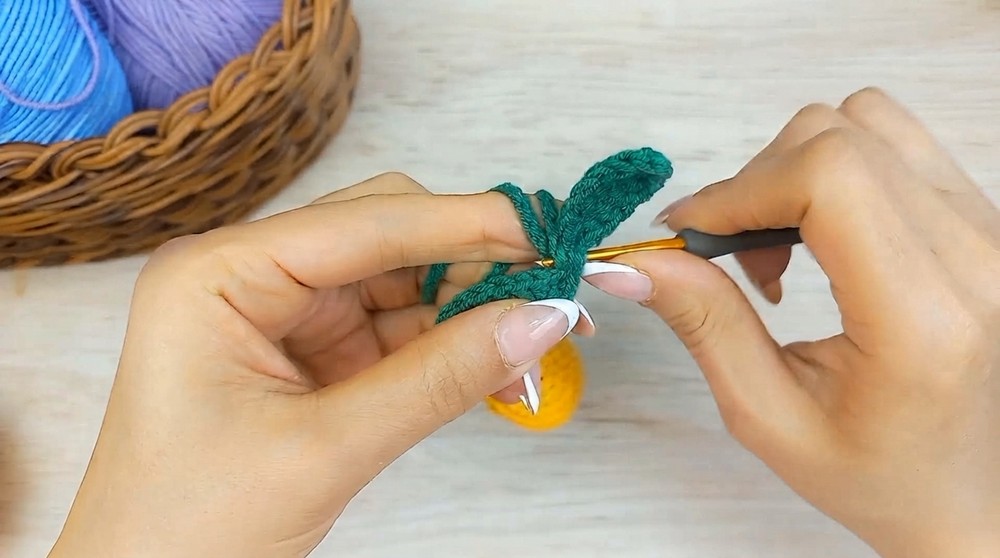
- Attach the Leaf:
- Using the string, pull it through the center of the slip stitches at the base of the leaf to secure it into place.
Conclusion
Congratulations, Your stunning tulip keychain is complete. It’s perfect for adding flair to your keyring or gifting to loved ones. Please subscribe, like, and share to show your support. Have a great day and enjoy your new tulip keychain.