
Free Crochet Mug Rug Pattern With Simple Beginner Steps
Treat your favorite cup to a cozy companion with this free crochet mug rug pattern that’s not only easy and fun to make but also perfect for adding charm to your daily routine.
Have you ever wanted to make something quick, practical, and a little charming for your home? Creating your own crochet mug rug is the perfect way to add a personal touch to your coffee or tea corner while learning a delightful crochet. Mug rugs are just like mini placemats but designed specifically for your favorite cup or mug. They’re small, cute, and functional, keeping surfaces clean and adding a splash of color to your everyday routine.
Featured By Annie Stoyanova
It uses basic stitches such as single crochet and chain stitches, perfect for beginners who are still getting used to the rhythm of crocheting. As you work through the rows, you’ll see a lovely texture form, creating a stylish yet cozy piece. With these simple stitches, you can also explore making coasters, table runners, bookmarks, or small decorative mats for around the house.
Free Crochet Mug Rug Pattern for Your Favorite Coffee Cup
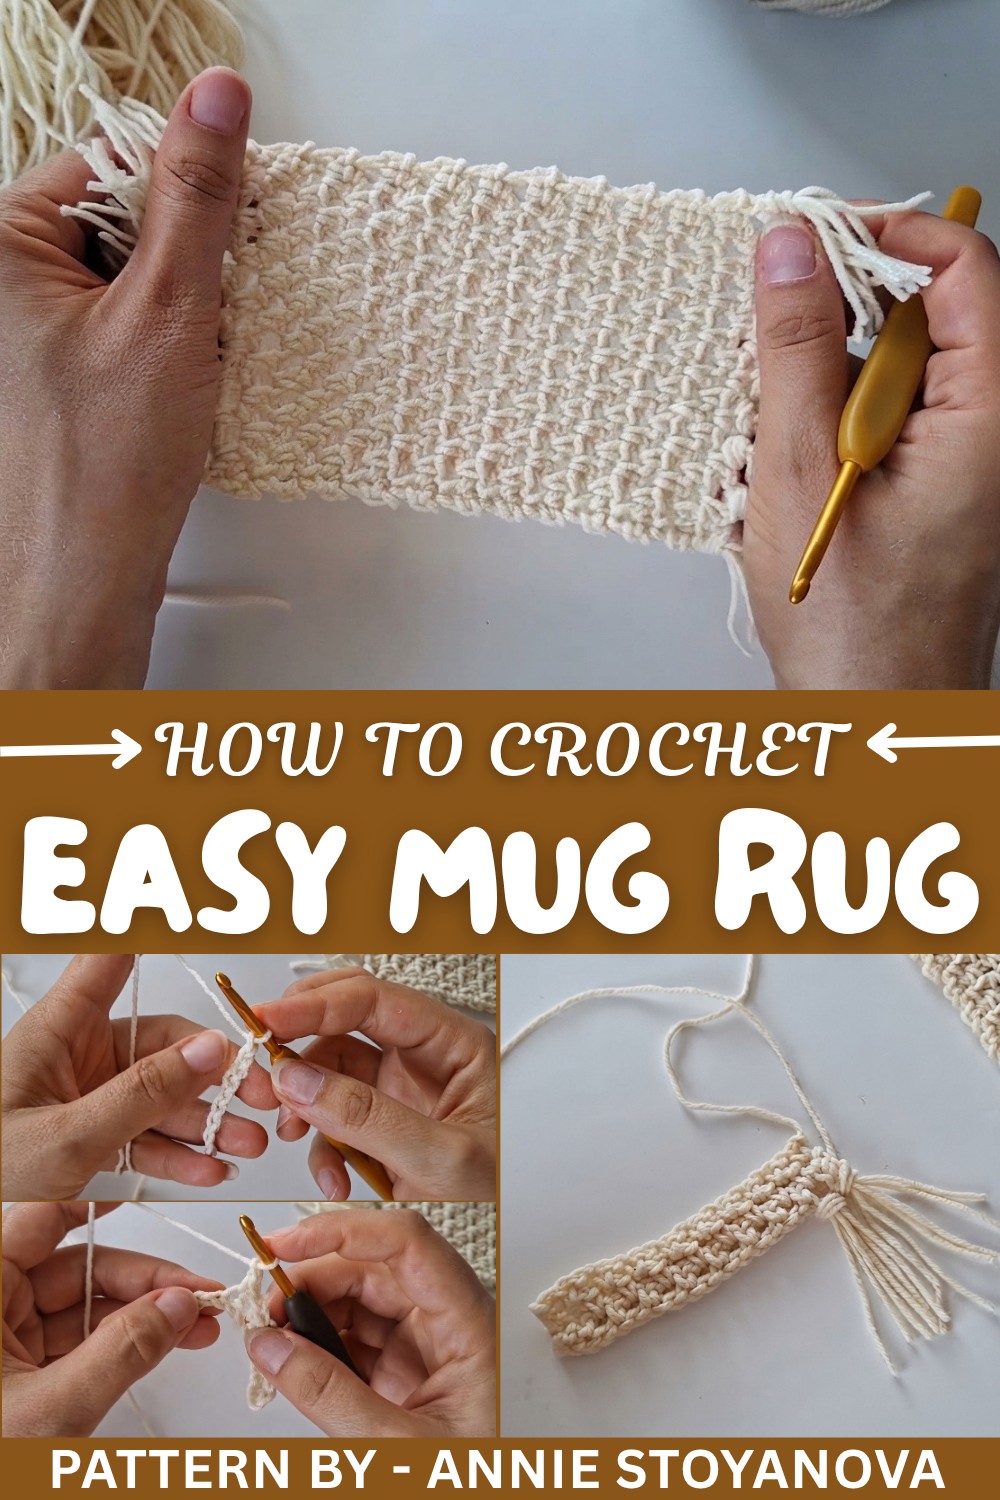
From this pattern, you’ll learn how to create straight rows, work with a consistent stitch size, and add tassels for a fun finishing touch. It’s a fantastic project to improve your crochet skills while making something practical. You can experiment with different yarn colors or try varying the size to customize each mug rug for gifts or seasonal decor.
With this mug rug pattern, the possibilities don’t end here. Once you’ve mastered the technique, you can use the stitch pattern to make larger projects like placemats, cozy rugs for plants, or even small bags. It’s such a versatile design that opens up endless creative opportunities for exploring crochet.
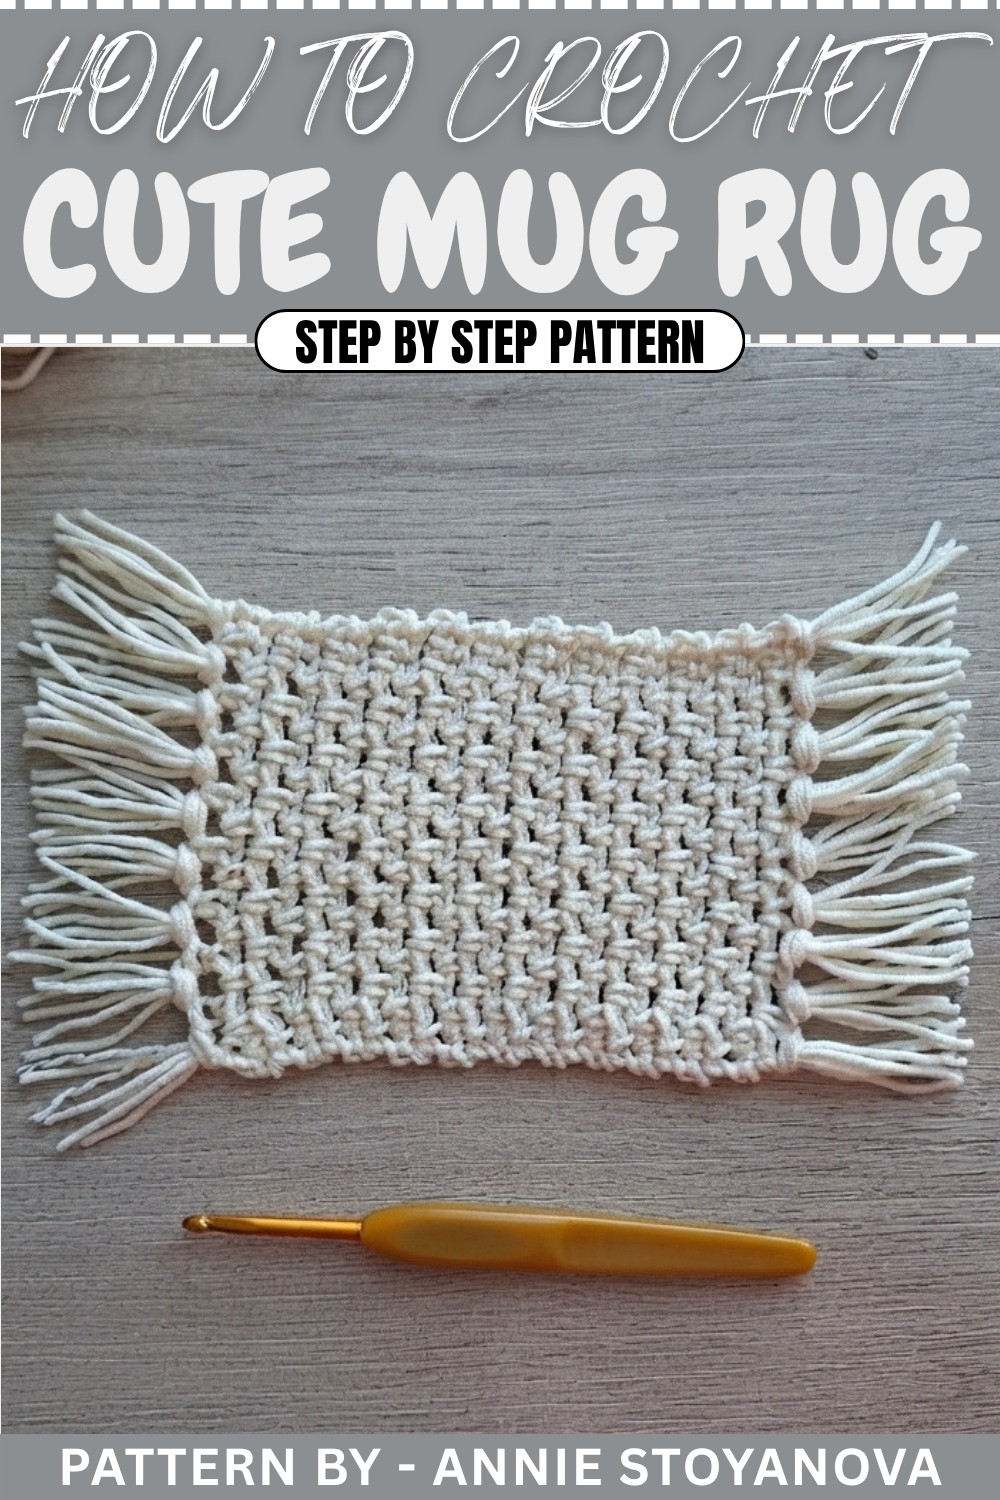
Crochet Mug Rug Pattern with Fringe
This pattern is perfect for beginners who want to try something easy yet visually appealing. It's an ideal project for creating simple scarves, table runners, shawls, or stylish fringed wraps to cozy up in. The pattern is worked with a size 2 sport yarn, ensuring a lightweight and delicate finish that you’ll love.
Quick Overview Of Pattern
- Create a foundation chain of 19 stitches.
- Start with single crochet (sc) stitches in the second chain from the hook.
- Work a combination of single crochet + chain 1 across the row, skipping every second chain.
- Turn your work, and repeat the pattern in the chain spaces to create the textured Mug Rug design.
- Repeat this pattern for 23 rows.
- Add a fringe along the edges after chaining and finishing the project.
Notes
- The Mug Rug is created using alternating single crochet and chain spaces, resulting in a simple but elegant texture.
- Make sure rows begin and end in single crochet stitches, as no row should end with a chain stitch.
- A larger hook can be used for adding the fringe, as it makes the process easier.
Skill Level
Beginner Friendly
This pattern is suitable for those new to crochet. The stitch combination uses:
- Working single crochets into chains or chain spaces.
- Making chain stitches.
- Creating a fringe for stylish finishing touches.
Materials
- Yarn: Sport weight (size 2) yarn.
- Hook: Crochet hook (the video suggests using the same hook size or upgrading to a slightly larger hook for ease with fringe).
- Extras: Scissors for cutting fringe strands and a tape measure (optional).
Measurements / Sizing
- Foundation chain: 19 chains.
- Finished size: The measurements will depend on row length and the chosen yarn tension, but 23 rows of Mug Rug produce a delicate rectangular piece suitable for adding fringe.
Gauge
The video does not specify gauge. Since the project is beginner friendly, aim for even stitches and tension throughout to create a consistent texture.
Stitch Abbreviations
- ch: Chain
- sc: Single Crochet
- st(s): Stitch(es)
- sl st: Slip Stitch
- RS: Right Side
- WS: Wrong Side
Special Stitches
M Stitch Pattern
- This stitch consists of alternating single crochet and chain spaces.
- For every stitch, work a single crochet, chain 1, skip one stitch, and repeat.
- On subsequent rows, work your single crochet into the chain spaces and continue the same pattern.
The Crochet Pattern
Step 1: Foundation Chain
- Slip Knot:
- Create a slip knot by holding the yarn tail with your fingers and twisting it to form a loop. Pull the loop tight with the hook to secure it.
- Chain:
- Make a total of 19 chains for the foundation.
- Keep your tension loose to avoid overly tight chains; this will make it easier to work into them.
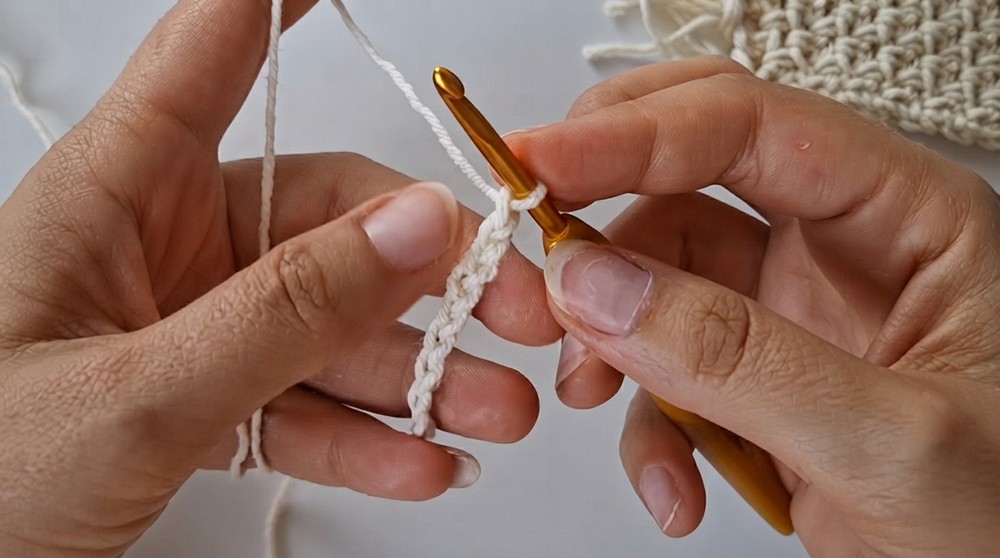
Step 2: Row 1
- Skip the first chain (closest to the hook) and begin working in the second chain from the hook.
- Single Crochet: Insert your hook into the second chain, yarn over, pull up a loop, yarn over again, and pull through both loops on the hook to complete a single crochet.
- Chain 1: Make one chain stitch.
- Skip the next chain: Skip the next chain on your foundation chain.
- Single Crochet: In the next chain, make another single crochet.
- Continue with the following pattern:
- Single crochet (sc).
- Chain 1.
- Skip 1 chain.
- Single crochet (sc) in the next chain.
- Repeat this until you reach the end of the first row of 19 stitches. The row should end with a single crochet in the final chain.
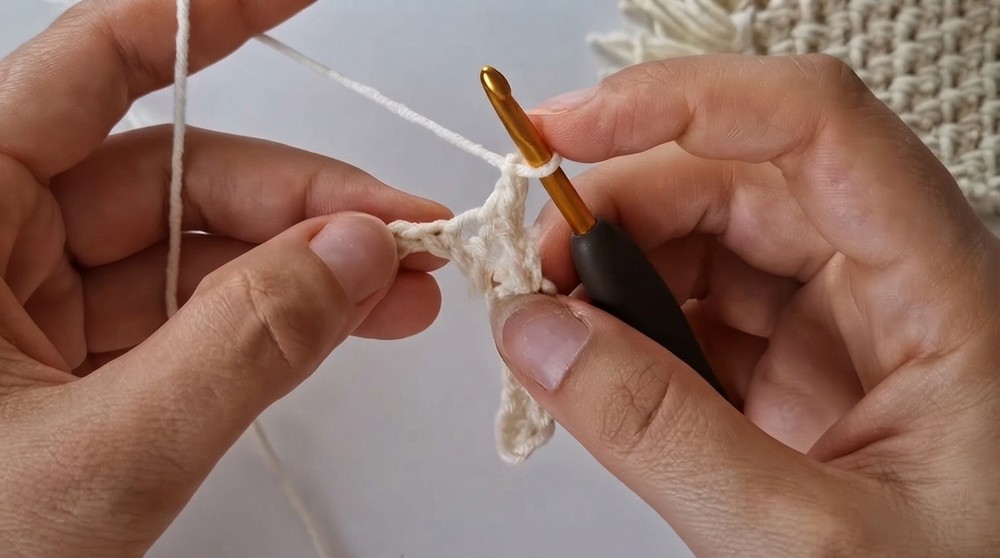
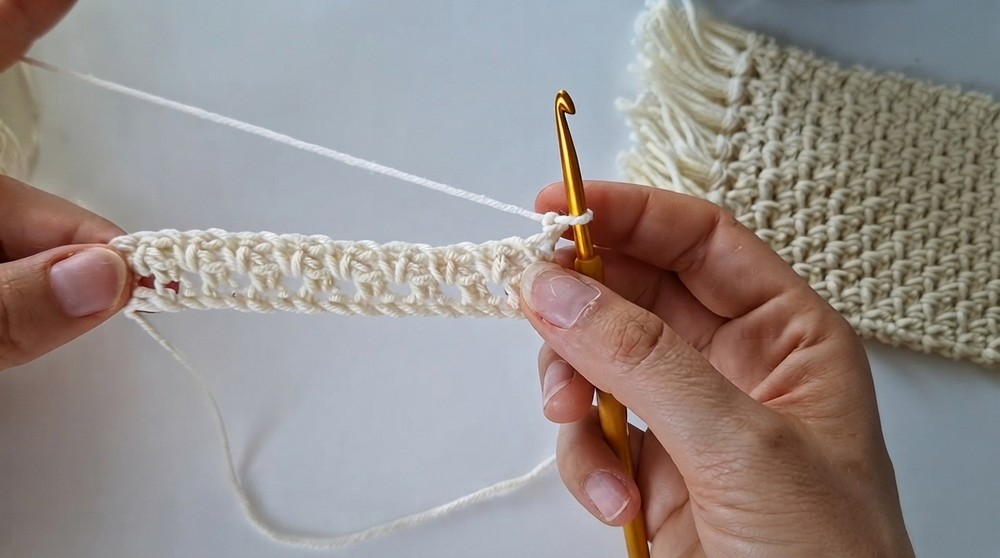
Step 3: Row 2
- Turn Your Work:
- At the end of Row 1, make a chain 1 and turn your work.
- For Row 2, follow this pattern:
- Work a single crochet into the first stitch.
- Chain 1.
- Skip the next stitch.
- Insert your hook into the chain space from the previous row and single crochet into this space.
- Chain 1.
- Continue across the row, always skipping a stitch and working your single crochet into chain spaces only.
- End Row 2 with a single crochet in the last stitch, ensuring no row ends on a chain stitch.
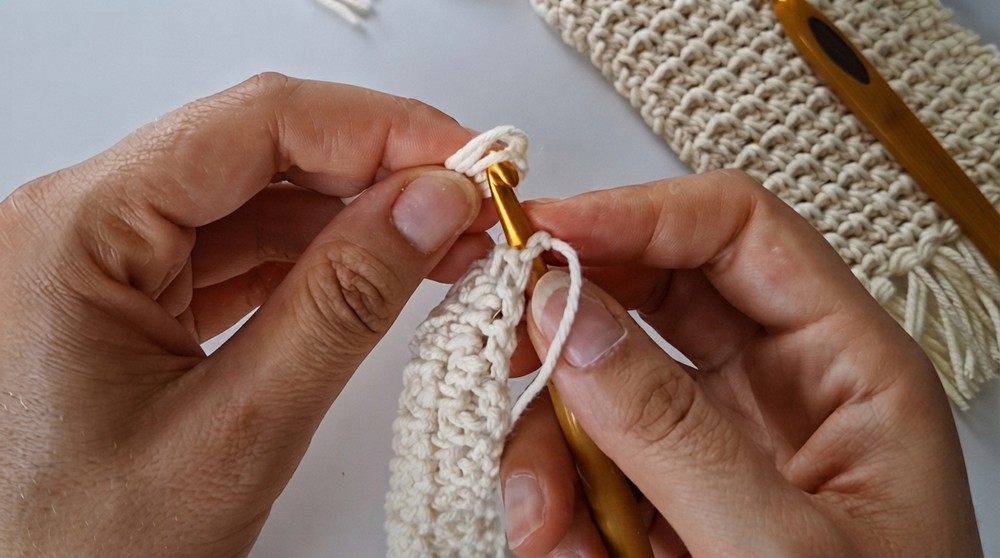
Step 4: Repeat the Pattern
- Repeat the same sequence described in Row 2 for all subsequent rows.
- Row Repeat:
- Begin each row with chain 1 and a single crochet, then work the M Stitch Pattern (single crochet into chain space, chain 1, skip stitch).
- Rows should always end with a single crochet and never with a chain stitch.
- Work a total of 23 rows to complete the project.
Step 5: Adding the Fringe
Prepare the Fringe
- Wrap your yarn several times around an object like a book or use your hand to form a loop with the yarn.
- Once you have the amount of strands needed for a fringe bundle, cut the bottom of the loop to create individual strands.
- Each fringe bundle should contain 3 strands of yarn, evenly aligned.
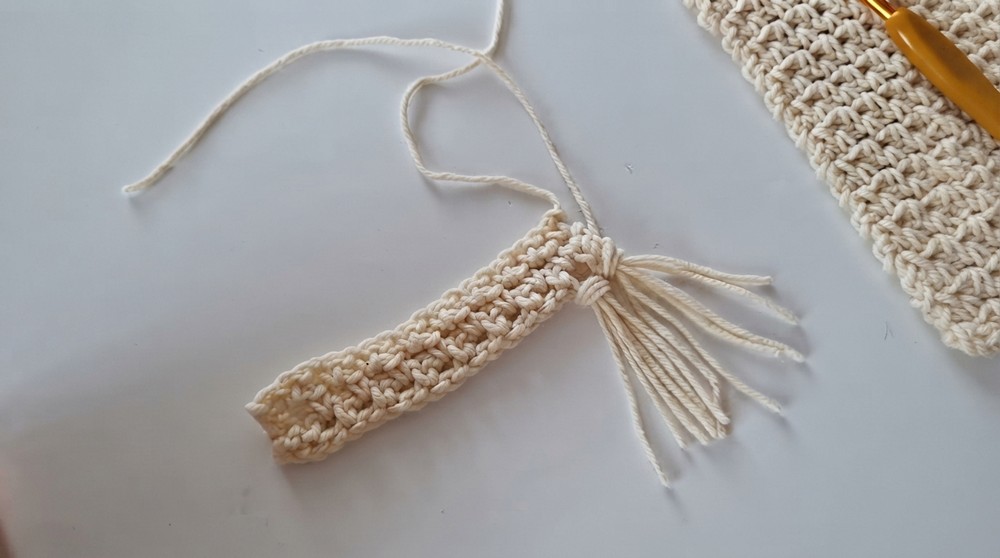
Attaching the Fringe
- Identify the placement for the fringe around the edges of the piece.
- Start with the corners first, then line up fringe bundles evenly along the edge.
- To attach a fringe:
- Fold three strands in half and create a loop with the folded middle.
- Insert your hook into the corner (or chain space) from your crocheted edge.
- Grab the loop with your hook and pull it through the chain space.
- Pull the loose ends of your yarn strands through the loop, tighten, and secure the fringe by pulling it tight.
- Continue attaching fringe bundles along both edges until you’ve added fringe to all chain spaces and corners.
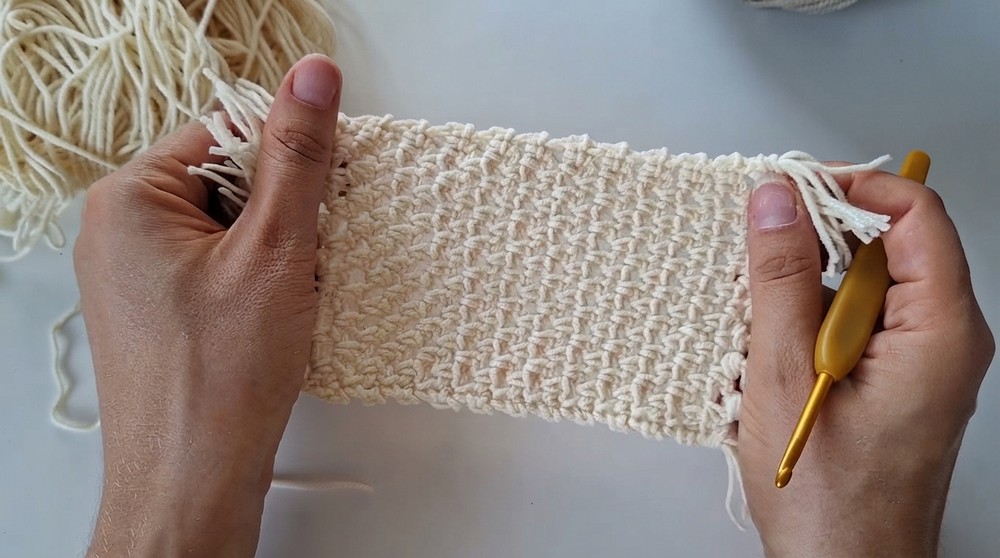
Final Steps
- Trim the Fringe: Align all the strands, and cut them into a uniform length. Be careful not to make it uneven or messy.
Assembly & Finished Size
Once the fringe is added along the edges of your piece, your project is complete! The finished size depends on your tension and chosen materials but will generally measure 19 stitches wide by 23 rows long. The added fringe creates a stylish finish that works beautifully for scarves, shawls, or table runners.
Conclusion
Congratulations, You’ve just mastered the beautiful and beginner friendly Mug Rug Pattern. By combining single crochets and chain spaces, you've created a gorgeous textured design that’s versatile and easy to customize. Whether you’re making a chic scarf or adding a twist with fringe, this pattern is an excellent starting point for exploring your creativity. Have fun experimenting and see what else you can make with this beautiful stitch, like lightweight wraps, bohemian wall hangings, or even flowy summer tops.