
Easy Free Crochet Skull Coaster Pattern for a Witchy Coffee Corner
Make your table fun and spooky with this free crochet skull coaster pattern, featuring an easy guide to create cool and stylish coasters everyone will love.
Crochet enthusiasts often look for projects that are both fun and functional, which is exactly what K Rod Crochet specializes in. Known for teaching unique and creative designs, this channel has a way of making intricate looking patterns easy to follow, even for beginners. One standout tutorial walks viewers through a simple yet striking skull coaster, ideal for adding flair to your home decor or prepping for a themed event. With clear instructions and valuable tips throughout, it’s a project anyone can enjoy.
The skull coaster isn’t just a household item, it’s a conversation starter. Its shape is bold and eye catching, highlighted by hollowed eyes and a grinning mouth that perfectly capture the essence of its theme. The pattern includes detailed enhancements, like textured stitching along the edges, making each skull coaster feel complete and polished. The final result is a flat yet durable piece, easy to set under coffee mugs, glasses, or small decor items.
Easy Free Crochet Skull Coaster You Will Love for Fall
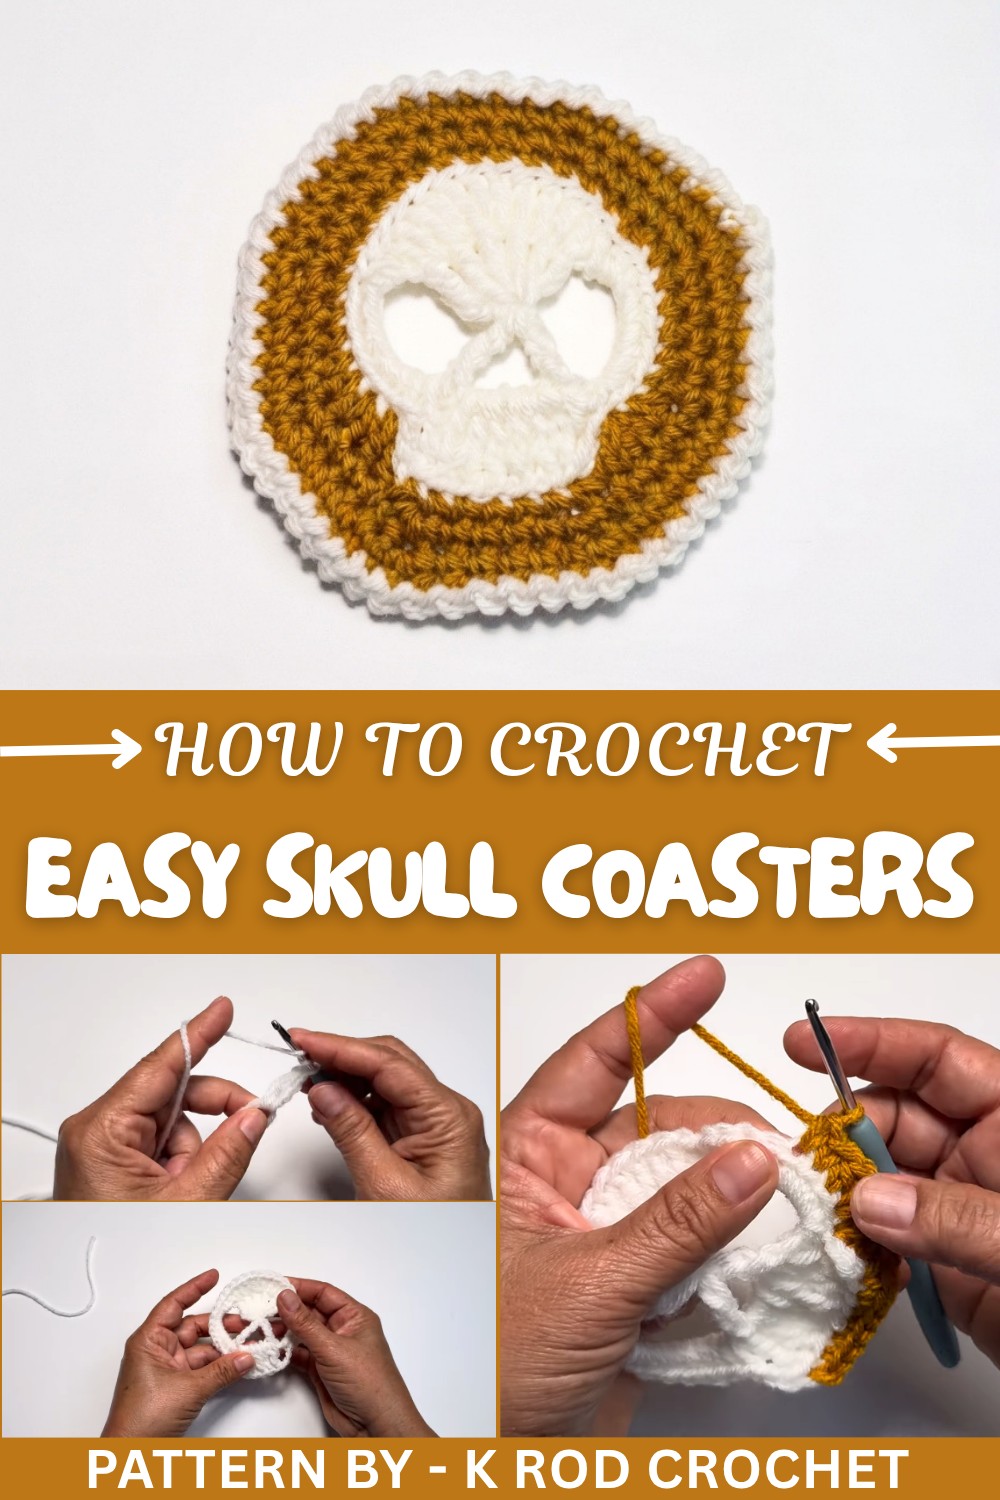
Working on the skull coaster involves approachable techniques like the magic circle, chains, single crochets, double crochets, and treble crochets. The step by step process ensures that even beginners can replicate the design without any confusion. By layering the yarn and alternating stitches, the coaster gains its iconic skeleton inspired shape with added depth.
Beyond its functionality, this coaster is a fantastic creative outlet. You can experiment with different yarn colors to match your decor or seasonal themes. Whether for Halloween, gothic inspired aesthetics, or simply for fun, the coaster adds a touch of personality wherever it’s placed. With K Rod Crochet guiding the process, this project is not just a learning opportunity—it’s also a chance to craft something truly memorable.
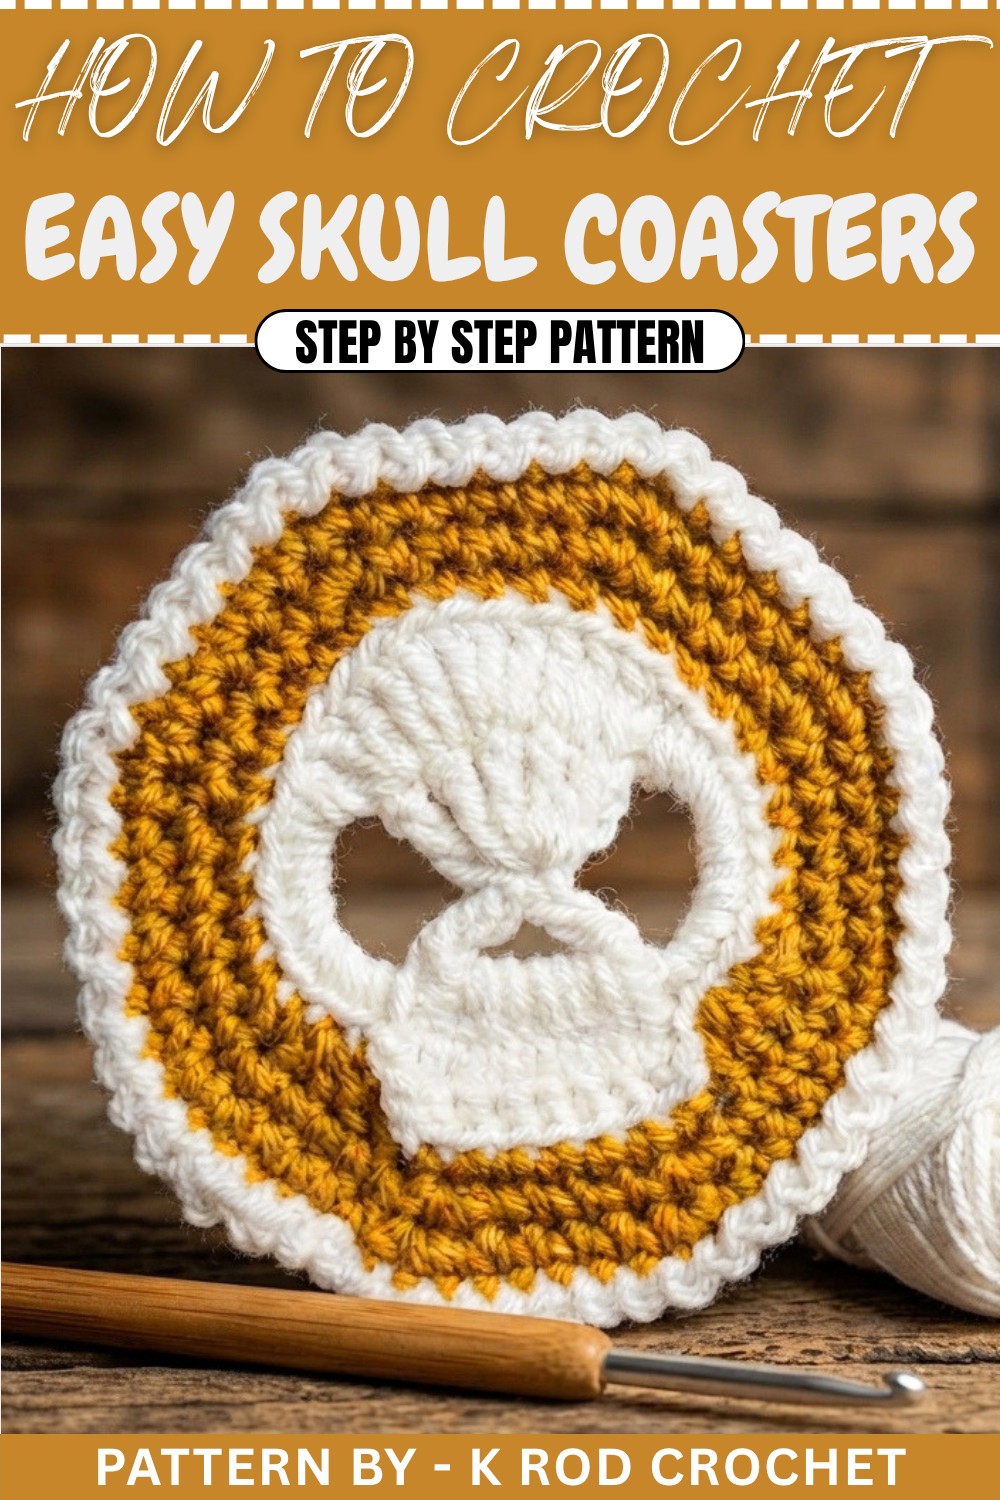
Here’s the crochet pattern with the main stitches bolded for clarity:
Cute Crochet Skull Pattern
Introduction
Welcome to this crochet tutorial where you'll learn to create a decorative skull design with an easy to follow step by step guide. This project is ideal for adding a unique personal touch to your creations or gifts.
Quick Overview of the Pattern
- Create a magic circle as the foundation for the skull.
- Use a combination of treble and double crochet stitches to build the design.
- Incorporate chains and specific stitch counts for neat detailing.
- Work through multiple layers by layering with different colors.
- Finish with clean edging and proper hiding of extra yarn.
Notes
- Always count your stitches in each round to ensure accuracy.
- The pattern uses U.S. crochet terminology.
- The initial chains at the start of rounds (e.g., chain 2 or chain 3) do not count as a stitch unless specified.
Skill Level
Beginner to Intermediate. This project requires a basic understanding of crochet stitches such as slip stitch, chain, single crochet, treble crochet, and double crochet.
Materials
- Yarn of your choice (suitable for a 3.5 mm hook size).
- 3.5 mm crochet hook.
- Scissors.
- Yarn needle for weaving in the ends.
Measurements / Sizing
- The final size of the skull design depends on the yarn and hook size. With a 3.5 mm hook, the finished piece will measure approximately 2-3 inches in diameter.
Gauge
Gauge is not critical for this pattern. Feel free to adjust the hook size and yarn for a smaller or larger finished piece.
Stitch Abbreviations
- ch: chain
- st: stitch
- sl st: slip stitch
- sc: single crochet
- hdc: half-double crochet
- dc: double crochet
- tr: treble crochet
- trtr: treble treble crochet
- yo: yarn over
Special Stitches
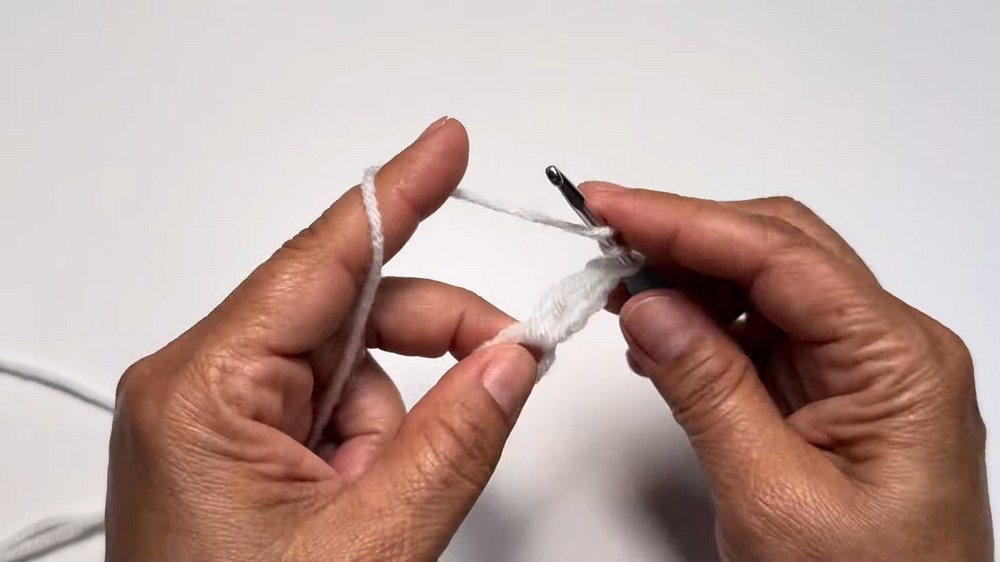
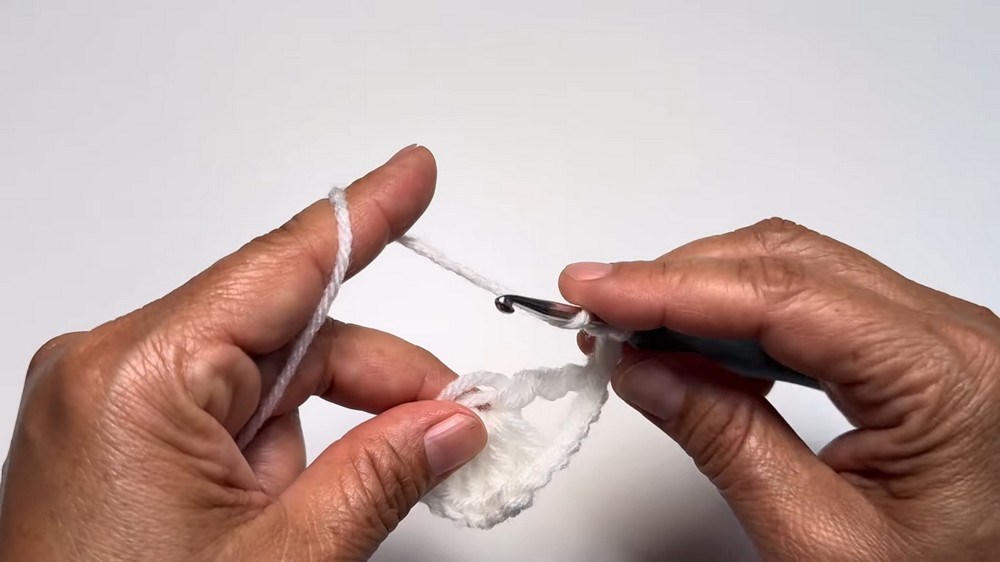
- Magic Circle (MC): Wrap the yarn around your fingers to form a loop, insert the hook into the loop, yarn over, and pull up a loop. Work the required number of stitches into this adjustable loop, then pull the tail end to tighten the loop.
The Crochet Pattern
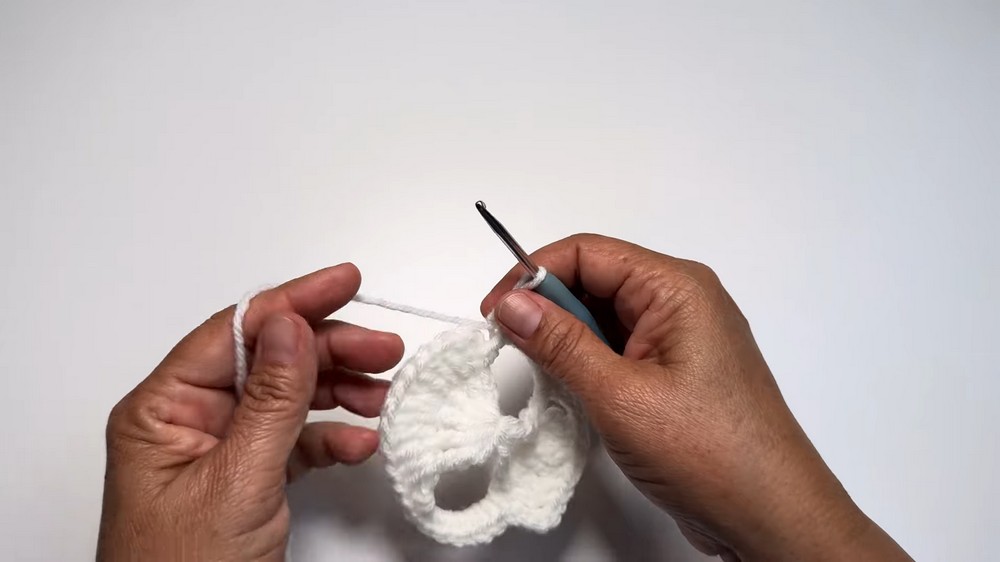
- Start with the Magic Circle:
- Create a magic circle.
- Chain 3.
- First Round:
- Work 5 treble crochet stitches into the magic circle. Count each one as: 1, 2, 3, 4, and 5.
- Chain 7.
- Work 1 treble crochet into the magic circle.
- Chain 4.
- Work another treble crochet into the magic circle.
- Chain 7.
- Closing the First Round:
- Slip stitch into the first treble crochet stitch.
- Chain 2, and work 2 double crochets into the same stitch where you slip stitched.
Note: The chain 2 does not count as a stitch.
- Second Round (continue building the main base):
- Work 2 double crochets into the next stitch.
- Work 3 double crochets into the following stitch.
- Work 2 double crochets into each of the next two stitches.
- Shape the Skull Detail:
- Work 1 half double crochet into the chain space (7 chains).
- Work 7 single crochets into the same chain space.
- Chain 3.
- Work 1 treble treble crochet on top of the previous treble crochet.
- Work 5 treble crochets into the chain space. Count each one as: 1, 2, 3, 4, 5.
- Continue the Detail:
- Work 1 treble treble crochet on top of the next treble crochet.
- Chain 3.
- Work 7 single crochets into the next chain space.
- Work 1 half-double crochet into the chain space to close the circle.
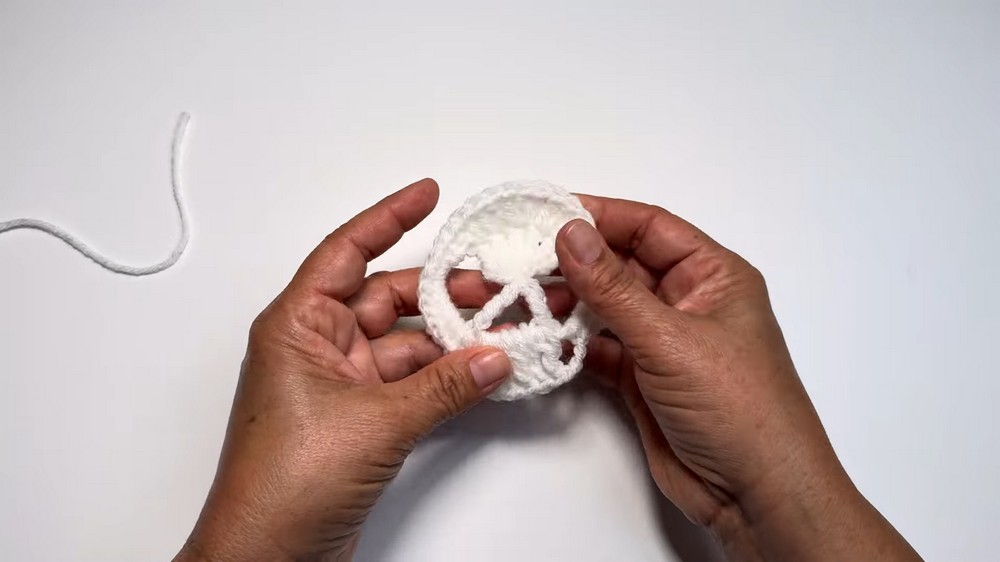
- Finishing the Base of the Skull:
- Cut the yarn.
- Use a yarn needle:
- Insert the needle into the first double crochet stitch through both loops. Pull up the yarn.
- Go back to the half-double crochet stitch using the back loop only.
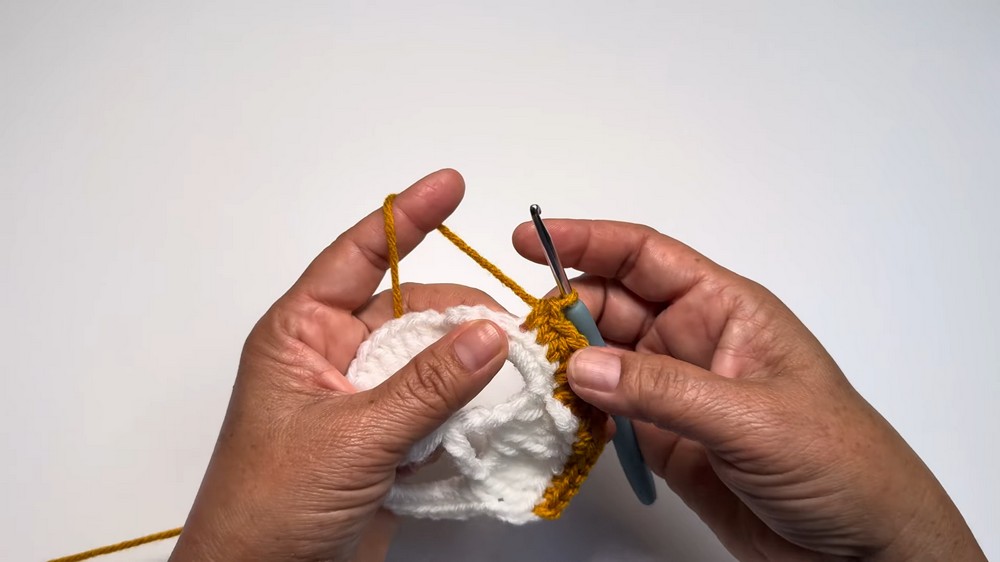
- Add the Next Layer (with second color):
- Attach the next color of yarn.
- Start from the first treble crochet using only the back loop.
- Chain 1.
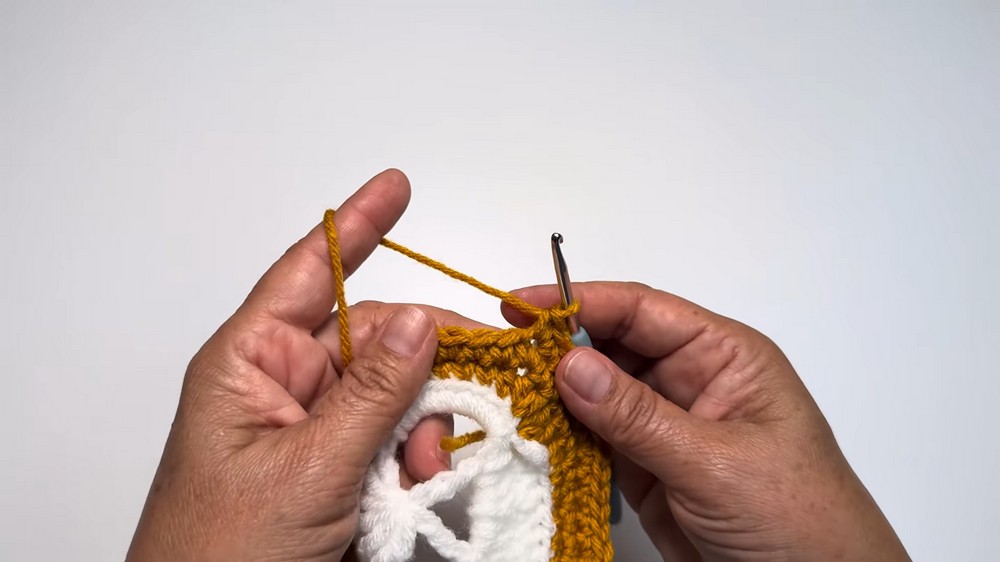
- Begin Detailing with Second Color:
- Make 1 single crochet into the next 6 stitches, counting: 1, 2, 3, 4, 5, 6.
- Skip the chain 3.
- Work 2 double crochets into the first single crochet using the back loop only.
- Work 2 half-double crochets into the next stitch.
- Work 1 half-double crochet into the next stitch.
- Shape the Skull’s Details:
- Work 1 single crochet into the next 23 stitches evenly.
- Work 1 half-double crochet into the next stitch.
- Work 2 half-double crochets into the next stitch.
- Next, work 2 double crochets into the next stitch.
- Slip stitch into the first stitch to close the round.
- Work on Rounds for Texture:
- Chain 1.
- Work 2 single crochets into the same stitch.
- Make 1 single crochet into the next 4 stitches.
- Work 2 single crochets into the next stitch.
- Make 1 single crochet into the next 4 stitches.
- Repeat the pattern (4 single crochet, 1 increase) until you complete the round.
- Slip stitch into the first stitch.
- Add Final Details (Optional):
- Return to the white yarn and attach it to any stitch in the piece.
- Chain 1.
- Begin a pattern of slip stitching into the next stitch, chaining 1, and repeating all around.
- Continue this pattern, slip stitching and chaining until the edging is complete.
- Slip stitch into the first stitch.
- Final Steps:
- Cut the yarn and finish off with a slip knot.
- Use a yarn needle to hide any extra yarn at the back of the work for a clean finish.
Assembly & Finished Size
- The skull is complete and can be used as a patch, applique, or part of a broader project.
- The finished size will depend on your yarn and hook but typically measures around 2–3 inches in diameter.
Conclusion and Ending Words
Congratulations on completing this cute and decorative crochet skull. We hope you enjoyed making this fun project. Feel free to experiment with colors and yarn types to create your own unique version. If you liked this tutorial, don’t forget to like, subscribe, and share with your friends. Stay tuned for more crochet tutorials.