
Crochet Roll Cake Keychain Pattern Everyone is Loving Right Now
Sweeten your everyday style and solve gift dilemmas using the Free Crochet Roll Cake Keychain Pattern that charms every age.
Adding a touch of sweetness to your day has never been so fun and easy with this delightful crochet roll cake keychain. Its soft pastel colors and charming layered design make it a perfect little accessory to hang on your keys, bag, or even to gift to a loved one. The pattern uses double crochet and half double crochet stitches along with the magic ring technique, which offers a gentle challenge for beginners while producing a wonderfully textured result.
Other Delightful Crochet Projects from This Pattern
Using the same stitches and techniques, you can easily craft other cute food-inspired accessories such as cupcake keychains, mini fruit slices, or even small decorative brooches. The basics of working rows, magic rings, and simple stitch combinations open up many possibilities for colorful and charming handmade gifts or keepsakes.
Quick and easy Free Crochet Roll Cake Keychain Pattern to Impress
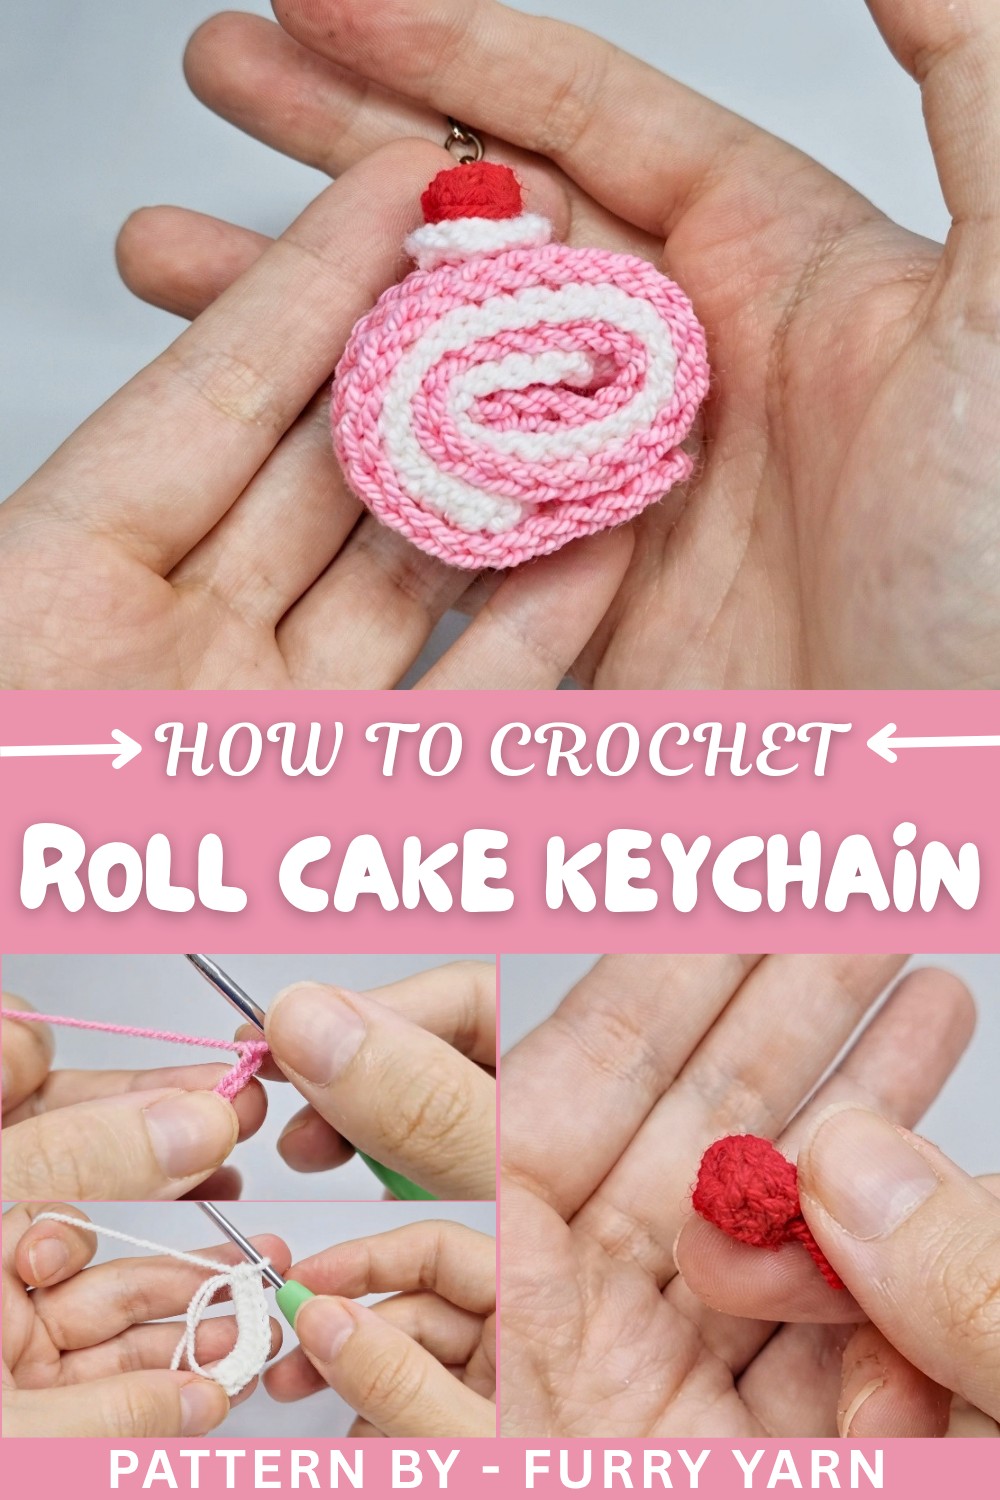
The pattern is created by crocheting strips of pink and white yarn into neat rows of double crochet stitches, mimicking the cake layers. Working into chains and skipping stitches helps shape each row beautifully. The creamy swirl on top is made with a magic ring filled with half double crochet stitches, giving it a round, puffed look similar to whipped cream. For the finishing touch, a cherry is crocheted with a small chain and unfinished double crochets, adding a playful pop of detail. Joining all these pieces together with glue or simple sewing brings the keychain to life with a sweet personality.
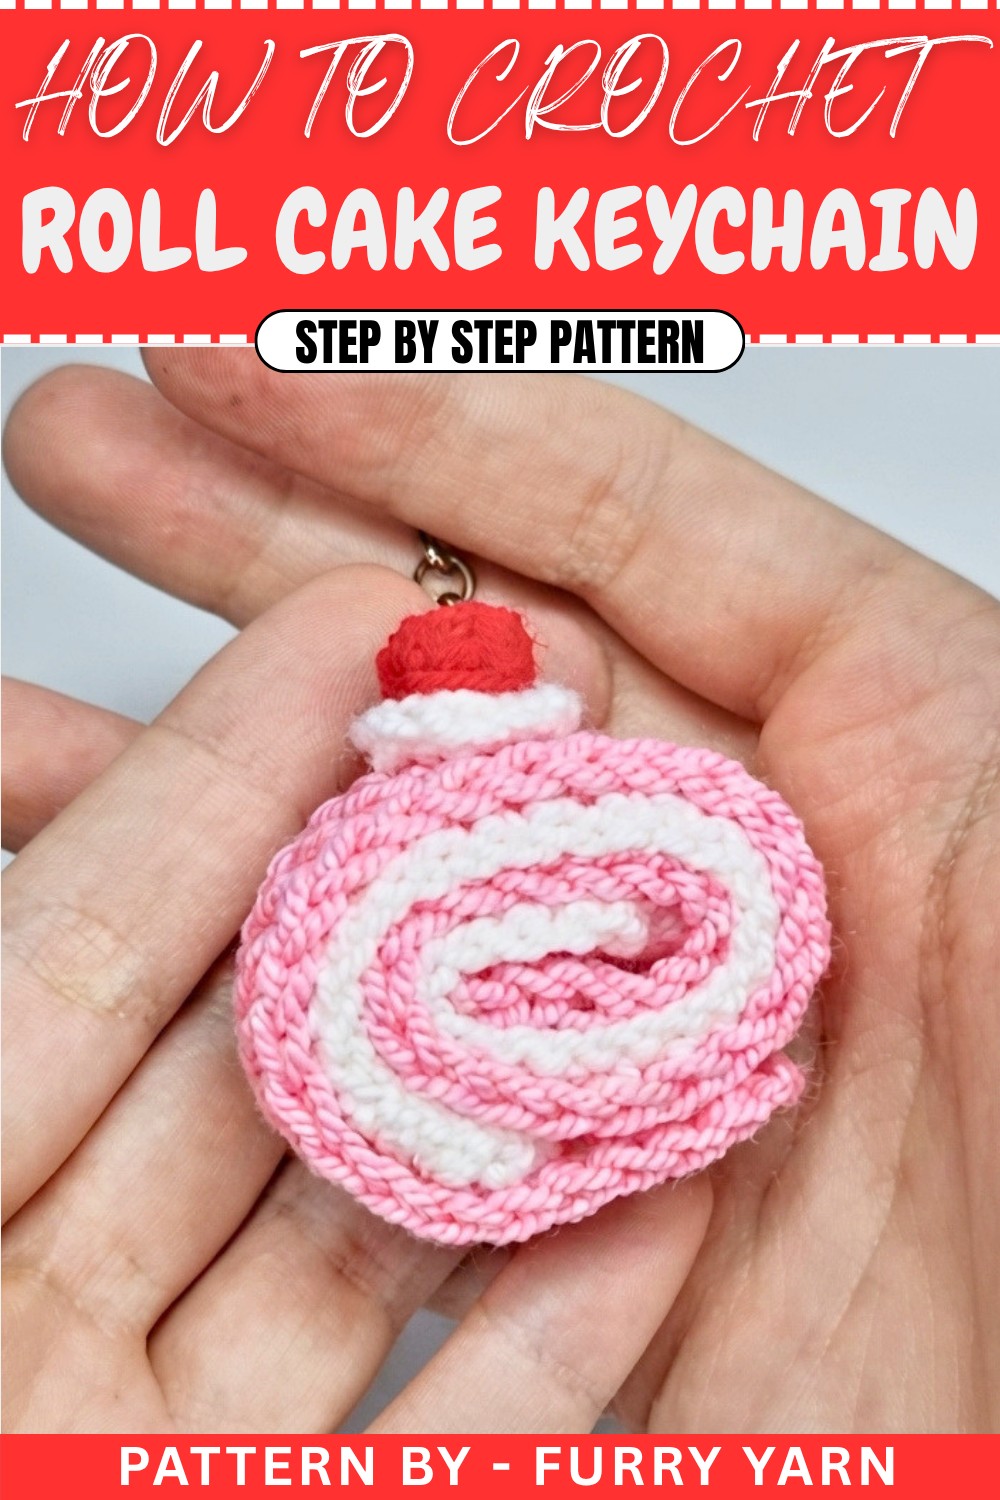
Crochet Pattern: Cute Cake with Cream and Cherry
This cute crochet cake makes a delightful addition to your collection of handmade decorations, keychains, or as a gift! You’ll learn how to crochet various components of the cake using fundamental stitches like slip knot, chain, double crochet, and magic ring, among others. You can customize the colors of the cake to match your preferences or themes. This pattern is suitable for beginners and will elevate your crochet skills.
Skill Level & Terminology
- Skill Level: Beginner
- Terminology: This pattern uses US crochet terms.
Materials & Tools
- Yarn:
- Pink yarn (cake base)
- White yarn (cream)
- Red yarn (cherry)
- Crochet Hook: Trimolmator hook size (3.00 mm or appropriate for your yarn).
- Tapestry Needle: For sewing and finishing.
- Scissors
- Fabric Glue: To attach pieces together.
Gauge
Ensure that your stitches aren’t too loose or too tight. A swatch of 10 double crochets by 4 rows should measure approximately 2 x 2 inches with the given hook size. Adjust hook size if necessary. Precision isn’t critical here but keeps the sections uniform.
Abbreviations List
- ch: Chain
- dc: Double Crochet
- hdc: Half Double Crochet
- sl st: Slip Stitch
- yo: Yarn Over
Special Stitch Instructions
- Magic Ring:
- Wrap yarn around your fingers to create a loop, insert the hook, and make a slip knot. Yarn over and pull yarn through the loop to secure the stitches.
- Double Crochet (dc):
- Yarn over, insert hook into the next stitch, yo, pull up a loop (3 loops on hook). Yo, pull through 2 loops. Yo, pull through remaining 2 loops.
- Half Double Crochet (hdc):
- Yarn over, insert the hook into the next stitch or space, yo, pull up a loop (3 loops on the hook). Yo, pull through all 3 loops on the hook.
Finished Size
- Approximate size of the finished cake: 2 inches in diameter and 1.5 inches in height.
The Pattern
Cake Base (Pink Yarn)
- Start with a slip knot.
- Wrap the yarn around your fingers, insert the hook, yo, and tie the knot to form a slip knot.
- Chain 45.
- Wrap the yarn around the hook and pull through to form chains. Repeat until 45 chains are made.
- Skip 2 chains, and begin working from the third chain:
- (dc in each chain): Yo, insert your hook into the third chain, pull up a loop (3 loops on hook). Yo, pull through 2 loops, yo, pull through 2 loops (1 dc made). Repeat this for each chain across.
- Turn your work, ch 2.
- Now repeat the row by working 1 dc into every stitch from the previous row until the end of the row.
- Repeat for a total of 5 rows for the pink yarn piece.
- Finish off. After the last row, ch 1, cut the yarn approximately 4-5 inches from the work, and pull it through the loop to secure.
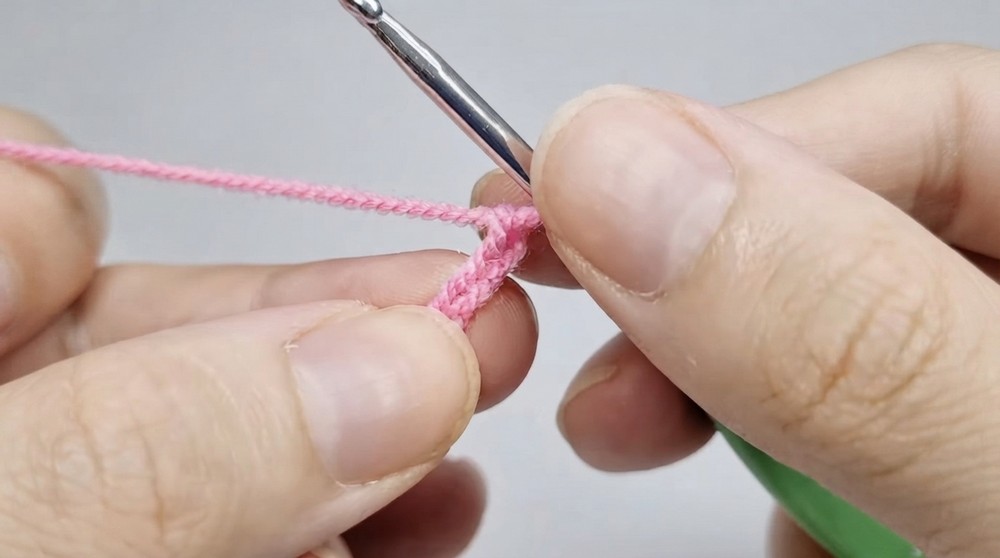
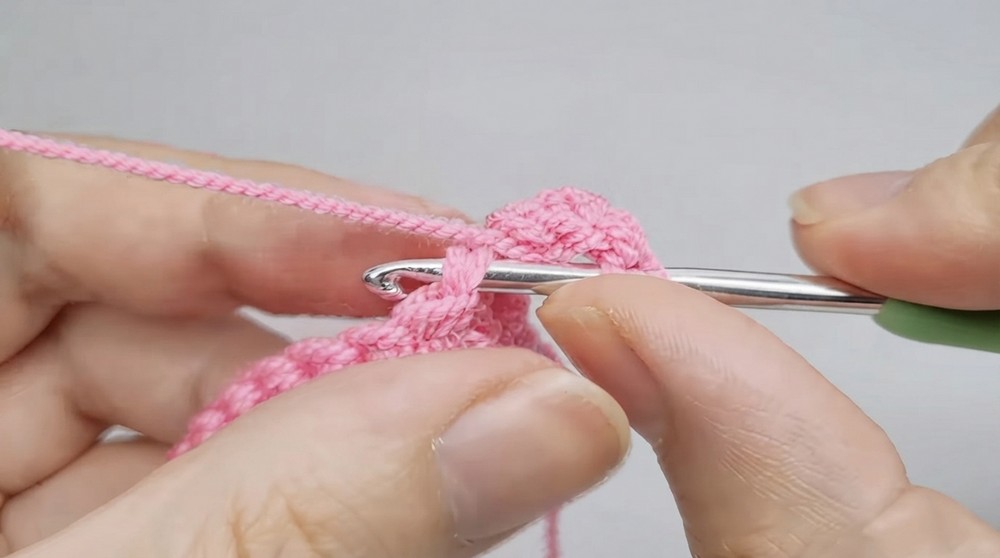
Begin your cake base by creating a strip of crochet rows using the double crochet stitch. If you’re unsure of the chains or double crochet technique, refer to the abbreviations or a quick beginner’s video guide for visual aid.
Cream Layer (White Yarn)
- Follow the same steps as the pink layer but start with a chain of 32 instead of 45. Repeat the same pattern for 3 rows of double crochet.
- Finish as you did for the pink layer: chain 1, cut the yarn, and tie a knot to secure.
For Beginners: The cream layer is slightly smaller than the cake layer, so follow the exact same steps but with a shorter starting chain (32 sts). Don’t forget to secure your work with a sturdy knot at the end!
Top Cream Decoration (Magic Ring + hdc - White Yarn)
- Begin with a magic ring as explained earlier.
- Work 10 hdc into the magic ring:
- Yo, insert your hook into the loop, yo, pull up a loop (3 loops on hook). Yo, pull through all 3 loops. Repeat this 10 times.
- Pull the loose yarn tail to close the magic ring tightly.
- Close the round with a sl st into the first hdc.
- Ch 1, cut the yarn, and tie it off as before.
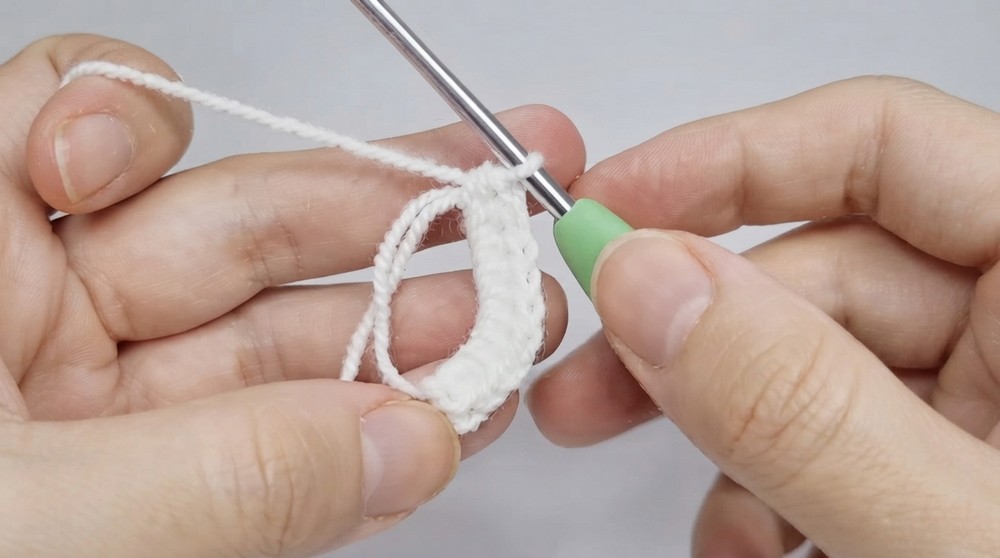
The top of your cake will be a circular base using a magic ring. If the magic ring seems difficult, make a loose slip knot and work into it until you feel comfortable.
Cherry (Red Yarn)
- Create a slip knot.
- Chain 3, then work 3 unfinished dc stitches into the third ch from the hook.
- For each unfinished dc: Yo, insert hook into the chain, yo, pull up a loop, yo, pull through 2 loops (leave 1 loop on the hook). After 3 sets of unfinished dc, you should have 4 loops on the hook.
- Yo and pull through all 4 loops to form a small sphere.
- Chain 3, and slip stitch into the same stitch as the previous stitches.
- Ch 1, cut the yarn, and tie it off securely.
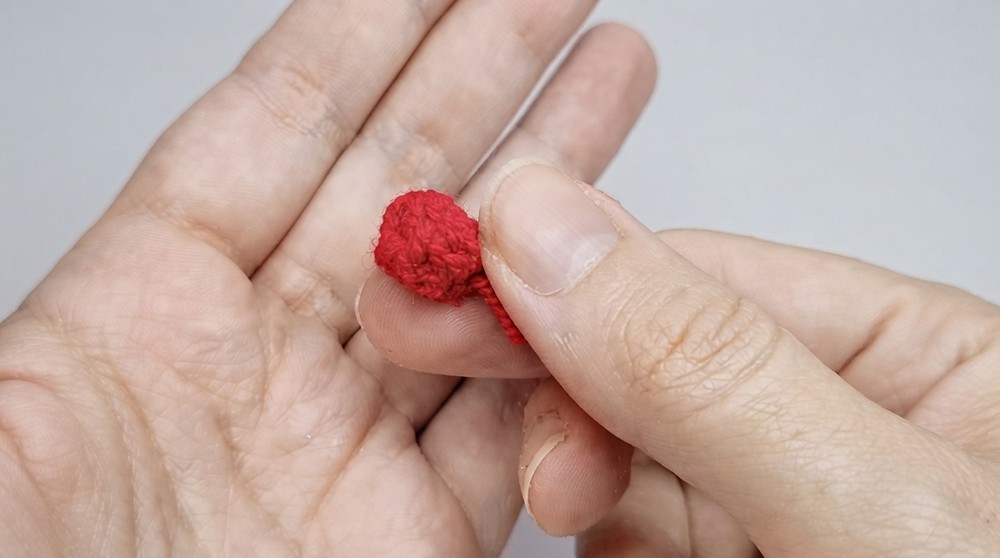
The cherry is a fun way to practice double crochet techniques. Combining unfinished double crochets creates a small 3D ball shape. Work slowly through your first try!
Assembly & Finishing
- Prepare the pieces:
- Use a tapestry needle to weave in any loose ends from all your components, making sure they’re neatly tucked away.
- Assemble the cake base and cream layers:
- Using fabric glue or a needle and thread, stack the pink cake base and white cream layer on top of each other.
- Secure the top cream decoration (circular white piece) to the top center of the stacked cake.
- Attach the cherry:
- Lastly, glue or sew the cherry firmly on top of the cream, ensuring it’s centered.
For Beginners: This is where your project comes to life! Make sure all loose ends are secured, as they can unravel your work. Use fabric glue for quick assembly, but if you prefer sewing, a tapestry needle will get the job done.
What You’ll Learn
- Slip Knot: The foundational crochet stitch to begin any project.
- Magic Ring: A versatile method for creating circular bases.
- Double Crochet (dc) & Half Double Crochet (hdc): Building blocks for more advanced crochet projects.
- Assembly Techniques: How to combine multiple crochet pieces into a larger creation.
Why You’ll Love This Pattern:
This project is quick, beginner-friendly, and perfect for creating unique crochet gifts! You’ll love how the assembled cake resembles a tiny, playful dessert with cream and a cherry on top.
Troubleshooting & Solutions
Problem 1: Uneven Tension
- If your stitches look uneven or inconsistent, try to loosen or tighten your grip on the yarn as you work. Practice makes perfect!
Problem 2: The magic ring won’t close properly.
- Ensure you’re pulling the tail tightly enough to close the ring. If you’re struggling, crochet into a simple ring made of chains to make it easier.
Problem 3: Cherry isn't forming correctly.
- Double-check that you're leaving the correct loops on your hook when making the unfinished double crochet. Slow down and ensure each loop is counted.