
Easy Crochet Witch Hat Earrings Pattern for Costume Creations
Spook up your accessories and ditch the plain with this Free Crochet Witch Hat Earrings Pattern for playful Halloween style.
A tiny witch hat that you can wear? Yes! These crochet earrings pattern Catches the fun and spooky spirit of Halloween in a delightful little accessory. The single crochet stitch is the main technique used here, making it a great choice for beginners. It creates a firm and neat fabric that holds the hat's shape well. The pattern walks you through working in small rows, increasing stitches to shape the classic witch hat silhouette. Switching colors partway adds a charming two-tone effect, giving the hat more character and making it pop.
Free Crochet Witch Hat Earrings Pattern for Fantasy Lovers

You start with a slip knot and build a small base chain, working stitch by stitch to shape the crown and brim. The hat’s details come alive when you add some simple embroidery, making both the front and back look neat and finished. A light mix of fabric glue and water helps the hats keep their curved shape, so they don’t flop over once they’re worn as earrings. Adding hooks and rings finishes your lightweight and playful Halloween-themed jewelry, perfect for parties or everyday fun during the spooky season.
Other Projects You Can Make With This Pattern
Beyond earrings, this witch hat pattern can be adapted to make miniature decorations, keychains, or even charming appliques for bags and hats. By enlarging the pattern, you could crochet small Halloween-themed toys or ornaments. The simple stitch work combined with color changes allows you to experiment while making fun, festive items easily suited for the season.
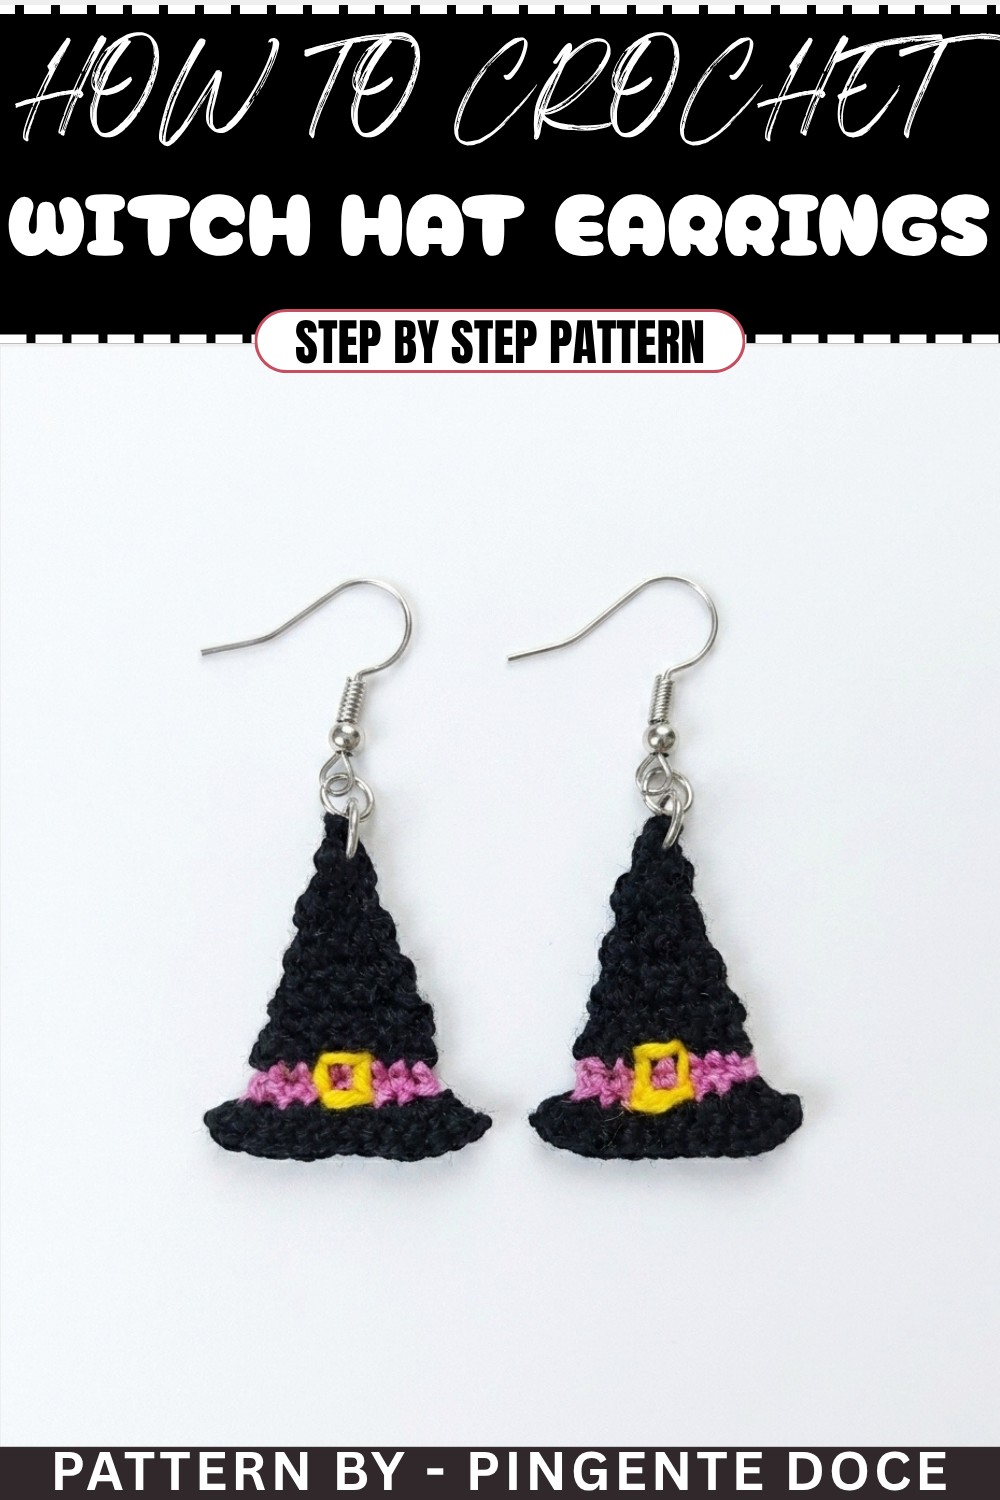
Crochet Witch Hat Earrings Pattern
This whimsical crochet witch hat earring pattern is perfect for Halloween or fall celebrations. These lightweight, simple-to-make earrings are a great handmade accessory that can add a touch of magic to any outfit. The project is beginner-friendly and quick to complete, making it ideal for holiday-themed gifts or crochet fairs.
Uses of This Pattern:
- Accessories: Create beautiful witch hat earrings for Halloween or even casual spooky season wear.
- Keychains/Other Décor: Use the same design to create keyrings, charms for handbags, or decorative pieces for seasonal decorations.
- Gifts or Crafts: A wonderful handmade gift idea for Halloween parties or quick items to sell during craft fairs.
What You’ll Learn:
- Working with rows, turning work, and increasing stitches.
- Changing colors in the middle of a pattern.
- Adding embroidered details and finishing touches for earrings.
Skill Level & Terminology:
Skill Level: Beginner
Terminology: US Terms
Materials & Tools:
- Thread: Ancor thread (or any similar thread) in green, orange, yellow, and accent colors for detail.
- Hook Size: 1 mm crochet hook.
- Other Tools:
- Scissors
- Sewing needle
- Hook and rings for earrings
- Mixture of fabric glue and water
Gauge:
Gauge is not critical for this small project. Keep your stitches tight to ensure the witch hat holds its shape.
Abbreviations:
Below is the list of abbreviations used in this pattern:
- CH: Chain
- SC: Single Crochet
- INC: Increase (2 stitches worked into the same base stitch)
- SLST: Slip Stitch
Special Stitch Instructions:
- Single Crochet (SC): Insert the hook into the stitch, yarn over, pull up a loop, yarn over again, and pull through both loops.
- Increase (INC): Work two SC stitches in the same base stitch to increase the number of stitches.
Finished Size:
Approximately 1.5 inches tall. The exact size will depend on your thread and tension.
The Witch Hat Pattern
Part 1: Starting the Hat Base
- Create a Slip Knot and Foundation Chains:
- Start with a slip knot and crochet 2 CH.
- Skip the first CH, and in the second CH, work 1 SC.
- Turning and Continuing Rows:
- Make 1 CH and turn your work.
- In the single crochet, work 2 SC.
- Third Row (Expanding the Base):
- Chain 1, turn, and work:
- 1 SC in each base stitch. (3 stitches total in the row)
- Chain 1, turn, and work:
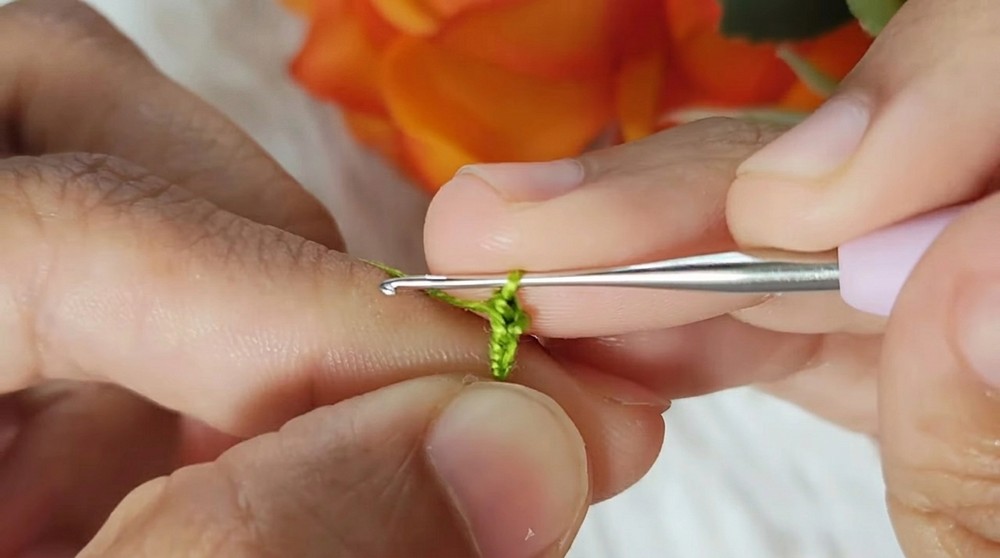
Tip for Beginners: By skipping the first chain and turning your work, you are creating the foundation of the hat, shaping it row by row.
Part 2: Shaping the Hat Cone
- Increase for the Cone:
- Make 1 CH, turn, and in the first stitch:
- Work 2 SC (an increase).
- Continue with 1 SC in the next stitch, and in the last stitch:
- Work 2 SC.
- You should now have 5 stitches in the row.
- Make 1 CH, turn, and in the first stitch:
- Adding Rows of Stability:
- Chain 1, turn, and work 2 rows of SC stitch over stitch—no increases (5 stitches in each row).
- Final Increases:
- On the next row, make 1 CH, turn, and:
- In the first stitch, INC by working 2 SC.
- Work 1 SC into the next 3 stitches.
- In the final stitch, INC by working 2 SC.
- This will give you 7 stitches in the row.
- On the next row, make 1 CH, turn, and:
- Finish with Stability Rows:
- Work 1 row of SC across without increases (7 stitches total).
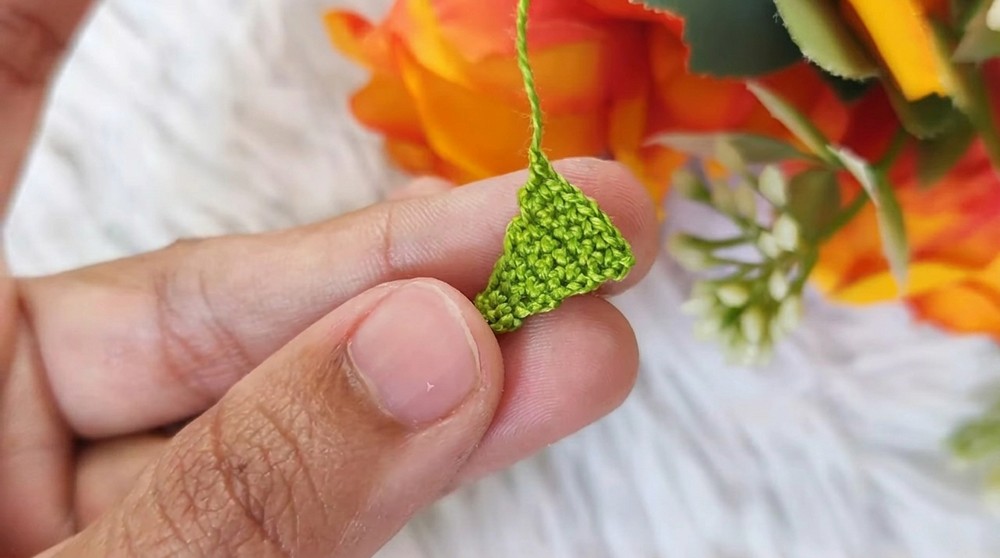
By following this step, you’ve created the tapered cone shape of the witch hat. Each increase widens the base while the rows of stability maintain the structure.
Part 3: Adding Details with Color Changes
- Switch Thread Color for the Hat Band:
- Cut the black thread, leaving a small tail, and attach the desired color for the band (e.g., orange).
- Insert your hook through the first stitch of the last row, pull the new thread through, and chain 1 to secure.
- Work the Band Rows:
- Make 2 rows of SC, working 1 stitch into every base stitch.
- Cut the thread and fasten off.
- Return to the Original Color:
- Reattach the black thread in the same way.
- Work 1 CH and 3 SC in the first stitch of the last (yellow) row.
- Continue with 1 SC in each stitch of the row, and finish by working 3 SC into the last stitch.
- Fasten off and leave a tail for finishing.

Part 4: Embroidery and Stiffening
- Adding Embroidered Details:
- Using yellow thread and a sewing needle, embroider a buckle onto the hatband.
- To ensure a uniform look, repeat the buckle embroidery on the reverse side of the piece.
Why This Step is Important: The embroidered buckle adds a personalized, whimsical touch that makes your witch hat pop.
- Stiffen the Hat:
- Mix fabric glue and water in a small bowl and lightly apply it to the back of the hat.
- Shape the hat as desired and let it dry completely.
Stiffening helps secure the shape of the witch hat and keeps it firm for long-lasting use.
Part 5: Assembly
- Attach the Earring Hardware:
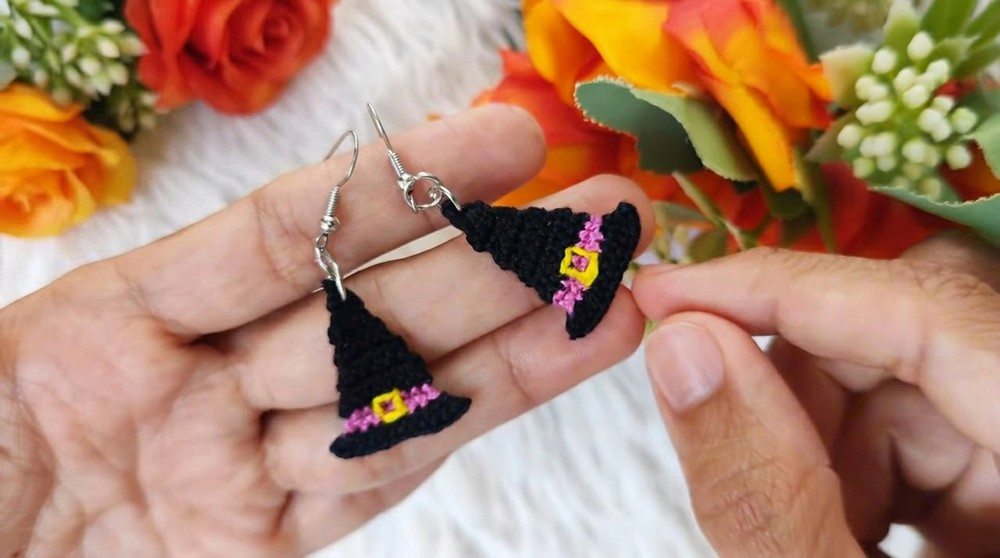
- Use small rings to connect the hat to an earring hook.
- Finalize the Earrings:
- Secure all pieces and double-check the stability of your work before wearing or gifting.

Difficulties and Solutions
Challenge: Keeping the rows straight when turning work or switching colors.
Solution: Use stitch markers at the beginning and end of rows. When changing colors, make sure to pull your new thread tightly but not so tight that it puckers the stitches.
Challenge: Embellishment alignment.
Solution: Mark the ideal spot for embroidery or embellishments with pins or light chalk before stitching.
Final Thoughts
These delightful witch hat earrings are a charming addition to any accessory collection. Not only do they capture the essence of Halloween, but they’re also quick and easy to make, even for novice crocheters. Crochet several in different colors for a fun variety, or gift them to friends who share your love for the spooky season.
Why I Love This Pattern:
It combines simplicity with whimsy, creating a practical yet adorable accessory. Sharing handmade art like this is always a joy!