
How to Crochet Bucket Hat Pattern for Free in Simple Steps
Update your wardrobe easily with the Free Crochet Bucket Hat Pattern and enjoy stylish sun protection all year round.
Have you ever wanted to make your very own stylish hat that fits perfectly and adds a handmade touch to your outfit? Making a cozy and trendy bucket hat can be a fun and rewarding project that anyone can try. This pattern uses single crochet stitches worked in the round, which are simple and great for beginners. By learning to increase stitches evenly, you shape the hat smoothly from the top down, creating a nice round crown and a flattering brim. The back loop only stitch is also used to add texture to the brim, making the hat look extra special.
Free Bucket Hat Crochet Pattern for the Ultimate Summer Look

The beauty of this project lies not only in its look but also in how adaptable it is. You can choose different yarn types like acrylic or cotton to match the season or your personal style. Working with just one main stitch, the single crochet, keeps things straightforward and rhythmic, making it a perfect project for someone just starting to crochet. Plus, the step-by-step increases teach you how to make your circle grow without trouble. This hat will keep you stylish and warm and is a wonderful example of how simple stitches can create a practical wearable.
Once you get comfortable with the single crochet and shaping techniques used here, you’ll find yourself inspired to create many other items. This bucket hat pattern can easily be adapted to make bucket hats in various sizes—from doll hats to adult sizes. You can also use these stitches to crochet scarves, headbands, or cozy slippers. The back loop only technique is fantastic for adding detail and dimension to blankets or bags. This project opens up many creative possibilities and is a great way to practice essential crochet skills while designing something useful and pretty.

Bucket Hat Crochet Pattern
This crochet bucket hat is a wonderful project for beginners looking to expand their skills or for experienced crocheters wanting a quick, satisfying project. Crocheted entirely in single crochet stitches, this step-by-step guide walks you through how to create the crown, body, and brim to achieve a truly polished and wearable hat. You'll learn essential techniques such as working with a magic ring, increasing, working in the round, and adding structure with back-loop crochet.
Skill Level & Terminology
Skill Level: Beginner
Terminology: US Crochet Terms
Materials & Tools
- Yarn: 4-ply acrylic yarn (recommended for durability and stretch); you can substitute cotton yarn for a lighter texture in dark Grape colour .
- Hook: 4.25 mm crochet hook (can go up to 4.5 mm for a looser texture).
- Other Supplies:
- Scissors
- Tapestry needle
Gauge
Achieve a gauge measurement to ensure proper fit:
- 10 sc x 10 rows = 4 inches
Abbreviations List
- sc: Single Crochet
- ch: Chain
- sl st: Slip Stitch
- inc: Increase (2 sc in one stitch)
- st(s): Stitch(es)
Special Stitch Instructions
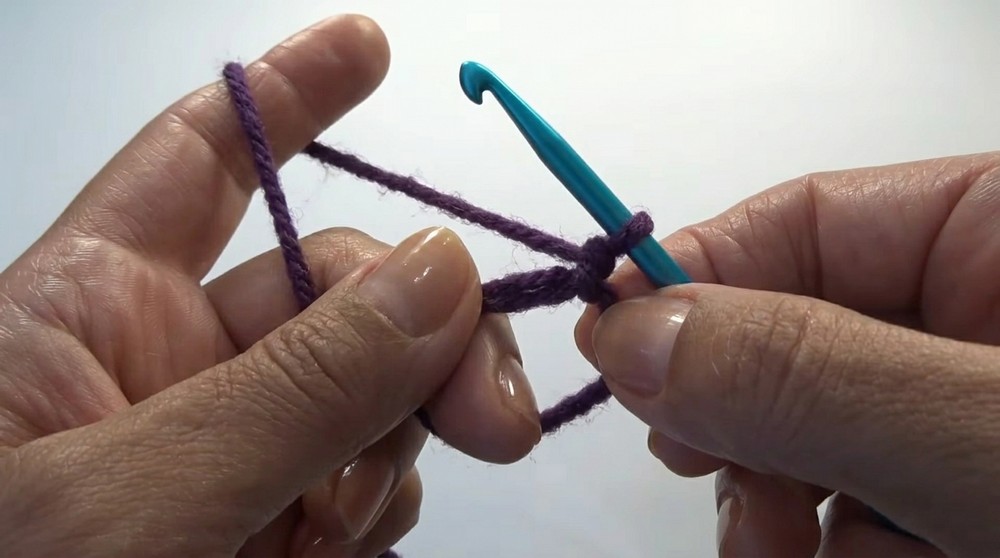
Magic Ring:
A magic ring creates a closed and adjustable center for round projects. Follow these steps:
- Wrap the yarn around two fingers to form a loop.
- Insert the hook into the loop, pull up a loop, and chain 1 to secure the loop.
This technique eliminates gaps at the center, providing a cleaner finish.
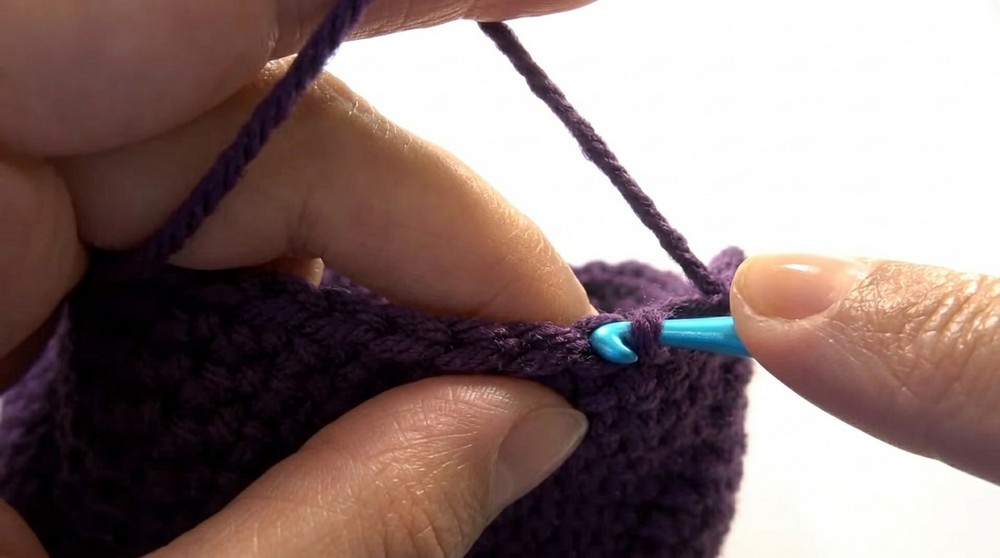
Back Loop Crochet:
For rounds of the brim, you'll work in the back loop only of each stitch. The back loop is the furthest loop from you when looking at the stitch. This method creates a textured effect and adds structure.
Finished Size
- Circumference: Approx. 22 inches
- Height: 7.5 inches from crown to brim
What You'll Learn
- Magic Ring Technique: Create a strong and adjustable center for circular projects.
- Working in Rounds: Build structured shapes like the body and brim of the hat.
- Increasing: Learn gradual techniques to shape the crown and brim.
- Back Loop Techniques: Add texture and structure to your designs.
- Finishing and Assembly: Proper tailoring for a polished final product.
This pattern will sharpen your crochet fundamentals like stitch consistency, while teaching decorative elements (like textured brims) that can be applied to many future projects.
The Pattern
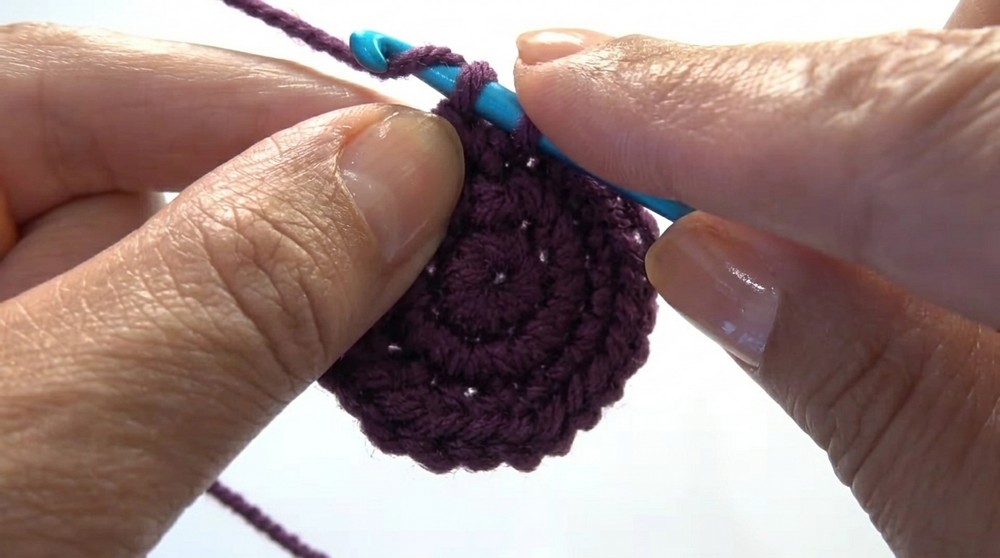
Crown Section
Round 1:
- Begin with a magic ring.
- Work 8 sc into the magic ring.
- Pull the tail tight to close the ring.
- Sl st into the first sc to join the round.
At the end of Round 1: You should have 8 sts.
If you’re new, the magic ring is a great way to avoid gaps at the center of your crochet work.
Round 2:
- Ch 1, work 2 sc into each stitch around.
At the end of Round 2: You should have 16 sts.
This round doubles the stitch count to ensure the crown stays flat.
Round 3:
- Ch 1, work 2 sc in the first stitch, then 1 sc into the next stitch.
- Repeat (2 sc, 1 sc) around.
At the end of Round 3: You should have 24 sts.
Round 4:
- Ch 1, work 1 sc into the next two stitches, then 2 sc into the next stitch.
- Repeat (1 sc, 1 sc, 2 sc) around.
At the end of Round 4: You should have 32 sts.
Round 5:
- Ch 1, work 2 sc into the first stitch, then 1 sc into the next three stitches.
- Repeat (2 sc, 1 sc x 3) around.
At the end of Round 5: You should have 40 sts.
Round 6:
- Ch 1, work 1 sc into each stitch around.
At the end of Round 6: You should still have 40 sts.
Round 7:
- Ch 1, work 2 sc into the first stitch, then 1 sc into the next four stitches.
- Repeat (2 sc, 1 sc x 4) around.
At the end of Round 7: You should have 48 sts.
This round continues the gradual increase for the crown’s flat shape.
Body Section (Rounds 8-25)
Rounds 8–25:
- Ch 1, work 1 sc into each stitch around for every round
At the end of Round 25: You should still have 48 sts.
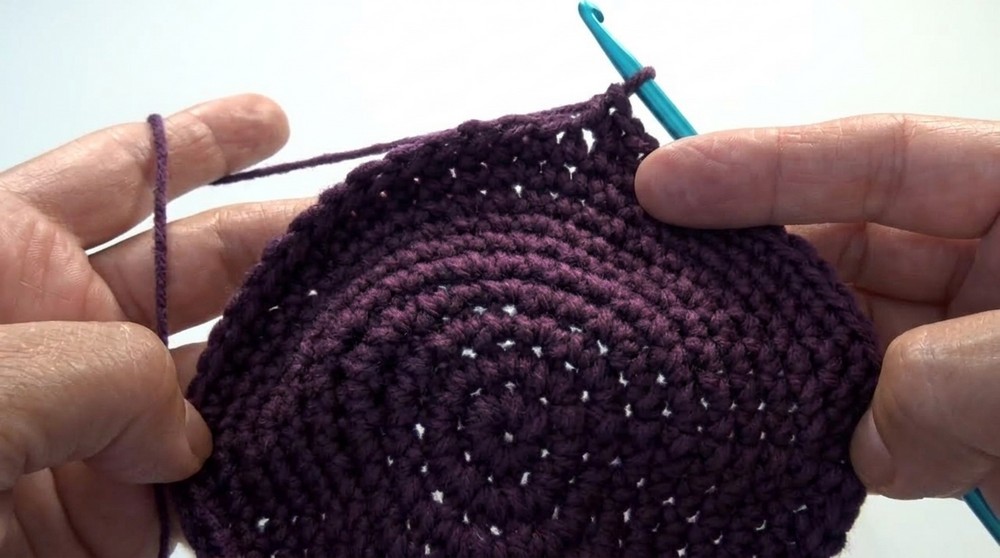
This creates the bucket hat’s body. Work consistently to build height.
Brim Section
Brim Round 1:
- Work into the back loops only:
- Inc (2 sc) in the first stitch.
- Work 1 sc in the next two stitches.
- Repeat (2 sc, 1 sc x 2) into back loops across the round.
At the end of Brim Round 1: The brim starts flaring outward.
Brim Rounds 2–6:
- Return to working in both loops:
- Ch 1, work 1 sc into each stitch around.
At the end of Round 6: The brim gains length and structure.
- Ch 1, work 1 sc into each stitch around.
Brim Round 7:
- Ch 1, work 2 sc into the first stitch, then 1 sc into the next three stitches.
- Repeat (2 sc, 1 sc x 3) pattern around.
At the end of Brim Round 7: The brim widens further while retaining a gradual flare.
Brim Rounds 8–12:
- Ch 1, work 1 sc into each stitch around for five rounds.
At the end of Round 12: The brim is fully complete.
Assembly & Finishing
Fasten Off:
- Sl st to join the last round, ch 1, and cut the yarn. Pull the end through the loop tightly.
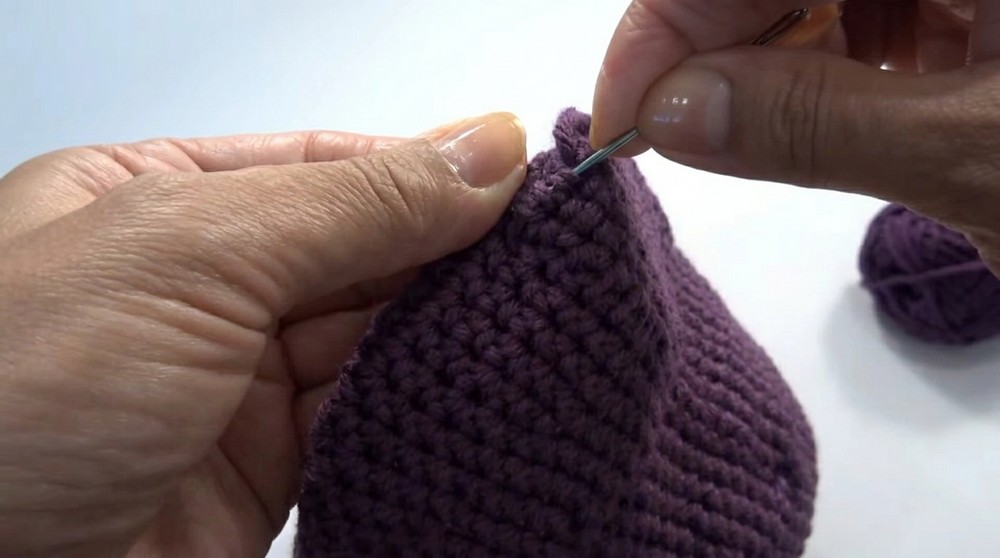
Sew Yarn Tails:
- Use a tapestry needle to weave in all loose ends.
- Sew tails through nearby stitches in one direction and back the other way for security.
- Clip excess yarn.
Blocked Finish
For a professional appearance:
- Spray lightly with water or dampen the hat.
- Reshape by laying flat or using a bowl inside the crown for structure.
- Allow to air dry completely.
Why You’ll Love This Pattern
This bucket hat combines simplicity with functionality, offering a beginner-friendly project that enhances crochet techniques like shaping and adding texture. Not only will you master working in rounds and using back-loop stitches, but you’ll create a stylish hat perfect for daily use.