
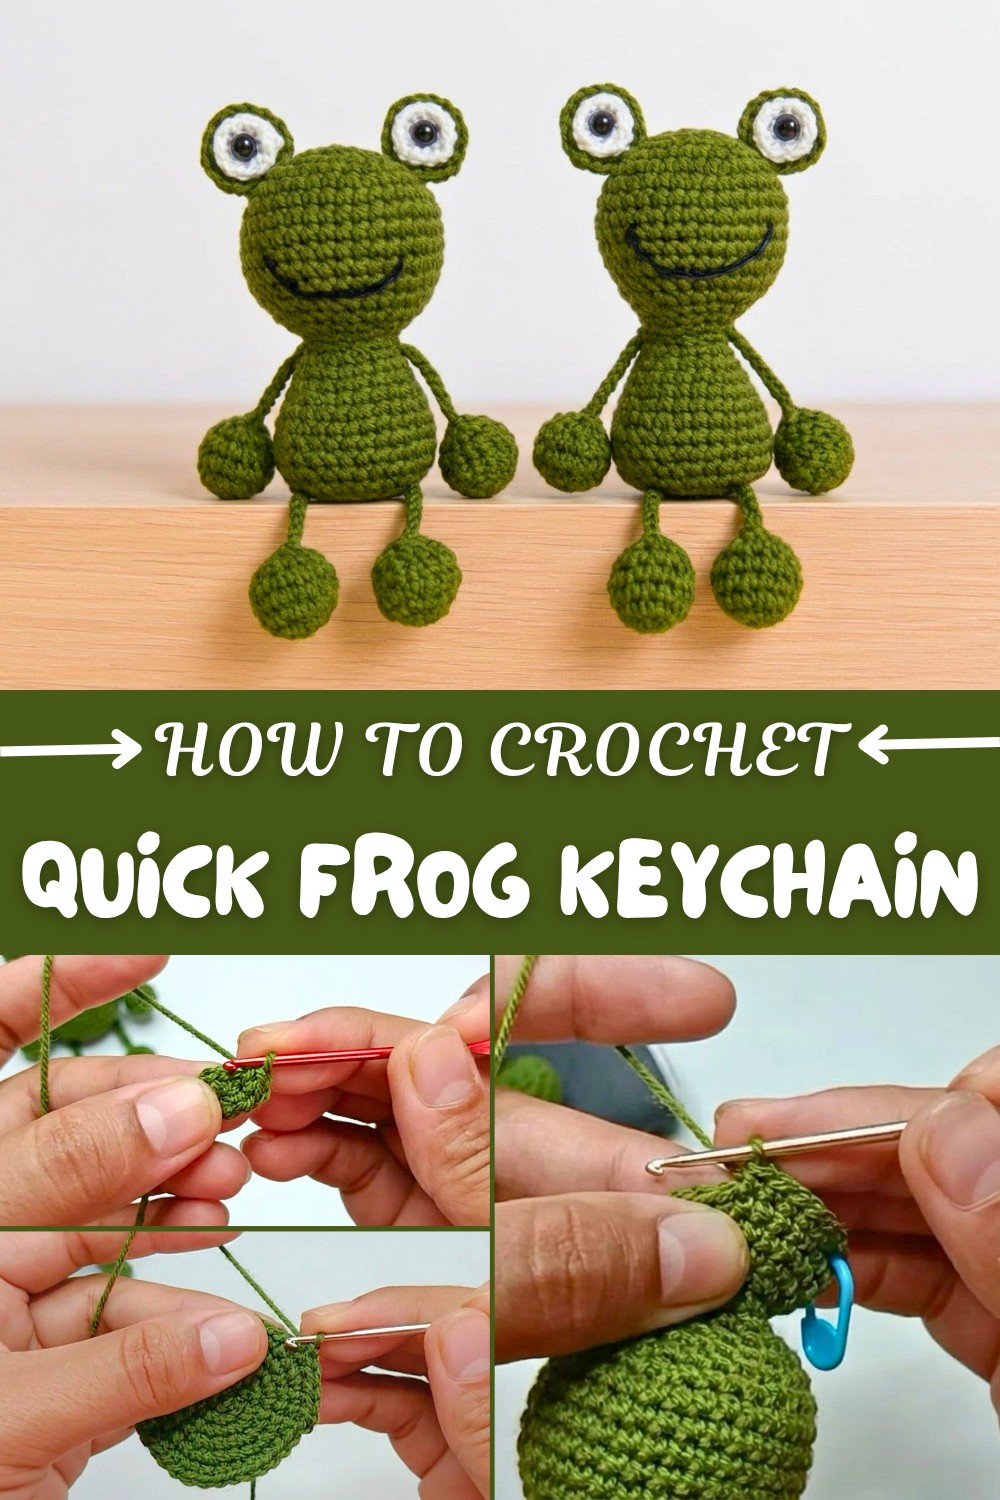
Charming Crochet Frog Keychain Pattern Free for Collectors
Try a free crochet Frog Keychain pattern that is easy, cute, and makes your keys or bag look super fun for everyone.
Creating something cute and handmade always adds a dash of joy to daily life, and there’s nothing quite as charming as a crochet frog keychain. This pattern, with its bright and playful look, is a great way to showcase your love for crochet while practicing some useful techniques. Whether used as a bag charm, a keychain, or even as a cheerful gift, the frog keychain pattern stands out because of its adorable details, including tiny arms, legs, and expressive eyes. This pattern primarily uses magic rings, single crochet stitches, and slip stitches, which are beginner-friendly yet versatile techniques that you can explore in other projects too. Depending on your yarn thickness, you can even adjust the size, making it the perfect personalized accessory.
Cute Crochet Frog Keychain Pattern for Animal Lovers
By following this pattern, you’ll learn how to structure and shape the frog’s head and body using increases and decreases to create a smooth, rounded finish. You’ll also practice crafting smaller details like its arms, legs, and a cute smile, all of which add personality to your creation. Adding stuffing and neatly attaching the parts further builds your confidence in more detailed assembly work—an essential skill in crochet amigurumi.
As you gain confidence with this pattern, you can adapt these stitches for other projects. The magic ring and single crochet technique is the foundation for countless designs like mini turtles, bears, or even tiny flowers and food items. Your creativity can expand beyond a frog keychain to a variety of fun and whimsical figures.
Frog Gummy Crochet Pattern
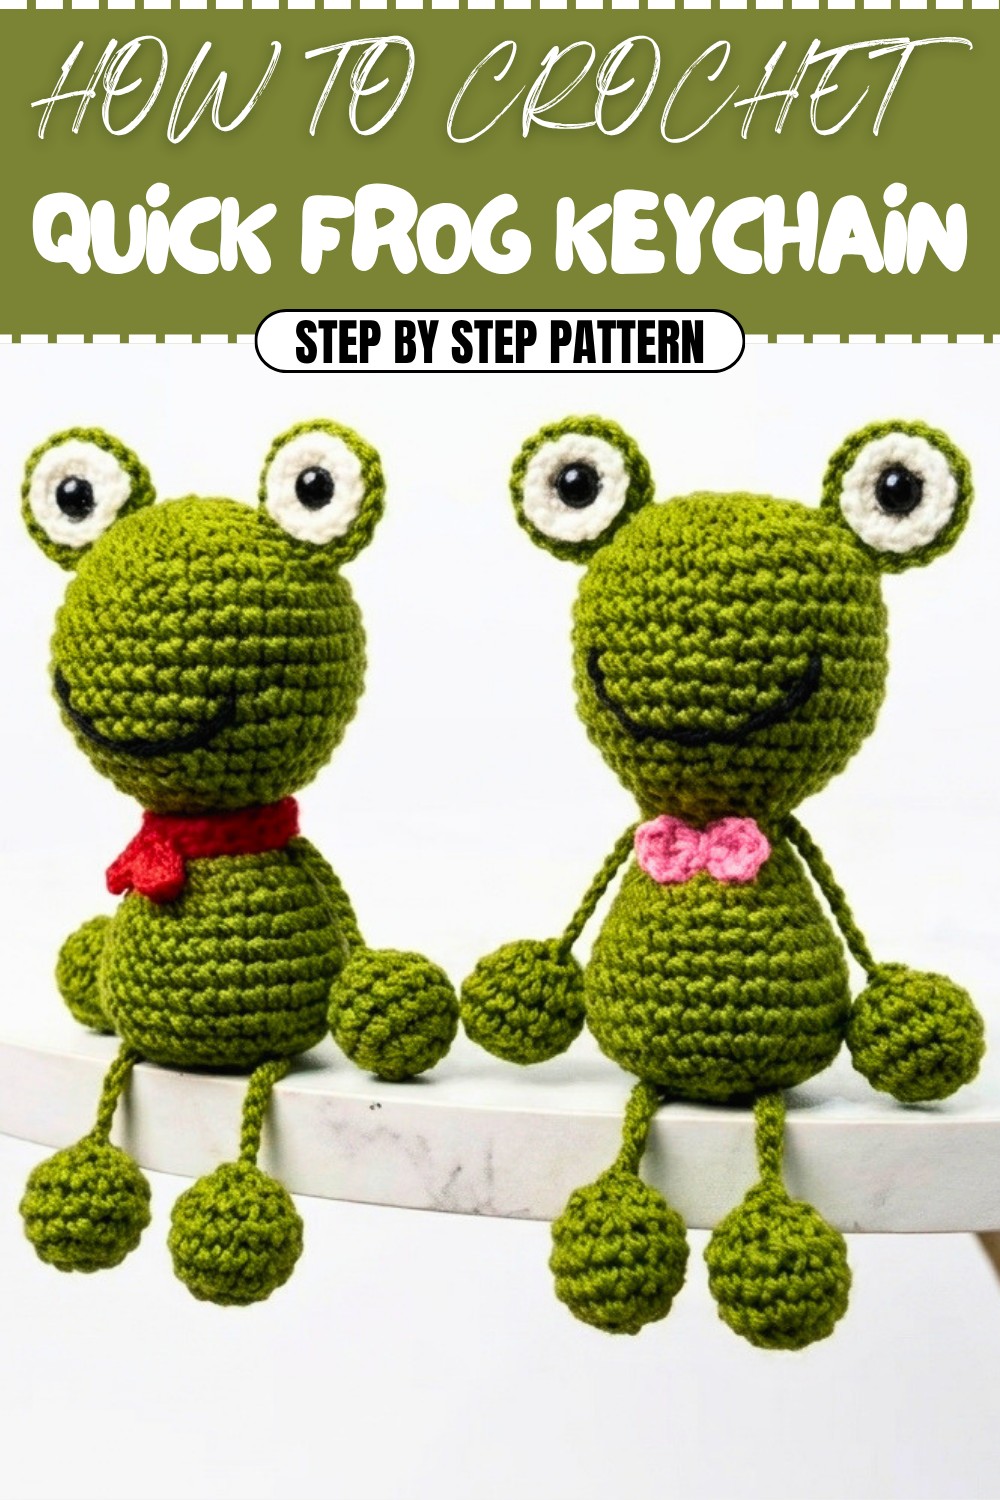
Create your own adorable frog accessory with this step-by-step crochet pattern! This detailed guide will walk you through the process of making a cute frog, perfect as a keychain, bag charm, or just a fun decoration. Whether you're a beginner or an experienced crocheter, you’ll enjoy making this delightful project.
About this Pattern
This frog gummy crochet pattern is beginner-friendly and uses basic crochet stitches like magic rings, single crochets, and increases/decreases. Follow along as we build the head, body, arms, legs, eyes, and even optional accessories like a scarf or bow! Personalize your little frog with your favorite yarn or use it as a thoughtful gift.
Skill Level & Terminology
- Skill Level: Beginner to Intermediate
- Terminology: US crochet terms are used in this pattern.
Materials & Tools
- Yarn: Thin 3-ply yarn in Deep Moss, white, black, and accessory colors of your choice.
- Hook Size: 3mm crochet hook.
- Stuffing Material: Polyester fiberfill for shaping.
- Other Tools:
- Scissors.
- Yarn needle.
- Stitch markers.
- Glue (optional for eyes).
- Small beads for eye detail (optional).
Gauge
Gauge is not critical for this pattern, but for reference: 6 single crochet stitches x 6 rows = 1 inch.
Abbreviations List
- ch – Chain.
- sc – Single Crochet.
- hdc – Half Double Crochet.
- dc – Double Crochet.
- sl st – Slip Stitch.
- inc – Increase (2 sc in one stitch).
- dec – Decrease (join 2 stitches together).
- MR – Magic Ring.
Special Stitch Instructions
- Magic Ring (MR):
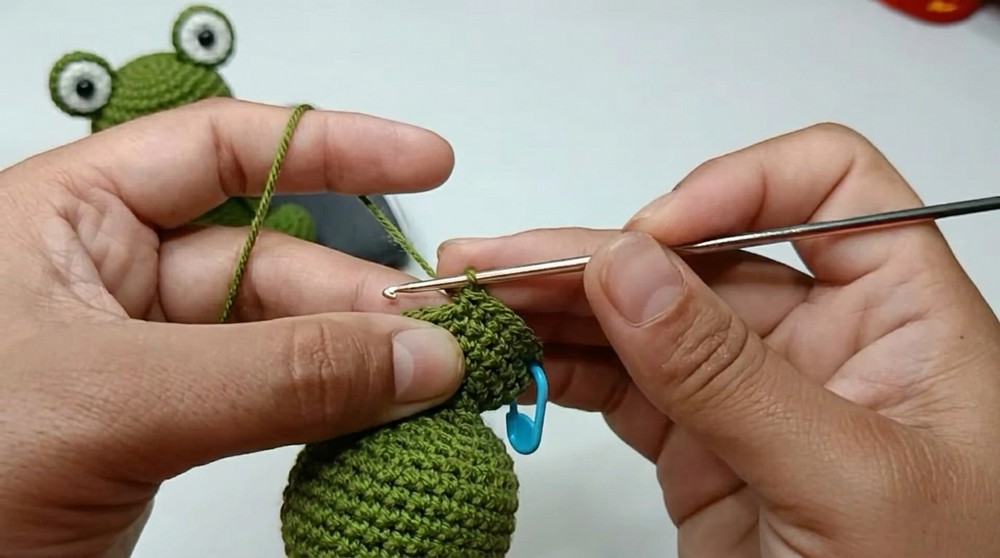
- Wrap yarn around your finger to form a loop. Insert the hook into the loop, pull a loop through, and ch 1 to secure the ring. Work the required number of stitches into this ring, then pull the tail to tighten the loop.
- Single Crochet (sc):
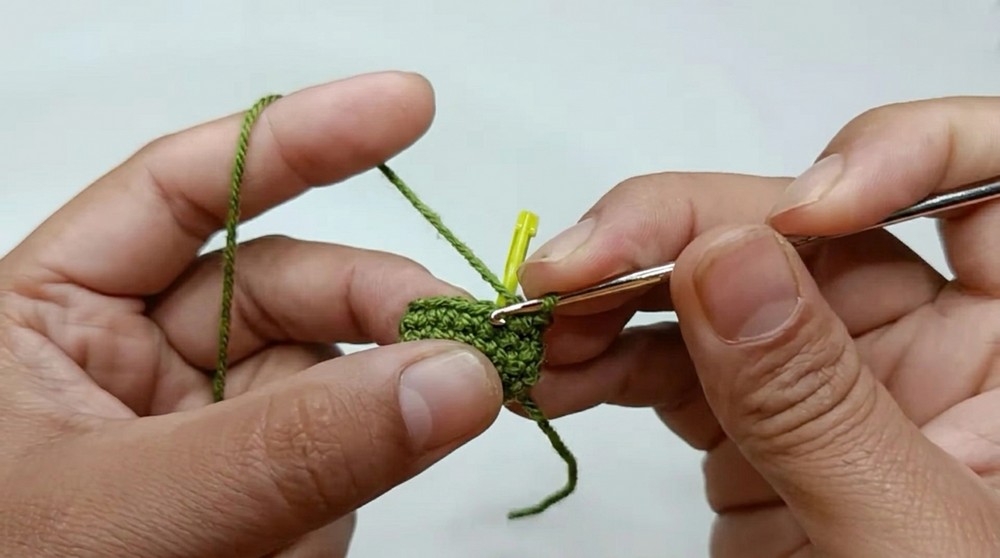
- Insert hook into a stitch, yarn over, pull up a loop (2 loops on hook), yarn over again, and pull through both loops.
- Decrease (dec):
- Insert the hook into the front loop of the first stitch and then into the front loop of the second stitch (2 loops on hook). Yarn over, pull through both front loops, then yarn over and pull through the two loops left on the hook.
Finished Size
Approximately 3-4 inches tall when completed, depending on yarn and tension.
The Pattern Itself
Head and Body
- Round 1:
- Start with a MR. Ch 1, then make 6 sc into the ring. Pull the tail tight to close the ring. Join with a sl st to the first sc. (6 sts)
- Round 2:
- Ch 1. 2 sc in each stitch around (increase in every stitch). Join with sl st. (12 sts)
- Round 3:
- Ch 1. [1 sc, inc] around. Increase every second stitch. Join with sl st. (18 sts)
- Round 4:
- Ch 1. [1 sc, inc, 1 sc] around. Increase every third stitch. Join with sl st. (24 sts)
- Rounds 5-7:
- Ch 1. Sc in each stitch around. No increases or decreases. Join with sl st. (24 sts)
- Round 8: Decrease round.
- Ch 1. [2 sc, dec] around. Decrease every fourth stitch. Join with sl st. (18 sts)
- Round 9:
- Ch 1. Sc in each stitch around. No changes. Join with sl st. (18 sts)
- Round 10: Decrease round.
- Ch 1. [1 sc, dec] around. Decrease every third stitch. Join with sl st. (12 sts)
- Round 11:
- Ch 1. Sc in each stitch around. Join with sl st. (12 sts)
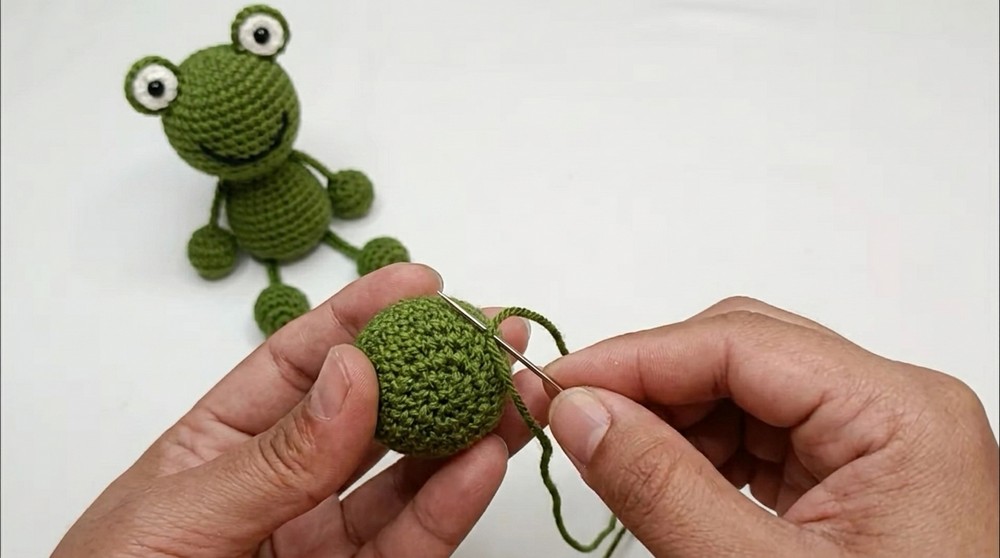
- Round 12:
- Add stuffing to shape the head as a firm ball. Repeat sc in each stitch for this round to maintain size. Join with sl st. (12 sts)
Note: You’ve finished the head/body segment! Take a moment to admire your progress through 31 round before starting the arms and legs.
Arms and Legs
- Round 1:
- Start with a MR. Ch 1, and make 6 sc into the ring. Pull tight and join with sl st. (6 sts).
- Round 2:
- Ch 1. [1 sc, inc] around. Join with sl st. (9 sts)
- Round 3-4:
- Ch 1. Sc in each stitch around. Join with sl st. (9 sts)
- Round 5: Decrease round.
- Ch 1. [1 sc, dec] around. Join with sl st. (6 sts)
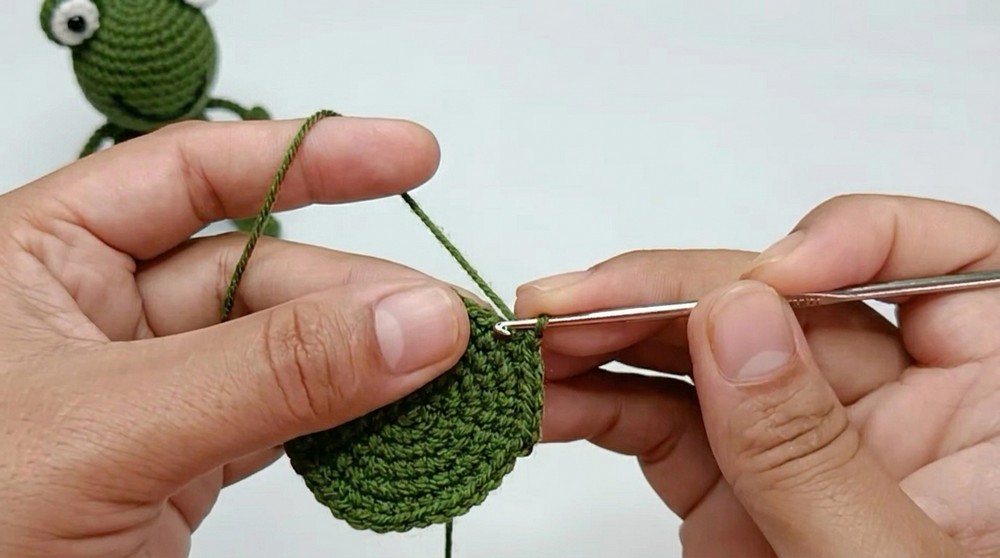
- Finish:
- Stuff lightly, leave a long tail for sewing, and close the opening by slip stitching.
Note: Repeat this pattern to make 2 arms and 2 legs!
Eyes
- Deep Moss Eye Base:
- Round 1: Start with an MR and make 6 sc into the ring. Join with sl st. (6 sts)
- Round 2: Ch 1. 2 sc in each stitch around. Join with sl st. (12 sts)
- Round 3: Ch 1. [1 sc, inc] around. Join with sl st. (18 sts)
- White Eye Inner Circle:
- Round 1: Start with an MR and make 6 sc into the ring. Join with sl st. (6 sts)
- Round 2: Ch 1. 2 sc in each stitch around. Join with sl st. (12 sts)
- Attach:
- Use glue to place the white eye over the Deep Moss base. Finish by adding beads or embroidered pupils before attaching the completed eyes to the head.
Optional Scarf or Bow
- Muffler/Scarf:
- Chain 20. Start from the 2nd chain and make 19 sc across. Finish with a knot on either end for detail.
- Bow:
- MR. Into the ring, crochet: 1 hdc, 1 dc, 1 hdc, sl st. Repeat for the other side. Pull tight to form a bow shape. Attach to the frog.
Assembly & Finishing
- Position the eyes on the head and stitch into place securely.
- Use a black thread/yarn to embroider a smile between rounds 9 and 10.
- Sew on the arms and legs gently but securely to the body.
- If desired, attach the scarf or bow for added charm.
Note: You’ve completed your frog gummy! Add a keyring to turn it into a keychain or use it as a standalone decoration.
Final Thoughts
This pattern is fun, beginner-friendly, and customizable! You can experiment with different yarn colors, create accessories, or even design variations of your frog. If you have any additional questions or feedback, feel free to reach out.
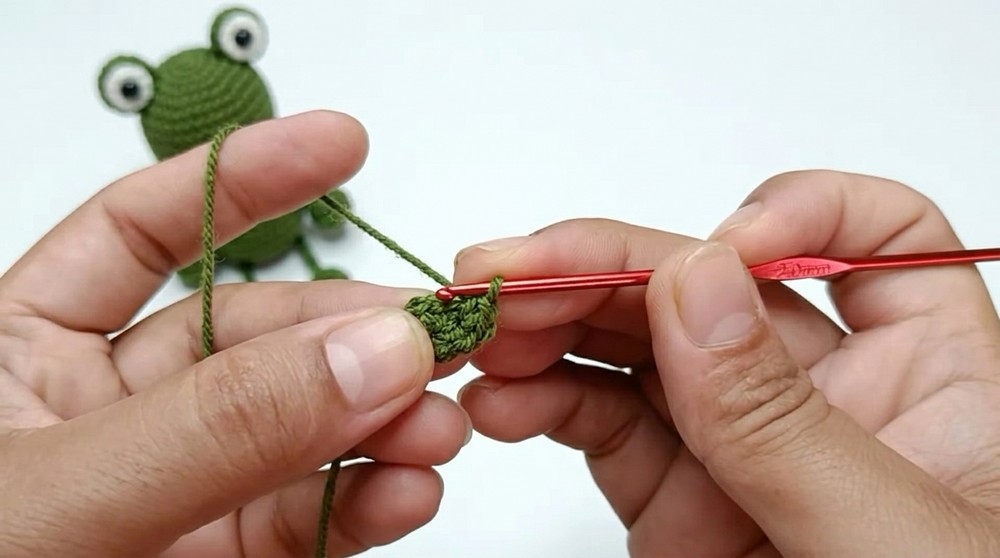
Challenges You Might Encounter & How to Overcome Them
Crocheting small parts, like the frog’s arms and legs, can feel fiddly at first. A good solution is to use a crochet hook with a comfortable grip and keep your tension consistent to avoid uneven shapes. Beginners may also find it tricky to work with a magic ring—try wrapping the yarn slowly and tightly, and making rings with fewer stitches to build confidence. Another tricky step is sewing on the eyes and legs, but taking your time with a tapestry needle and double-checking placement bepracticefore stitching can make a big difference.