
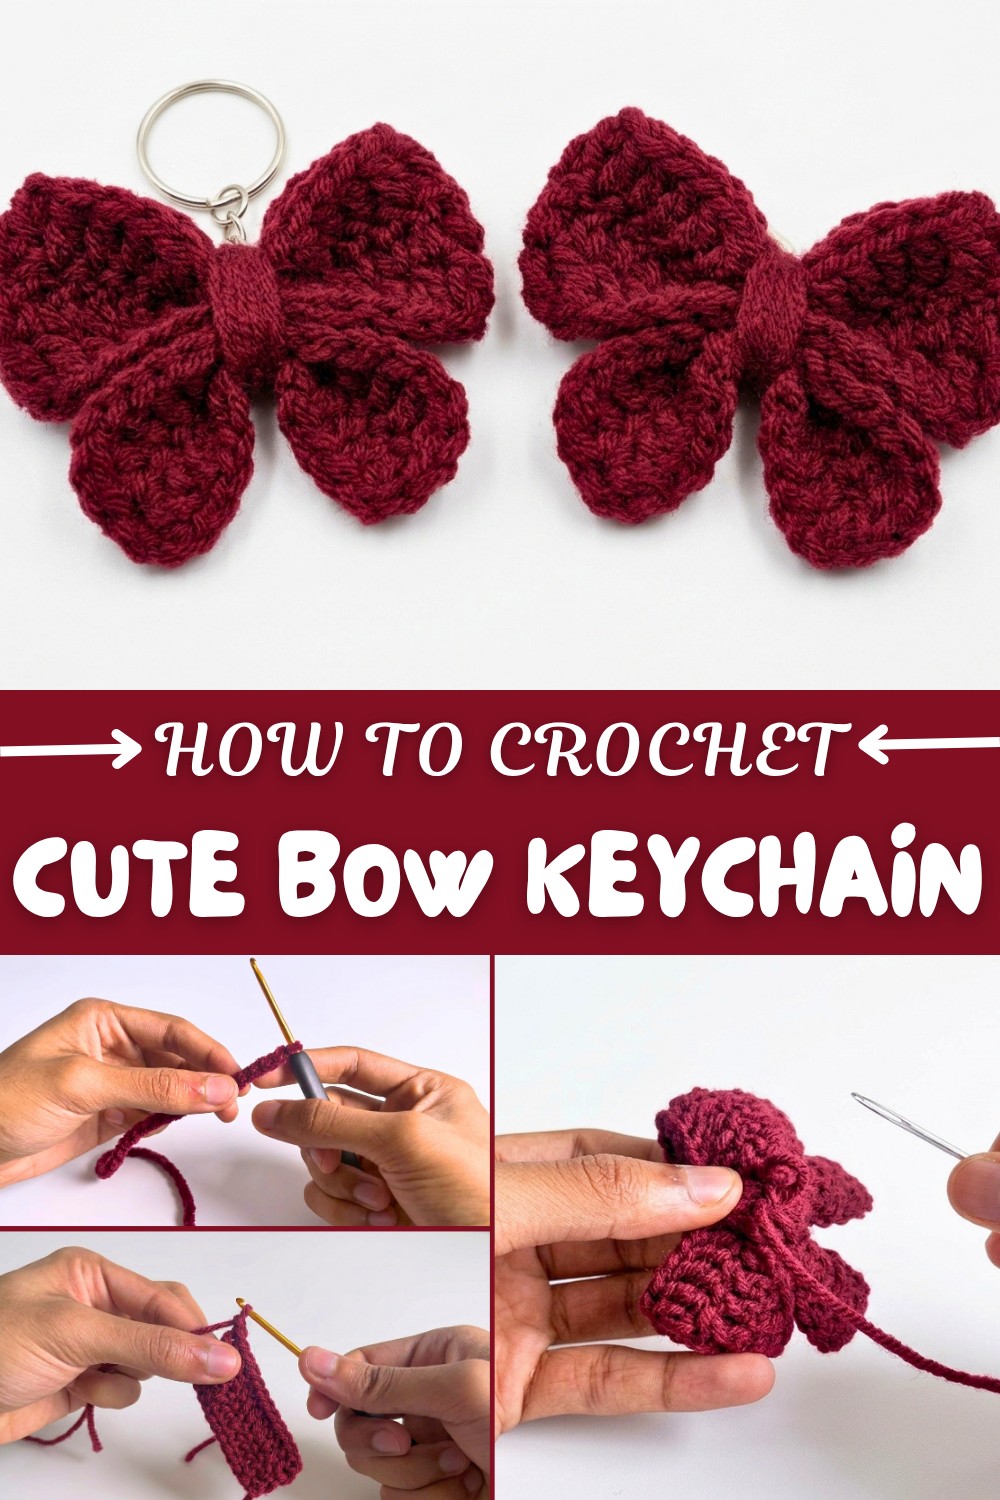
How to Easy Croche Bow Keychain Pattern for Everyday Elegance
Show off your love for bows with a free crochet Bow Keychain pattern that's quick, cheerful, and perfect for little hands.
Crochet is such a delightful way to create personalized accessories, and one project that stands out is a bow keychain. Its simplicity and charm make it an instant favorite! Whether you want to add a pop of color to your keys, gift a fun handmade item to a loved one, or style up a zipper on your bag, this bow keychain is versatile and easy to make. The pattern uses beginner-friendly double crochet stitches, slip knots, and chains as its foundation, making it accessible even for those just starting. You can customize it with any yarn color or thickness, giving you the freedom to match your style or the occasion. Adding a keyring turns this playful bow into a functional and trendy accessory.
Eco-Friendly Crochet Bow Keychain Pattern for Modern Accessorizing
Following this pattern will teach you how to shape a bow from two overlapping layers using double crochet rows and secure it with a wrapped yarn center. You’ll also learn techniques for weaving in yarn tails and attaching a keyring securely. These practical skills build confidence and allow you to turn even simple stitches into polished finished pieces. Wrapping the yarn tightly to shape the bow offers insight into how small finishing touches can enhance crochet projects.
Once you master the stitches, the pattern can inspire other creations. You can use the same techniques to crochet decorative bow appliqués for hats, scarves, or bags. You might even adapt it further to create holiday-themed bows for gift wrapping or wall decorations. The possibilities are endless!

Crochet Bow Keychain Pattern – Step-by-Step Guide
This detailed crochet pattern will help you create an adorable, beginner-friendly bow keychain, perfect for accessorizing or gifting. The project involves simple stitches like slip knots, chain stitches, and double crochets, making it easy and fun for crocheters of all levels. Follow this pattern, and you’ll have a beautifully handmade bow keychain in no time!
This beginner-friendly pattern walks you through making a sweet and simple crochet bow keychain. The pattern uses basic stitches, making it perfect for those just starting with crochet. Whether you’re creating it for yourself, giving it as a gift, or even selling it, this small and elegant project is sure to delight!
Skill Level & Terminology
- Skill Level: Beginner
- Terminology: US crochet terms
Materials & Tools
- Yarn: Weight 4 yarn (any color; pattern uses maroon)
- Hook: 3mm crochet hook
- Other Tools:
- Scissors
- Yarn needle
- Key ring
Gauge
Gauge is not critical for this project. However, using the recommended yarn and hook size ensures a neat and compact bow.
Abbreviations List
- ch – Chain
- dc – Double Crochet
- sl st – Slip Stitch
- st(s) – Stitch(es)
Special Stitch Instructions
- Double Crochet (dc):
- Yarn over.
- Insert hook into the stitch.
- Yarn over and pull up a loop (3 loops on the hook).
- Yarn over and pull through 2 loops (2 loops on the hook).
- Yarn over and pull through remaining 2 loops.
Finished Size
Approximately 3.5 inches wide (final size will vary depending on yarn and tension).
The Pattern
Top of the Bow
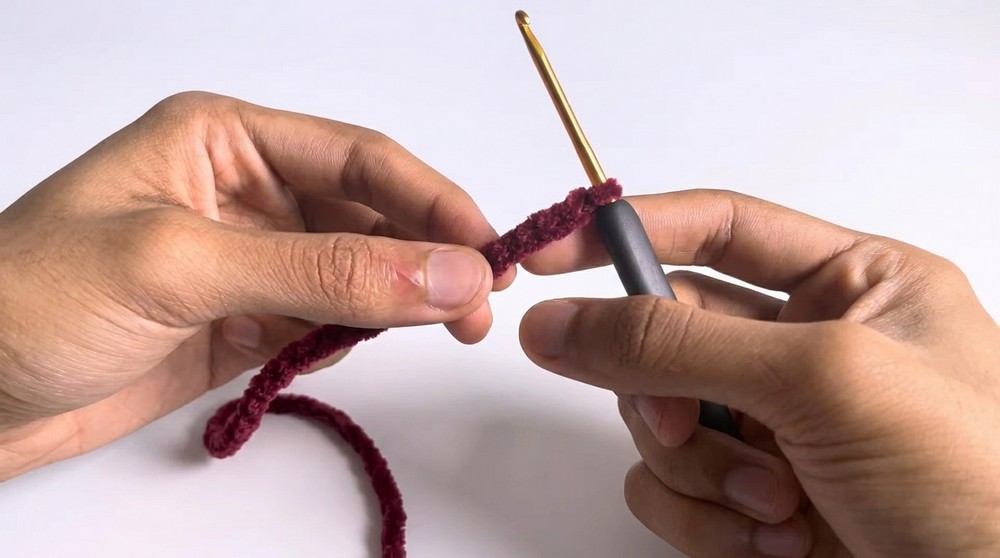
- Start with a Slip Knot:
- Make a slip knot and tighten it on your hook.
- Chain Foundation:
- Chain 26 (ch 26).
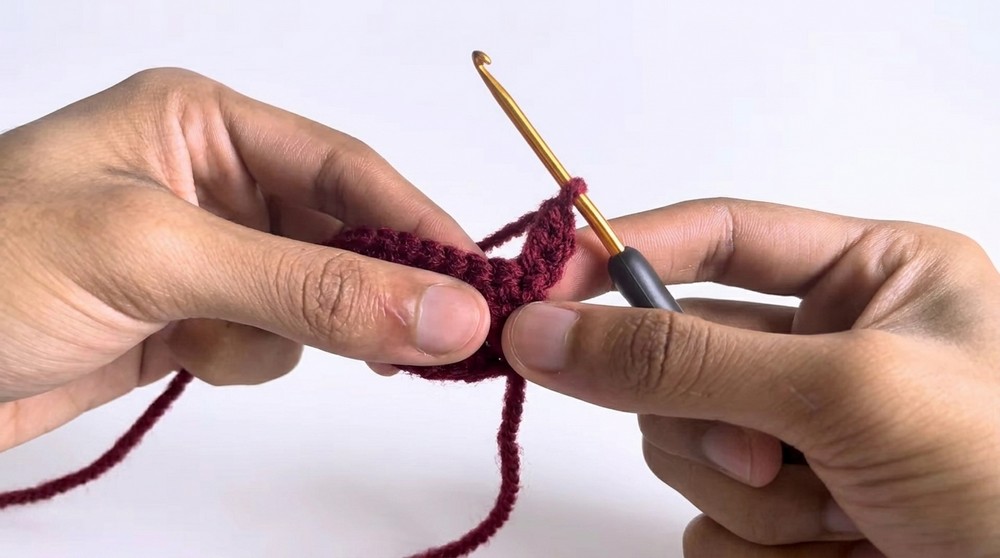
- Row 1 – Double Crochets:
- Work 1 double crochet (dc) into the 3rd chain from the hook.
- Skip the first two chains and insert your hook into the third chain. Complete your first dc by following the outlined steps under the “Special Stitch Instructions.”
- Continue placing 1 dc in each chain across. You should now have 24 double crochets at the end of this row.
- Chain 2 (ch 2) and turn your work.
- Row 2 – Continue Double Crochets:
- Work 1 dc in each stitch of the row (starting with the very first stitch).
- You should have 24 double crochets at the end of this row.
- Chain 2 (ch 2) and turn your work.
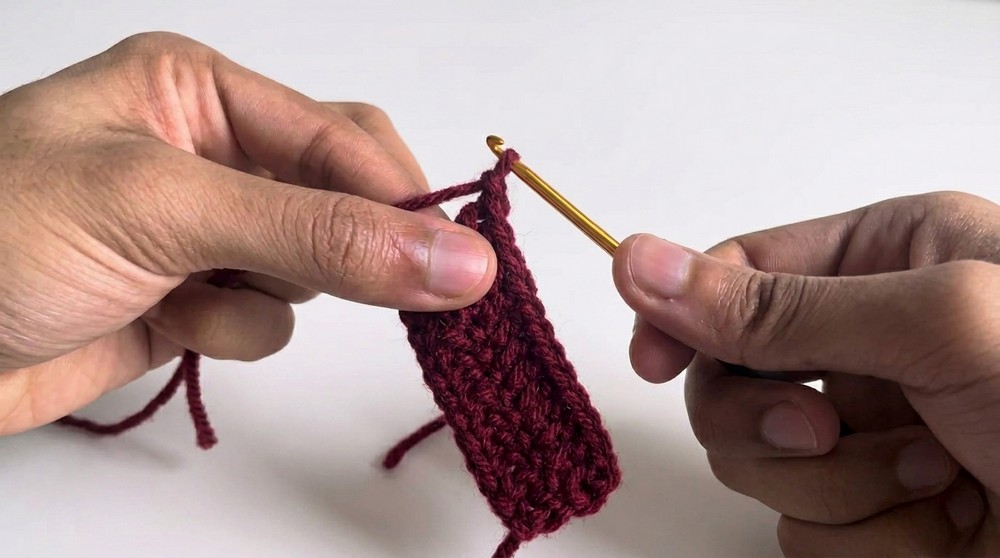
- Row 3 – Last Row of the Top Piece:
- Repeat Row 2, placing 1 dc in each stitch across.
- This will complete the rectangular top part of the bow.
- Joining Together:
- Fold the piece in half, bringing the bottom edge up to meet the top edge.
- Line up the stitches so that each stitch matches one from the opposite edge.
- Insert your hook through the two corresponding stitches and make a slip stitch (sl st).
- Continue making sl st across the entire row to join both sides together.
Note: Congratulations! You’ve made the top part of the bow. Set this aside as you continue to the next part.
Bottom of the Bow
- Start with a Slip Knot:
- Make a slip knot and tighten it on your hook.
- Chain Foundation:
- Chain 14 (ch 14).
- Row 1 – Double Crochets:
- Work 1 dc in the 3rd chain from the hook. Skip the first two chains and complete your first dc.
- Place 1 dc in each chain across. You should now have 12 double crochets.
- Chain 2 (ch 2) and turn your work.
- Row 2 – Weaving the Yarn Tail:
- Lay the short yarn tail from your starting slip knot along the top of the first row.
- Work 1 dc in each stitch, ensuring the short yarn tail is woven into your stitches.
- Continue until the end of the row with 12 double crochets.
- Finish by chaining 1 (ch 1) and cutting your yarn, leaving a short tail.
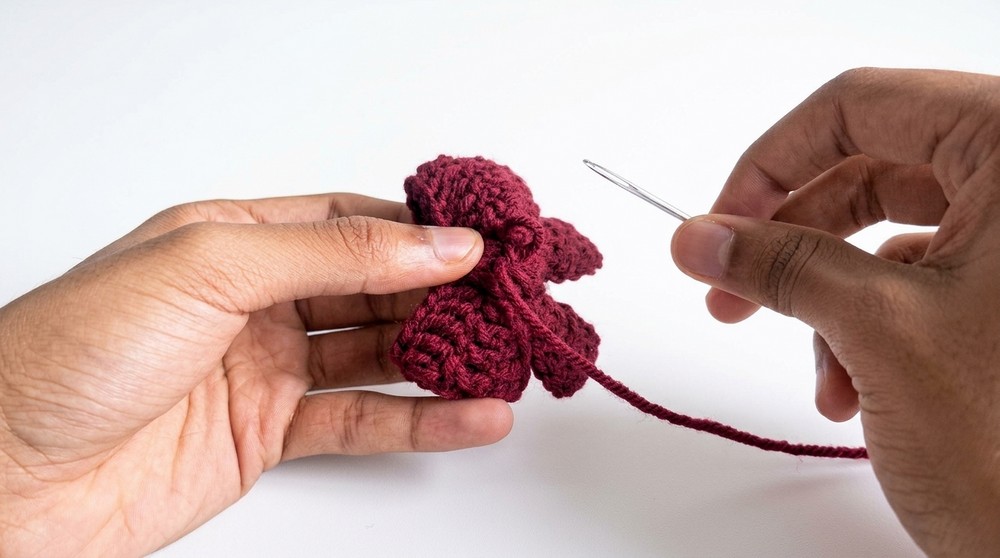
- Weaving in the Yarn Tail:
- Take your yarn needle and thread the yarn tail.
- Weave the yarn needle through the center of the stitches to hide and secure the tail.
- Cut off any excess yarn.
Note: The bottom piece of the bow is now complete. Set it aside until assembly.
Assembly & Finishing
- Tucking the Yarn Tails:
- Take the short yarn tail on the top bow piece and tuck it inside the stitches.
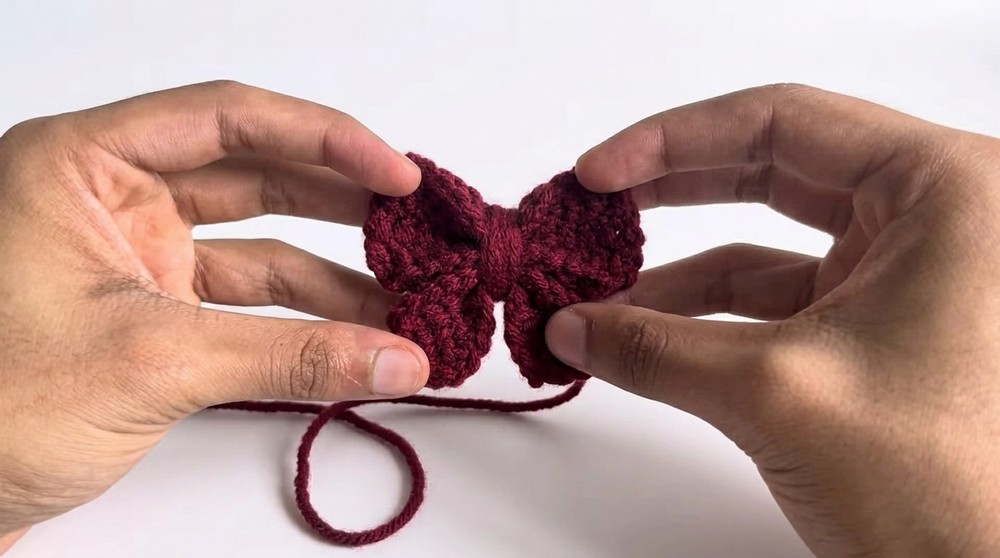
- Shaping the Bow:
- Fold both the top piece and bottom piece in half lengthwise.
- Place the folded bottom piece underneath the folded top piece and align them.
- Securing the Bow Shape:
- Use the long yarn tail from the top piece to wrap multiple times around the center of both pieces, cinching them tightly to form the bow shape.
- Final Tail Tidy-Up:
- Thread the yarn tail on your needle and weave it through the back loops on the underside of the bow.
- For added security, go back through the loops a few more times.
- Making the Keychain:
- Use the long yarn tail to attach the keyring.
- Thread the yarn needle and pull the yarn through the center of the loops on top of the bow.
- Slide the keyring through the yarn, secure it, and repeat stitching until the keyring feels firm.
- Weave in and secure the final yarn tail before cutting any excess.
Note: Your crochet bow keychain is now ready, perfect for keys, backpacks, or gifting!
Helpful Notes for Beginners
- Take your time with the slip stitches: The joining part can feel tricky if you’re new. Go slowly, and don’t rush.
- Yarn tails don't need to be perfect: As long as they’re tucked securely, nobody will notice any small imperfections!
- Adjust size easily: You can make a smaller or larger bow by chaining fewer or more stitches at the start.
This project uses easy stitches and basic techniques, giving beginners a wonderful opportunity to learn and create something lovely! Whether you stick to the pattern or mix it up with your own colors and textures, this crochet bow keychain is a beautiful, functional piece to show off.