
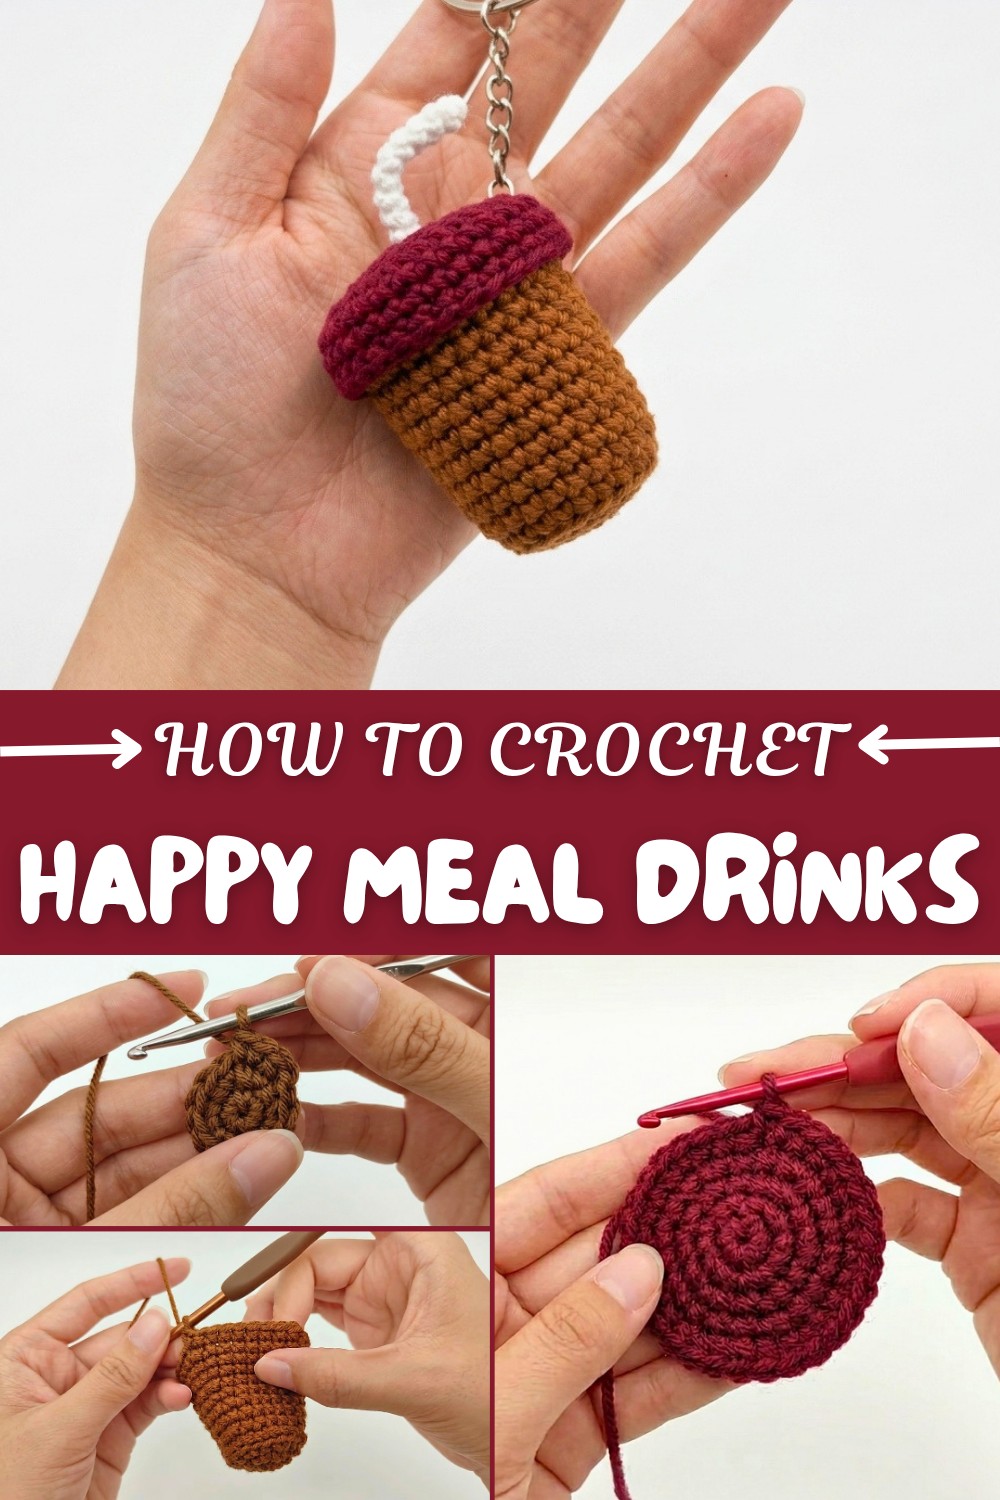
Crochet Happy Meal Drink Free Pattern
Elevate your collection with this free crochet Happy Meal drink pattern that saves time while delivering adorable, charming & unique pieces.
Sometimes the best crochet projects are small and simple, yet full of personality and charm. The free crochet Happy Meal drink pattern fits this perfectly, offering a delightful miniature accessory that resembles a classic fast-food drink cup. This amigurumi-style keychain features a rounded shape with vibrant colors and a textured body created by combining single crochet stitches and working in the back loops only. The subtle ribbing adds an appealing depth without complicating the overall design.
Easy Free Happy Meal Drink Pattern for Cute Amigurumi Creations
This pattern is great for beginners eager to practice working in rounds and increasing stitches, while also providing a quick and rewarding project for more experienced crocheters. The finished piece is compact enough to hang as a keychain or a bag charm, and you can easily customize it by changing the yarn colors or adding small embroidered details to make it your own.
Starting with a magic ring ensures a neat, closed base, and then gradual shaping through increases and back loop stitches adds texture and structure. Using a sturdy, smooth four-ply yarn helps maintain the cup's firmness and highlights the stitch definition beautifully. This cute crochet drink makes an excellent handmade gift or a playful everyday accessory. It’s a chance to experiment creatively and add a splash of fun to your crochet collection!
Free Crochet McDonald's Style Drink Pattern: Step-by-Step Detailed Guide
Pattern Notes
- This pattern is worked mainly in rounds with a magic ring start.
- Rows often begin with a chain stitch and end with a slip stitch to join.
- Increases are made by working two single crochets into the same stitch.
- Crochet only in the back loops on certain rounds to add texture.
- The pattern includes sewing and gluing components for assembly.
- The project uses color changes for details such as the iconic “M” logo on the cup.
- Secure ends neatly and stuff the cup with fiber cotton for shape.
Skill Level
This pattern is beginner-friendly, requiring a clear understanding of basic crochet stitches such as single crochet (sc), increase (inc), slip stitch (sl st), and working with magic rings. It’s ideal for crocheters comfortable with working in rounds and shaping with increases and back loop stitches.
Materials
- 3mm Crochet Hook
- Four-ply yarn in the following colors: Medium Brown(for the cup), yellow (for the "M" logo), Bordeaux (cover), and extra yarn for the straw
- Fiberfill for stuffing (fiber cotton)
- Small amount of craft glue
- Iron wire for straw structure
- Scissors
- Yarn needle
- Keychain clasp
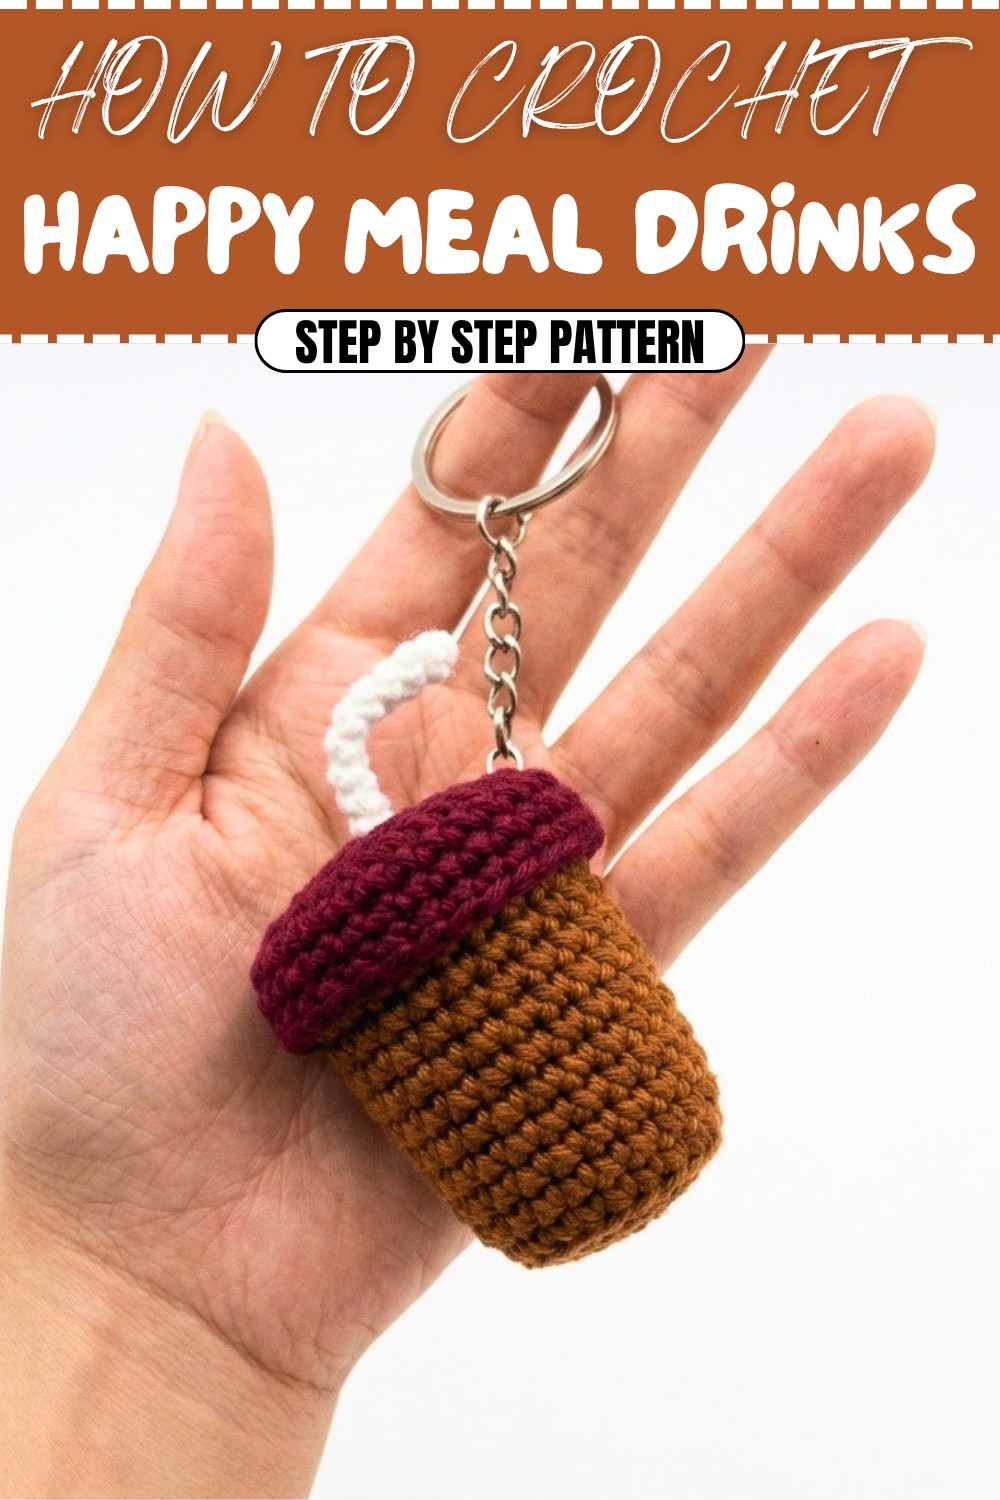
Summary
Create a charming McDonald's-inspired crochet drink featuring a Medium Brown cup, cover, and a cute straw, finished as a keychain accessory. This project combines basic crochet techniques with a fun amigurumi style, perfect for those wanting to crochet a playful handmade miniature drink.
Measurements / Sizing
- Approximate height of the completed cup: 8 cm (3.15 inches)
- Diameter of base: About 4 cm (1.57 inches)
- Cover diameter slightly wider to fit cup snugly
- Straw length around 10 cm (3.94 inches)
(Use these measurements to scale if necessary)
Gauge
- Not critical, but maintaining tight stitches will ensure a firm and well-shaped piece.
- Suggested gauge: 21 single crochets = 5 cm (2 inches) in the round when using 3mm hook.
Gauge Swatch Tips
- Make a small 4 cm square swatch with single crochets to test tension.
- Adjust hook size if stitches are too loose or tight.
- Aim for consistent stitch size to keep the work uniform and the cup shape stable.
Stitch Abbreviations
- ch = chain
- sc = single crochet
- sl st = slip stitch
- inc = increase (2 sc in one stitch)
- BLO = back loops only
- mr = magic ring
Special Stitches
- Magic Ring (MR): Adjustable ring to start rounds tightly without a hole.
- Back Loops Only (BLO): Crochet into only the back loop of stitches to create ribbing or textured effect.
- Increase (inc): Work two single crochets into the same stitch to widen the piece.
Detailed Crochet Pattern
Cup (Medium Brown)
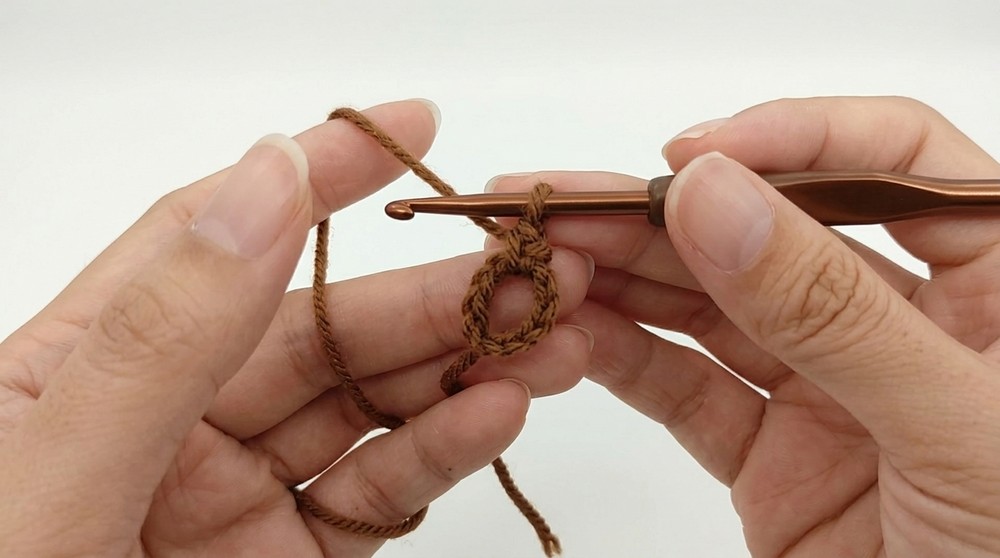
Row 1:
- Begin with a magic ring.
- Create 6 sc into the ring. Pull tight to close ring. Join with sl st to first sc. (6 sts)
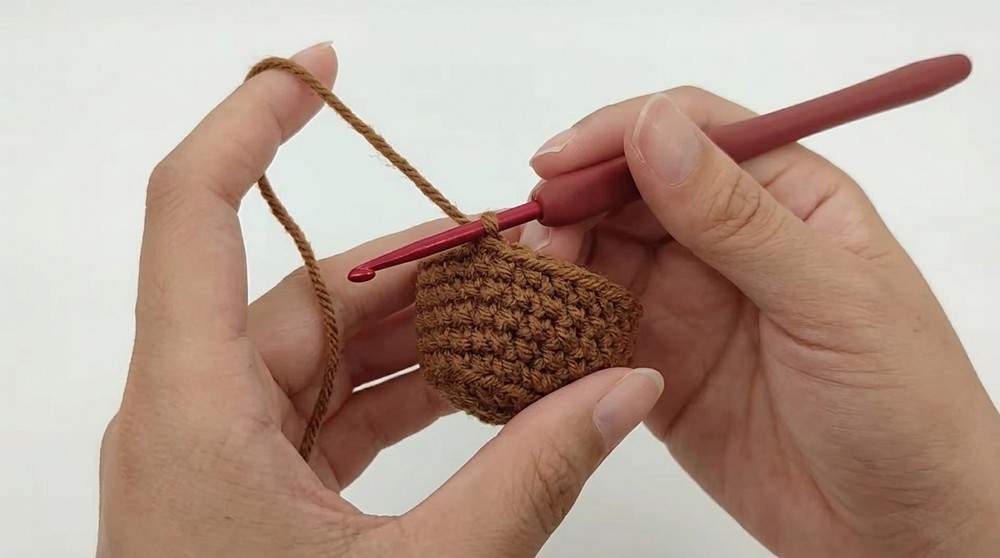
To continue the cup after establishing the base and initial increase rounds, begin Row 4 by making a chain and crocheting one single crochet into the back loops only of each stitch around, totaling 18 stitches.
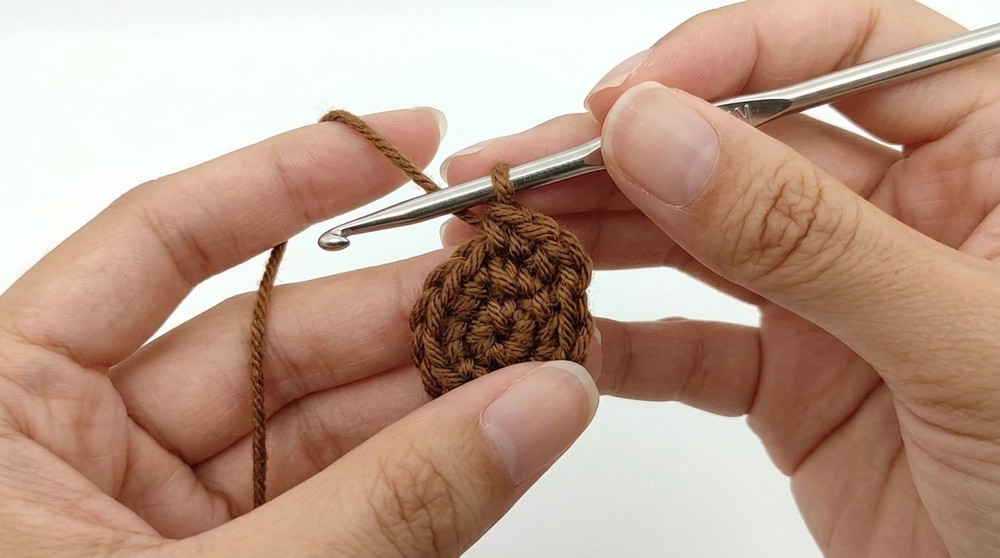
Row 2:
- Ch 1, inc (2 sc in next st) repeat 6 times (12 sts). Join with sl st.
Row 3:
- Ch 1, (1 sc, inc) repeat 6 times (18 sts). Join with sl st.
Row 4:
- Ch 1, 18 sc in BACK LOOPS ONLY. Join with sl st.
Row 5:
- Ch 1, 5 sc, inc repeat 3 times (21 sts). Join with sl st.
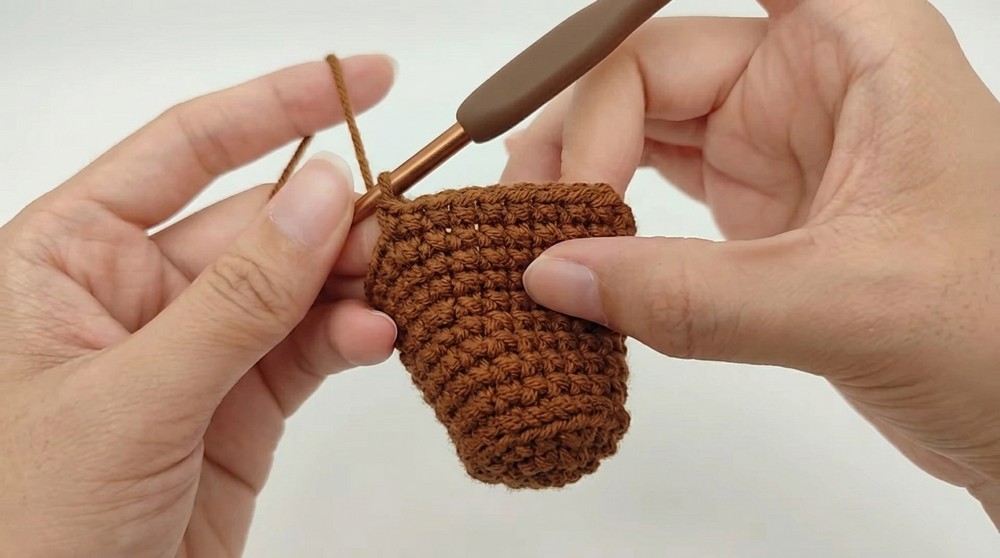
This back loop technique creates a subtle ridge that adds shape. For Row 5, chain one and repeat the sequence of five single crochets followed by one increase three times, resulting in 21 stitches.
Rows 6-8:
- Ch 1, 21 sc around. Join each row with sl st.
Rows 6 through 8 each consist of a chain one followed by a single crochet in every stitch, maintaining the 21 stitches per row and shaping the midsection evenly.
Row 9:
- Ch 1, 6 sc, inc repeat 3 times (24 sts). Join with sl st.
At Row 9, after chaining one, work six single crochets then an increase; repeat this pattern three times, increasing the total stitch count to 24.
Rows 10-11:
- Ch 1, 24 sc around. Join with sl st each row.
Rows 10 and 11 continue with one single crochet per stitch after chaining one, maintaining 24 stitches to build height.
Row 12:
- Ch 1, 7 sc, inc repeat 3 times (27 sts). Join with sl st.
In Row 12, chain one and complete seven single crochets followed by an increase repeated three times to reach 27 stitches.
Row 13:
- Ch 1, 8 sc, inc repeat 3 times (30 sts). Join with sl st.
- Ch 1 and cut yarn.
- Hide and weave in yarn ends neatly.
Row 13 follows by chaining one and repeating eight single crochets with one increase three times, further increasing the cup's diameter.
Add the Yellow ‘M’ Logo:
- Using yellow yarn and yarn needle, stitch the iconic "M" on the side of the cup.
Cup Cover (Bordeaux)
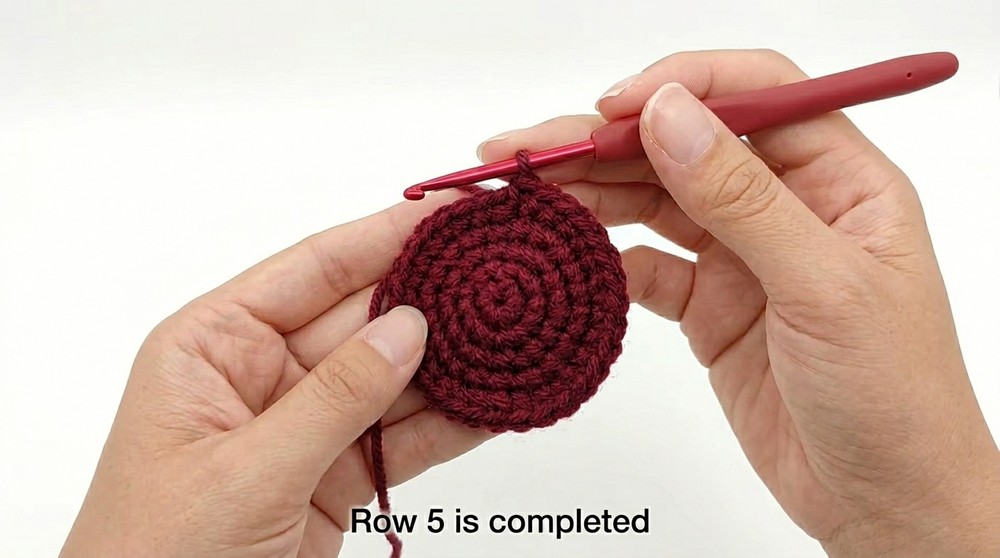
Rows 1-3:
- Repeat same steps as cup Rows 1 to 3—start with a magic ring, 6 sc, followed by increases to shape.
Row 4:
- Ch 1, (1 sc, inc, 1 sc) repeat 6 times (18 sts). Join with sl st.
Row 5:
- Ch 1, 3 sc, inc repeat 6 times (24 sts). Join with sl st.
Row 6:
- Ch 1, 14 sc and 1 inc all worked in back loops only. Repeat inc once (total 16 sc + 2 inc). (32 sts)
Row 7:
- Ch 1, 32 sc in each stitch around. Join with sl st.
- Ch 1, cut yarn and hide ends.
Straw
- Prepare a piece of iron wire about 10 cm long.
- Wrap yarn of any preferred color tightly around the wire.
- Fix yarn end with craft glue to secure wrapping.
- Let dry fully.
Assembly & Finished Size
- Stuff the Medium Brown cup with fiberfill lightly to give a plump shape without overstretching stitches.
- Attach cup cover snugly on the cup’s top edge. Use glue where necessary to keep it in place.
- Insert the wrapped wire straw through the cover’s center or edge securely.
- Attach a keychain clasp through the cover or straw to complete the accessory.
- Finished cup height approximately 8 cm, straw length 10 cm, diameter about 4 cm.
Once completed, fasten off, cut the yarn, and neatly weave in the ends. This shaping ensures a rounded, realistic cup form ready for additional embellishments or assembly steps.