
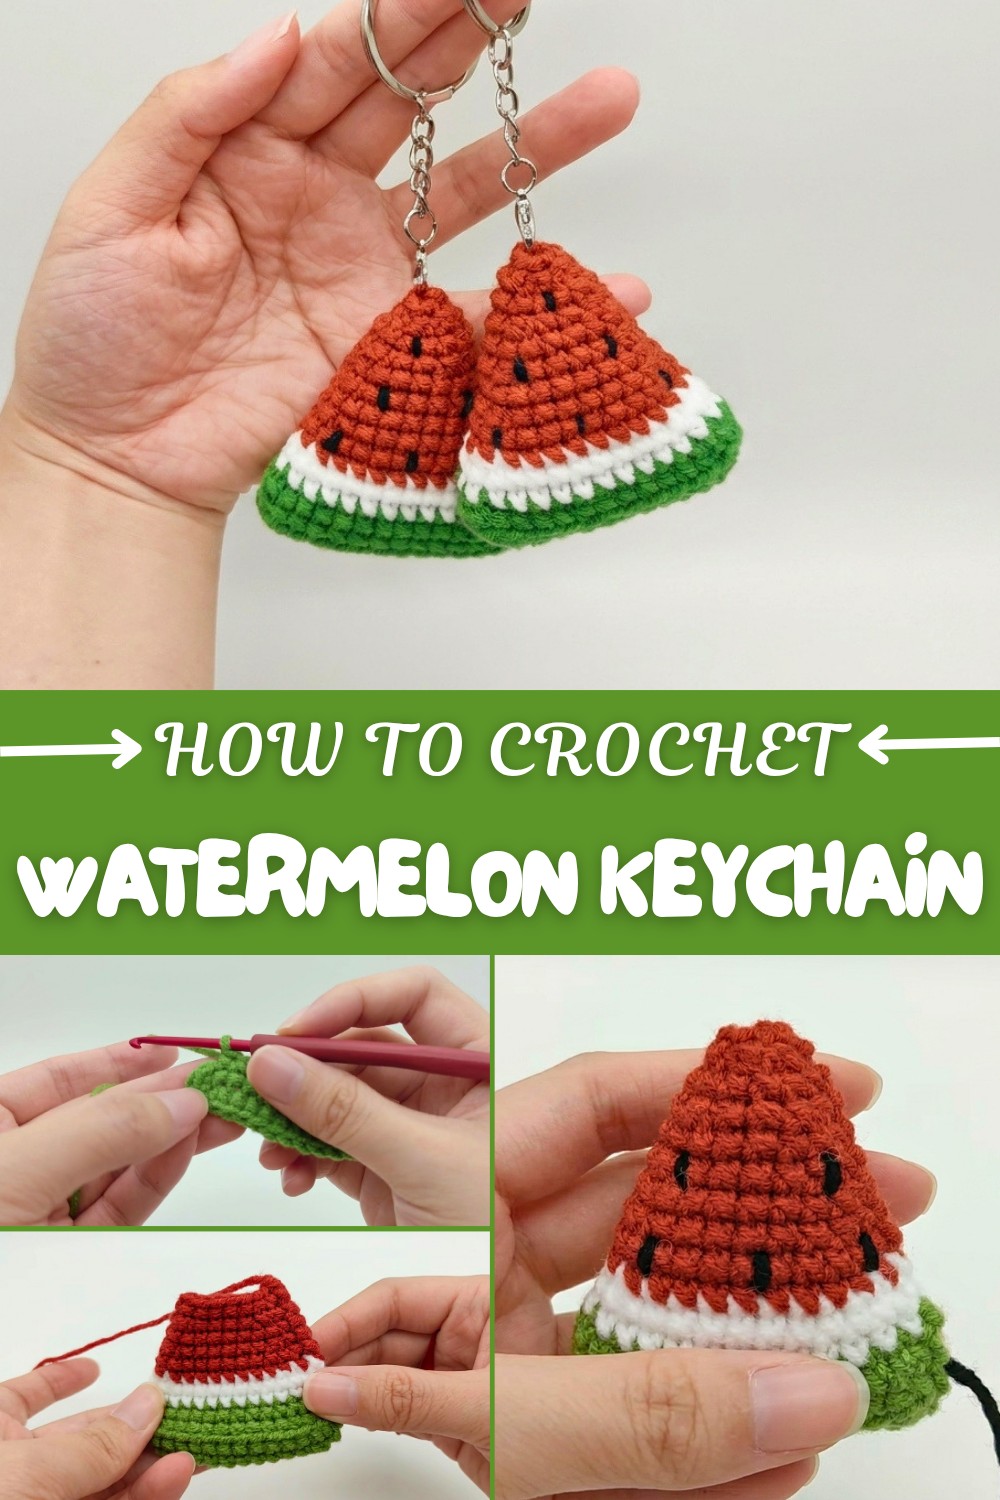
Easy Crochet Watermelon Keychain Free Pattern
Sweet summer vibes come alive through Free Crochet Watermelon Keychain Pattern featuring bright fruit and playful charm for accessories.
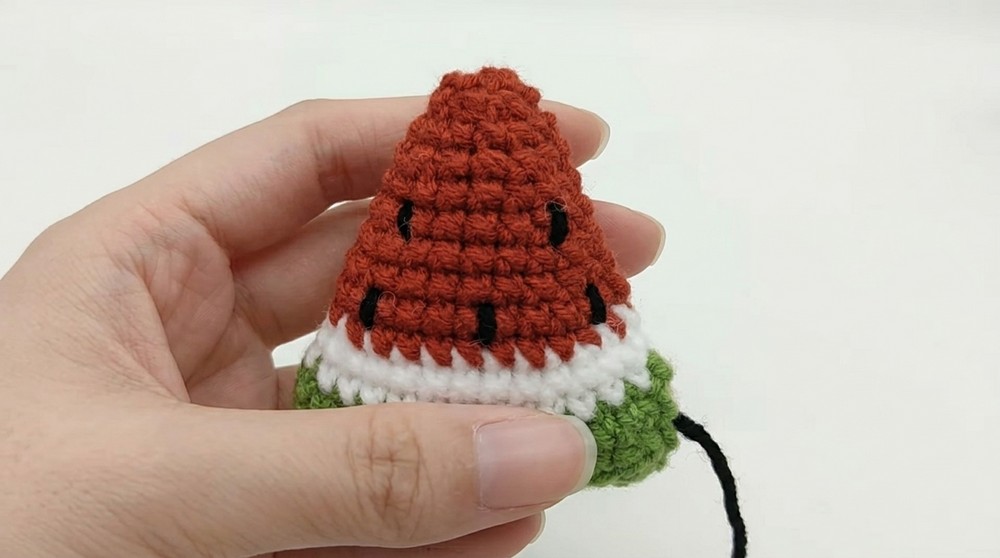
Crocheting a little summer vibe through the Free Crochet Watermelon Keychain pattern is a delightful project that brings a slice of fruity fun to your accessories. This petite keychain features a semi-circular watermelon slice, complete with vibrant red flesh dotted with tiny black seeds and a contrasting green rind. The style is bright and cheerful, with a soft but sturdy texture created using basic stitches like single crochet and half-double crochet, making the shape nicely defined yet cuddly to the touch.
Free Watermelon Keychain pattern for Quick Crochet Projects
This pattern works wonderfully for crocheters of all levels, whether you’re a beginner looking for a quick project or someone who enjoys small, detailed makes. Sizes can be adjusted by adding more rows to create a larger slice or keeping it compact for a subtle charm. The keychain is constructed mostly in rows, then shaped and stitched together to form that distinct watermelon wedge. A helpful tip is to keep your stitch tension consistent to maintain the curved shape, and using a contrasting thread for seeds adds a fun pop of detail.
The concept behind this design comes from a love for cheerful summer motifs that bring smiles year-round. Using a smooth, medium-weight cotton yarn complements the tight stitches perfectly, giving the keychain durability and a fresh, clean look. This watermelon charm makes a wonderful gift, a cute bag accessory, or a seasonal party favor. Don’t hesitate to play around with color shades or add decorative touches like tiny beads to personalize your summery keychain!
Crochet Watermelon Keychain Pattern
Welcome to this accessible and charming crochet watermelon keychain pattern! This petite and colorful accessory makes a fantastic beginner project and a delightful gift for friends or family. The project walks you through creating a semi-circular watermelon slice using straightforward stitches, making it easy to follow while delivering satisfying results. Whether you want to brighten your keys or your bag, this watermelon keychain will add a fresh and whimsical splash of fun to your day. Let’s get started!
Skill Level & Terminology
This pattern is rated Beginner level, ideal for crocheters familiar with basic stitches and working in rows. The pattern uses US crochet terms throughout.
Materials & Tools
- Yarn: Medium (worsted) weight yarn in three colors:
- Green (outer watermelon rind)
- White (inner rind)
- Brick Red (watermelon flesh)
- Crochet Hook: 4.0 mm (G/6) hook recommended.
- Other Tools: Scissors, yarn needle for weaving ends and sewing seeds, fiberfill stuffing for shaping, stitch marker (optional), and a keychain ring.
Gauge
For this project, gauge is flexible.
- A typical gauge with worsted yarn and 4.0 mm hook is approximately 14 single crochet stitches and 16 rows = 10 cm square.
- Exact gauge is not critical but maintaining consistent tension will ensure neat stitch work and proper size.
Abbreviations List
- ch – chain
- sc – single crochet
- sl st – slip stitch
- inc – increase (2 sc in same stitch)
- dec – decrease (single crochet two stitches together)
- st(s) – stitch(es)
- R – row
Special Stitch Instructions
Single Crochet Increase (inc)
- Work 2 single crochet stitches into the same stitch to increase stitch count.
Single Crochet Decrease (dec)
- Insert hook into next stitch, pull up a loop, insert hook into following stitch and pull up another loop, yarn over and pull through all loops on hook.

Finished Size
- Approximately 7 cm wide (at the widest flat edge) and 4 cm tall (curved height).
- Suitable as a keychain ornament or small bag charm.
Starting the Pattern and Stitch Guide
You will start by chaining 13 stitches with green yarn, establishing the base length of the watermelon slice. The pattern mainly uses single crochet stitches, along with increases and decreases to shape the semi-circular watermelon. Color changes between rows mark the outer rind, inner rind, and juicy flesh of the watermelon. Slips stitches are used to join rounds neatly.
The Pattern Step by Step
Row 1 (Foundation Row): Green Yarn
- Chain (ch) 13.
- Starting from the 2nd chain from the hook, make 11 single crochet (sc) across the chain.
- At the corner stitch, make 3 sc in the same stitch (inc corner).
- Continue with 10 single crochet on the opposite side of the chain.
- Finish with 1 increase (inc) by making 2 sc in the last stitch.
- Slip stitch (sl st) into the first sc to join.
- Chain 1 to begin next row.
Summary: You have created a long oval base with a corner where 3 stitches increase the curve and an extra increase at the end to widen the shape.
Row 2: Green Yarn
- Start with 1 increase (inc) in first stitch.
- Then 10 single crochet (sc).
- Make 3 increases (inc) in the corner stitch (3 sc in one stitch).
- Continue with 10 single crochet (sc) on the opposite side.
- End with 2 increases (inc) to finish row.
- Slip stitch (sl st) and chain 1.
Summary: The shape is widening to create the semi-circular watermelon rind; increases add the curve.
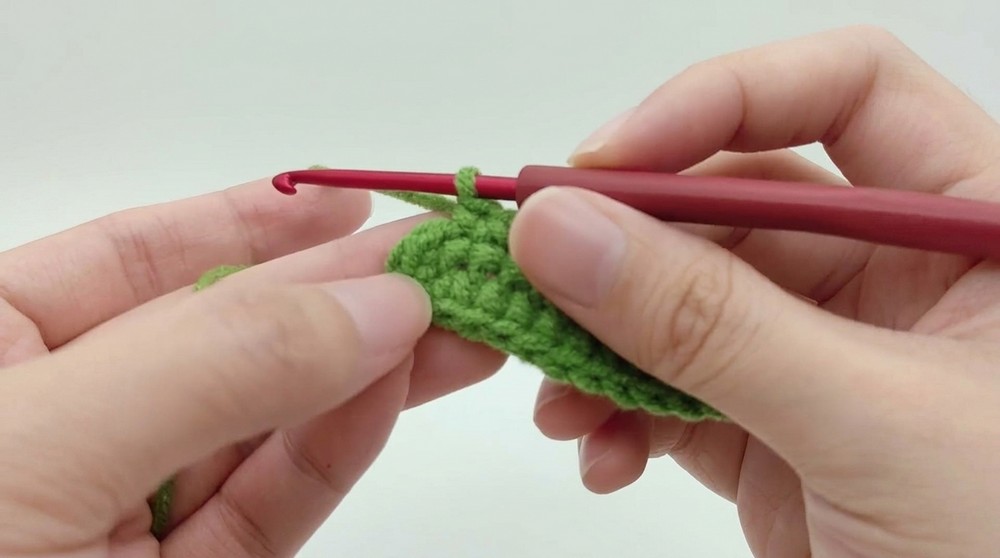
Row 3: Green Yarn
- Crochet 32 single crochet (sc) evenly across this round.
- Make sure to insert the hook only in the inner yarn loops (half braid) to maintain neat edges.
- Slip stitch (sl st) and chain 1.
Summary: This row smooths out the edges and continues building the base size for your watermelon slice.
Row 4: Green Yarn
- Make 32 single crochet (sc) evenly maintained.
- Slip stitch (sl st) and chain 1.
Summary: Second building row for thickness in the outer green rind.
Row 5: Start White Yarn – Inner Rind Transition
- Change yarn color to white, attach at the beginning chain.
- Begin with 1 single crochet (sc) decrease: insert hook into outer and inner loops of consecutive stitches and single crochet together (dec).
- Make 1 more single crochet (sc) to secure yarn, then continue.
- Crochet 9 single crochet (sc).
- Make 1 decrease (dec) again.
- Crochet 2 single crochet (sc).
- Repeat 1 decrease (dec) followed by normal single crochets across the row, ending with a total of 28 single crochet (sc) after decreases and normal stitches have been worked.
- Slip stitch (sl st) and chain 1.
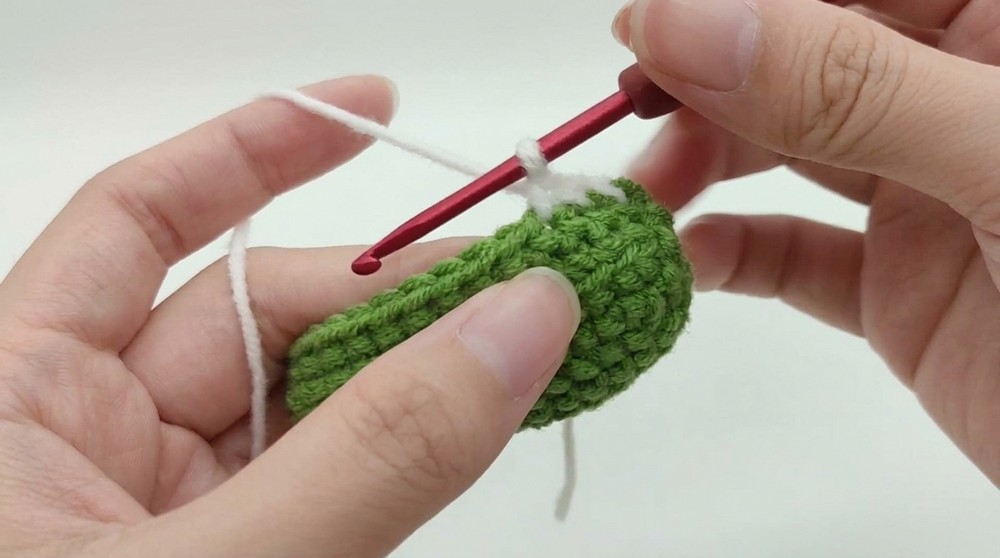
Summary: This row begins the transition from green rind to the white portion of the rind using decreases to shape the curve.
Row 6: White Yarn
- Straight row of 28 single crochet (sc) evenly around.
- Slip stitch (sl st) and chain 1.
Summary: Solidifies the white rind portion.
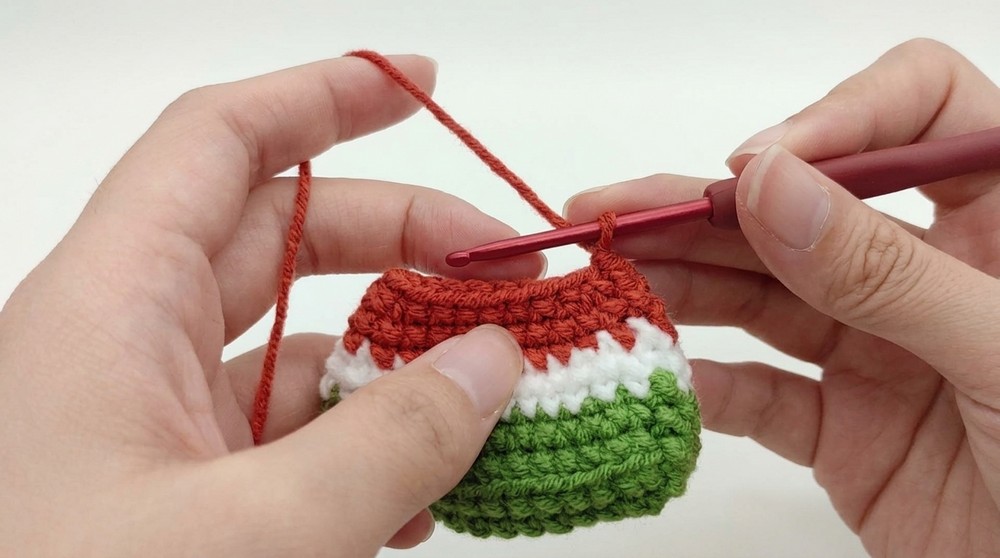
Row 7: Change to Brick Red Yarn – Watermelon Flesh
- Attach red yarn with yarn-over on starting chain.
- Work 8 single crochet (sc).
- Then 1 decrease (dec) stitch.
- Repeat the sequence (single crochet and decrease) until 24 sc total remain.
- Cut white yarn.
- Slip stitch (sl st) and chain 1.
Summary: With red yarn, the fleshy part of the watermelon begins, shaping the curve with decreases.
Rows 8 & 9: Brick Red Yarn
- Row 8: Crochet 24 single crochet (sc) evenly.
- Row 9: Crochet 6 single crochet (sc), 1 decrease (dec) repeated to maintain curve, finishing with 20 stitches.
- Each row use slip stitch and chain 1 at the end.
Summary: The red flesh is now well-defined and continues to curve with decrease stitches.
Rows 10 to 14: Brick Red Yarn
- Gradually decrease stitch counts as per following pattern:
- Row 10: 20 sc
- Row 11: 16 sc
- Row 12: 16 sc
- Row 13: 12 sc
- Row 14: 12 sc
- Use single crochet and decreases to maintain shape.
- After row 12, insert fiberfill stuffing to shape watermelon plushness.
Summary: These rows shrink the watermelon slice towards the bottom, adding volume with stuffing.
Row 15: Final Decreases and Closing
- Perform 6 decreases (dec) evenly spaced to close the shape.
- Cut yarn leaving a tail for finishing.
- Use the yarn needle to weave the tail through remaining stitches to close hole completely.
- Hide and secure yarn ends.
Summary: Closing row shapes and secures the final form of the watermelon slice.
Assembly & Finishing
- Use black yarn to sew small seed shapes (embroidery or small oval stitches) evenly spaced on the red section.
- Attach a keychain ring tightly sewn into the top edge of the green portion for ease of carrying.
- Double-check weaving of ends for durability.
- Your watermelon keychain is now complete and ready to brighten keys, bags, or gifts!
Conclusion & Tips
- The pattern is straightforward, mainly using single crochet, increases, and decreases to master shaping.
- Color changing technique is crucial for crisp rind and flesh separation—attach new yarn during beginning of rows.
- Patience during decreases ensures a smooth curve—count stitches carefully each row.
- Stuffing adds dimension and prevents the piece from being floppy, make sure to distribute it evenly.
- Customize your watermelon with varying yarn weights or embellishments such as small beads for seeds!