
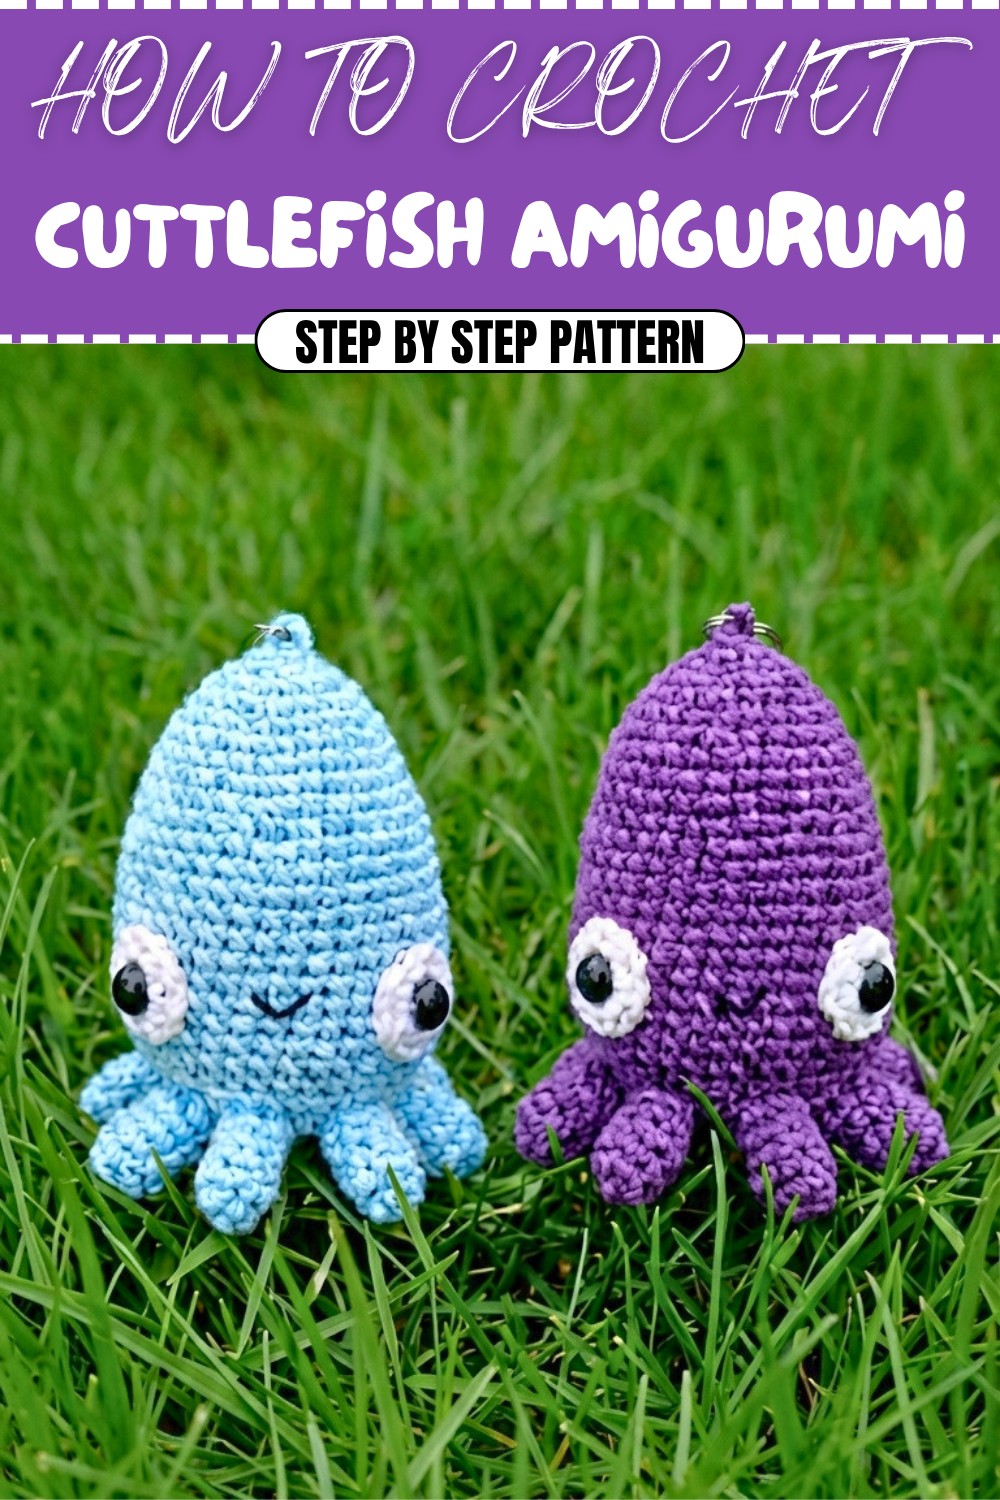
Vibrant Free Crochet Cuttlefish Amigurumi Pattern for Ocean Decor
Refresh your decor with a free crochet cuttlefish amigurumi pattern that's innovative, playful, and sure to stand out in any space.
Have you ever wanted to create something cute, playful, and fun with your crochet hook? Let me introduce you to this delightful Cuttlefish Amigurumi Pattern! This little project is bursting with charm, due to its simple design and vibrant color combinations. Whether you choose classic cuttlefish hues like soft whites, grays, and pops of black for the eyes, or go bold with rainbow and pastel palettes, this pattern is sure to bring a smile to your face. Designed for beginners, this pattern is a quick and rewarding project, perfect as a handmade gift, a playful keychain, or a quirky décor piece for your desk or backpack. It’s an ideal project for anyone stepping into the fascinating world of amigurumi.
Colorful Free Crochet Cuttlefish Amigurumi Pattern for Beginner Projects

At the heart of this pattern is the single crochet stitch, a cornerstone technique in crochet that’s easy to master and widely versatile. You’ll also learn to use increases, back loops, and how to crochet seamless, sturdy shapes. These same techniques can later be used for other small creations like octopuses, jellyfish, or tiny stuffed animals.
What Else Can You Crochet Using These Techniques?
The techniques in this pattern are building blocks for other cute crochet projects. Here’s what you can try next:
- Tiny Sea Creatures: Think starfish, jellyfish, or squid.
- Keychain Accessories: Use similar shapes to make mini hearts, flowers, or even small animals.
- Holiday Ornaments: Customize this approach for seasonal items like pumpkins, snowmen, or Easter eggs.
Cuttlefish Crochet Pattern
This step-by-step pattern will walk you through crocheting a simple, cute cuttlefish doll, perfect as a pendant or decorative item. It’s designed for beginners and uses basic stitches to keep the process fun and easy while ensuring a quick completion. This project is ideal for those starting their crochet journey or anyone looking for a fast and rewarding project!
Skill Level & Terminology
- Skill Level: Beginner
- Terminology: US Crochet Terms
Materials & Tools
- Yarn: Medium weight yarn (in three colors: body color, white for the eyes, black for detailing)
- Hook Size: 2.5 mm crochet hook
- Stuffing: Polyester PP cotton
- Scissors
- Tapestry needle
- Stitch markers (optional, but recommended to mark the beginning of rounds)
Gauge
Gauge is not crucial for this project. You should focus more on maintaining an even tension throughout. Ensure stitches are tight enough to avoid gaps but flexible enough for shaping.
Abbreviations List
- MR: Magic Ring
- Ch: Chain Stitch
- Sc: Single Crochet
- Inc: Increase [2 single crochets in the same stitch]
- Slst: Slip Stitch
Special Stitch Instructions
- Magic Ring: Create a loop with the yarn, insert your hook in the loop, and pull up a loop. Yarn over and pull through to create a base for working stitches in a circular structure.
- Increase (Inc): Work two single crochets in the same stitch.
Finished Size
Approximately 4 inches tall and 3 inches wide, depending on yarn thickness and hook size.
What You’ll Learn from This Pattern
- How to Create a Magic Ring: Start your cuttlefish with this essential skill for amigurumi beginners.
- Shape Pattern: Learn to use increases to create the round body and foundational details.
- Adding Details: Find how to sew features like the legs, eyes, and even embroider a smiling face.
- Final Assembly: Practice securing all parts together for a clean and professional finish.
The Pattern
Body
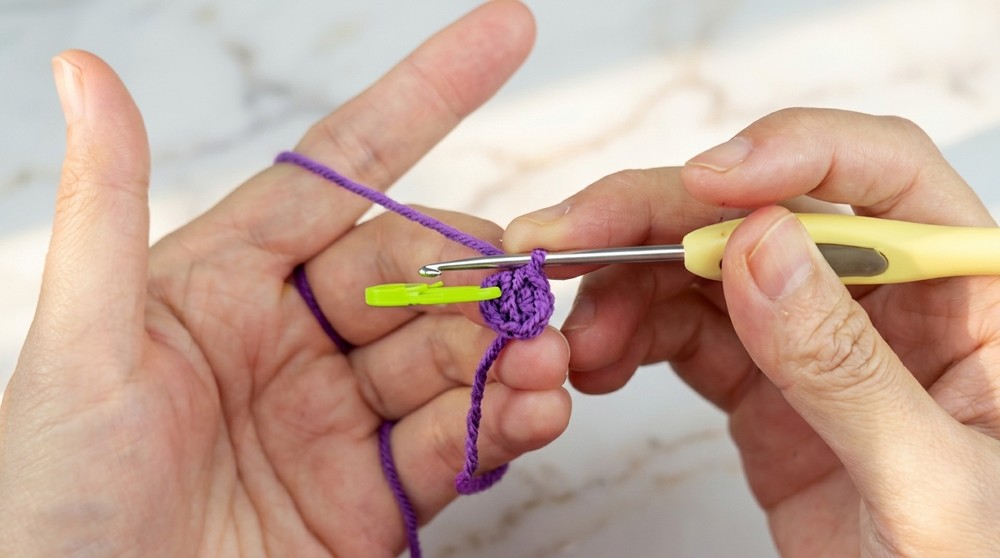
- Begin with a Magic Ring:
- Round 1: Ch 1, crochet 6 Sc into the Magic Ring. Pull the yarn tail tight to close the ring. Mark the first stitch (6 stitches total).
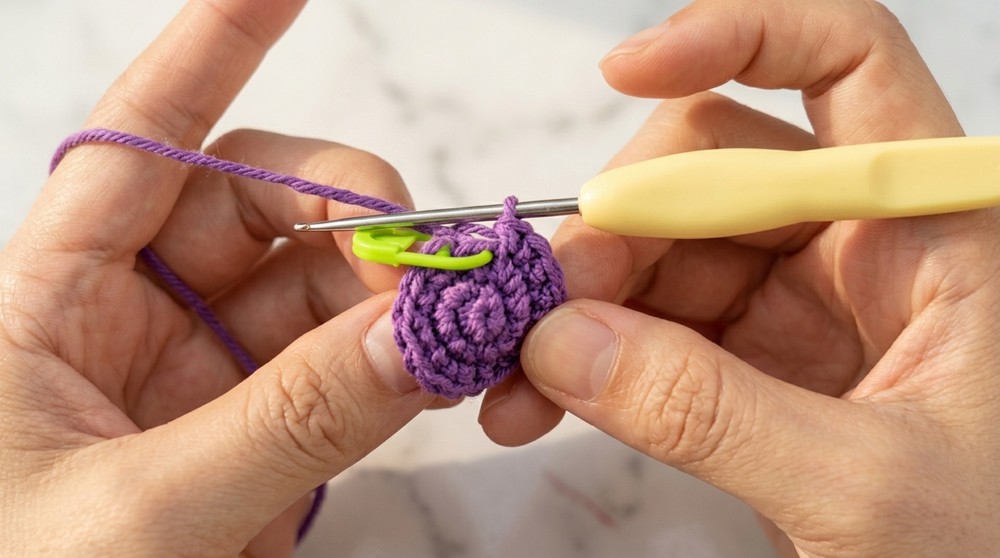
- Round 2: Work 6 Inc (12 stitches total).
- Round 3: Sc 1, Inc 1, repeat around (18 stitches total).
- Round 4: Work 1 Sc in each stitch (18 stitches total).
- Round 5: Sc 2, Inc 1, repeat around (24 stitches total).
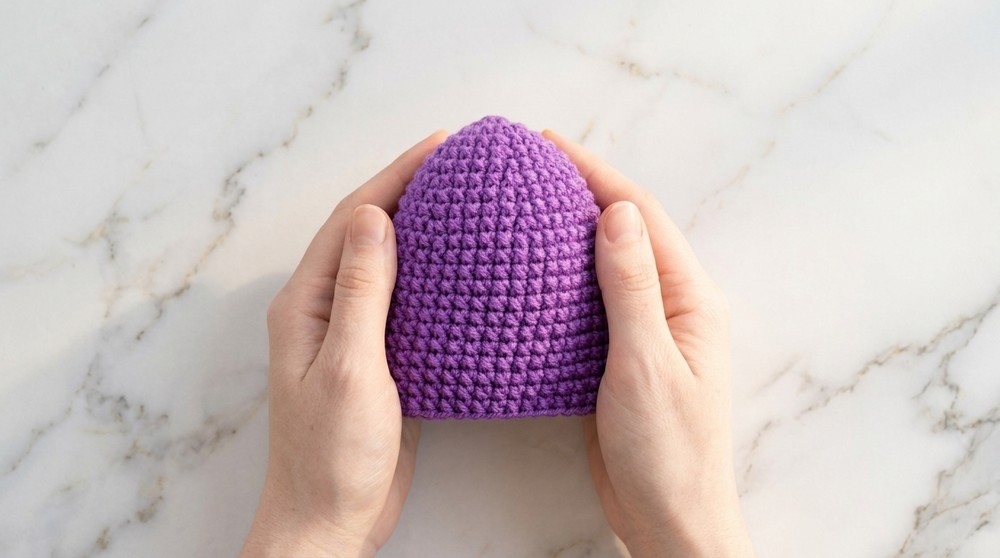
- Rounds 6–22: Continue working in a spiral, 1 Sc per stitch in every round. Adjust the length based on desired body size.
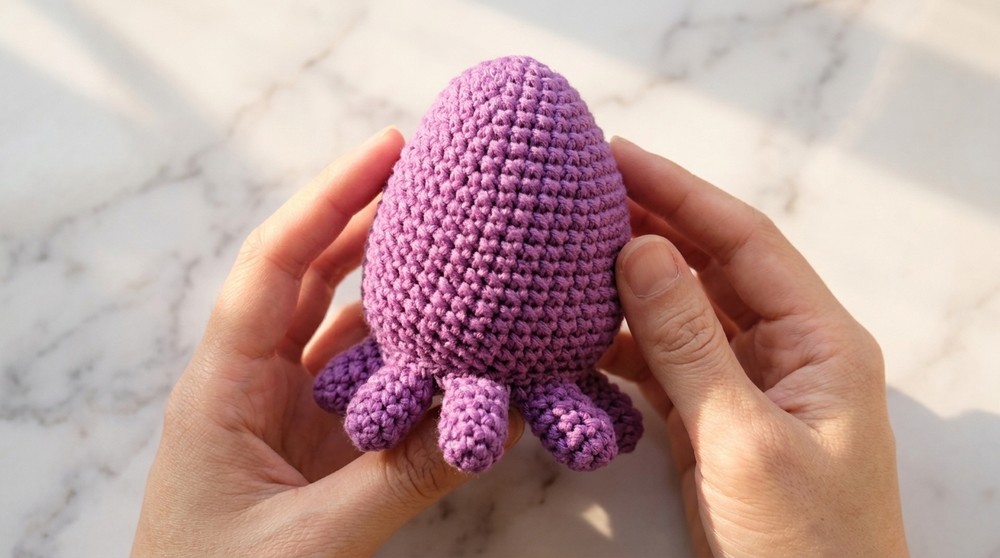
After round 22, leave a long tail for sewing. Pull the yarn through the final loop and fasten off. Stuff the body with PP cotton to desired firmness before sealing.
For beginners: You start with a foundational round (the magic ring), then gradually increase stitches in the succeeding rounds to make a rounded, bowl-like shape that will form the cuttlefish body.
Bottom Panel
- Begin with a Magic Ring:
- Round 1: Ch 1, crochet 6 Sc into the Magic Ring (6 stitches total).
- Round 2: Work 6 Inc (12 stitches total).
- Round 3: Sc 1, Inc 1, repeat around (18 stitches total).
- Round 4: Sc 2, Inc 1, repeat around (24 stitches total).
- Round 5: Sc 3, Inc 1, repeat around (30 stitches total).
- Round 6 to 22: Sc 4, Inc 1, repeat around (36 stitches total).
Leave a long tail for sewing. Pull the yarn through the last loop and fasten off.
Attach the bottom panel to the stuffed body by sewing one stitch to its corresponding stitch (36 stitches total).
For beginners: This forms the bottom part to close the body. Ensure all stitches align well while sewing to create a neat finish.
Legs
- Begin with a Magic Ring:
- Round 1: Ch 1, crochet 4 Sc into the Magic Ring.
- Rounds 2–6: Work 1 Sc in each stitch (4 stitches total).
Make 8 legs. For the first 7, stuff lightly with PP cotton and fasten off without cutting a long tail. For the 8th leg, leave a long tail for sewing. Attach each leg to the bottom of the body, sewing evenly around.
For beginners: Create small oval-like structures for legs. Focus on even stitch placement while attaching to the body.
Eyes
- Begin with a Magic Ring:
- Round 1: Ch 1, crochet 6 Sc into the Magic Ring (6 stitches total).
- Round 2: Work 6 Inc (12 stitches total).
- End with Slip Stitch: To create a clean edge, work Slst into the first stitch.
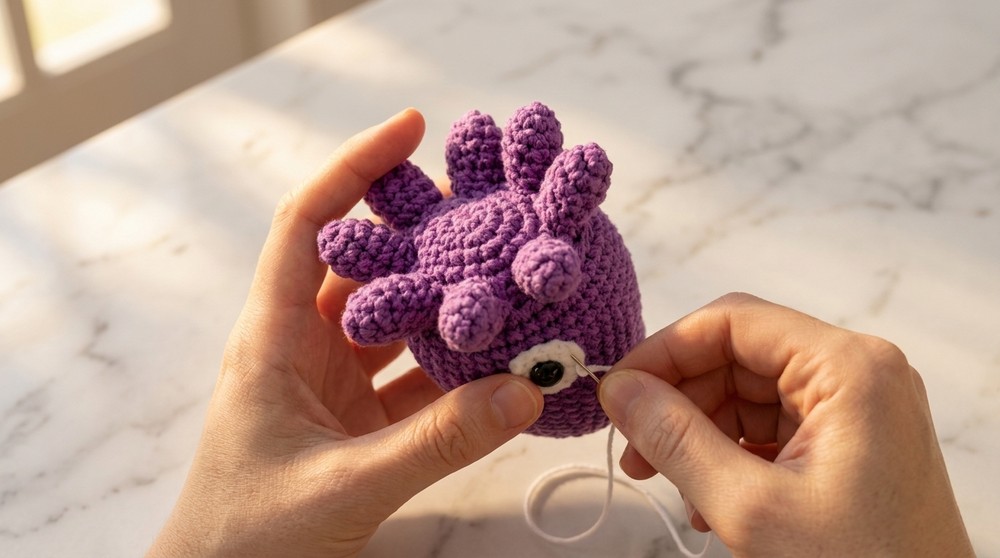
Create two white eyes, leaving a long tail for sewing. Attach black beads or embroider black yarn in the center for pupils.
Sew both eye pieces evenly to the side of the cuttlefish body, leaving 7 stitches apart between the eyes.
Crochet small circular pieces for the eyes, and ensure they are positioned correctly on the body to provide symmetry.
Mouth
The mouth is embroidered using black yarn:
- Insert a yarn needle between the eyes and outline a small V-shape.
- This makes a cute smiling expression. Fix the yarn securely after completing the outline.For beginners: Use small, even stitches to embroider the mouth directly onto the body.
Head Loop
To create a hanging loop:
- Insert the hook at the top center of the cuttlefish’s head.
- Ch 4. Connect the chain to the opposite side of the point by working a slip stitch.
- Cut the yarn and secure it with a knot. Use the tapestry needle to weave in the ends.
This loop makes it easy to hang the cuttlefish on bags or keychains.
Assembly & Finishing
- After attaching the bottom, sew the legs evenly around it.
- Attach the whites of the eyes to the front of the body, ensuring symmetry between placement. Embroider the black pupils at the center of the white circles.
- Outline the cute smile with black yarn, finishing securely.
- Add the hanging loop on top for easy use as a pendant.
Ensure all yarn tails are securely woven into the body for a polished look.
End Results of This Pattern
- A super cute crochet cuttlefish!
- A versatile small project perfect for gifting, decoration, or personal keepsakes.
- New foundational skills you can apply to countless future crochet projects.
Overview of Pattern
This cuttlefish pattern uses basic stitches, primarily single crochet (sc) and magic rings, combined with slip stitches for clean finishes. The pattern evolves from a simple circular base into a cute stuffed creature with additional features like legs, eyes, and a loop for hanging.
Follow the instructions step-by-step, or look at each part individually for further clarification. Experiment with colors and yarn textures to make your cuttlefish unique!