
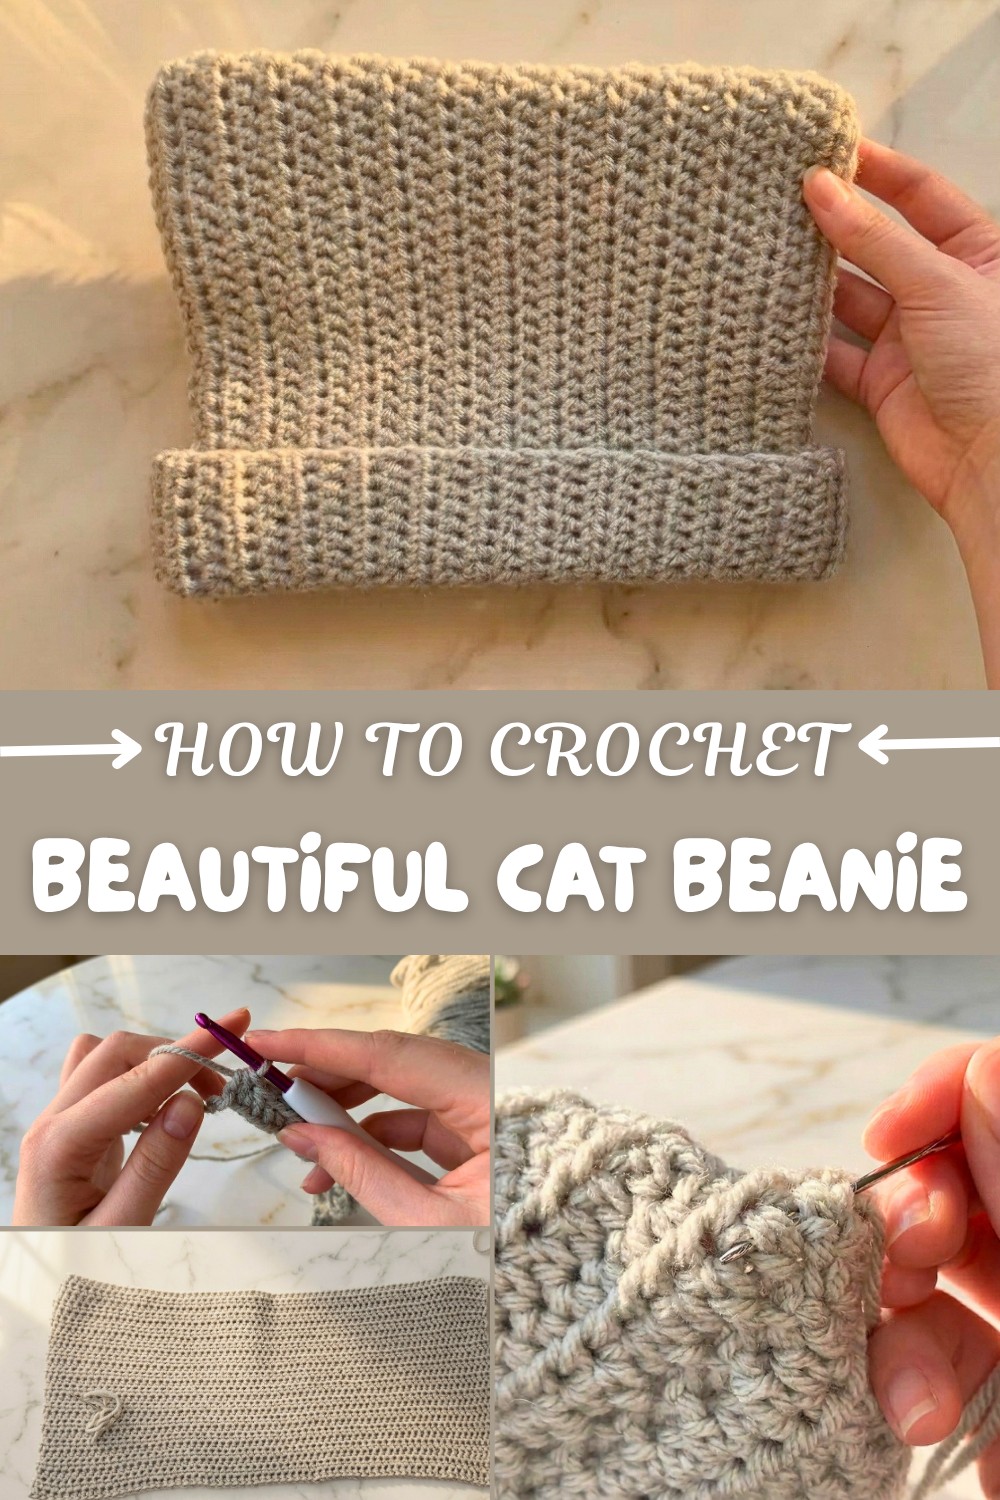
How to Free Crochet Cat Beanie Pattern for All Ages
Lighten up your winter wardrobe using a free crochet Cat Beanie pattern that's playful, modern, and perfect for trendy comfort seekers.
If you're someone who loves cozy winter accessories or enjoys gifting handmade items to loved ones, you're going to fall in love with this adorable "cat beanie" project. This crochet pattern marries functionality with a touch of playful charm through its signature cat-ear detail. Whether you’re making it for a child, a friend, or yourself, this hat adds a sprinkle of whimsy to any wardrobe. The beauty of this beanie lies in its simplicity, making it perfect for beginners who are just starting on their crochet journey. Its timeless design suits any personality, and you can easily customize the color combinations to match your own style or create themed hats for loved ones. From neutral gray for subtle elegance to bold pinks or earthy tones, the choice is yours!
Fun-Loving Free Crochet Cat Beanie Pattern for Playful Times
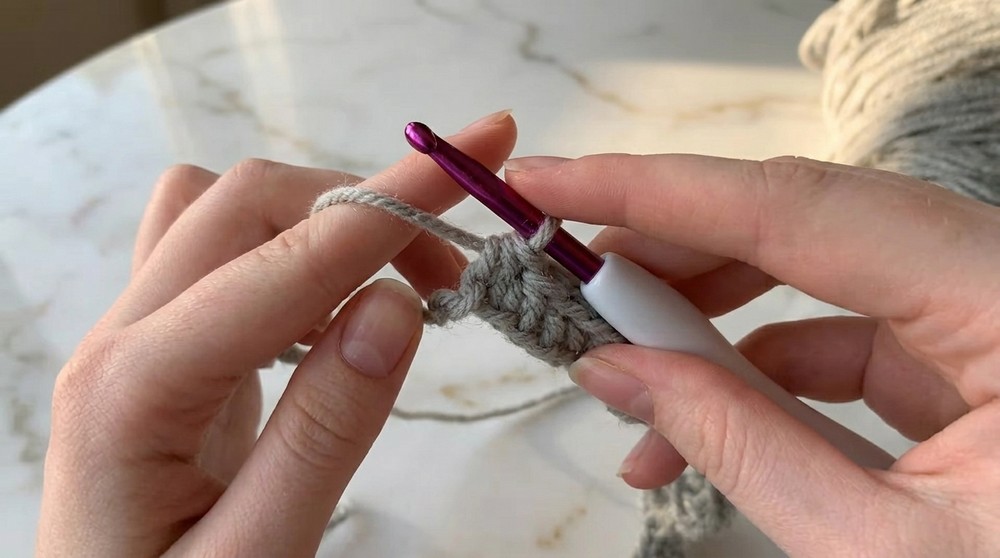
This pattern is worked up using the half double crochet (HDC) stitch—an excellent go-to stitch that is versatile and widely used. Perfect for projects like scarves, blankets, and headbands, the HDC stitch works up quickly and creates a soft yet dense texture that’s ideal for keeping your head warm. The "cat ears" on this pattern are formed by simply sewing across straight edges, making it foolproof, even for the less experienced crocheter.
What You Can Create from This Pattern
Once you've mastered this concept, you can expand your crochet creations using similar shapes and stitches:
- Bunny or Bear Ear Beanie: Use the same base beanie and switch up the ear shapes for a fresh look.
- Fingerless Gloves: Work the same half double crochet stitch into rectangular panels to create matching gloves.
- Matching Scarf: Create a scarf with a similar ribbed texture by repeating rows of half double crochet stitches.
- Pet Accessories: Adjust the size to make adorable hats or little sweaters for your pets.
Why You'll Love It
- Quick project: Perfect for a weekend craft session.
- Beginner-friendly: Easy stitches and simple sewing.
- Customizable: Play with colors, yarns, or even add embellishments like pom-poms or buttons.
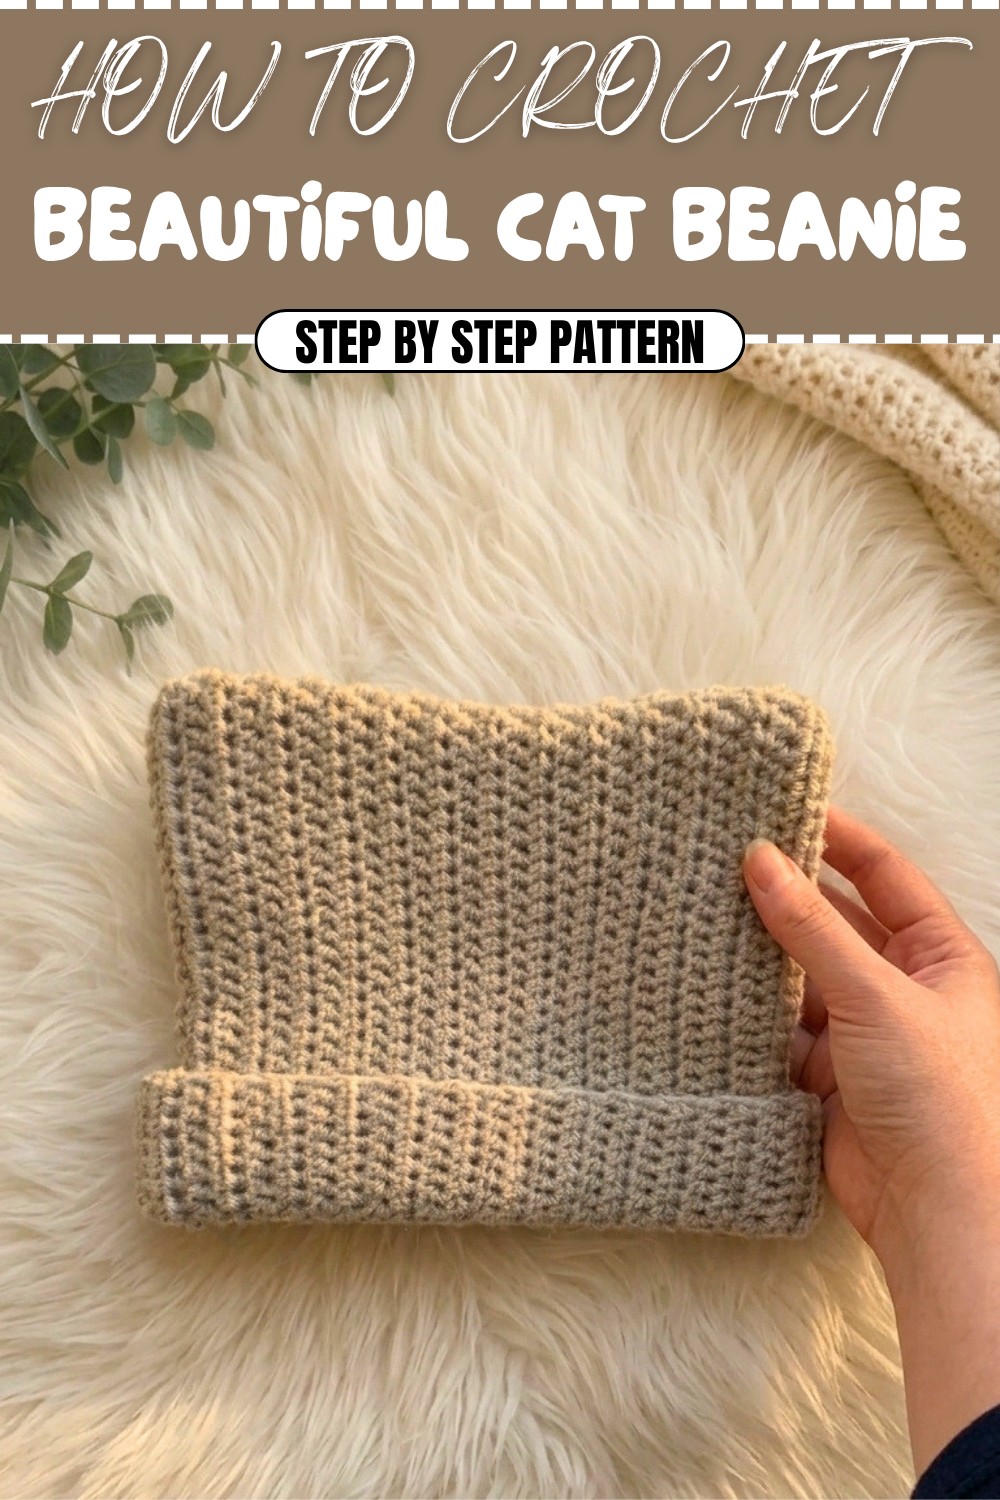
Cat Ear Hat Crochet Pattern
Crochet your own Cat Ear Hat, the perfect combination of cozy and cute! This beginner-friendly pattern uses simple stitches and techniques to create a stylish hat with a squared-off top to mimic cat ears. Customize with different colors to match your favorite feline or personal style, and enjoy this fun project that’s both quick and rewarding.
Skill Level & Terminology
- Skill Level: Beginner
- Terminology: US Crochet Terms
Materials & Tools
- Yarn:
- Worsted weight yarn (any color; acrylic recommended for durability).
- Crochet Hook: 5 mm.
- Scissors: To cut yarn as needed.
- Yarn Needle: For sewing and weaving ends.
- Stitch Markers: Optional, but helpful for maintaining straight rows and edges.
Gauge
Gauge is not critical for this project. However, the tension should be firm but not tight, allowing slight flexibility for a comfortable fit.
Abbreviations List
- Ch: Chain Stitch
- Hdc: Half Double Crochet
- Slst: Slip Stitch
Special Stitch Instructions
Half Double Crochet (Hdc)
- Yarn over.
- Insert hook into desired stitch.
- Yarn over and pull up a loop (3 loops on hook).
- Yarn over and pull through all 3 loops on the hook.
Back Loop Only (Optional for ridge effect)
Work into only the back loop of the stitch (furthest from you), creating textured rows with a knitted-look detail.
Finished Size
The completed hat fits most adults with a head circumference of 22–24 inches. Adjust the starting chain length if needed for smaller or larger sizes.
What You'll Learn from This Pattern
- How to create a foundation chain that’s loose and stretchy while maintaining even tension.
- Mastering the half double crochet (HDC) stitch—for both traditional and back-loop variations.
- How to sew seams cleanly to give your project a neat, professional finish.
- Crafting a playful and customizable beanie that suits all ages and styles.
- Tips to deal with common beginner issues like maintaining straight edges and securing loose ends.
The Pattern Itself
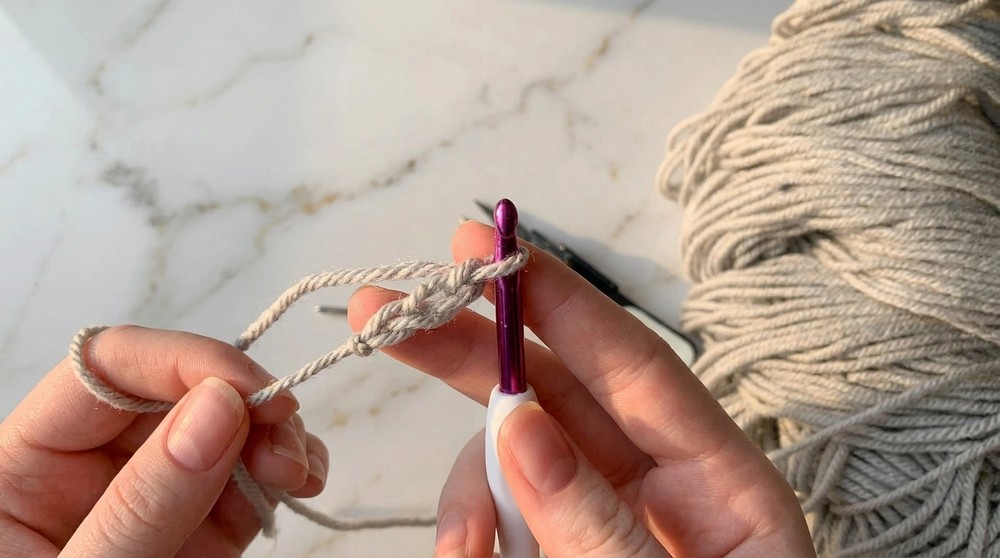
Foundation Row
- Step 1: Begin with a slip stitch and Ch 71 loosely (adjust length for smaller/larger sizes).
- Important: Ensure the chains are slightly loose for stretch and easier stitching later.
- Tip: Work into the back loop of each chain instead of the front to create clean edges that are easier to sew later.For Beginners: Starting with loose chains ensures the hat has enough elasticity to fit comfortably while making the stitches easier to work into.
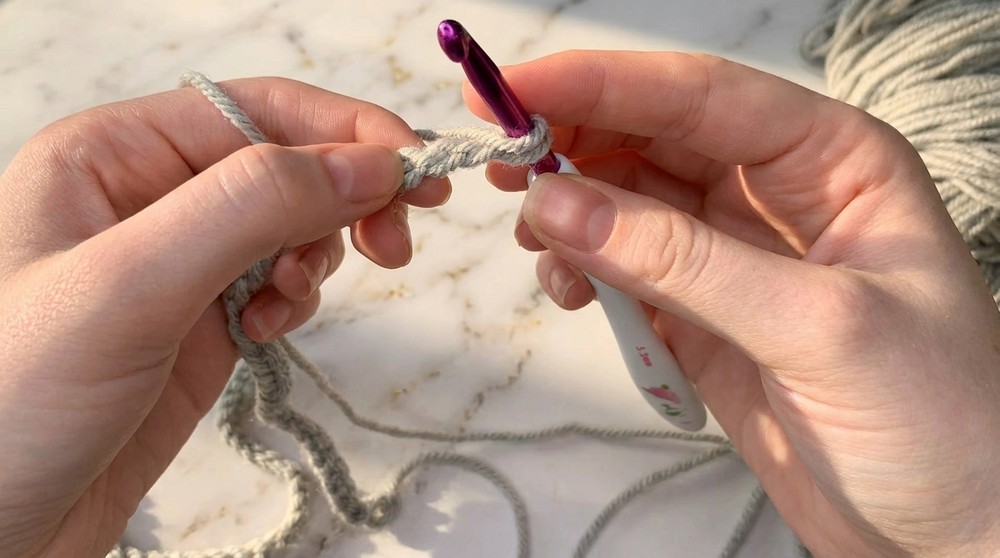
Row 1: Hdc Across
- Skip the first chain closest to the hook and work Hdc into the back loop of the second chain from the hook.
- Continue working 1 Hdc into the back loop of each chain all the way across. You should end with 70 Hdc.
- Turn your work and chain 1 to begin the next row.For Beginners: Working into the back loops creates a polished edge and helps maintain an even stitch pattern. If working into the back loops is too difficult, you can work normally in each chain instead.
Rows 2–25: Hdc Repeats
- Work 70 Hdc across each row.
- Optionally, for a textured look, you can work into the back loops only.
- Chain 1 and turn at the end of each row.
- If you struggle with uneven edges, use stitch markers on the first and last stitch of each row to keep rows neat and straight.
For Beginners: Repeat this process for 23 additional rows, ensuring your stitch count is consistent with 70 stitches per row. The stitch markers are especially useful for maintaining straight edges without needing to count each stitch.
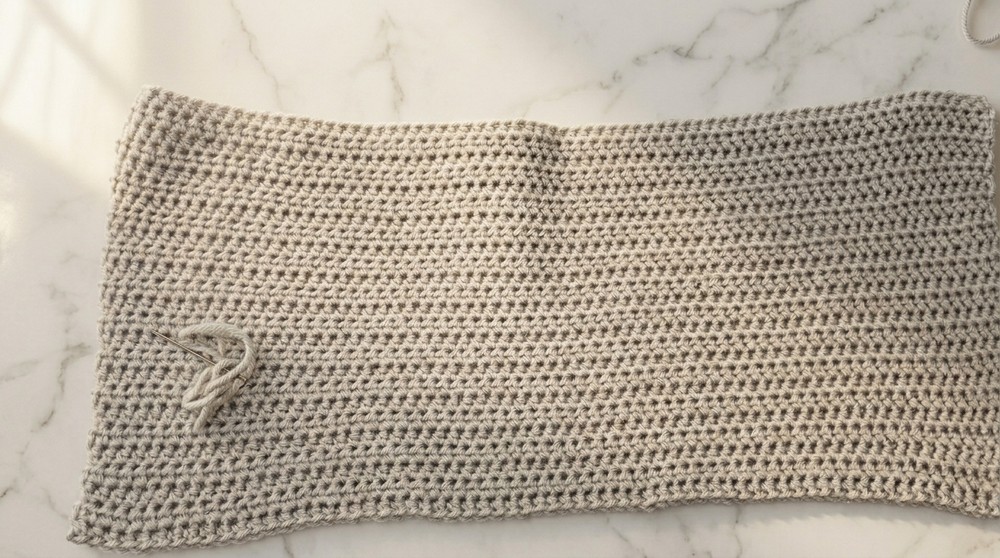
Tie Off and Prep for Assembly
- After completing Row 25, cut your yarn, leaving double the length you need to sew one side of the hat.
- Tie off securely.For Beginners: The hat body is complete, and now it's time to fold and sew the edges to create the hat’s shape. Fold the rectangle evenly in half with the right side facing outward.
Assembly & Finishing
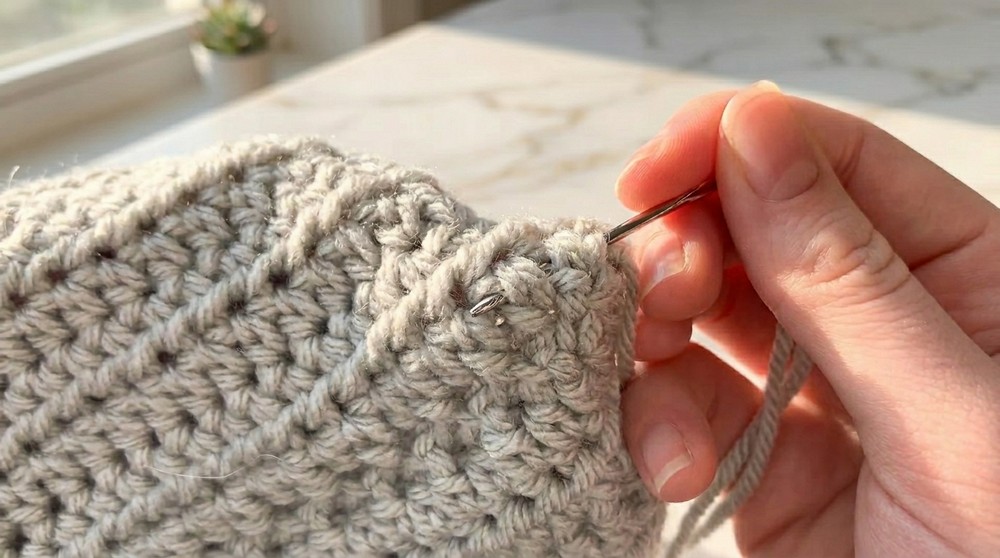
Step 1: Sewing the Edges
- Do not turn the hat inside out; keep the right side facing outward.
- This ensures squared-off "cat ears" at the top corners.
- Thread your yarn needle with the long tail.
- Begin sewing along one side of the rectangle, pairing stitches evenly (one stitch from each edge).
- Go under the V of each stitch for a clean, secure seam.
- Continue sewing until the side is completely closed. Fasten off, and weave in the tail on the inside of the seam.
Step 2: Sewing the Opposite Edge
- Repeat the sewing process for the opposite edge of the hat.
- Attach yarn or tie on a new yarn tail to begin.
- Sew evenly along the second side as you did the first.
- Secure the tail and weave in ends by moving your yarn between stitches inside the hat.
Finishing Touches
- Once both sides are sewn, flip the hat back to its right side if necessary.
- Fold up the bottom edge as a brim to your preferred length to customize the look and fit of the hat.
How to Start and Stitches Used
To start, make a slip stitch and work 70 chains loosely—this creates the base of the hat. From there, you will work half double crochet (Hdc) rows with an optional back loop only technique for added texture. The squared shape of the hat allows for easy folding and sewing, making this project ideal for beginners who want a fun and modern design.
Conclusion
This Cat Ear Hat Crochet Pattern creates a cozy and playful accessory that’s perfect for chilly days or adding personality to an outfit. The beginner-friendly techniques ensure that even new crocheters can complete this pattern successfully, while optional details like the back loop rows add customization options for texture.
Whether you keep the design simple or add other fun elements, this hat will be sure to turn heads! Enjoy your crochet project, and wear your cat ears with pride!