
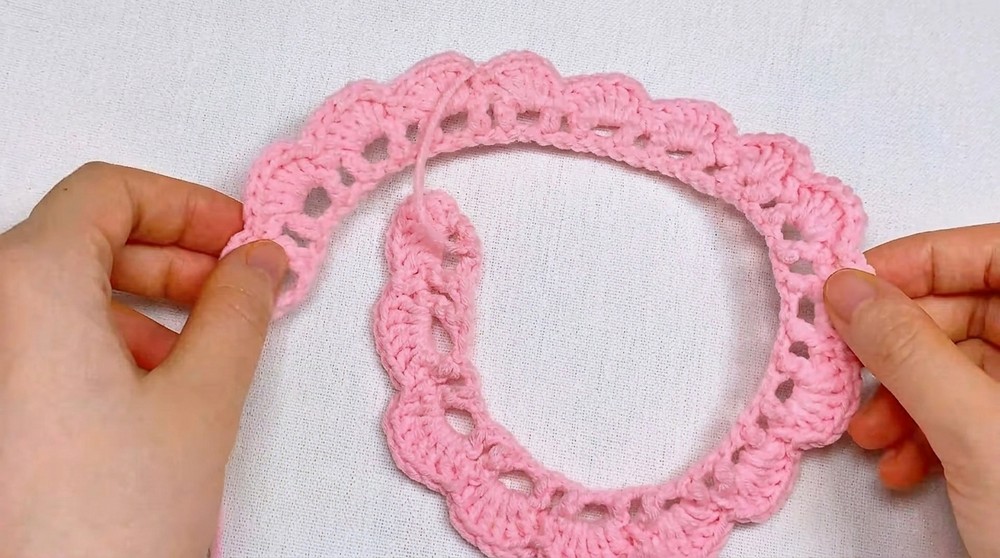
Simple Camellia Rose Crochet Pattern Free
Blooming floral beauty comes with Free Crochet Camellia Rose Pattern perfect for bouquets, home décor, special occasions and lovely displays.
When I first tried this project, I was amazed at how quickly a simple crochet flower came together. Using the Free crochet Camellia Rose Pattern, you can make this elegant flower that’s perfect on its own or as part of other pieces. With just minor tweaks, it can become different flowers, like daisies or peonies, making it a versatile pattern for anyone wanting to experiment a little.
The camellia rose looks soft and inviting, with petals that gently overlap to create a full, rounded flower. The texture is smooth but well-defined, thanks to the careful stitch work that holds the shape firmly. This flower works great as an accessory—think pins, hair clips, or even sewn onto scarves and bags. What really makes it stand out is the subtle three-dimensional curve of each petal, giving it a lifelike charm that catches the eye without feeling overdone.
Free Crochet Camellia Rose for Home Decor

This pattern is friendly for beginners and fun for those with some crochet experience. The main stitch you’ll use is single crochet, along with simple increases and decreases to shape the petals nicely. It’s straightforward enough to finish quickly, but still offers a nice little challenge in shaping. The finished camellia rose makes a thoughtful gift, adds a handmade touch to your favorite items, or simply brightens up your space as a decorative piece. If you want an easy and lovely project that fits any skill level, this pattern might be just what you’re looking for.
Crochet Rose Pattern with Petals and Leaves
Skill Level
Beginner to Intermediate. Basic knowledge of crochet stitches such as chain (ch), single crochet (sc), half double crochet (hdc), double crochet (dc), and slip stitch (sl st) required.
Materials
- Worsted weight yarn in color(s) of your choice
- Crochet hook size 4 mm (G) recommended
- Yarn needle for sewing and weaving tails
- Scissors
- Optional: glue gun for attaching leaves
Summary
This crochet pattern creates a beautiful rose consisting of two distinct parts—the petals and the leaves. The petals are crocheted in one continuous piece and then rolled into a lifelike flower shape. The leaves are worked separately and attached after the petals are completed. This soft, lightweight rose is versatile and great for beginners, perfect to use as a brooch, hair clip, or simple home decoration. Customize it using your favorite color yarns to create unique versions.
Pattern Notes
- Work all stitches using US crochet terminology.
- Fabric is worked mostly in rows and rounds with simple stitch repeats and shaping.
- The petals are worked flat and rolled afterward, while leaves are symmetrical, worked in rows.
- Use stitch markers if needed to keep track of chain spaces and edges.
- Assembly involves rolling petals gently and sewing with yarn tails left at the end. Use a yarn needle and optional glue gun for secure attachment.
- The pattern produces a medium-sized rose approximately 3.5–4 inches in diameter.

Measurements / Finished Size
- Diameter: Approx. 3.5 – 4 inches (9–10 cm) depending on yarn tension.
- Rose can be customized in size by varying hook size or yarn thickness.
Gauge & Stitch Pattern
- Gauge is not critical for this pattern, but stitches should be tight enough to maintain shape without gaps.
- Key stitch repeat for petals: alternating double crochet (dc) and chain (ch) spaces.
- Leaves incorporate half double crochet and double crochet for texture and shaping.
Stitch Abbreviations
- ch = chain
- sc = single crochet
- hdc = half double crochet
- dc = double crochet
- sl st = slip stitch
Special Stitches
- Magic knot start: wrapping yarn around pinky finger and forming a slip knot for initial foundation chain.
- Rolling technique: petals section is finished flat then rolled tightly or loosely depending on desired fullness before sewing.
The Crochet Pattern
Part 1: Petals
- Make a slip knot: Wrap yarn around your pinky finger and hold it. Insert hook under the yarn loop, yarn over, pull through, and tighten.
- Chain 73. Yarn over and pull through loop on hook, repeat until you have 73 chains.
- Row 1: First group
- Starting with the 5th chain from the hook, yarn over, insert hook into the stitch.
- Yarn over and pull through (3 loops on hook).
- Yarn over and pull through the first two loops, then yarn over and pull through the remaining two loops—this completes a double crochet (dc).
- Chain 1.
- Row 1: Continue groups
- Skip 1 stitch, double crochet (dc) in the next chain.
- Chain 1.
- Repeat dc, ch 1 across the row until the last chain (total groups equal 36 plus one last double crochet with chain 1 in Row 1).
- End Row 1:
- Make a final double crochet in the last chain, followed by a chain 1.
- Turn fabric to begin next row.
- Row 2 (Petals shaping):
- In each chain space from previous row, work 6 double crochets (dc).
- In the next chain space (between groups), work 1 single crochet (sc).
- Repeat these groups (6 dc in chain space, 1 sc in next chain space) to the end of the row.
- In the last chain space, only work 6 dc (no following sc).
- Cut yarn leaving about 30 cm (12 inches) tail for sewing.


Petals completion note: You now have one long, ruffled piece representing petals, ready to be gently rolled up. Keep this aside while starting leaves.
Part 2: Leaves
- Make a slip knot with green yarn.
- Chain 8.
- Insert hook into the second chain from the hook and make a slip stitch (sl st).
- Make 1 single crochet (sc) in the next stitch.
- Make 1 half double crochet (hdc) in the next stitch: yarn over, insert hook, yarn over, pull through all 3 loops on hook.
- Make 3 double crochets (dc) in next 3 stitches.
- Make 1 half double crochet (hdc) in the next stitch.
- Make 1 single crochet (sc) in the last stitch.
- Rotate work to work on the opposite side of the chain foundation.
- Repeat the stitches symmetrically:
- Single crochet in first stitch.
- Half double crochet in the next stitch.
- 3 double crochets in the next 3 stitches.
- Half double crochet.
- Single crochet.
- End this round with 1 slip stitch (sl st) in the first stitch to close the round.
- Chain 1, cut yarn, and weave in the yarn tail.

Leaf completion note: The leaf now has a textured, symmetrical shape. Make one or two more leaves as desired for fuller arrangement.
Assembly & Finishing
- Begin assembly using the shorter yarn tail left on the petals piece.
- Gently roll the petals piece from one end to the other, adjusting tightness for preferred fullness.
- Use the long yarn tail to sew the petals in place—secure the roll tightly but maintain shape to mimic a natural rose bloom.
- Attach leaves to the base of the rolled petals using needle and yarn or glue gun, placing them under the petals for an organic look.
- Hide and weave in all remaining yarn tails neatly inside the flower.
- Optionally, add a pin back, hair clip, or other accessory as desired.

Conclusion & Notes
- This rose works well as a brooch, hair clip, or home decoration.
- It is a soft, lightweight, and beginner-friendly project, excellent for learning and customizing.
- Experiment with different yarn colors or thicknesses to create varied sizes and styles of roses.
- The rolling technique offers control over fullness and shape, making each creation unique.
- Enjoy making your own floral accessories and feel free to explore variations like layered petals or multiple leaves.