
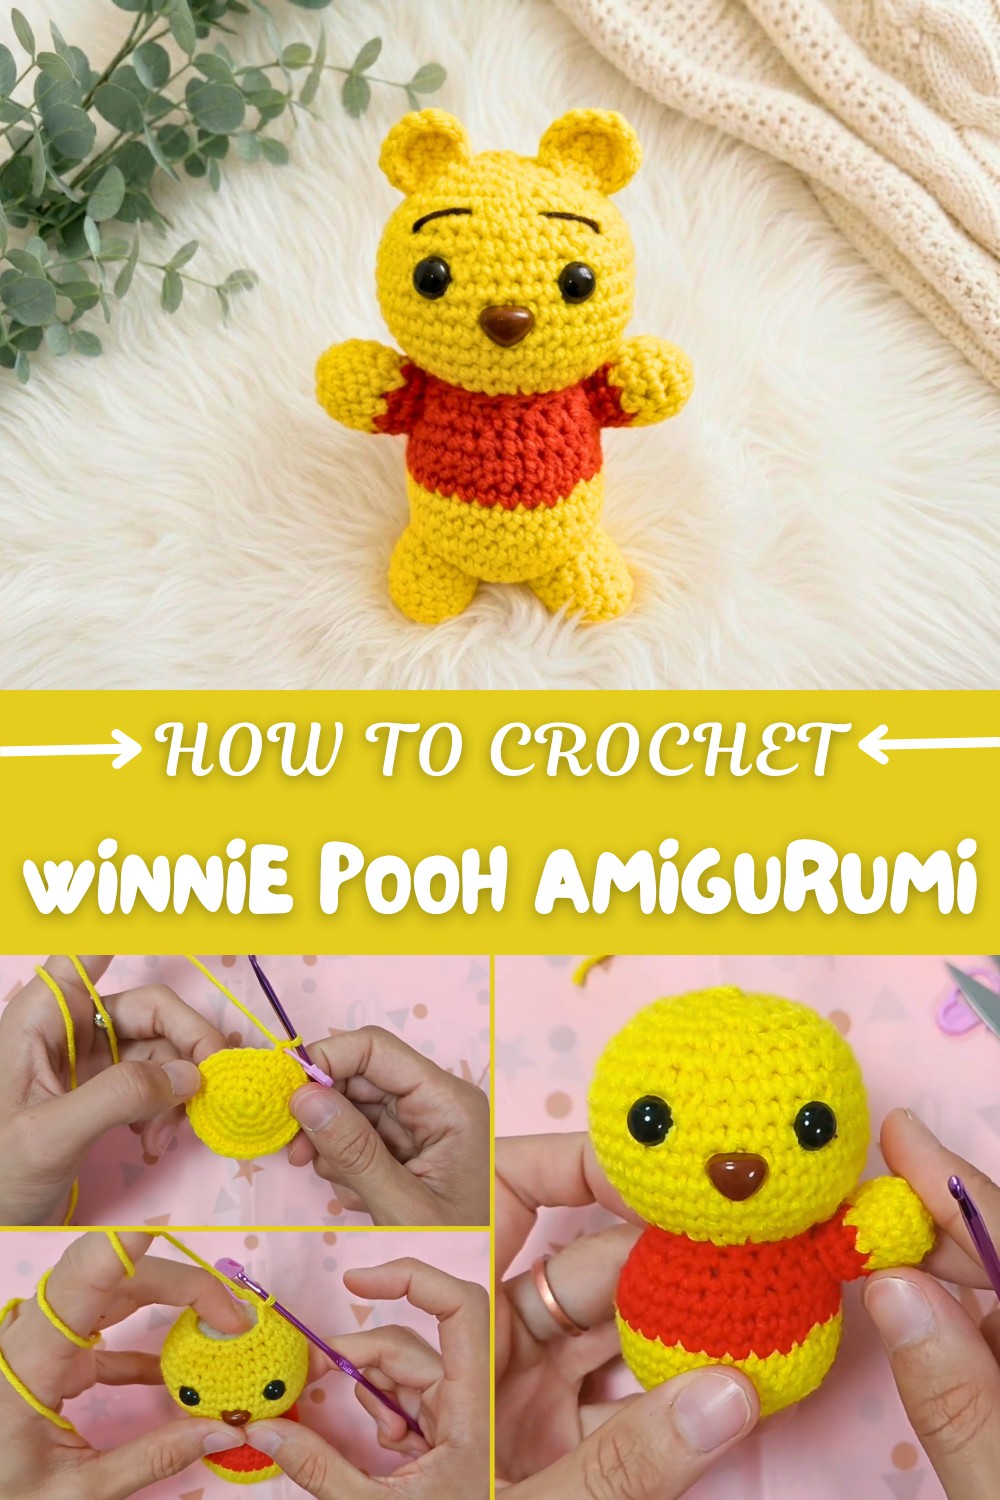
Crochet Winnie Pooh Amigurumi Free Pattern with Red Shirt
Easily crochet a tiny Winnie the Pooh with this Free Crochet Winnie Pooh Amigurumi Pattern for creating a cute keychain or gift.
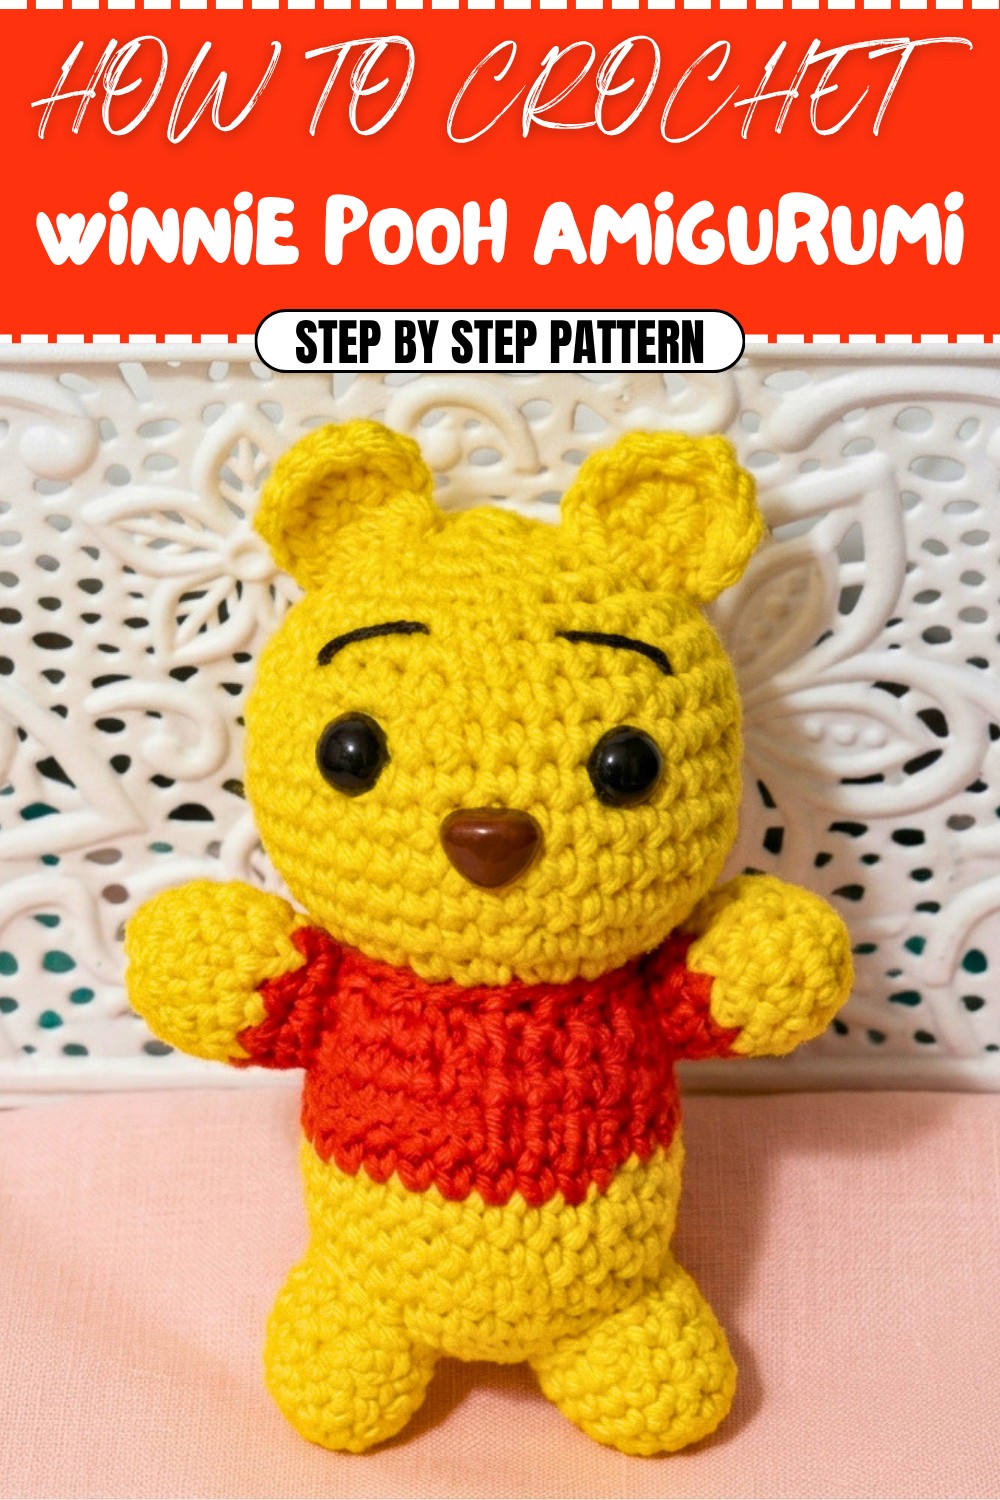
Bringing a beloved childhood character to life, this amigurumi project captures all the magic of the Hundred Acre Wood in miniature. The Free Crochet Winnie Pooh Amigurumi Pattern guides you in creating a charming, bite-sized Pooh Bear that’s ideal as a toy, a keychain, or a whimsical handmade keepsake. With its iconic round shape, plush texture, and vivid yellow and red color combination, the finished bear mirrors Winnie’s classic look from head to toe—including his sweet little ears, expressive safety eyes, stitched nose, and a tiny red shirt.
Adorable Free Crochet Winnie Pooh Amigurumi for Gifts
Eye-catching details like Pooh’s plump body, proportioned limbs, and gentle facial expression make this project truly distinctive. The pattern provides clear directions for seamless color changes, ensuring Pooh’s signature shirt blends perfectly into his golden fur. All elements—from head and body to arms, legs, and ears—are crocheted using basic stitches, primarily single crochet in the round, and shaped through skillful use of increases and invisible decreases.
The design is beginner-friendly, yet rewarding for experienced crafters who appreciate thoughtful construction and neat finishing techniques. Assembly involves sewing on each part securely and adding facial embroidery to give Pooh his gentle, recognizable character. The process also introduces useful skills like making a magic circle, stuffing for a cuddly feel, and changing colors smoothly.
Practical and playful, this tiny Pooh Bear makes a wonderful gift for Disney fans, children, or anyone who collects amigurumi toys. It can be used as a bag charm, desk mascot, or nursery ornament, spreading nostalgic cheer wherever he goes. Whether you’re looking to improve your crochet shaping and finishing skills or searching for a heartfelt, quick project, the Free Crochet Winnie Pooh Amigurumi Pattern offers a delightful and accessible challenge sure to leave you smiling.
Tiny Winnie-the-Pooh Amigurumi (Keychain/Plush) – Crochet Pattern
Introduction
This delightful step-by-step pattern will walk you through making a tiny Winnie-the-Pooh amigurumi, perfectly sized as a toy or keychain. The instructions are beginner-friendly, use only the most basic stitches, and were inspired by classic amigurumi construction. The main body (head to torso) is seamless and worked in the round, with easy colour changes for Pooh’s red shirt. Tiny arms, legs, and ears are made separately and sewn on at the end. Stuffing and safety features turn this plush into a safe, huggable keepsake!
You’ll start with a magic ring and mostly work single crochet in continuous spirals. Increases and invisible decreases shape each part. The finished doll can be customized in size by switching yarn weights and hook sizes. Let’s begin!
Skill Level & Terminology
Skill Level: Beginner
Terminology:
This pattern uses US crochet terms throughout.
Stitches used:
- Magic ring (MR)
- Single crochet (sc)
- Increase (inc)
- Decrease (dec, with invisible decrease option)
- Slip stitch (sl st)
Materials & Tools
- Yellow worsted (or DK) yarn for body, head, arms, legs, ears
- Red yarn for shirt
- Brown or black yarn/nose piece for nose
- 3 mm crochet hook
- 8 mm safety eyes
- Polyester stuffing
- Stitch marker
- Tapestry/embroidery needle
- Scissors
Alternate yarns are fine — picking different thicknesses simply changes the size of your Pooh.
Gauge
Gauge is not crucial for toys, but ensure your stitches are tight to prevent stuffing from showing. Typical amigurumi gauge is about 8 sc x 8 rounds = 2 inches/5 cm. Use a smaller hook if your stitches are loose.
Abbreviations List
- MR = Magic Ring
- sc = single crochet
- inc = increase (2 sc in same st)
- dec = decrease
- sl st = slip stitch
- st(s) = stitch(es)
Special Stitch Instructions
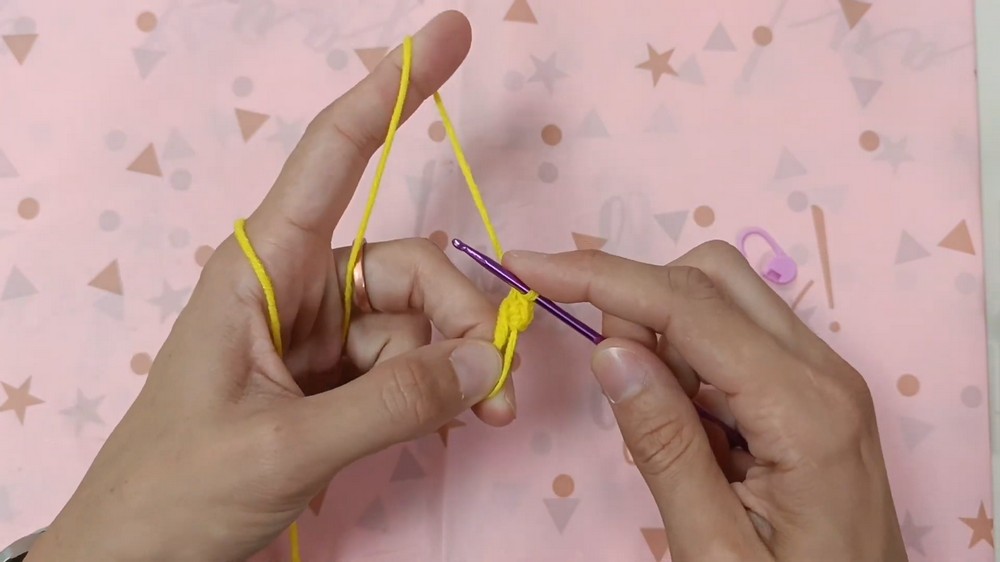
- Magic Ring (MR): Make a loop, hold work, draw up a loop and sc required number into the ring. Pull tail to close.
- Invisible Decrease (inv dec): Insert hook in front loop only of next 2 stitches; yarn over and pull through both; yarn over again and pull through both loops on the hook for a neat, gapless decrease.
- Color change: On final yarn over of last stitch in old color, yarn over with new color and pull through to complete stitch.
The Pattern Itself
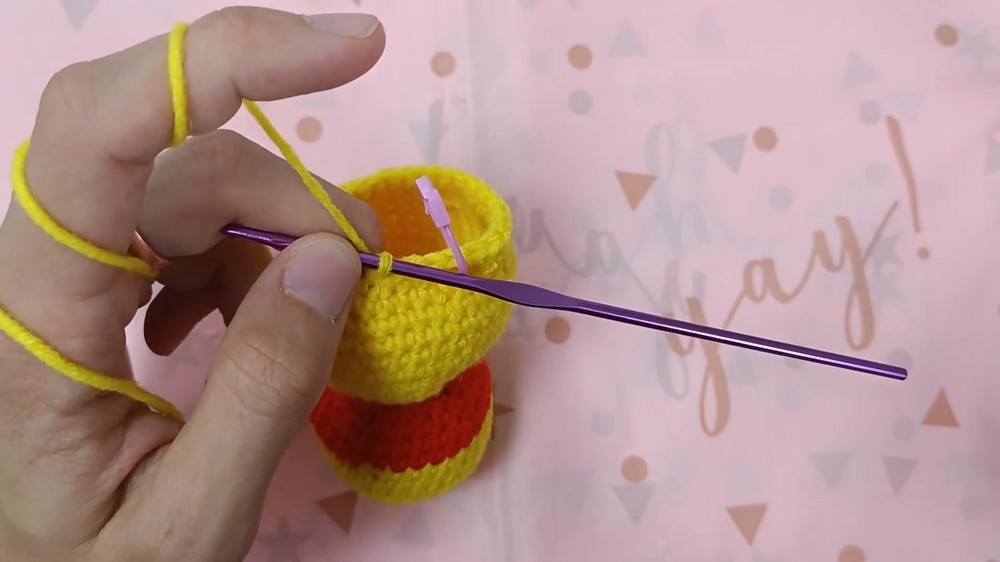
BODY & HEAD (worked in one piece)
- With yellow yarn – MR, 6 sc in ring. (6)
- Round 2: 6 inc (12)
- Round 3: [sc, inc] x 6 (18)
- Round 4: [inc, sc, sc] x 6 (24)
- Round 5: [sc, sc, sc, inc] x 6 (30)
- Rounds 6-8: 1 sc in each st around (30), for 3 rows
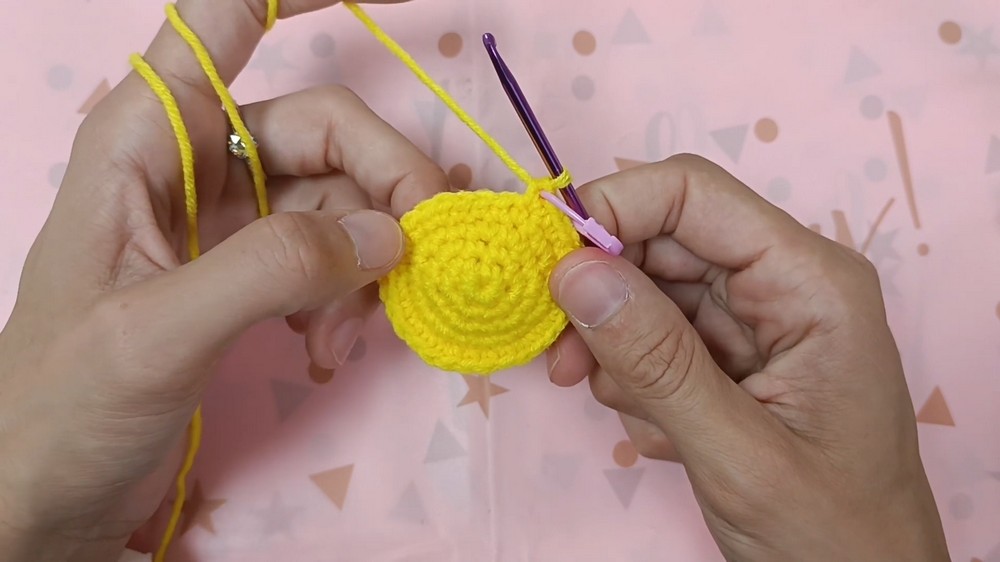
At this stage, you've finished the base for the head and body shape. You’re just working in spirals with single crochet and gentle increases. Always move your stitch marker to the final stitch of the round.
- Change to red yarn for shirt:
- Pull the yellow through until 2 loops remain, join red and finish stitch.
- Optional: make the colour change seamless by working the first st as a slip stitch.
- Rounds 9-10: 1 sc in each st around (30) for 2 rows, working over color join.
- Round 11: [sc, sc, sc, dec] x 6 (24)
- Round 12: [sc, sc, dec] x 6 (18)
- Round 13: [sc, sc, sc, sc, dec] x 3 (15)
- Round 14: 1 sc in each st around (15)
After these rounds, you'll have a gently tapered body. Change colors again at the end, returning to yellow for the lower body:
- Switch back to yellow; make final red/yellow color change as in step 7.
- Round 15: 15 inc (30)
- First st as a slip st, then inc in each st around for a neat transition.
- Round 16: [sc x 4, inc] x 6 (36)
- Rounds 17���21: 1 sc in each st around (36) for 5 rows
You’re now creating the belly and lower part of Pooh’s body. The first increase after the shirt gives a rounded stomach. Continue stuffing as you go, and count stitches carefully for symmetry.
- Round 22: [sc x 4, dec] x 6 (30)
- Rounds 23–24: 1 sc in each st around (30) for 2 rows
After this, pause and stuff the body firmly but gently.
- Round 25: [sc x 3, dec] x 6 (24)
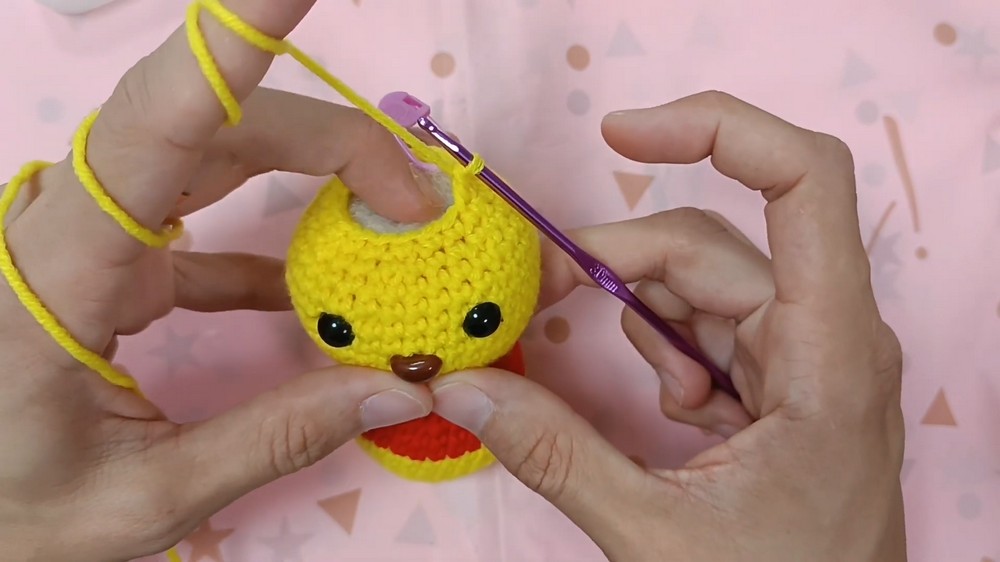
- Insert safety eyes between rounds 5 and 6, spaced by 6 sts. Add safety/embroidered nose two rounds below eyes (centered).
- Round 26: [sc, dec] x 6 (12)
- Round 27: 6 dec (6)
- Sl st to next st, fasten off. Thread yarn through front loops of last 6 sts and pull tight to close.
You now have an oval Pooh-shaped base ready for ears, arms, and legs. Remember, this doll is worked top down.
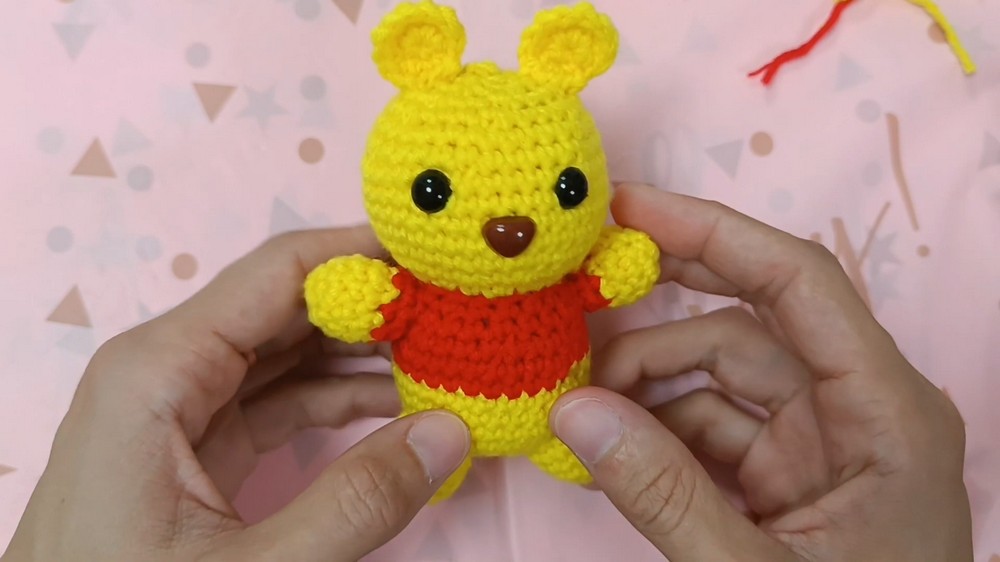
EARS (make 2)
- MR, 6 sc in ring. (6)
- Round 2: 6 inc (12)
Sew ears to the top sides of the head, just above the eyes.
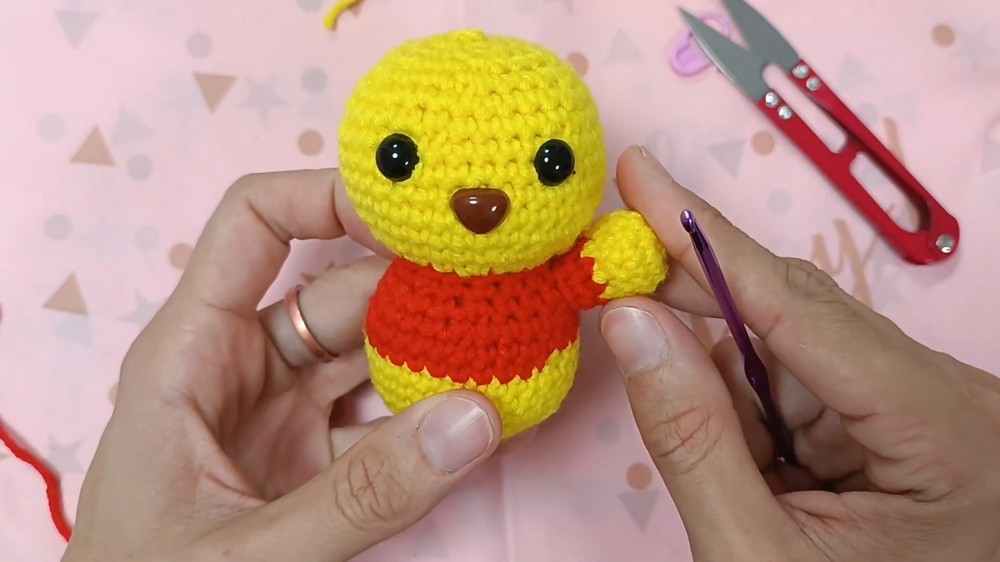
ARMS (make 2)
- With yellow – MR, 6 sc. (6)
- Round 2: 6 inc (12)
- Rounds 3–4: 1 sc in each st around (12) for 2 rounds
- Change to red on the final yarn over.
- Round 5: [sc, dec] x 4 (8)
- Round 6: 1 sc in each st around (8)
- Sl st to close, fasten off with long tail for sewing.
Stuff slightly and sew to the sides where the red shirt meets the yellow body.
LEGS (make 2)
- With yellow – MR, 6 sc. (6)
- Round 2: 6 inc (12)
- Rounds 3–5: 1 sc in each st around (12) for 3 rounds.
- Sl st to close, fasten off, leave long tail for sewing.
Stuff softly and attach at bottom centerline, evenly spaced.
Finished Size
- Using 3 mm hook and worsted/DK yarn, Pooh measures about 10–13 cm (4–5”) high.
- Adjust yarn and hook size to change scale – smaller for keychains, larger for plushies!
Assembly & Finishing
- Sew ears to the head, above and to the sides of the eyes.
- Place safety eyes, nose, and use black embroidery thread for the eyebrows and smile if desired.
- Stuff arms and legs lightly, sew to corresponding places for balanced proportions.
- Weave in and hide all loose ends.
- Attach keychain ring or loop if you wish.
Conclusion
You have now made your own tiny Winnie-the-Pooh crocheted character! This pattern is perfect for gifts, keychains, or as part of an amigurumi collection. You began with a magic ring, used only simple rounds of single crochet with increases and invisible decreases, and learned basic colour changes for seamless shirt and body. With just a few pieces and easy shaping, even beginners can make this classic plush.
Happy crocheting! Enjoy your new Pooh and the magic of making toys by hand.