
Soft Crochet Winnie the Pooh Amigurumi Free Pattern for Plush Toy Collections
Make a Crochet Winnie the Pooh that brings happiness and warmth to any space and works great as a fun gift or cozy decoration for your home.
I wanted to make a cute soft toy that reminds me of my childhood, and that’s how I found the Crochet Winnie the Pooh Amigurumi pattern. This sweet little toy looks just like Pooh Bear with his round face, soft ears, and red shirt. It’s perfect as a cuddly gift, a nursery decoration, or even a comforting keepsake. The stitches are neat and tight, which makes the toy soft and squishy to hold. It’s a simple shape but very well done, so it looks friendly and cuddly.
Free Crochet Winnie the Pooh Amigurumi Pattern
The pattern includes separate pieces for the head, body, arms, legs, and ears. This makes it easier to crochet in small sections without feeling overwhelmed. After crocheting all the parts, stitching them together was a fun puzzle.
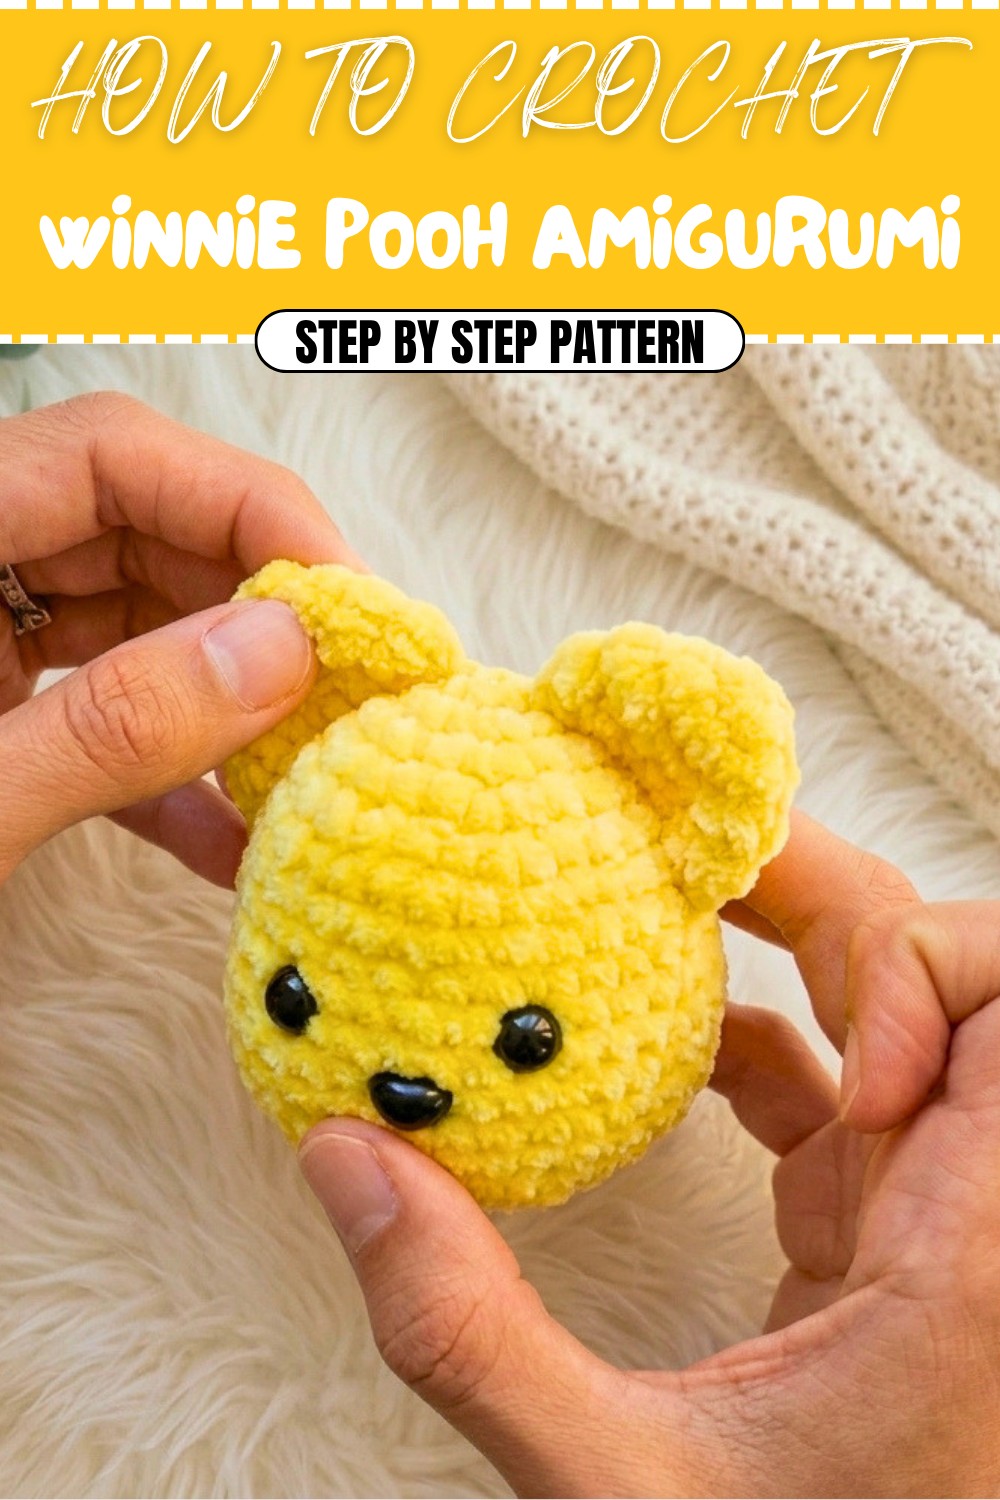
The finished Winnie Pooh has a round head, chubby body, and tiny arms and legs that match his classic look perfectly. The smooth yarn and close stitching give it a soft texture, while the red shirt adds a bright, cheerful touch.
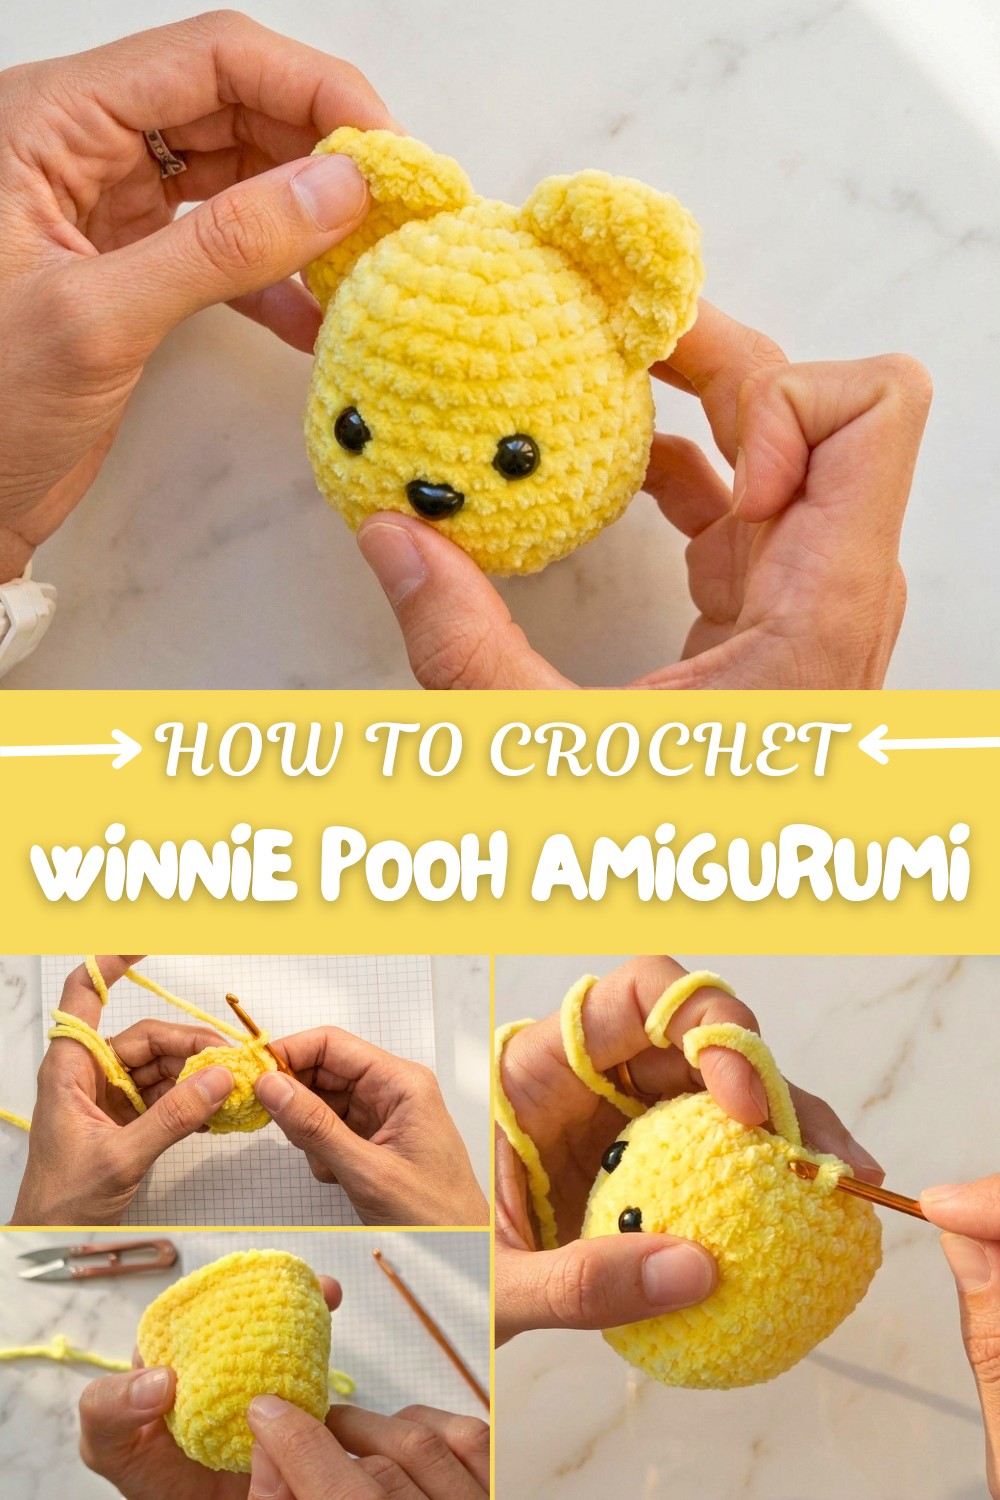
This Crochet Winnie the Pooh Amigurumi is perfect for decorating a room or giving as a handmade gift to someone special. It’s small and soft, so kids love it as a toy, and adults like it as a cute keepsake.
The best part is how Pooh’s face is made — with carefully placed eyes and a little embroidered smile that makes the toy really charming. If you want a fun and easy project to create something memorable, this pattern is a great choice!
Crochet Amigurumi Patterns (with Winnie the Pooh Head Sample)
In this pattern, you’ll learn essential tools, abbreviations, and step-by-step guidance by working through a sample pattern: the head and ears for a cute Winnie the Pooh. By the end, you’ll confidently understand and navigate written amigurumi patterns.
Quick Overview of Pattern
- We’ll walk through reading and working amigurumi patterns, using a Winnie the Pooh head sample.
- You’ll learn about common materials, pattern abbreviations, row and stitch structure, increases/decreases, and how to finish off neatly.
- This sample will result in a ball-shaped Pooh head with two small ears, serving as a practical exercise in pattern reading.
Notes
- Use a stitch marker if you have one, as amigurumi is worked in seamless rounds and it helps you keep your place.
- The pattern repeats certain sequences—always follow instruction for the number of times (e.g., (sc, inc) x 6 means repeat the sequence 6 times in the round).
- Safety eyes and nose are inserted before the head is closed. If making for a child under 3, consider embroidering features instead.
- Always stuff as you go so the piece holds its shape.
Skill Level
Beginner/Advanced Beginner
All that’s required is familiarity with basic single crochet, magic ring, increases and decreases, and working in the round.
Materials
- Yarn: 130 meters per 100g skein – sample uses yellow acrylic for Pooh.
- Hook: 4 mm crochet hook (adjust size for your yarn weight if needed).
- Stuffing: Polyester fiberfill (toy stuffing, or from a pillow).
- Tapestry needle for sewing ears and weaving in ends.
- Scissors.
- Safety Eyes: 2 pieces, ~8-14 mm depending on desired look.
- Safety Nose (optional).
- Black thick yarn for facial features (optional).
- Stitch marker (optional, but helpful).
Gauge
Not critical for amigurumi, but stitches should be tight enough to avoid stuffing peeking through.
Stitch Abbreviations
| Abbr. | Meaning |
|---|---|
| MR | Magic Ring (magic circle) |
| ch | Chain |
| st | Stitch |
| sc | Single Crochet |
| inc | Increase (2 sc in next st) |
| dec | Decrease (single crochet two stitches together) |
| sl st | Slip Stitch |
| BLO | Back Loop Only |
| FLO | Front Loop Only |
| FO | Finish Off (cut and secure yarn tail) |
Special Stitches
Magic Ring (MR):
Form a loop, insert hook, pull up a loop, chain 1, then work stitches into the ring and pull tight.
Invisible Decrease (dec):
Insert hook in front loop of next 2 sts, yarn over, pull up a loop, yarn over and draw through both loops.
How to Crochet
Let’s practice reading and crocheting step-by-step, following the standard written format.
Winnie the Pooh Head Pattern
HEAD
Rnd 1:
MR, 6 sc in magic ring (6)
Rnd 2:
Inc in each st around (inc x 6) (12)
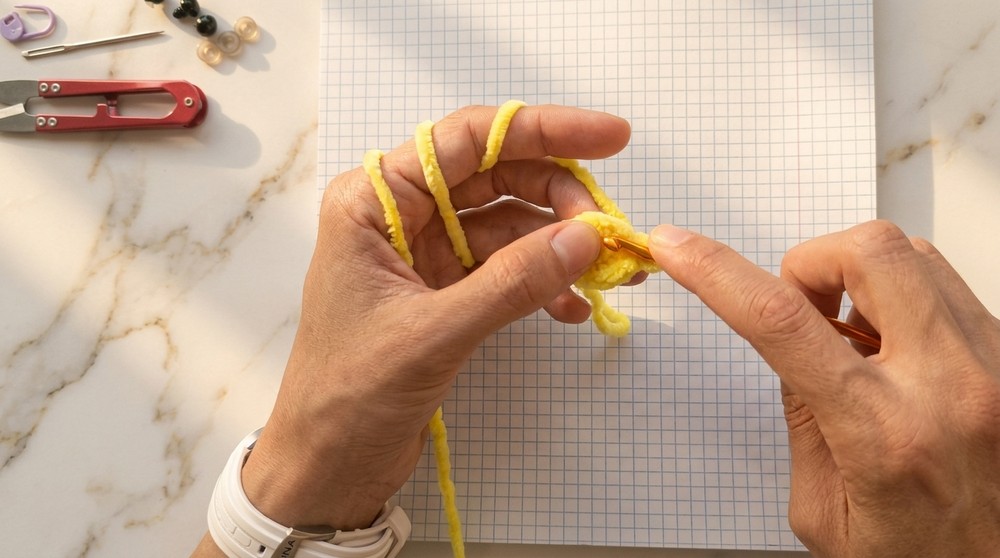
Rnd 3:
(sc, inc) repeat 6 times (18)
Rnd 4:
(sc, sc, inc) repeat 6 times (24)
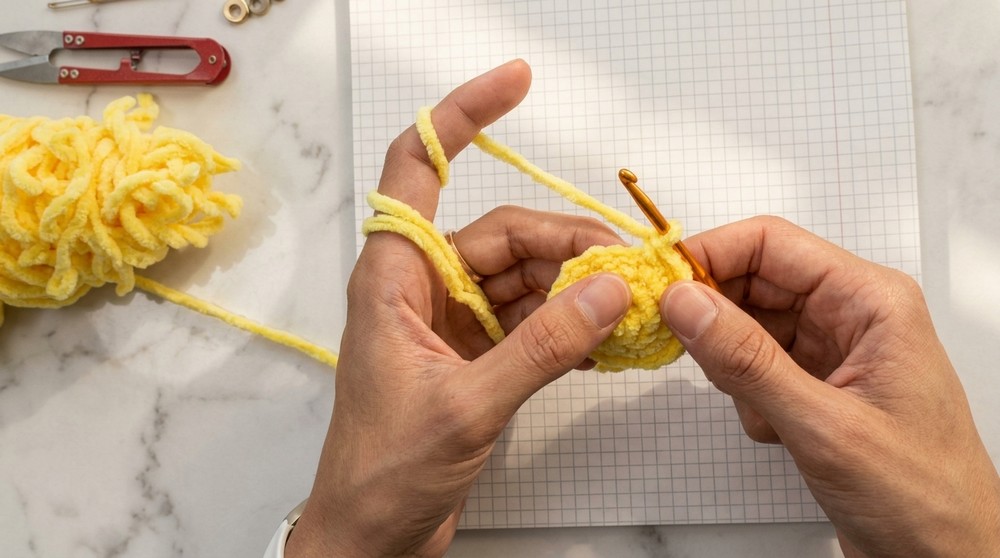
Rnd 5:
(sc, sc, sc, inc) repeat 6 times (30)
Rnd 6-8:
Sc in each st around (30) — work three rounds with no increases
Rnd 9:
(sc x 4, inc) repeat 6 times (36)
Rnd 10-13:
Sc in each st around (36) — work four rounds as established
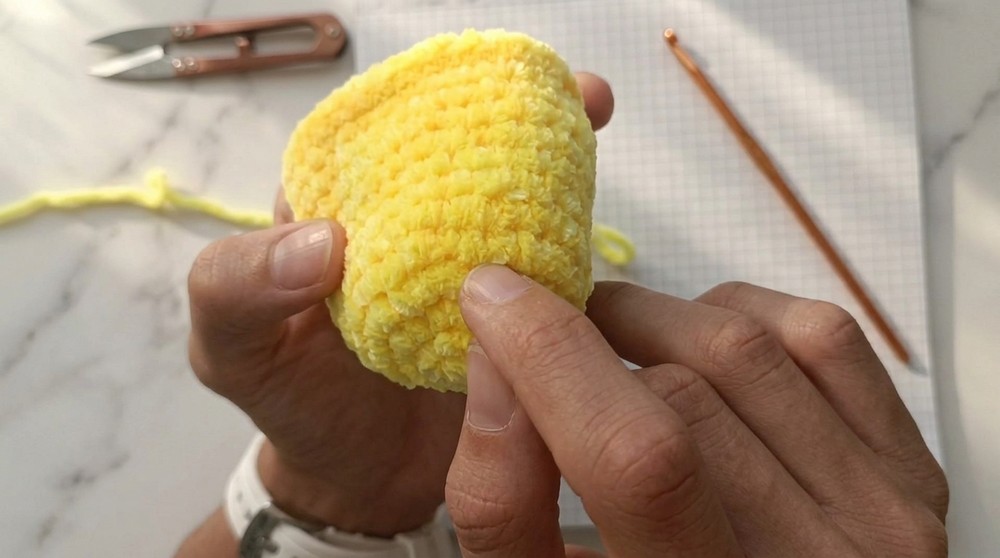
Rnd 14:
(sc x 4, dec) repeat 6 times (30)
Rnd 15:
(sc x 3, dec) repeat 6 times (24)
Insert safety eyes between rounds 9 and 10, 6 stitches apart.
Insert safety nose between rounds 11 and 12, centered between eyes.
Rnd 16:
(sc x 2, dec) repeat 6 times (18)
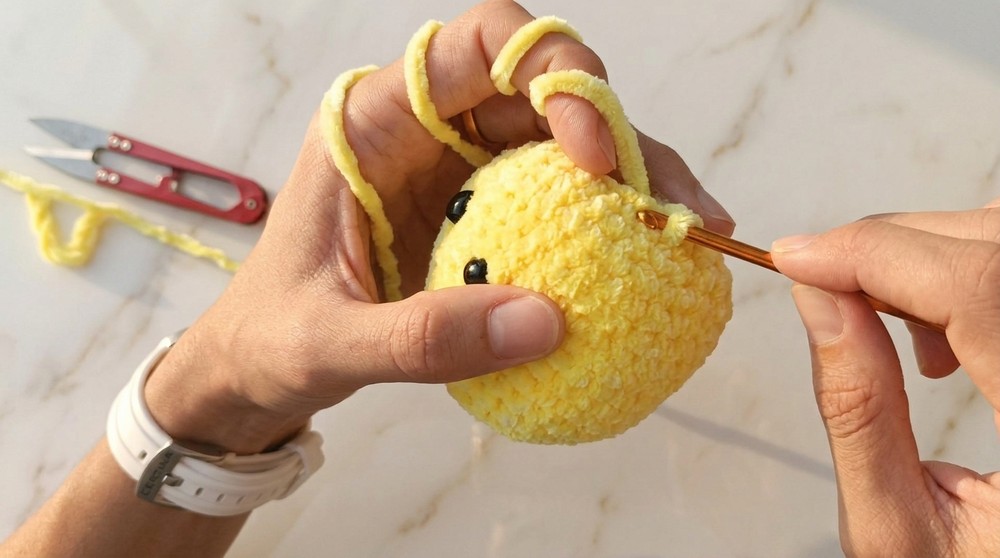
Stuff head firmly with fiberfill.
Rnd 17:
(sc, dec) repeat 6 times (12)
Rnd 18:
Dec x 6 times (6)
Finish Off:
Sl st in next st, leave a tail, cut yarn. Using a tapestry needle, weave tail through the front loops of the last 6 stitches and pull tight to close hole. Weave in end securely.
EARS (Make 2)
Rnd 1:
MR, 6 sc (6)
Rnd 2:
Inc in each st around (12)
Rnd 3:
(sc, inc) repeat 6 times (18)
Rnd 4:
Sc in each st around (18)
Finish Off:
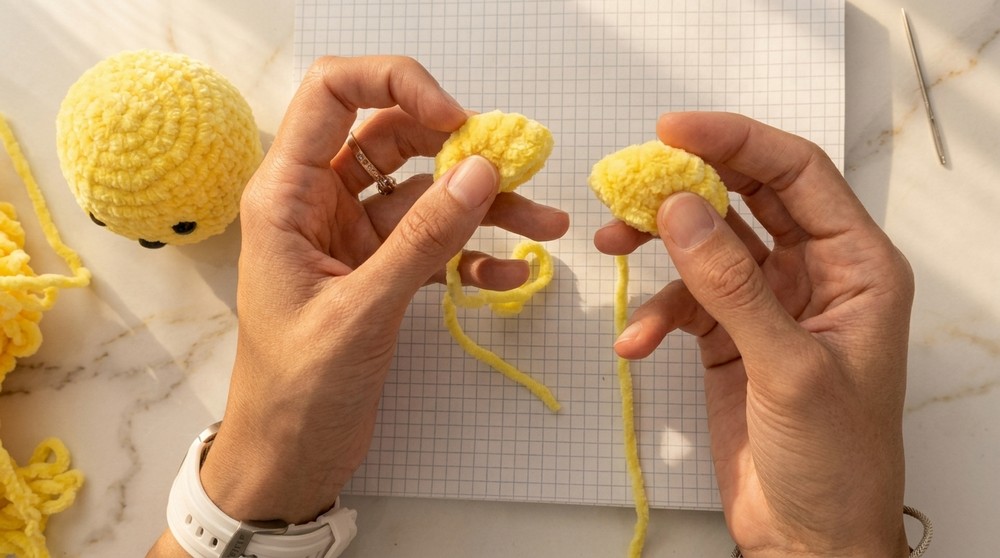
Sl st, cut yarn with long tail for sewing. Make second ear.
Assembly & Finished Size
- Size: About 8-9 cm across for the head (depends on yarn and tension).
- Assembly:
- Fold ear slightly and sew to head in desired position.
- Weave yarn through final round to close top of head.
- If using, secure safety eyes and nose firmly from inside.
- Embroider eyebrows and mouth with black yarn as shown in reference photos.
- Hide all thread tails well inside stuffing.
- Optional: Use embroidery for child-safe features.
Conclusion & Ending Words
Congratulations! You’ve not only crocheted a cute Pooh Bear head and ears, but you now also understand the structure and logic behind reading amigurumi crochet patterns. With this foundation, you can tackle countless patterns for dolls, animals, and more. Always pay attention to the abbreviations, repeat instructions, and assembly notes in any pattern you use.
If you have questions, revisit this guide as a reference for future amigurumis. Good luck on your crochet journey!