
Easy Crochet Tiny Octopus Amigurumi Pattern for Beginners Joy
Quick to start, the Free Crochet Tiny Octopus Amigurumi Pattern gives you an adorable octopus you can finish in no time.
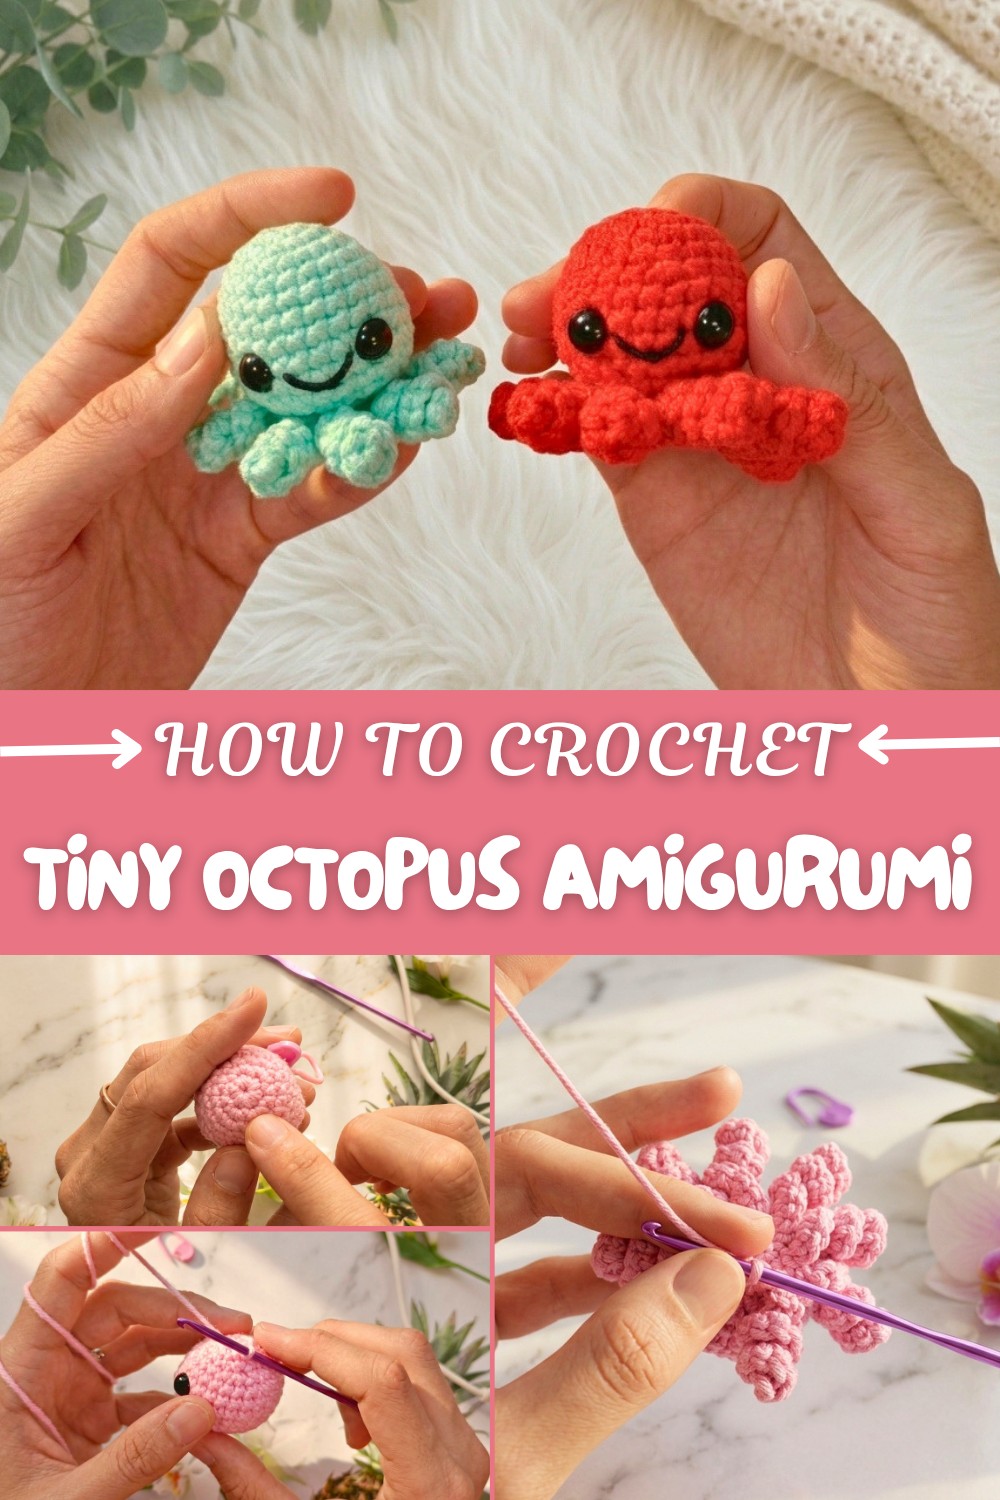
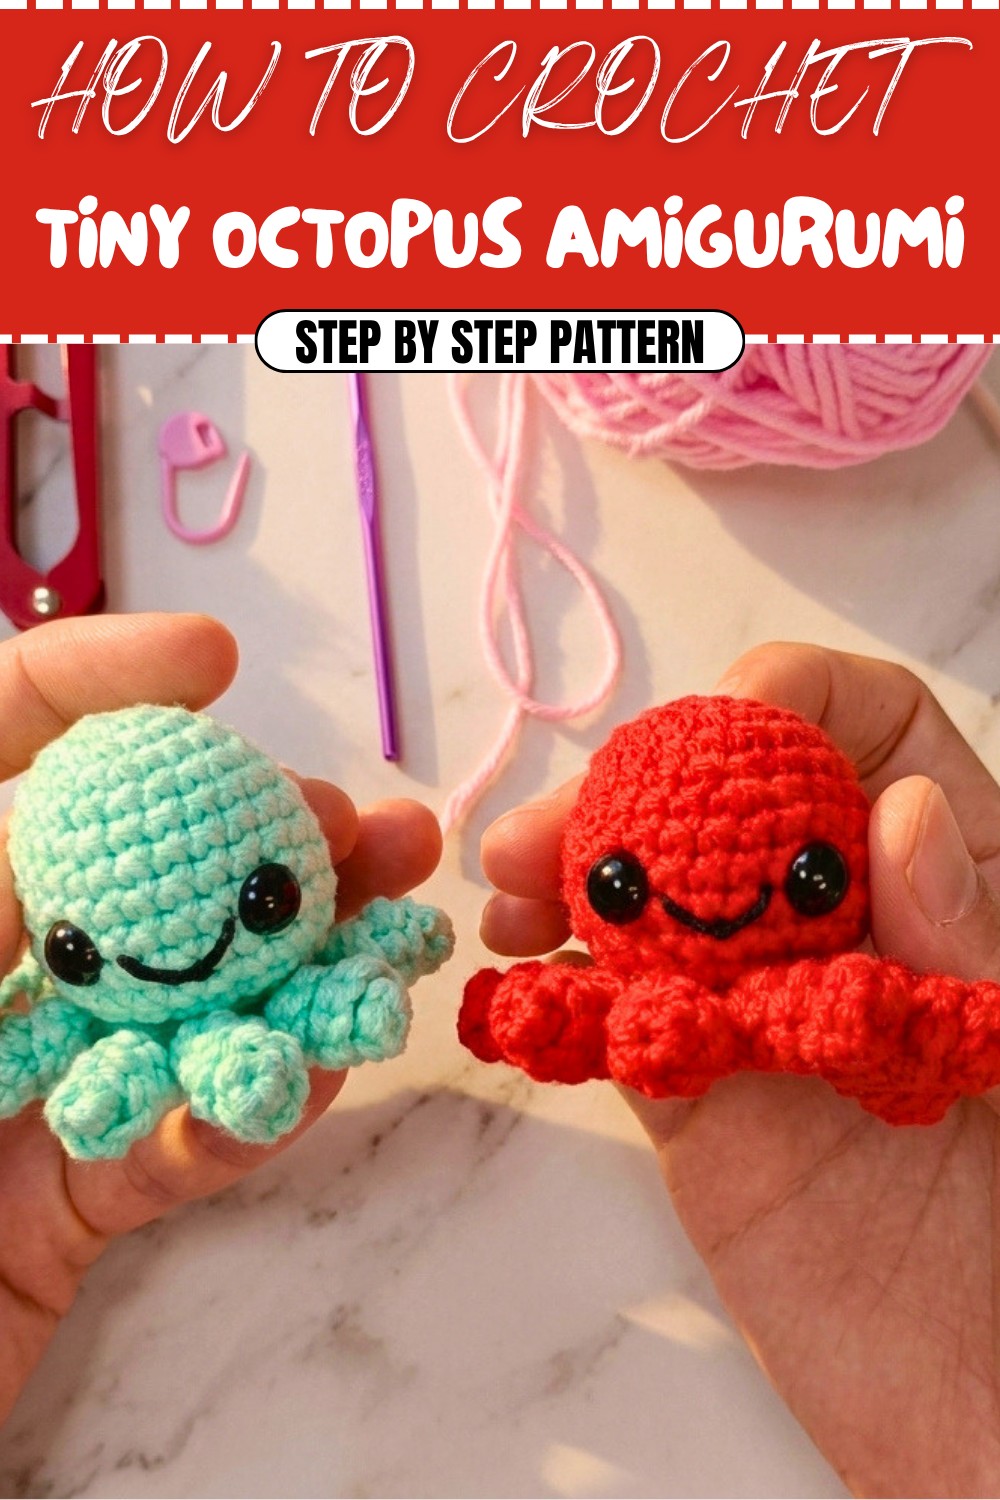
There’s something undeniably charming about creating a tiny crochet octopus, with wavy tentacles and an adorable little smile that instantly sparks joy. This mini octopus amigurumi pattern is perfect for anyone looking for a quick, fun project that’s full of personality. With vibrant colors, such as yellow, purple, or teal, paired with contrasting black smiles and glossy safety eyes, you can customize your octopus to match your style or gift them to loved ones. These tiny creatures can be used as keychains, bag charms, or playful desk companions that brighten up your day.
Free Crochet Tiny Octopus Amigurumi Pattern for Ocean Adventure
The pattern incorporates a few basic yet essential stitches like magic rings, single crochets, increases, and decreases, making it ideal for beginners eager to explore the world of amigurumi. What makes it even more exciting is the seamless construction, where the eight tentacles are crocheted directly onto the base, eliminating the need for sewing parts together. With just a bit of stuffing and some simple embroidery, you’ll have a finished piece that’s not only fun to make but also incredibly satisfying to look at.
What Can You Crochet Using These Techniques?
Once you’ve mastered the basic stitches and techniques in this pattern, you can:
- Sea Creatures: Expand your collection with jellyfish, squids, or starfish.
- Amigurumi Characters: Create bunnies, cute ghosts, or even mini dinosaurs.
- Ornaments & Keychains: Craft holiday or seasonal charms like snowmen, pumpkins, or flowers.
- Gift Sets: Decorate gift boxes or create personalized sets of mini creatures for loved ones.
Why You’ll Enjoy This Project:
- Playful, whimsical design and quick results in under an hour.
- Great way to use leftover yarn from your stash.
- Perfect introduction to beginner amigurumi that’s both enjoyable and rewarding!
Free Crochet Mini Octopus Keychain Pattern
This adorable crochet mini octopus keychain is a beginner-friendly amigurumi project that’s fun, quick, and versatile! With its eight wavy tentacles, safety eyes, and a charming smile, it’s the perfect accessory for bags, car keys, or gifting. This pattern employs simple stitches, making it ideal for new crocheters eager to try their hand at amigurumi. It only takes about an hour to complete, and you can easily customize it with different yarn colors to make various octopuses!
The octopus is worked from the top to the bottom, starting with the head and leading to the tentacles, crafted directly onto the base of the body. The single crochet, increases, and decreases are the foundation of this pattern, making it an excellent project for mastering these techniques.
Skill Level & Terminology
- Skill Level: Beginner
- Terminology: US Crochet Terms
No advanced skills are required; this is a great project for improving your amigurumi basics such as crocheting in the round and shaping.
Materials & Tools
- Yarn:
- 5-ply Milk Cotton Yarn in your chosen color for the body (e.g., yellow)
- Thin black yarn for embroidering the smile
- Crochet Hook: 3.0 mm hook
- Notions:
- Stitch Marker
- Needle
- Scissors
- Filling Fiber (Polyester stuffing for amigurumi)
- 8mm Safety Eyes
- Optional: Keychain ring
You can substitute other yarn weights, but the finished size of the octopus will vary.
Gauge
While gauge is not critical for amigurumi, using the appropriate hook for your yarn ensures a tight fabric where the stuffing does not show through.
Abbreviations
- MR – Magic Ring
- sc – Single Crochet
- inc – Increase (2 sc in the same st)
- dec – Decrease (crochet two stitches together, invisible decrease if possible)
- ch – Chain
- sl st – Slip Stitch
- st/sts – Stitch/Stitches
Special Stitch Instructions
- Magic Ring (MR): Form a loop with the yarn, insert hook under the loop, yarn over, pull up a loop, and begin crocheting the required stitches into the circle. Pull tight to close.
- Invisible Decrease: Insert the hook into the front loop only of the next two stitches, yarn over, pull up a loop, yarn over, and pull through both loops. This results in a smoother, tighter finish with minimal gaps.
Finished Size
- With 5-ply yarn and a 3.0 mm hook, the finished octopus stands approximately 6 cm tall and 7 cm wide, excluding tentacles.
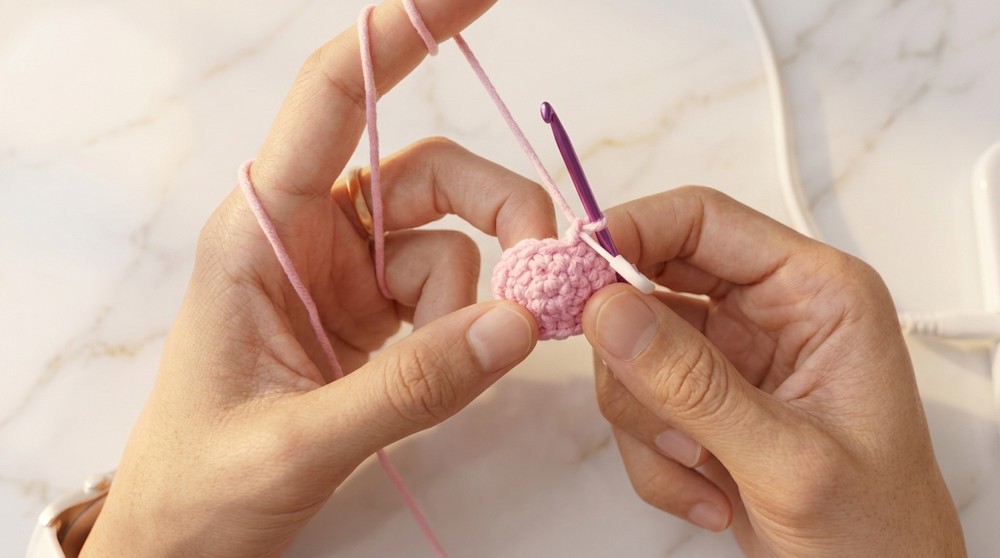
How to Start & Stitches Used in the Pattern
To create this octopus keychain, you will begin with a magic ring to form the rounded head of the octopus, working in continuous rounds by increasing stitches. Once the head is shaped, the base and tentacles are crocheted seamlessly. This pattern uses the following techniques:
- Magic ring for starting the piece.
- Single crochet (sc) for forming rounds and rows.
- Increases and decreases for shaping.
- Slip stitch and chain to complete and seamlessly begin tentacles.
This project is perfect for exploring the basics of crocheting in the round while adding a touch of personality with the tentacles and embroidered details!
The Pattern
Part 1: Head and Body (Worked in Rounds)
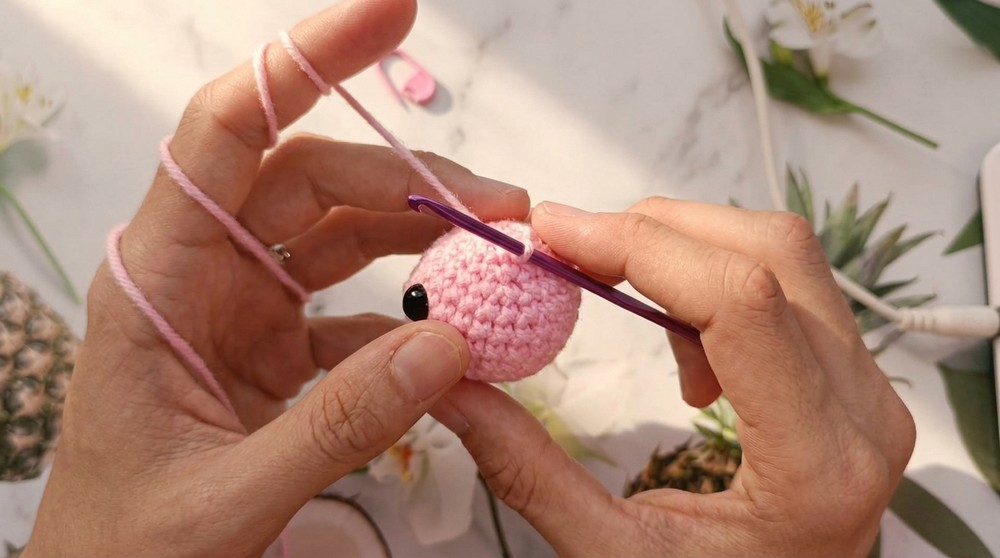
Rnd 1: Start with a magic ring, make 6 sc into the ring. Pull the tail tight to close. [6]
Rnd 2: 6 inc (work 2 sc in each st), around. [12]
Rnd 3: (1 sc, inc) repeat 6 times around. [18]
Rnd 4: 1 sc in each st around. [18]
Rnd 5: (5 sc, inc) repeat 3 times around. [21]
Rnd 6: (1 inc, 6 sc) repeat 3 times around. [24]
Rnd 7-8: 1 sc in each st around. [24 for both rounds]
Rnd 9: (6 sc, dec) repeat 3 times. [21]
Rnd 10: (5 sc, dec) repeat 3 times. [18]
Add Safety Eyes
- Insert safety eyes between Rnds 8 and 9, with 5 stitches between them. Secure with the washers on the wrong side of the fabric.
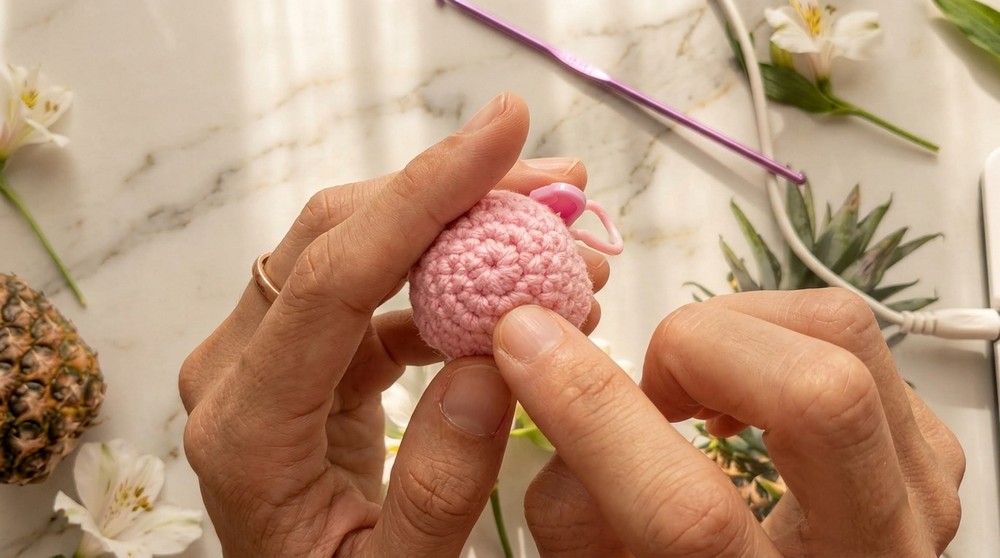
For non-readers: These rounds form the rounded head of your octopus. You add safety eyes between Rounds 8 and 9 to complete the face before decreasing the opening at the bottom.
Part 2: Finishing Body and Stuffing
Rnd 11: (1 sc, dec) repeat 6 times. [12]
- Stuff the head firmly with filling fiber. Make sure not to overstuff to maintain the round shape without gaps.
Rnd 12: (1 sc, dec) repeat 4 times to close the bottom. [8]
Sl st into the next st to finish.
For non-readers: After decreasing the stitches to close the base, stuff the body with fiberfill and ensure it’s evenly shaped. The body is now ready to attach tentacles!
Part 3: Tentacles
Tentacle Base:
- Keep working into the base stitches (8 remaining).
- For each tentacle, work directly into the same stitch before moving on to the next.
Tentacle Instructions:
- Ch 12 (forms the tentacle length).
- Starting from the 2nd ch from the hook, work 1 inc (2 sc) in each ch along the length. [22 sc per tentacle]
- Once complete, sl st into the next st on the base (work into the front loop only for a neater finish).
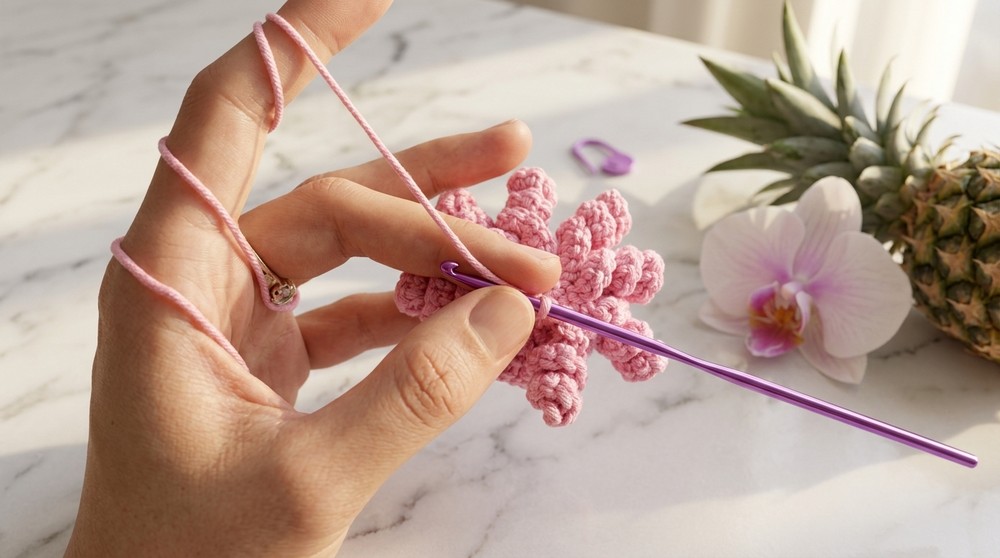
Repeat for Total 8 Tentacles:
Move onto the next base stitch for each new tentacle and repeat the process until 8 tentacles have been made.
Each tentacle is made by chaining 12, working 2 single crochets into each chain, and attaching back to the body with a slip stitch. Repeat 8 times to form all tentacles!
Part 4: Closing the Base
Once the tentacles are complete:
- Tie off the yarn securely.
- Use a needle to weave the yarn tail through the back loops of the remaining stitches at the base.
- Pull tight to close the small gap, then weave the tail into the body to secure and hide.
For non-readers: After the tentacles are done, carefully close any gap at the bottom using a needle. Hide any yarn tails to give the octopus a clean finish.
Part 5: Adding the Smile
- Thread a needle with thin black yarn.
- Bring the needle up below the right eye and down below the left eye, forming a slight arc.
- Center the needle at the midpoint under the arc, one round below, to define the smile curve. Pull gently to adjust the shape.
- Bring the yarn ends to the back and tie securely. Hide the yarn tails inside the body.
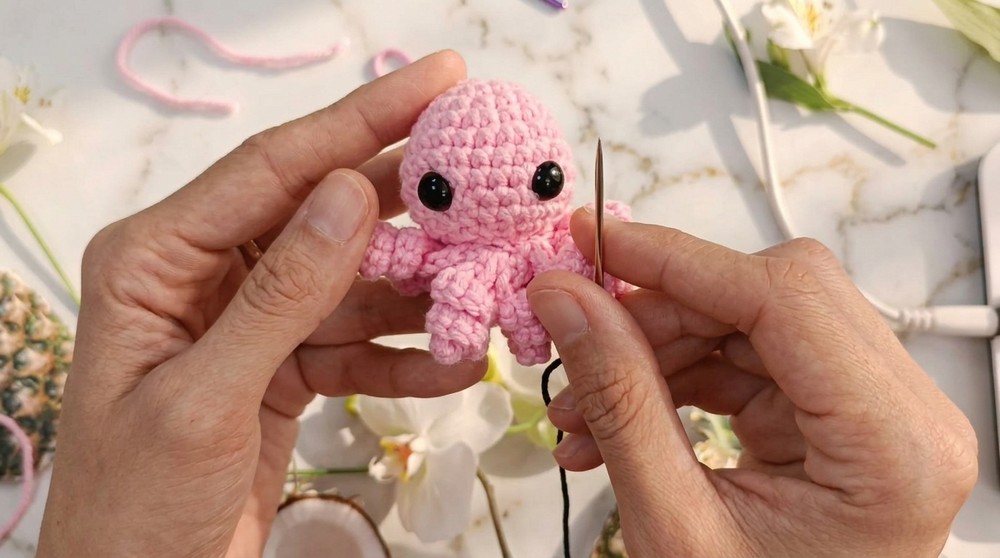
For non-readers: Use black yarn to embroider a simple smile below the eyes. Start from one side of the smile, sew to the other side, and pull gently to create a happy expression!
Assembly & Finishing
- If using as a keychain, attach a keyring to the top of the octopus.
- Trim and secure any remaining yarn tails.
What You’ll Learn From This Pattern
- How to start amigurumi with a magic ring and crochet in rounds.
- How to use increases and decreases to shape a 3D figure like the octopus.
- Techniques for adding tentacles seamlessly into the base stitches.
- How to add accessories like safety eyes and embroider details for a polished finish.