
Crochet Christmas Tree Amigurumi Free Pattern
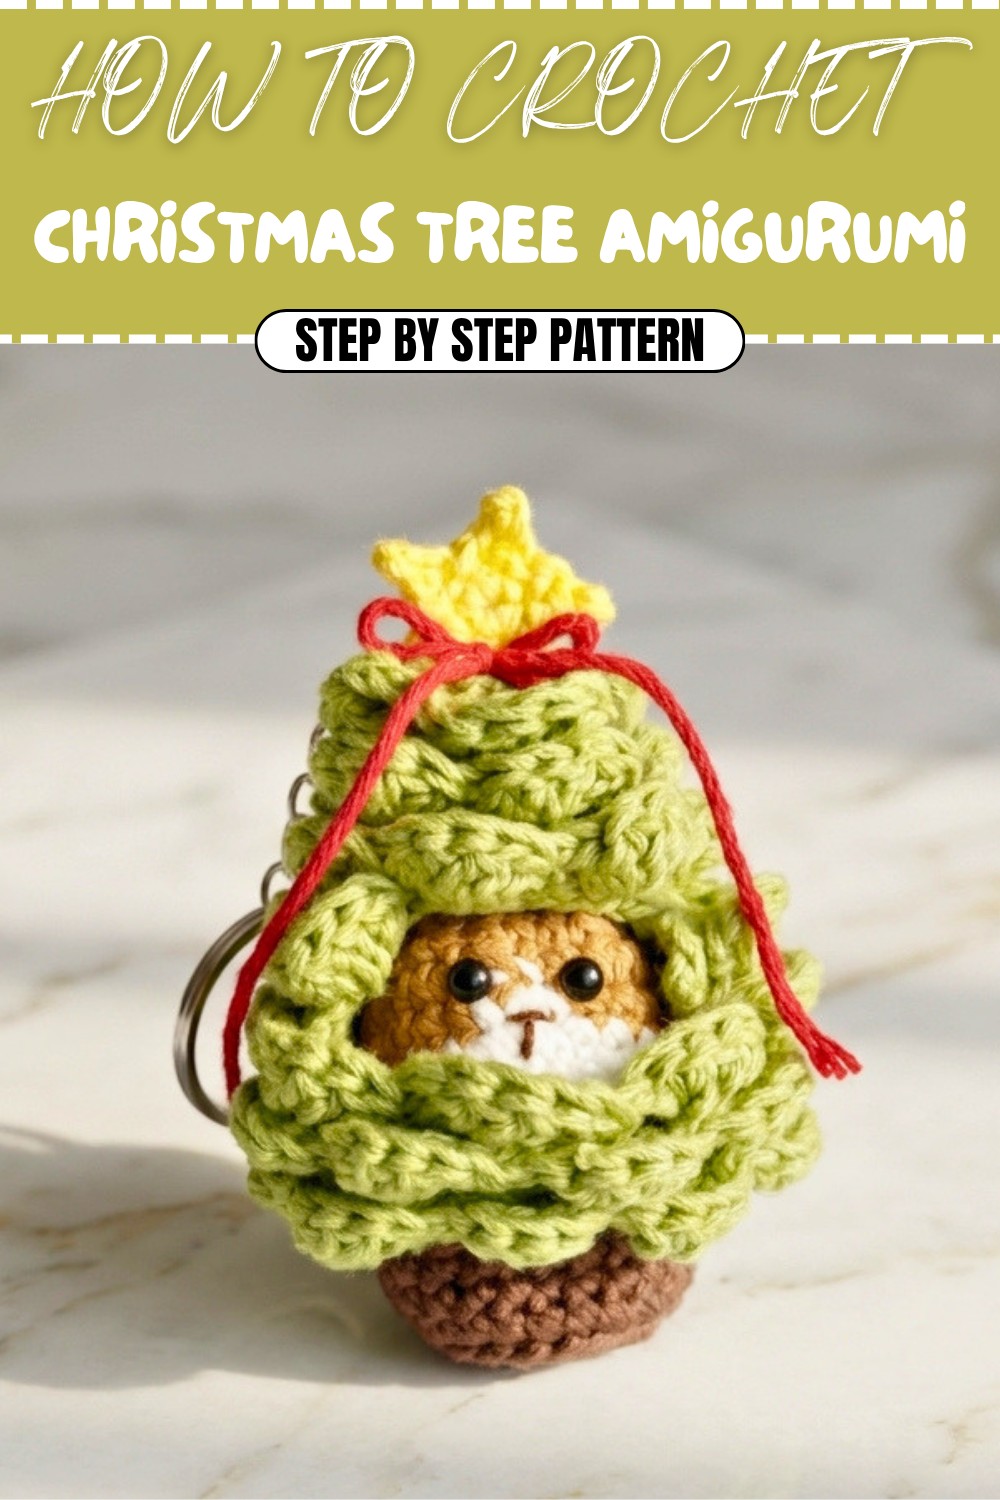
Create a festive masterpiece with this free crochet Christmas tree amigurumi pattern, featuring step-by-step instructions perfect for holiday decorations or gifts.
Nothing says holiday cheer like a handmade decoration, and this free crochet Christmas tree amigurumi pattern brings a lot of joy and festive spirit to your home. The cute design looks just like a little Christmas tree, with lovely green stitches forming its classic triangle shape. Its soft texture makes it pleasant to touch and hold, and the tree stands up nicely thanks to its rounded base.
Free Crochet Christmas Tree Amigurumi Pattern
What makes this Christmas tree amigurumi so charming is its fun and playful appearance. The green body is decorated with little balls, like tiny ornaments or baubles, making the tree look just right for Christmas. If you want, you can change the colors of these balls to match your style or add more for extra color and cheer.
Crocheters love making this little tree because it is simple, quick, and gives you lots of room to be creative. You can add a star at the top or even change the size to make a whole set of trees for decoration. With just a small change, this pattern can be turned into a pine tree for any season, or you could make other cute holiday shapes by trying different colors and shapes.
The amigurumi tree is useful in so many ways. You can use it as a cheerful ornament for your Christmas tree, place it on your desk, or make a whole forest for a table centerpiece. It also works as a small gift for friends, or as a soft toy for kids to play with.
With its sweet look, easy stitches, and endless ways to use it, this Christmas tree amigurumi pattern is a wonderful project for anyone who loves crochet and the holiday season.

Pine Tree Cat Amigurumi Coin Purse Pattern
Welcome! This is a step-by-step crochet pattern for a whimsical pine tree-shaped coin purse, complete with a surprise amigurumi cat and pretty star charm.
This project is perfect for those with some basic experience in amigurumi and in-the-round crochet, but adventurous beginners will also enjoy its clear construction and decorative options. Along the way, you’ll use simple stitches, practice color changes, and discover fun shaping and assembly tricks.
Skill Level & Terminology
- Skill Level: Confident Beginner to Intermediate
- Terminology: US Crochet Terms
Materials & Tools
- Yarn: Sport or DK weight yarn in green (tree), brown (tree trunk/cat), white (cat), yellow (star), plus accent shades for bows, etc.
- Hook: 2.5mm crochet hook
- Stitch Marker/Separator
- Tapestry needle
- Stuffing (for cat head)
- Plastic safety eyes or black beads
- Thin black thread/yarn for cat's nose/whiskers
- Scissors
- Hot glue (optional, to secure star or bow charm)
Gauge
Gauge is not critical for this project. Your main tree base (before branch rounds) should measure about 5–6 cm diameter with indicated yarn and hook.
Abbreviations List
| Abbrev | Meaning |
|---|---|
| MR | Magic ring (magic circle) |
| ch | Chain |
| sc | Single crochet |
| dc | Double crochet |
| inc | Increase (2 sts in same st) |
| dec | Decrease (sc2tog) |
| sl st | Slip stitch |
| st(s) | Stitch(es) |
| FO | Fasten off |
Special Stitch Instructions
- Single Crochet (sc): Insert hook in st, yo, pull up loop, yo, pull through both loops.
- Double Crochet (dc): Yo, insert hook in st, yo, pull up loop, yo, pull through 2, yo, pull through 2.
- Increase (inc): Work 2 sc in same st.
- Decrease (dec): Insert hook in next st, yo, pull up loop, insert hook in next st, yo, pull up loop, yo, pull through all 3 loops.
- Magic Ring (MR): Form a ring over two fingers, insert hook and work stitches directly into the ring; pull tight to close.
Finished Size
Approx. 10 cm (4") tall tree, cat head 3.5–4 cm (1½") diameter, star ~2–2.5 cm (⅞") across, using recommended hook and yarn.
What Stitches Are Used & How To Start
You’ll use single crochet, double crochet, increases, decreases, slip stitch, and chain stitches. You’ll start in the round (magic ring) for each main component, sometimes working only in back or front loops for shaping.
For those unfamiliar with written patterns: Each piece starts as a circle with increases, then some parts transition to working in rows, and decorative edges and appliqués are made separately and sewn/glued on.
The Pattern Itself
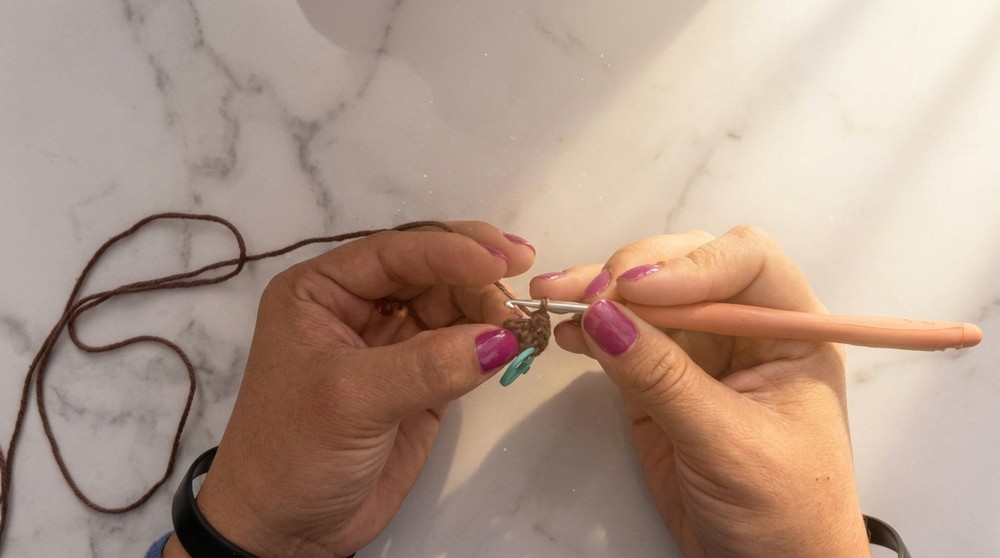
Tree Base
With brown yarn (tree trunk):
- MR, 8 sc in ring. Place stitch marker in first st. (8)
- [inc] in each st around. (16)
- [sc, inc], repeat around. (24)
- sc in back loop only around. (24)
For this round, insert your hook only in the back loop of each stitch.
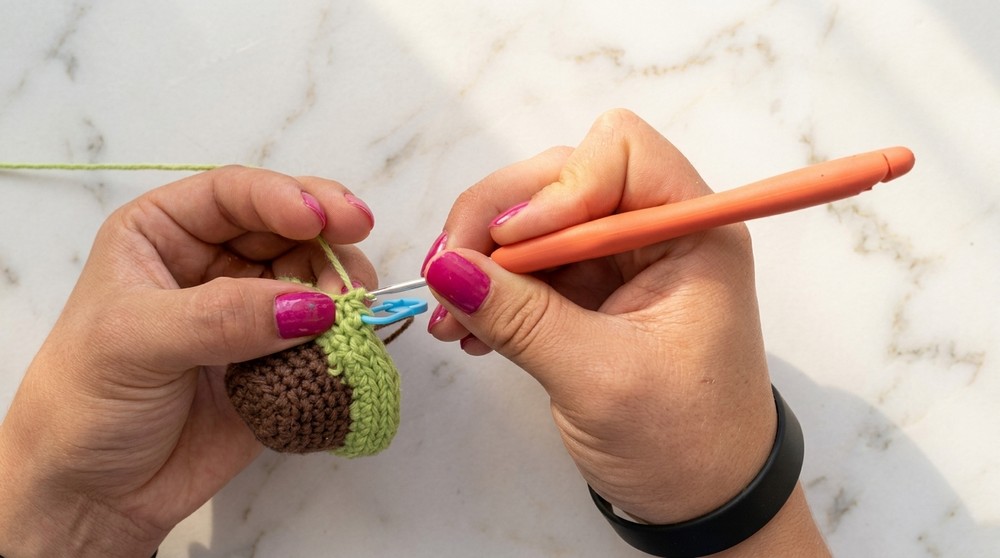
Switch to green yarn (tree branches):
- 3 rounds sc in each st around. (24 per round)
Work through both loops again. - Change to light green (optional, for a branchy look), [sc in next st, inc in next st], repeat around. (36)
- sc in each st around. (36)
- sc in back loops only around. (36)
- sc in each st around. (36)
- [7 sc, dec], repeat around. (32)
- sc in each st, back loop only. (32)
- sc in each st around. (32)
- [sc in next 4 sts, dec], repeat around. (24)
- sc in front loop only around. (24)
- [sc in next 3 sts, dec], repeat around. (20)
- [sc in next 2 sts, dec], repeat around. (16)
- [sc, dec], repeat around. (12)
- 4 dec. (8)
FO, leave yarn to close last round.
If you don’t read patterns: Start with a brown circle for the stump, switch to green, continue to increase and then decrease to close the triangle. You should see a tree shape.
Tree Branch Ruffles
Join green yarn at any front- or back-post stitch line.
- Join with sl st, ch 1, sc in same st.
- Skip 1 st, [5 dc in next st, skip 1 st, sc in next st], repeat from * across ruffle line.
- FO and repeat for all prominent ‘layers’ (the “lines” made by your back-loop/front-loop rounds).
- Hide all ends inside.

If you don’t read patterns: On the exposed ridge lines on the sides, work groups of 5 dc between sc, skipping a stitch before and after, to create wavy branches.
Cat Head
With brown yarn:
- MR, 8 sc in ring. Place marker. (8)
- [sc, inc], repeat around. (12)
- [sc, inc], repeat around. (18)
- [2 sc, inc], repeat around. (24)
- [3 sc, inc], repeat around. (30)
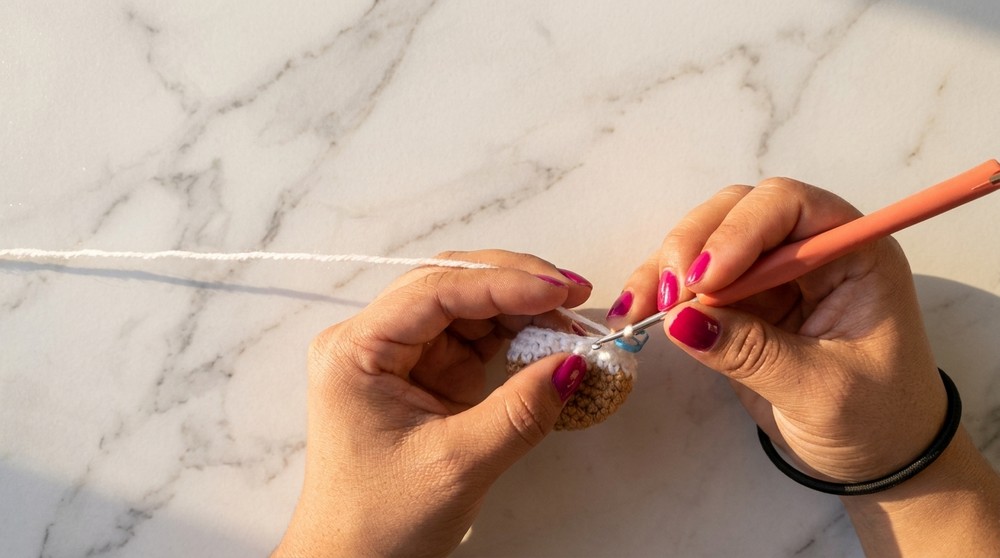
Switch to white:
- sc in next 16 sts in brown, switch to white and sc in remaining 14 sts. (30)
- sc in next 15 brown, 3 white, 12 brown.
- sc in each st around, white only. (30)
Begin decreasing:
- [sc in next 3 sts, dec], repeat around. (24)
- [sc in next 2 sts, dec], repeat around. (18)
- [sc, dec], repeat around. (12)
- dec around. (6)
Stuff firmly before closing. FO, weave shut with tapestry needle.
Insert safety eyes between brown and white round (as the color changes), stuff the head, and embroider a little nose.
Star
With yellow yarn:
- MR, 5 sc in ring. DO NOT JOIN.
- (Ch 3, sl st in 2nd ch from hook, sc in next ch, sl st in next sc from ring), repeat 5 times total (for 5 points).
- FO, leave a tail for stitching or gluing onto the tree. Hide center ring’s loose end.
Assembly & Finishing
- Seam Tree Base Closed: Fold last round in half to flatten, sl st two sides together (like closing an amigurumi ball), secure, weave in.
- Work ruffles on all tree “layer” lines.
- Insert Cat Head: Place firmly at tree base using any gap; sew or glue.
- Sew/star at tree tip, add a small bow if desired.
- Attach Cat Face Details: Insert safety eyes between color changes, embroider nose/mouth with black thread, add felt or yarn for inner ears if desired.
- Weave in all loose ends inside.

If you do not read patterns:
Stack the tree-shaped green section over brown base, add ruffles to sides, make a ball for the cat, embroider/attach features, sew/glue on the star, and add any bows or details.
Conclusion
You’ve completed a beautiful pine tree coin purse—with a charming amigurumi cat and star ornament! You’ve practiced magic rings, increasing and decreasing in the round, color changes, simple embroidery, and cute amigurumi finishing. This versatile project makes a fantastic gift or seasonal accessory—get creative with colors and embellishments.
Stitches used: magic ring, single crochet, double crochet, increases, decreases, slip stitch.
You will start with circles, add shaping with increases and decreases, and finish with decorative edges, sewn or glued appliqués.