
Tiger Amigurumi Free Crochet Pattern with Stripes
Make a charming tiger amigurumi with this free crochet pattern that guides you through each step to craft an adorable and detailed handmade creation easily.
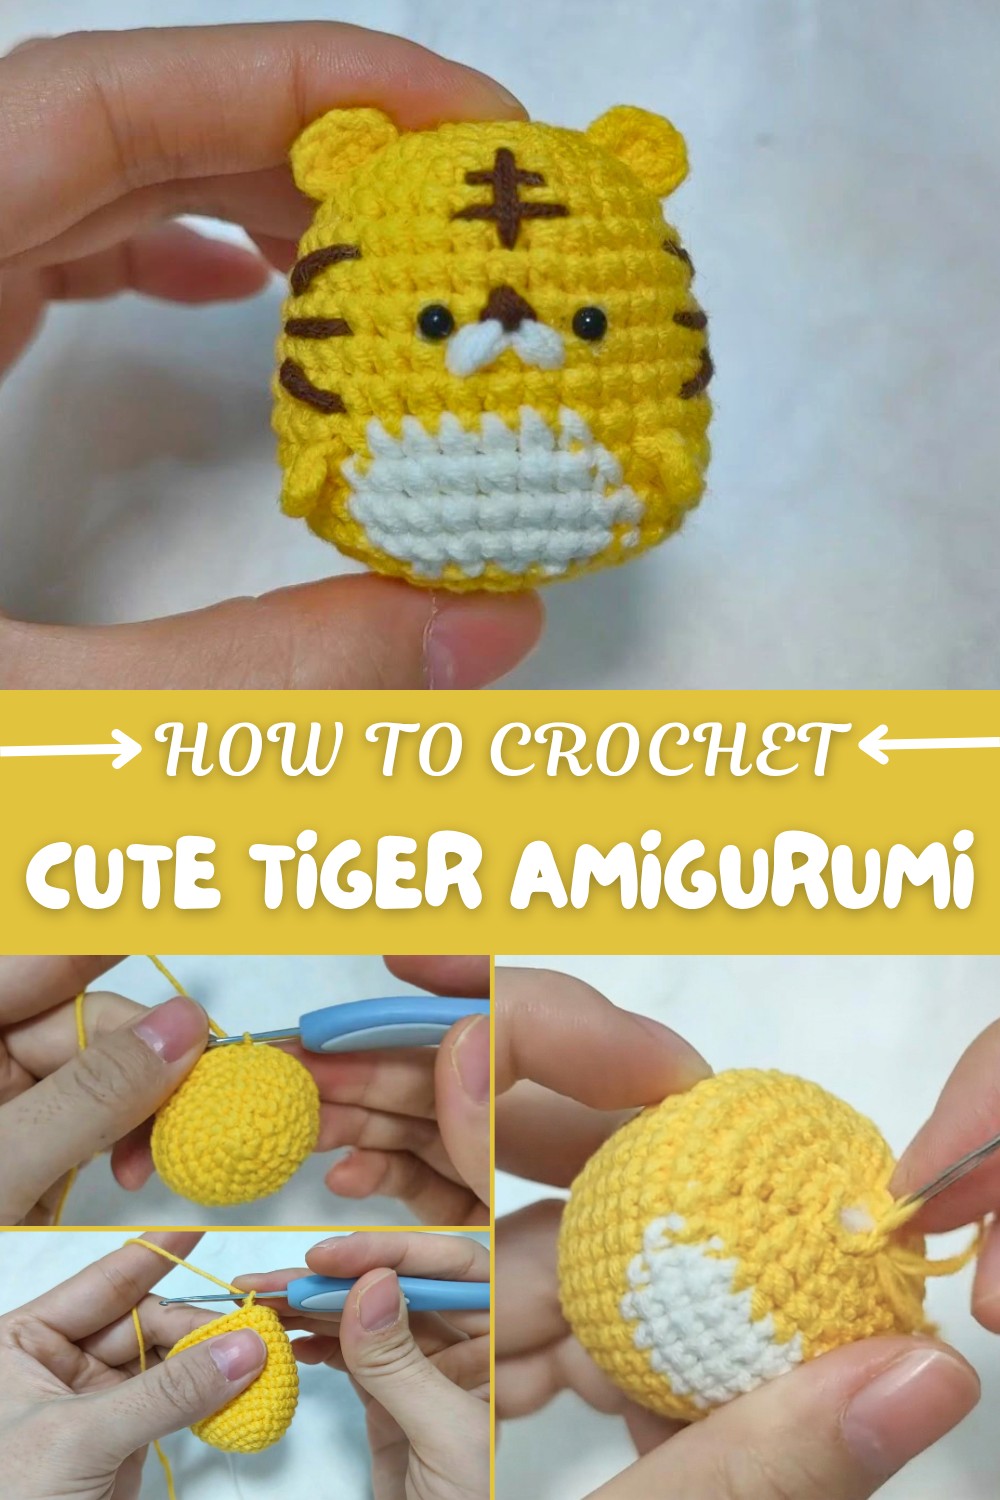
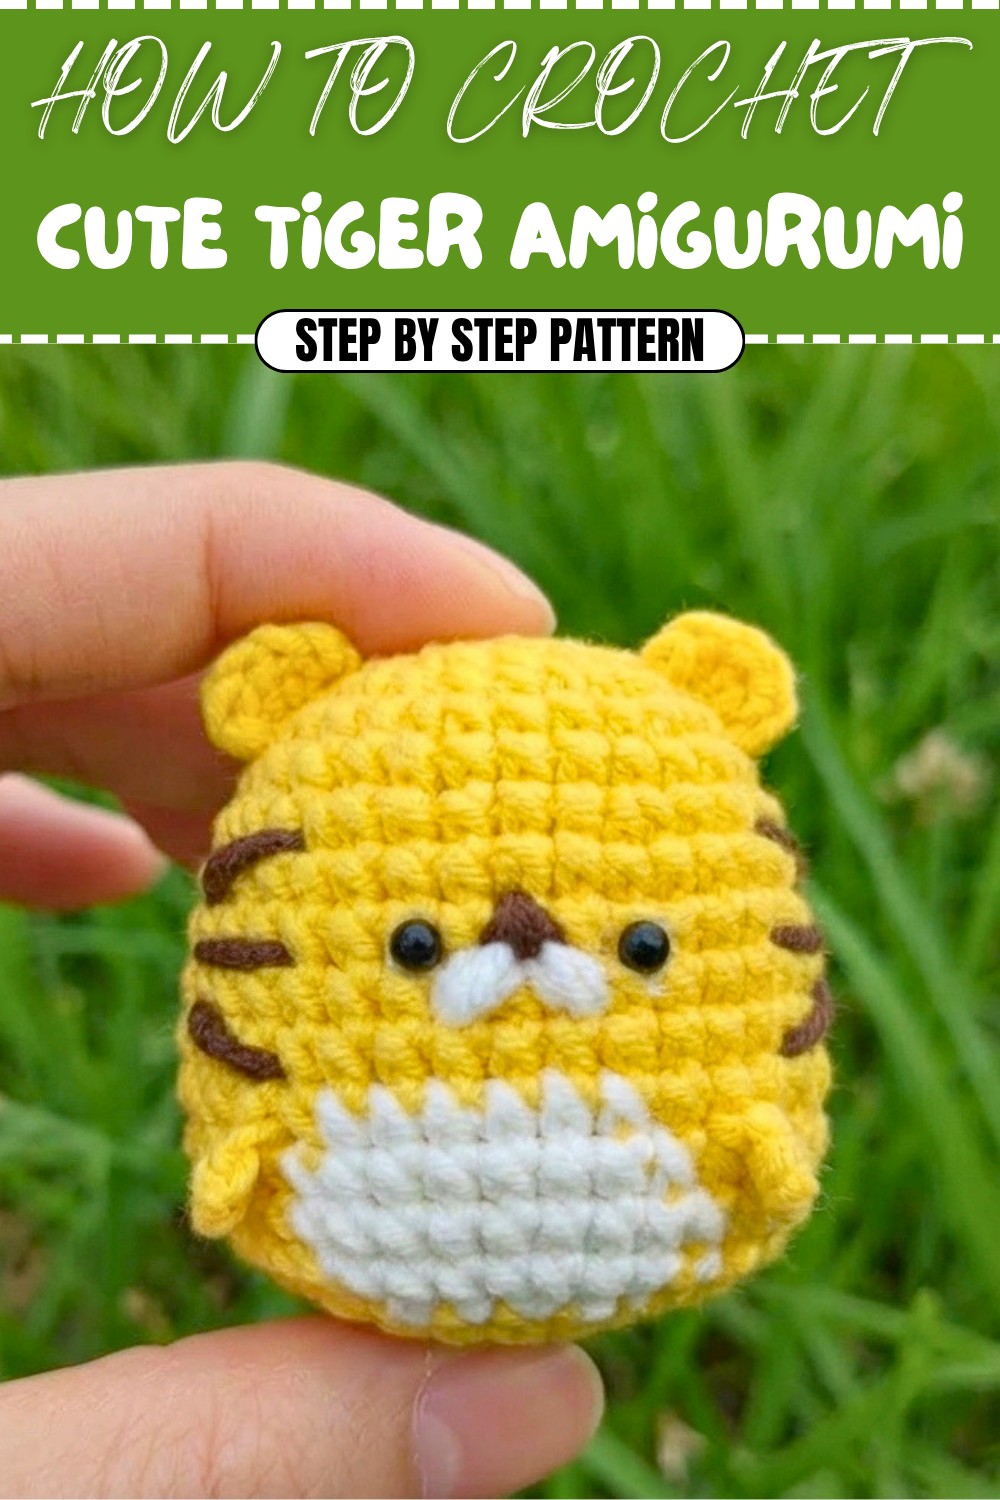
Crocheting a cuddly little amigurumi with soft yarn is a joyful project for anyone who enjoys crochet. This adorable tiger stands out with its round yellow body and white accents that give it a playful and lively look. The simple shapes are easy to stitch, and the finished piece fits perfectly in your hand, making it extra charming.
Easy to Follow Free Crochet Tiger Amigurumi Pattern
One of the best things about this tiger is its cute facial features. The small black eyes and nose, along with white spots on the cheeks, make its expression friendly and sweet. The ears sit neatly on the head, and the details on its belly and feet bring even more personality to the design. The texture of the stitches creates a gentle bumpy feel that adds to its homemade charm.
Crocheters often enjoy creating this project because the process is simple but lets you experiment with colors for the stripes or even the body. By changing yarn shades or adjusting the size, it’s easy to make a whole family of tigers, each a little different. With some small changes, this same pattern can transform into a keychain, a little bag charm, or a playful decoration for any room.
Handmade tiger toys like this one are perfect as thoughtful gifts for kids, animal lovers, or friends who appreciate unique crafts. Displaying it on a shelf or carrying it on your bag brings a touch of happiness and a pop of cheerful color wherever you go. Its irresistible cuteness and flexible uses make this tiger a favorite for all crochet fans.
Crochet Tiger Amigurumi Pattern
Skill Level & Terminology
Skill Level: Advanced Beginner to Intermediate.
Terminology: US Crochet Terms.
To make this tiger, you only need to know basic stitches such as single crochet, working in the round, increases, decreases, and simple color changes. The small accessories (ears, hands) are easily achieved with chains and single crochet. Assembly is beginner-friendly, with all body components sewn simply by hand.
Materials & Tools
- Yarn: DK/light worsted-weight acrylic or cotton in the following colors:
- Yellow (primary body and head)
- White (stripes, details on body)
- Black (for embroidered facial features and, optionally, additional stripes)
- Crochet Hook: 2.5 mm–3.0 mm (or suitable for your yarn)
- Stuffing: Polyester fiberfill (small handful)
- Notions: Yarn or tapestry needle, stitch markers, scissors, a pair of small black safety eyes or black embroidery thread (for eyes/nose)
Gauge
Gauge is not critical for amigurumi. Your stitches should be tight enough so that stuffing does not show through. For reference:
8 sc x 9 rows = approximately 1 inch with a 2.75mm crochet hook and DK yarn.
Abbreviations
| Abbreviation | Meaning |
|---|---|
| MR | Magic Ring |
| ch | Chain |
| sc | Single Crochet |
| inc | Increase (2 sc in 1 st) |
| dec | Decrease (sc2tog) |
| FO | Fasten Off |
| st(s) | Stitch(es) |
Special Stitch Instructions
- Magic Ring: Start with an adjustable loop and work the first round’s stitches into the ring, then pull tight to close.
- Increase (inc): Make two single crochets into the same stitch.
- Decrease (dec): Insert hook in next st, yarn over, pull up loop, insert in following st, yarn over, pull up loop, yarn over, pull through all three loops on hook.
Finished Size
With recommended yarn and hook, your finished tiger will stand approximately 10–12cm (4–5 inches) tall, perfect for holding in your palm or dangling from a bag as a cute accessory.
Pattern Construction and Stitches Overview
This pattern begins with the head, which flows directly into the body in a continuous piece. Color changes are used to create the distinctive tiger stripes. The ears and hands are crocheted separately and sewn on during assembly. Simple facial embroidery brings your tiger to life!
The Pattern
A. Head and Body (worked in one piece)
R1:
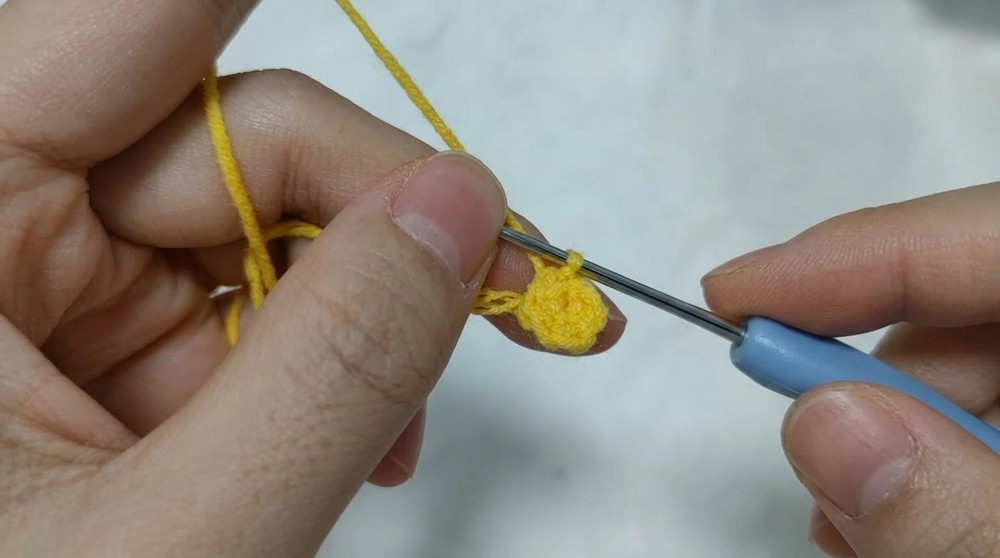
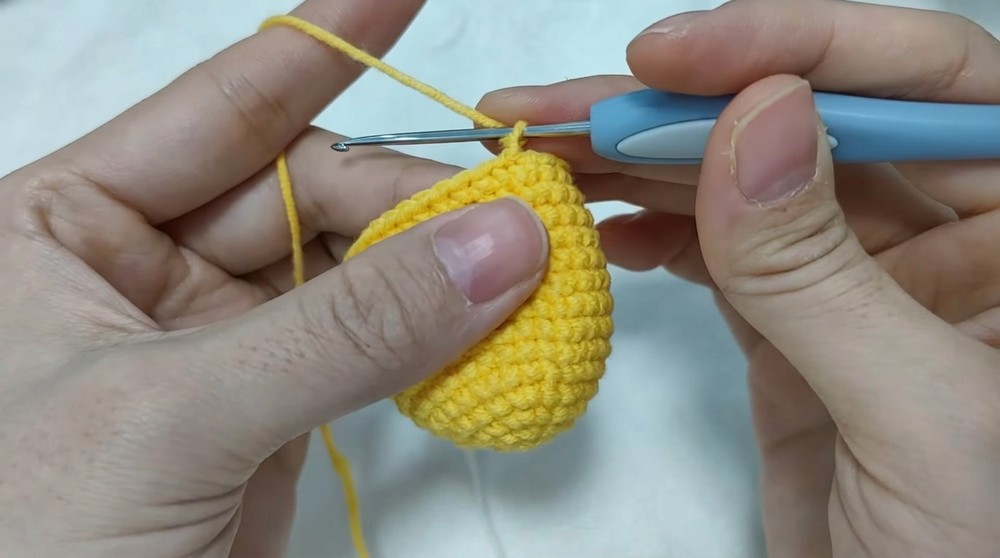
With yellow yarn: Make a magic ring, ch 1, work 6 sc in ring. Pull to tighten. (6 sts)
R2:
6 inc (work 2 sc into each st). (12 sts)
R3:
(sc, inc) x6 (18 sts)
R4:
(sc, inc, sc) x6 (24 sts)
R5:
(3 sc, inc) x6 (30 sts)
R6:
sc around (30 sts)
At this stage, you’ve created a firm, rounded top for the head, setting a foundation for the face and upper body. Each increase round ensures your sphere takes on a smooth shape.
If you’re new to pattern-reading: Begin in the magic ring with 6 single crochets and keep adding stitches each round for a bigger, rounder head. Use a stitch marker in the first stitch of every round to keep count.
R7:
(2 sc, inc, 2 sc) x6 (36 sts)
R8–R11:
sc around (36 sts per round)
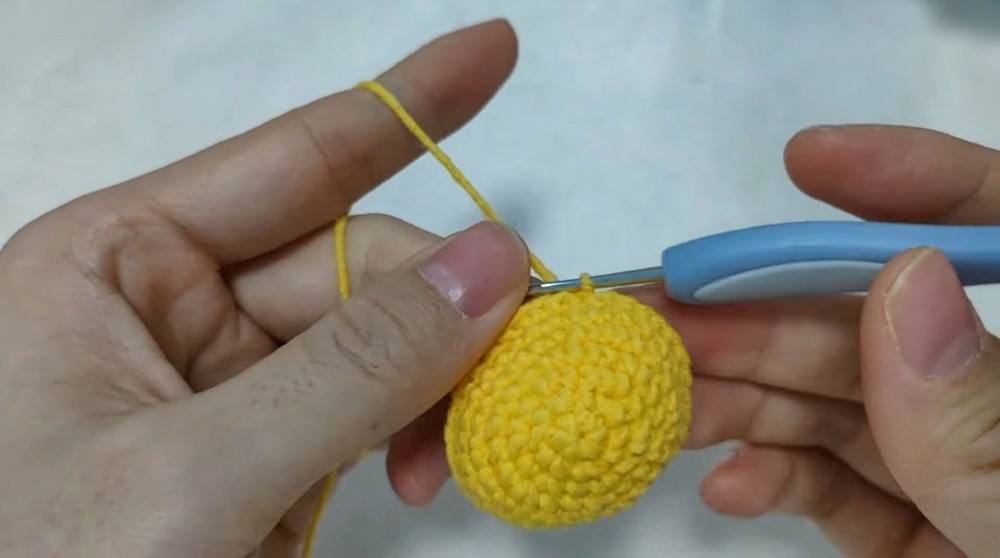
This creates more height and width, giving your tiger a classic, round amigurumi shape. Each round is worked in continuous spirals, so don't join—use your stitch marker!
Non-pattern explanation: As the body grows, continue making single crochets in every stitch, so the piece gets longer but not wider.
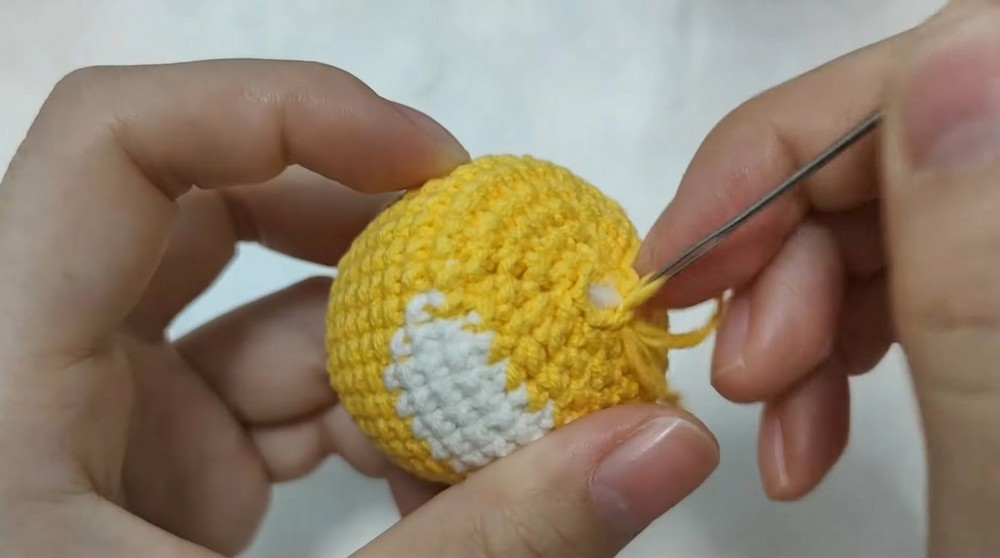
B. Tiger Stripes (Colorwork Section)
R12:
15 sc in yellow, 6 sc in white, 15 sc in yellow (36 sts)
R13:
14 sc in yellow, 8 sc in white, 14 sc in yellow (36 sts)
R14:
14 sc in yellow, 9 sc in white, 13 sc in yellow (36 sts)
R15:
15 sc in yellow, 7 sc in white, 14 sc in yellow (36 sts)
Use the intarsia or simple color change method: before your last yarn over of the last yellow stitch, pick up white and pull through, so the next stitch starts in the new color.
For beginners: Change yarn colors as your row count tells you, so stripes are centered. Carry unused color inside the body, switching at the exact stitch for crisp stripes.
C. Shaping and Closing the Body (Tummy/Bottom)
R16:
(sc, dec) x12 (24 sts)
R17:
(sc, dec, sc) x6 (18 sts)
R18:
(sc, dec) x6 (12 sts)
R19:
dec x6 (6 sts), FO, cut yarn, pull through, and weave tail to close hole.
Before closing, stuff the body firmly but do not overfill—shape the bottom while the hole is still large enough to manipulate.
Non-pattern users: Start narrowing by skipping (decreasing) some stitches in each round; fill with stuffing when you reach the last two rounds for a neat, rounded shape.
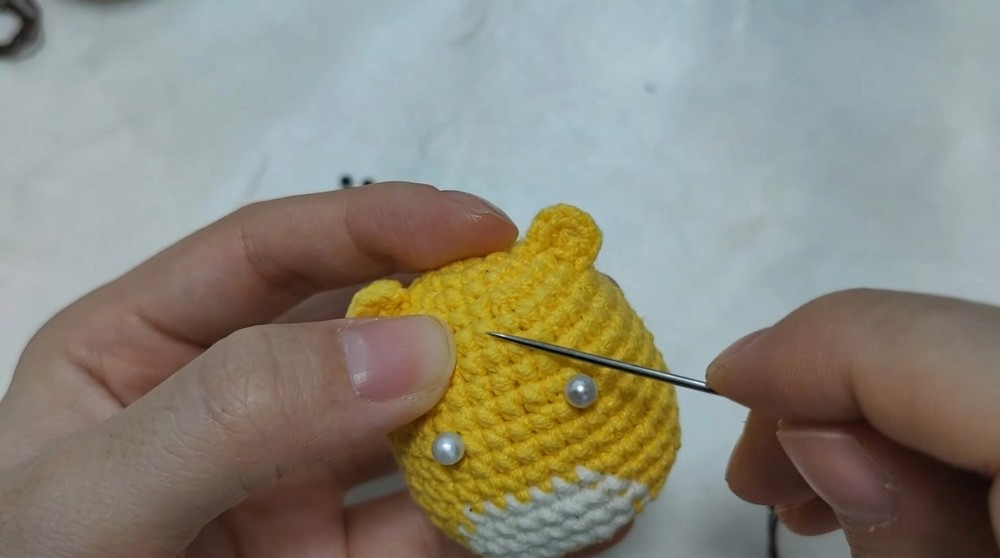
D. Ears (Make 2)
- With yellow, MR, 6 sc in ring. FO, leaving tail for sewing. (6 sts per ear)
Simple and flat—attach with the curved side toward the face for a cute effect!
Simple explanation: Make a small round for each ear and stitch on either side at the top of the head.
E. Hands (Make 2 Simple Paws)
- Ch 3, sc in 3rd ch from hook, FO leaving tail for sewing.
You now have two small, flat paws, quick and easy to crochet! Optionally, embroider a small black line or "toes" for detail.
For non-pattern users: These are very simple—just work a tiny chain, put a stitch in it, and sew these to the side of the body.
Assembly & Finishing
- Stuff and close up the body if not done already.
- Using yarn needle, sew ears to the sides, slightly towards the top of the head.
- Sew hands to each side, just where the head starts to become the body.
- With black yarn or embroidery thread, embroider:
- Two small horizontal eyes
- An upside-down triangle for the nose
- A small “W” for the mouth
- Optional: extra stripes on the head, sides, or body for more tiger character
- If using safety eyes, insert before closing R19.
- Weave in all loose ends and shape with your hands.
If you’re unfamiliar with the process: Close the body after stuffing. Attach ears and hands using the yarn tails and a yarn needle. Make a cute little face using embroidery or attach simple plastic eyes.
Conclusion
You did it! You’ve created a delightful crocheted tiger—bright, playful, and perfect as a gift, ornament, or cheerful companion for your space. This pattern taught you the basics of amigurumi: magic ring, working in the round, increases, decreases, and changing color. You mastered simple assembly and face detailing, resulting in a professional-looking, handmade toy.
Feel free to play with yarn colors, stripe placements, and facial embroidery to give your tiger unique personality with every project.
Start with the head using a magic ring, increase to shape, switch for stripes, decrease for the body, add easy ears and paws, stuff, sew, and embroider the cutest tiger face.
Stitches used: Magic Ring, Single Crochet, Increase, Decrease, Color Change.
Core focus: Basic amigurumi skills and colorwork for beginners and up.