
How to Crochet a Sweet Kitty Amigurumi Cake Pattern in No Time
Sweeten your collection instantly with a free crochet kitty amigurumi cake pattern that combines playful charm and adorable style.
Creating little handmade treasures always brings a special kind of joy, and this adorable kitty tucked inside a tiny crochet cake is no exception. With its cute size—about 10 cm—and charming details, it makes a delightful gift or a sweet decoration for your space. What makes this pattern stand out is how it uses basic amigurumi techniques like working in the round with magic rings, single crochets, increases, and decreases to shape the kitty’s head and the cake base perfectly. The detailed embroidery for the face adds personality, making it feel truly alive and huggable.
Learn to Crochet a Fun Kitty Cake Amigurumi for Free and Impress Your Friends
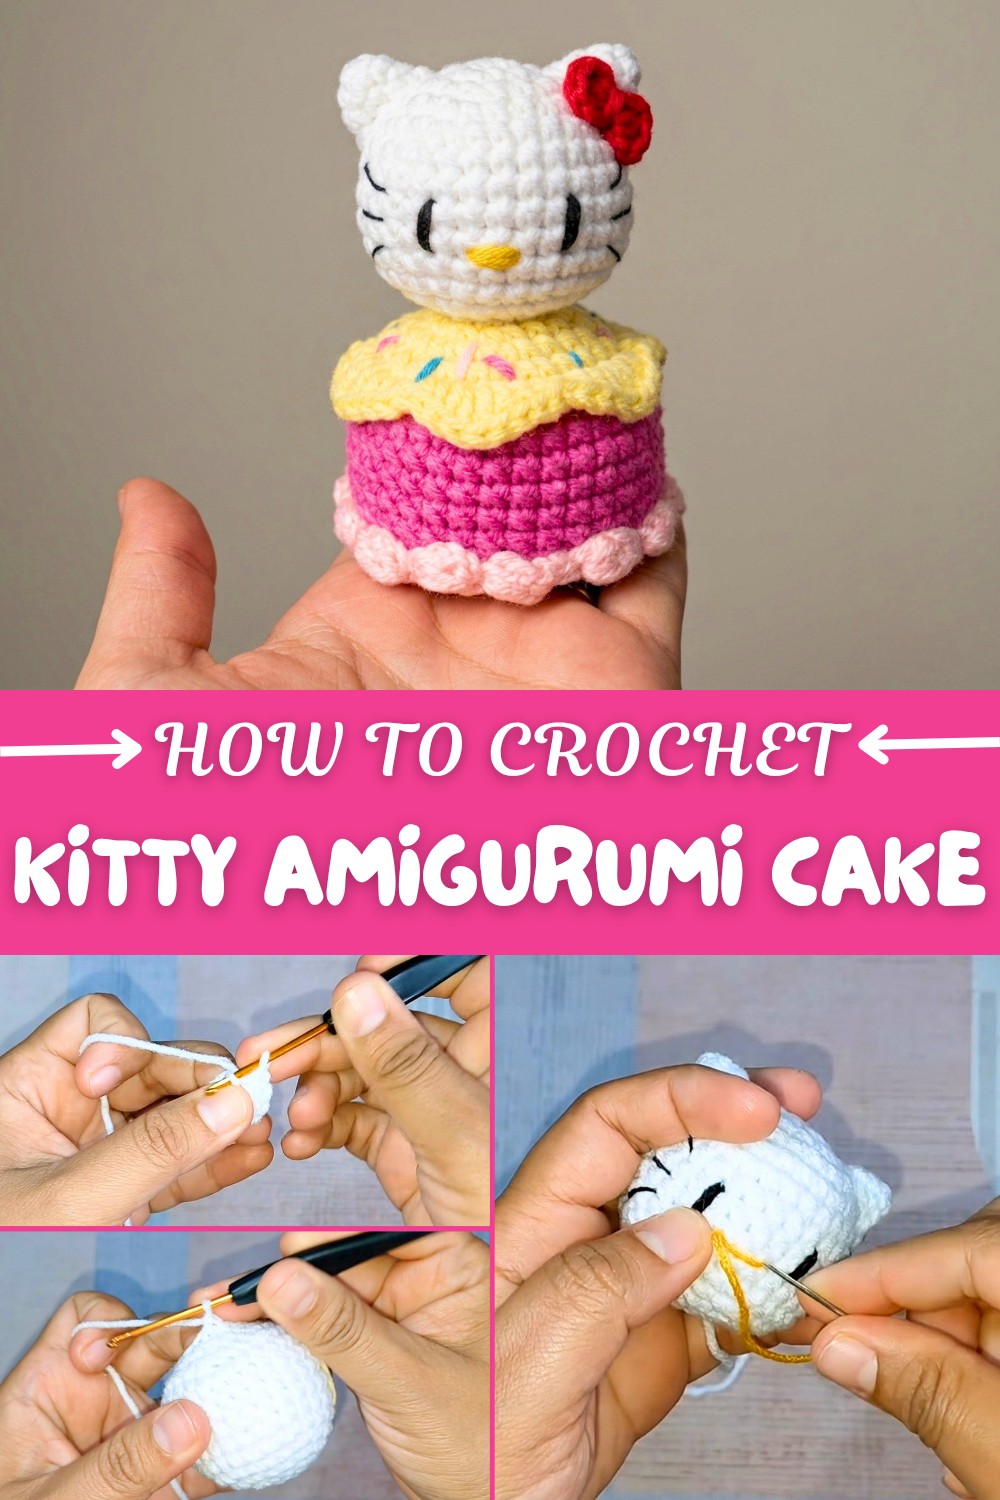
The project begins by crocheting the kitty’s rounded head with carefully spaced increases and decreases to form smooth rounds. Small ears are separately crocheted and sewn on to enhance the 3D effect. The cake base follows similar principles but includes additional rounds and decorative “icing” details created with half-double and double crochet stitches to add texture and charm. Stuffing as you go helps the kitty and cake keep their shape, while the tiny bow adds a finishing touch of adorable flair. This pattern is very approachable for those who know the basics and want to try amigurumi for the first time.
Exploring More Ideas with This Pattern
Once you get familiar with the kitty amigurumi cake, there’s so much you can create by tweaking the design. If making a collection of different animal friends tucked inside cupcakes or other bites of cuteness. Changing yarn colors can transform the cake into seasonal treats for holidays or birthdays. You can also adapt this pattern into keychains, ornaments, or playful handbag charms. For a fun twist, combine several small amigurumi cakes to form a sweet dessert display. It’s a wonderful way to practice shaping and detail work while making charming handmade gifts or keepsakes!
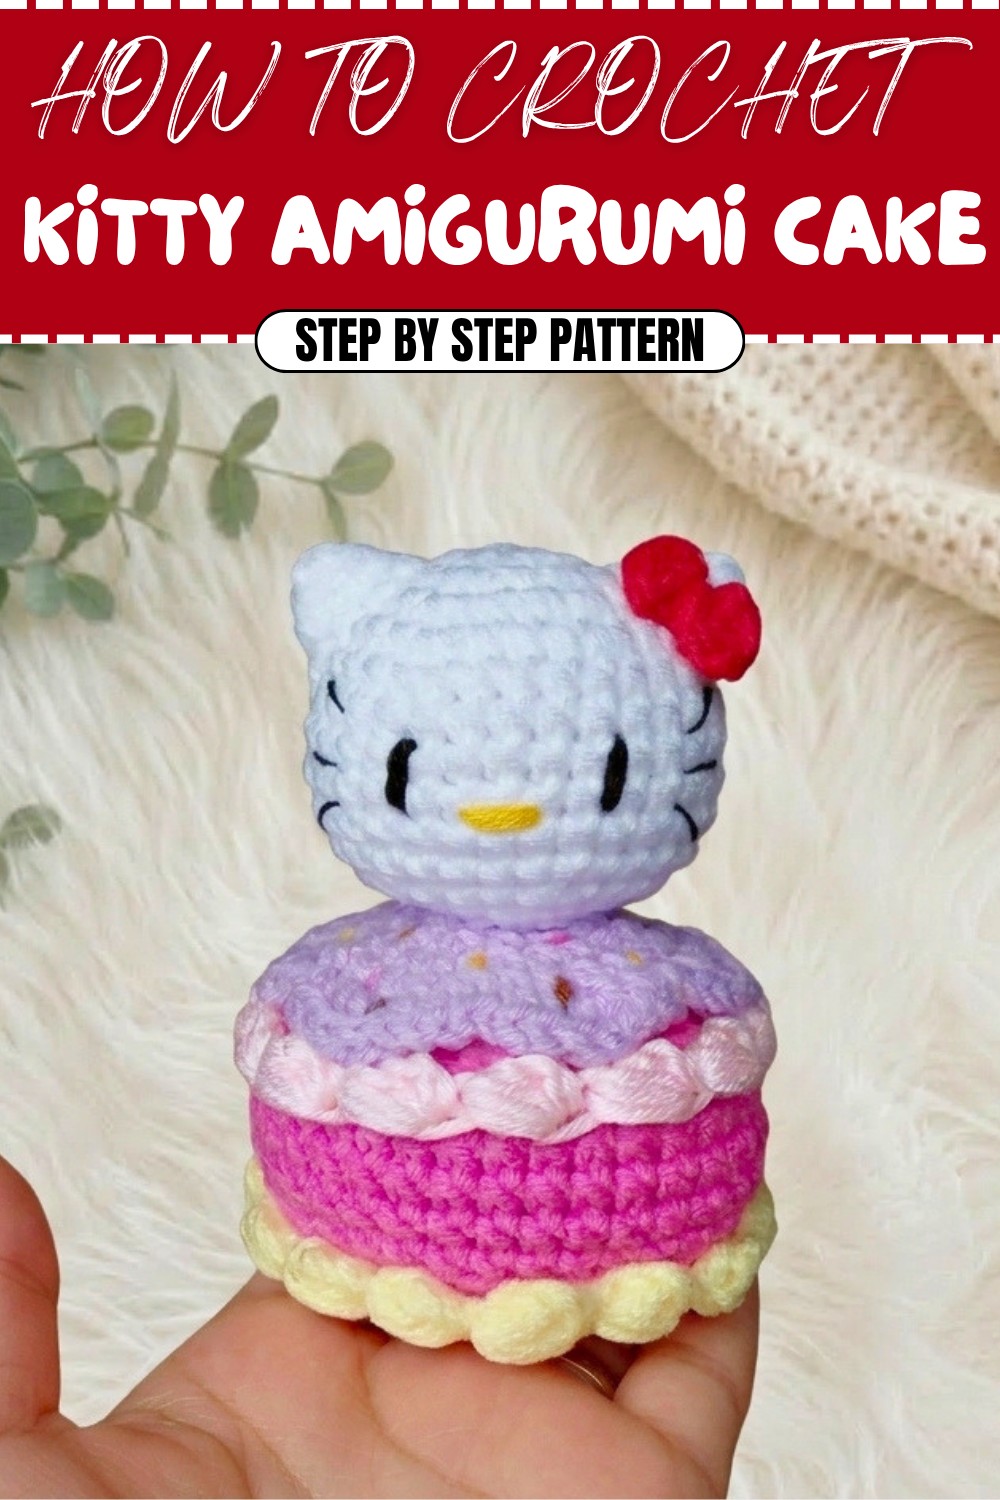
Kitty in a Cupcake Crochet Pattern – Step-by-Step Guide
Welcome to this charming pattern where you’ll learn how to crochet an adorable Kitty in a Cupcake! This delightful project measures approximately 10 cm (4 inches) and makes the perfect gift, keychain, or decoration for any cat lover or baking enthusiast. Not only is this a fun and intermediate-level project, but it also allows for endless creativity with colors and decorations. Let's bring this sweet little character to life!
Uses of This Pattern
- Keychains: A cute and personalized accessory.
- Decorations: Perfect for birthdays, baby showers, or small decor accents.
- Thoughtful Gifts: A handmade surprise for friends or family members.
This pattern is designed with love and attention to detail, making it a great project for expanding your amigurumi skills.
Skill Level & Terminology
- Skill Level: Intermediate
This pattern involves working in continuous rounds, basic shaping techniques, and fine embroidery for facial details. If you're comfortable with common amigurumi techniques, you'll enjoy this fun and rewarding project! - Terminology: US Crochet Terms
Materials & Tools
To create this adorable kitty and its cupcake home, you'll need:
- Yarn:
- White yarn for the kitty’s body and ears (light-medium #3 worsted cotton or acrylic).
- Pink and purple yarn (or your choice) for the cupcake, “icing,” and decoration.
- Black yarn or thread for the facial details.
- Red yarn for the bow.
- Crochet Hook:
- 2.5 mm hook (for the main body).
- Optional alternative 2 mm hook for finishing touches.
- Stuffing: Polyester fiberfill for shaping and structure.
- Scissors: For cutting yarn.
- Tapestry Needle: For sewing and embroidery.
- Hot Glue Gun (Optional): For additional securing.
Gauge
Gauge isn’t crucial for this project. The most important thing is to keep your tension even and make tight stitches to avoid gaps in your work.
Finished Size
The height of the Kitty in a Cupcake is approximately 10 cm (4 inches), depending on the yarn and hook size.
Abbreviations
| Abbreviation | Meaning |
|---|---|
| ch | Chain |
| sc | Single Crochet |
| hdc | Half Double Crochet |
| dc | Double Crochet |
| st(s) | Stitch(es) |
| sl st | Slip Stitch |
| inc | Increase (work 2 sc into the same stitch) |
| dec | Decrease (single crochet two stitches together) |
Special Stitch Instructions
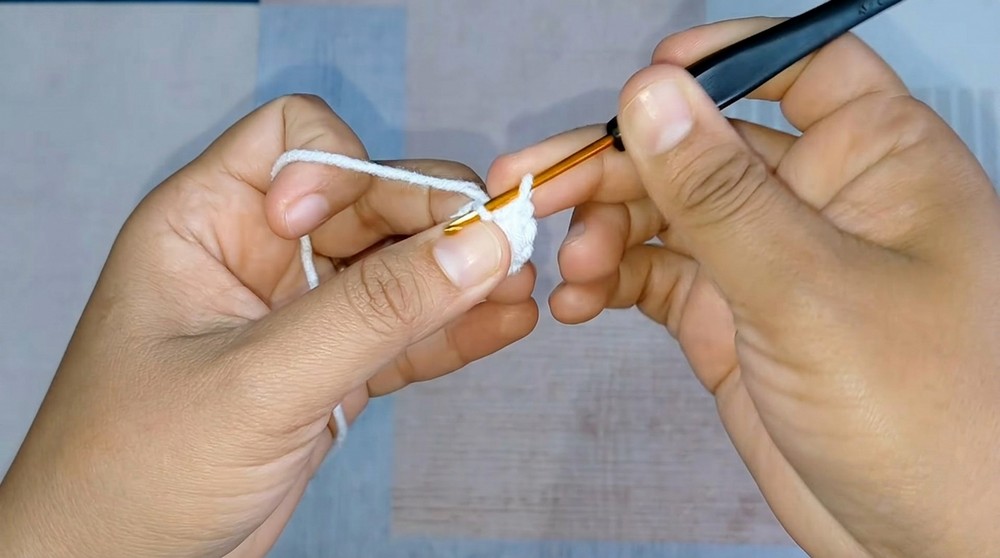
- Magic Ring (MR): Create a slip knot loop on your fingers, insert the hook under the loop, yarn over and pull through. Use this loop to work your first round. Tighten the ring by pulling the loose end of the yarn.
- Decreases (dec): Insert hook into the front loop of the next two stitches, yarn over, pull through two loops, yarn over again, and pull through the remaining two loops.
What You’ll Learn From This Pattern
- Amigurumi basics for creating adorable figurines and 3D shapes.
- Shaping methods using increases and decreases.
- Techniques for sewing and embellishing your amigurumi with facial details.
The Pattern Itself
Follow these step-by-step instructions to complete this project.
Part 1 - The Kitty’s Head
- Start with the Magic Ring:
- Create a magic ring and work 6 sc into the ring. Pull the tail to close the ring. (6 sts)
- Round 2 - Increases:
- Work 2 sc into each stitch around to create 6 increases. (12 sts)
- Round 3 - Alternate Stitches with Increases:
- Work 1 sc, 1 inc around. (18 sts)
- Round 4 - Two Stitches and an Increase:
- Work 2 sc, 1 inc around. (24 sts)
- Round 5 - Three Stitches and an Increase:
- Work 3 sc, 1 inc around. (30 sts)
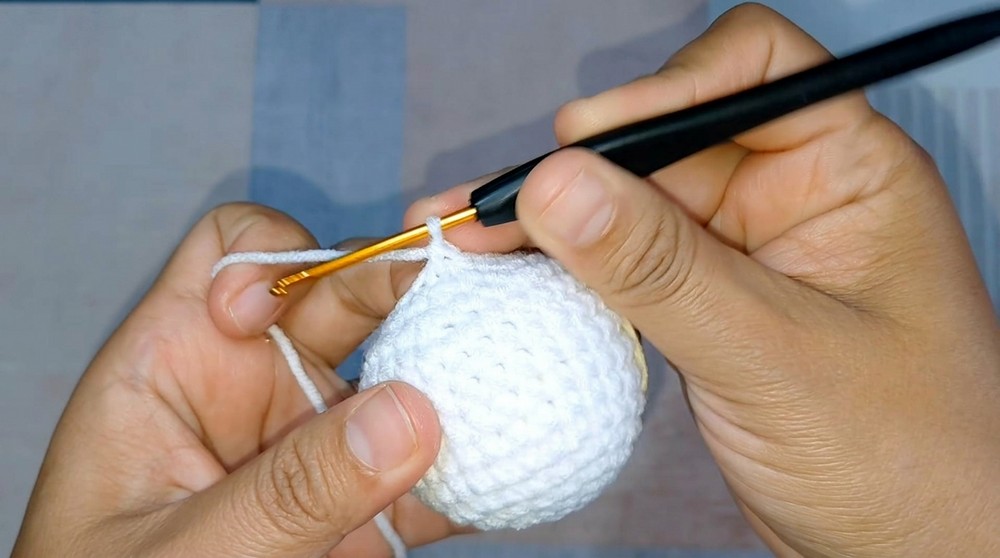
- Rounds 6–11 - Building Height:
- Work sc into each stitch around for 6 rounds.
(30 sts per round)
- Work sc into each stitch around for 6 rounds.
- Round 12 - Start to Decrease:
- Work 3 sc, 1 dec around. (24 sts)
- Round 13 - Two Stitches and a Decrease:
- Work 2 sc, 1 dec around. (18 sts)
- Round 14 - One Stitch and a Decrease:
- Work 1 sc, 1 dec around. (12 sts)
- Round 15 - Final Decrease:
- Work 6 decreases. (6 sts)
- Cut yarn, leaving a long tail for sewing. Use a tapestry needle to close the opening.
Plain Explanation:
The kitty’s head is shaped using increases to expand it at the beginning and decreases to close it. The center rounds add height.
Part 2 - Ears
- Magic Ring for Each Ear:
- Create a magic ring and work 4 sc into the ring. Pull tight.
- Round 2 - Add Definition:
- Work 1 sc, 1 inc around. (6 sts)
- Round 3:
- Work 2 sc, 1 inc around. (8 sts)
- Finishing the Ears:
- Sl st to close the round, cut the yarn, and leave a long tail for sewing.
- Sew the Ears to the Head:
- Position the ears symmetrically by counting 3 rounds from the top center. Sew securely, weaving in the ends.
The ears are small triangular shapes that are sewn onto the top of the kitty’s head to give it its familiar cat-like appearance.
Part 3 - Embroidering the Face
- Create the Eyes:
- Using black thread, embroider small eyes between rounds 8 and 9 with about five stitches of separation.
- Add the Whiskers:
- Embroider whiskers on each side of the face, using small horizontal and diagonal stitches for a natural look.
- Embroider the Nose:
- Using a pink or black thread, embroider a small triangle nose between the eyes.
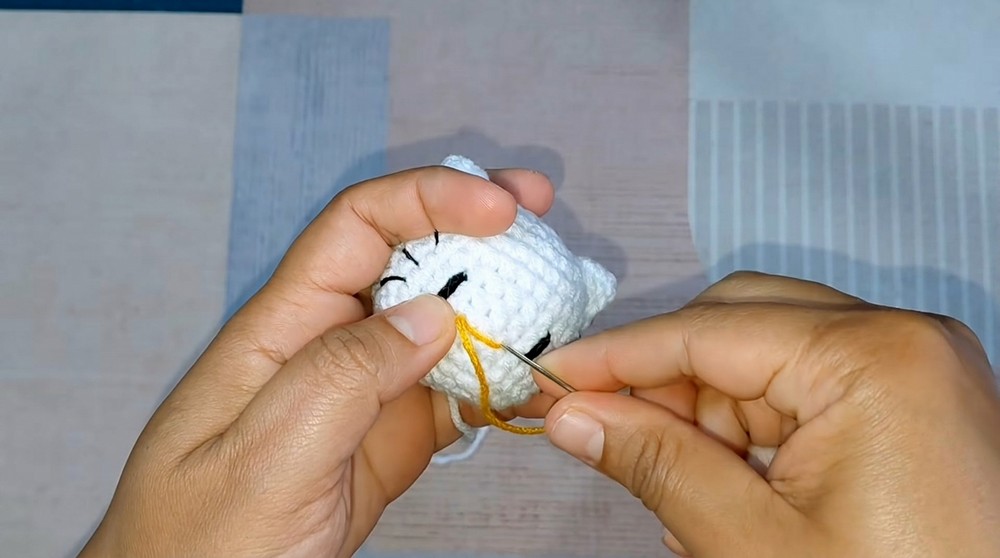
Plain Explanation:
Adding the face gives personality to your kitty. Take your time with the embroidery to ensure symmetry and precision.
Part 4 - Bow
- Magic Ring for the Bow:
- Create a magic ring and work:
- 2 ch, 2 hdc, 2 ch, sl st into the ring.
- Repeat this sequence to form the second half of the bow.
- Create a magic ring and work:
- Wrap the Middle:
- Tighten the magic ring and wrap yarn several times around the center to form the classic bow shape.
- Attach to the Kitty:
- Sew or glue the bow below one ear or at the kitty’s neck.
The bow is a simple yet adorable detail that adds character to your kitty.
Part 5 - Cupcake Assembly
- The Cupcake Base:
- Follow the same increase pattern as the head for rounds 1–5, ending with 36 sts. Then work 5 rounds of sc to build the height.
- Icing:
- Use a contrasting color and add ruffles by working alternating increases and stitches around the edges.
- Join the Cupcake Parts:
- Sew the base and the icing together, leaving room to fill with fiberfill. After stuffing, close securely.
- Add Details:
- Use yarn to create sprinkle-like designs on the icing.
- Attach the Kitty Head:
- Sew the kitty’s head to the cupcake top securely.
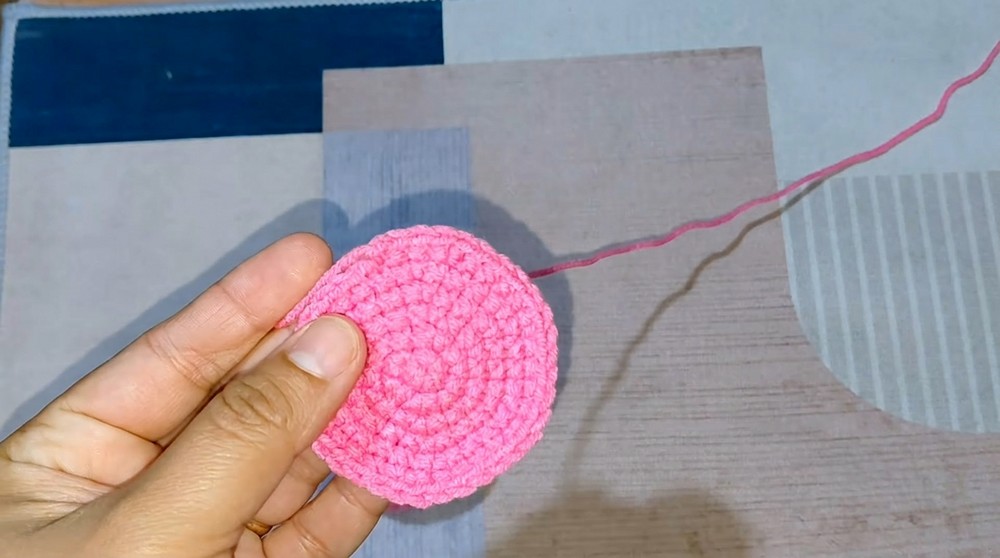
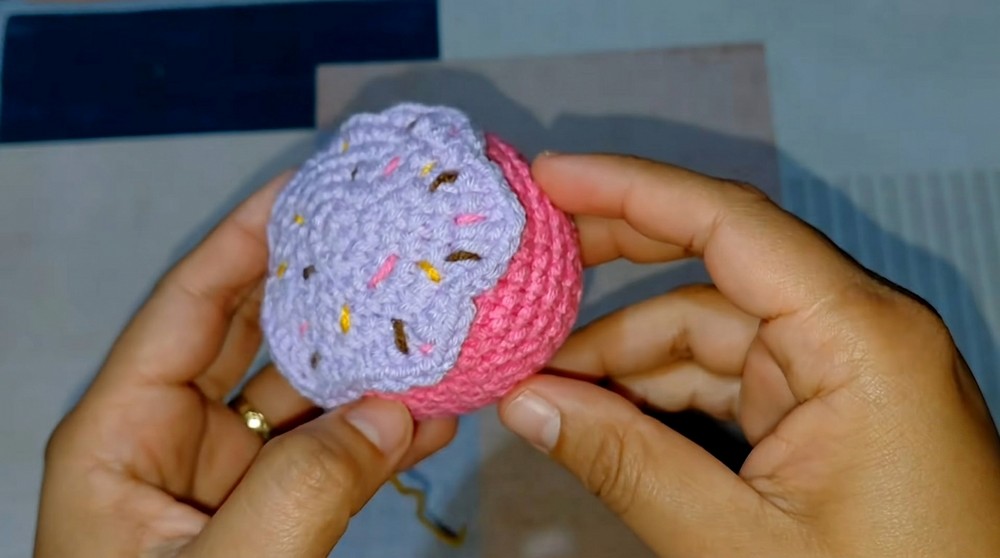
The cupcake is a fun touch! Stuffing the base and attaching it to the kitty head gives the entire project its adorable final shape.
Final Notes
Your Kitty in a Cupcake is finished! Add any final details like optional decorations or sparkles. This project is perfect for small personal gifts or creative decor. We hope you enjoyed this tutorial.
Why You’ll Love This Pattern
The Kitty in a Cupcake is a whimsical and fun project that combines the charm of cats and the sweetness of desserts into one. Customize your cupcake by experimenting with different colors, icing decorations, and even accessories for the kitty. This pattern is a delightful challenge for intermediate crocheters and results in a keepsake to share or treasure.