
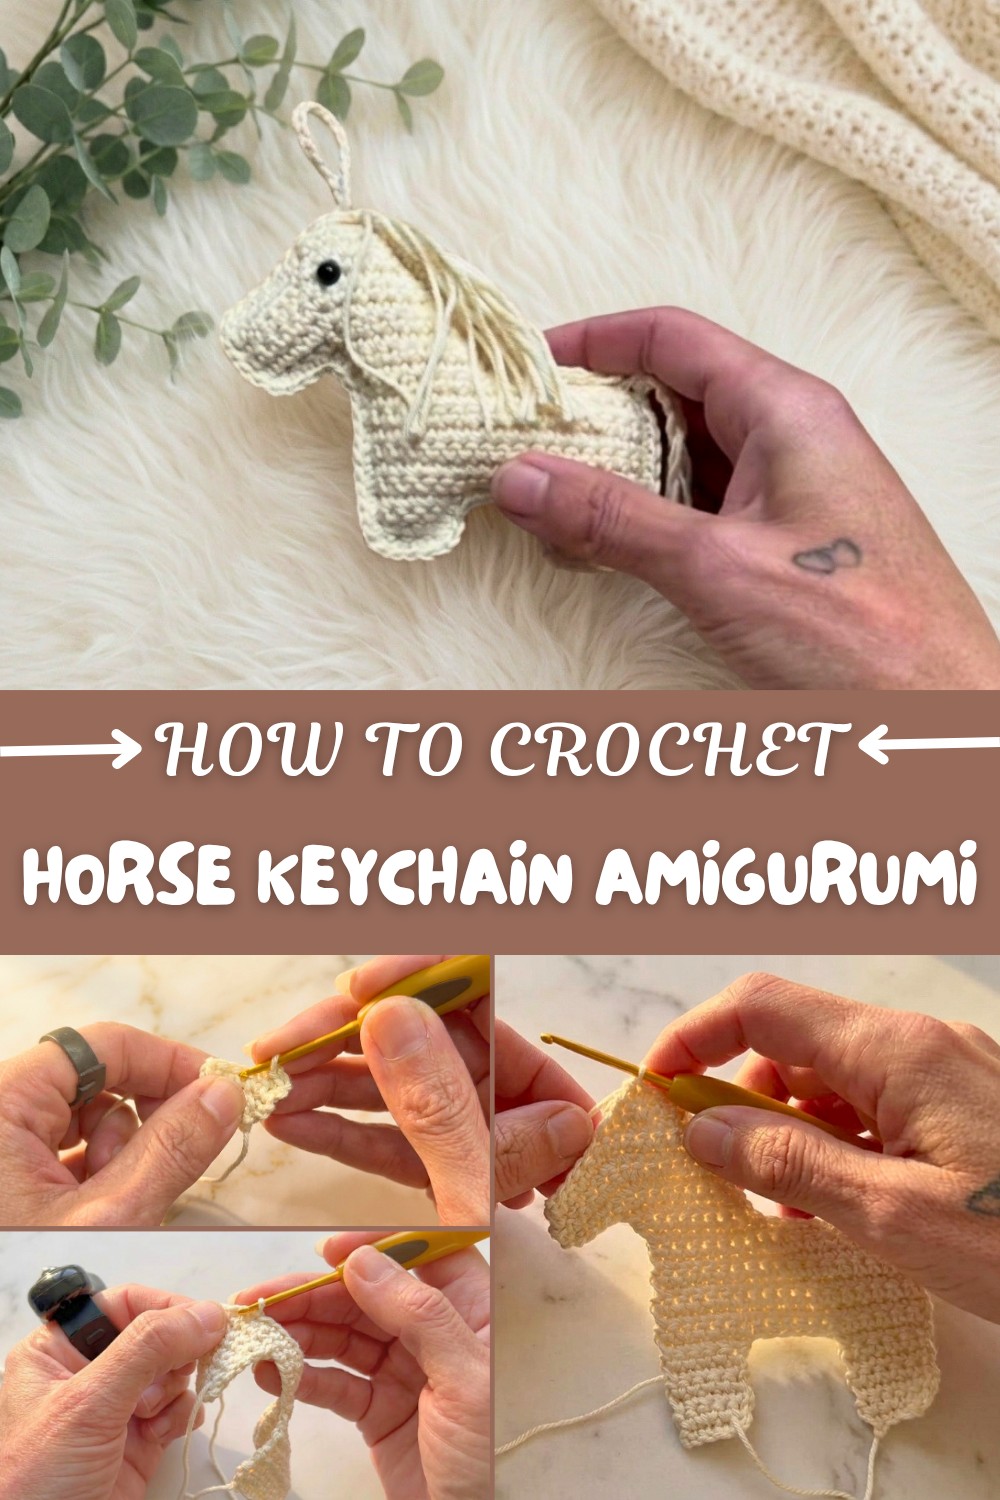
Free Crochet Horse Keychain Amigurumi Pattern - Step-by-Step
Make adorable keepsakes with this Free Crochet Horse Keychain Amigurumi Pattern that is perfect for beginners and adds charm to gifts or your everyday essentials.
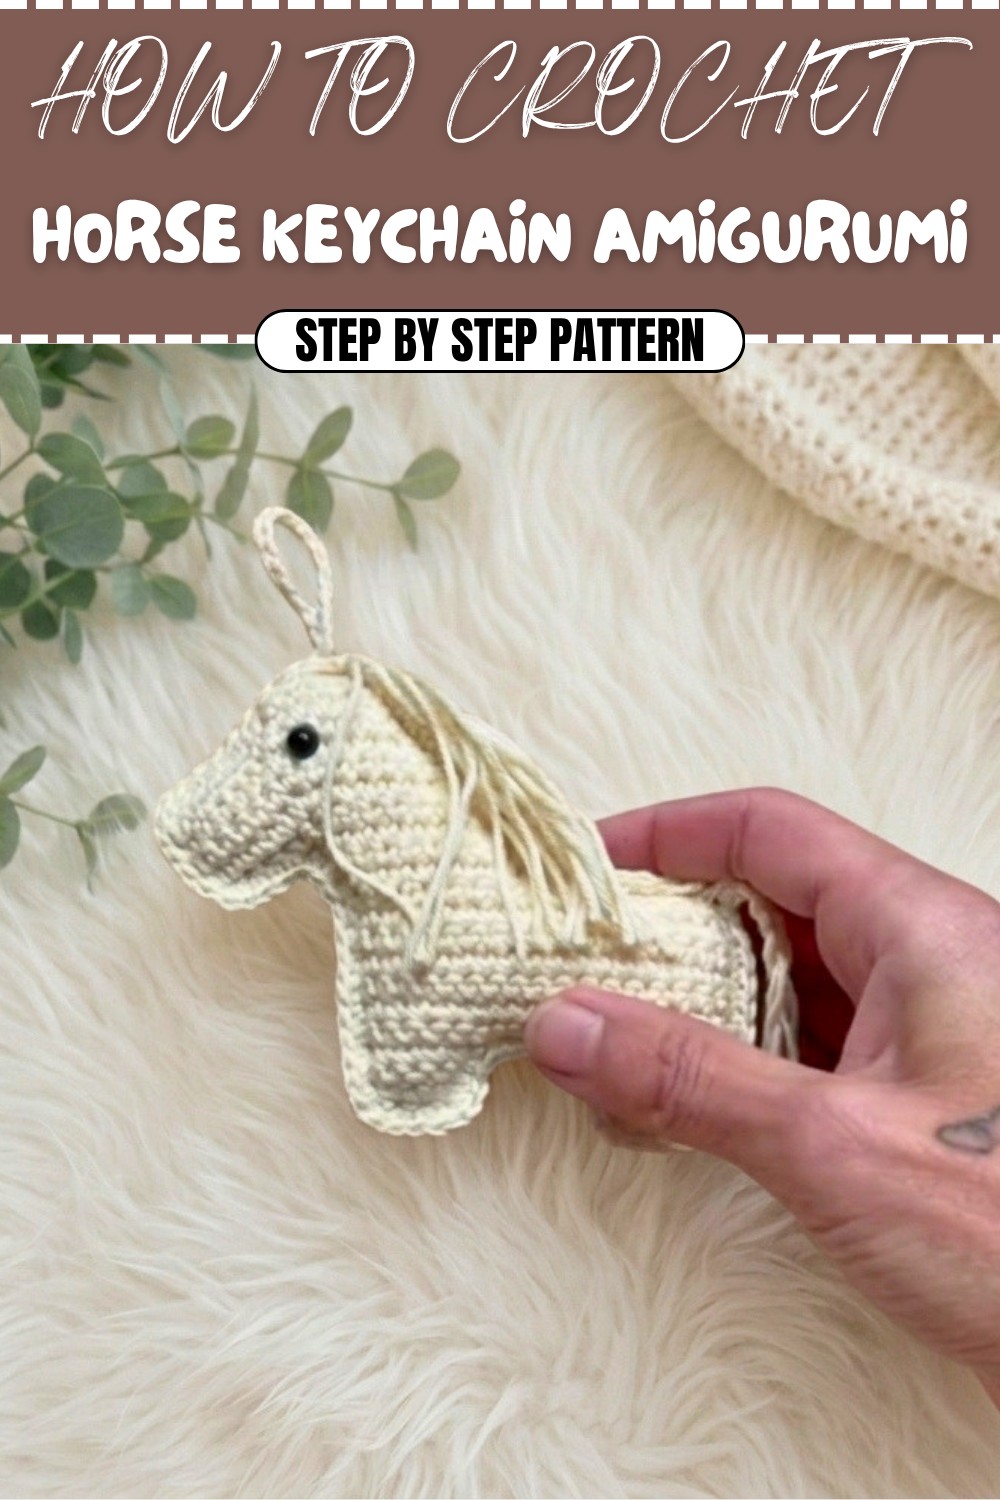
This pattern helps you make a small horse keychain that looks cheerful and playful. With round eyes, tiny ears, and a cute snout, the little horse feels both friendly and full of character. Children and adults can smile each time they see this soft toy hanging from a bag, backpack, or keys.
Crochet Horse Keychain Amigurumi Pattern Easy for Beginners
The horse is not just a keychain. From this pattern, you can make things like bag charms, backpack buddies, and even party favors. Many people use these tiny figures to decorate their rooms or to share as sweet gifts with friends. You can also make more horses and place them together as a little herd, or add a loop and use them as Christmas ornaments.
Colors and size are easy to change. Pick your favorite yarn tones: brown, grey, white, or even rainbow, so your horse is unique. Make a bigger horse by using thicker yarn, or a smaller horse with thin yarn. Add a tiny flower or bow for more style, or change the mane color for fun.
Great for beginners, this pattern helps everyone try out amigurumi and end up with a delightful horse friend. Families can make things from this pattern together and enjoy adding their own touches.
Amigurumi Horse Keychain – Step-by-Step Crochet Pattern
Create a whimsical amigurumi horse keychain that's charming, quick, and perfect as a bag charm or thoughtful handmade gift. Using only single crochet stitches and basic construction methods, this design helps develop essential amigurumi joining and shaping skills. The project consists of two flat horse-shaped pieces that are stitched together, stuffed, and adorned with safety eyes, mane, and a tail. Each step is clearly explained with tips for those new to reading patterns.
Skill Level
Intermediate
(Requires comfort with single crochet, increases, decreases, joining, and basic shaping.)
Materials & Tools
- Yarn:
- Sport weight or light worsted cotton (or similar yarn) in horse color and contrasting mane/tail color(s).
- Small amount of yarn for muzzle or other accents if desired.
- Crochet Hook: 2.5 mm recommended, or size for tight amigurumi stitches.
- Stuffing: Polyester fiberfill (also known as “watte”).
- Safety Eyes: 6 mm, or small black round beads/buttons. Hot glue or fabric glue for eyes.
- Yarn Needle
- Scissors
- Stitch Marker
- Keychain ring (optional)
Key Abbreviations
| Abbreviation | Meaning |
|---|---|
| ch | chain |
| sc | single crochet |
| inc | increase (2 sc in one stitch) |
| dec | decrease (sc 2 stitches together) |
| sl st | slip stitch |
| st(s) | stitch(es) |
| rep | repeat |
| RS | right side |
All instructions are written in US crochet terminology.
Special Notes
- Tension: Use a tight stitch to prevent stuffing from showing through.
- Mark the first stitch of each row or round to ensure accuracy.
- Stuff as you go: The horse is stuffed while sewing the two body pieces together.
- Eyes: If using safety eyes, trim backings and glue in place safely.
Finished Size
Approx. 8 cm (3”–3.5”) tall at highest point when made with sport weight yarn and a 2.5 mm hook.
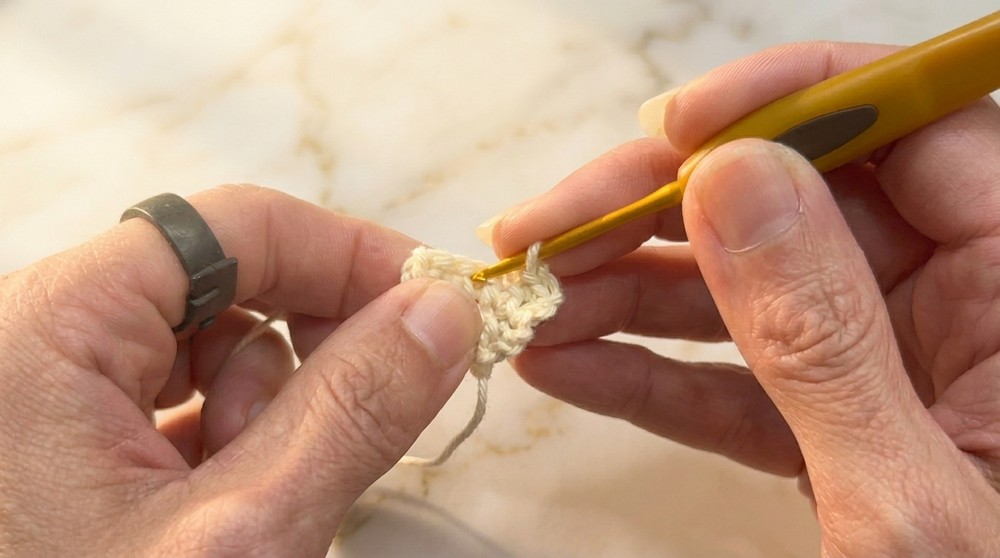
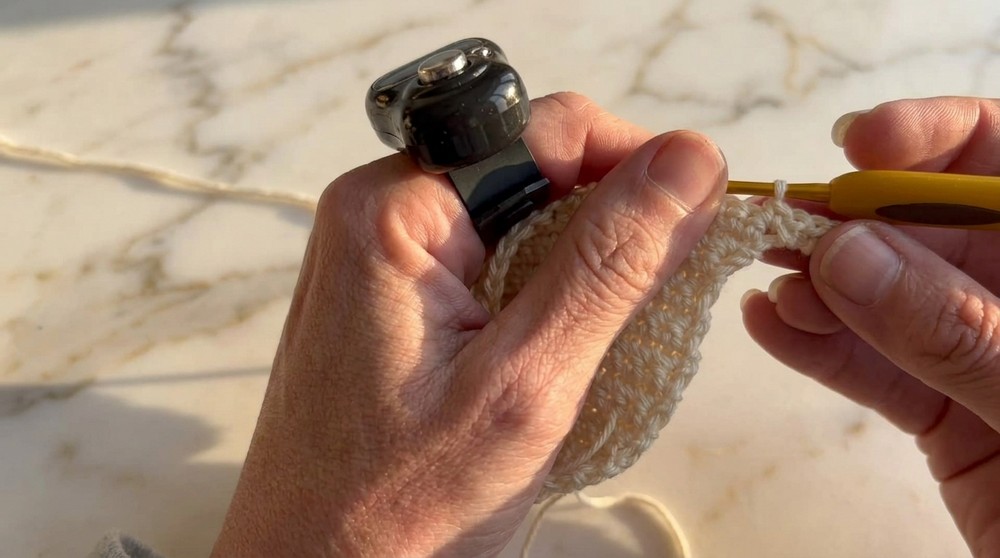
LEG PANEL (Make 2 Panels—Front and Back)
1
- Row 1:
- Slip knot, ch 5
- Starting in 2nd ch from hook: sc in next 4 sts (4 sts)
- Row 2:
- Ch 1, turn
- Sc in first st
- Inc in next st (2 sc in the same st)
- Sc in next 2 sts (5 sts total)
- Row 3:
- Ch 1, turn
- Sc in each st across (5 sts)
- Row 4:
- Ch 1, turn
- Sc in each st across (5 sts)
- Row 5:
- Ch 1, turn
- Sc in each st across (5 sts)
- Row 6:
- Ch 1, turn
- Sc in each st across (5 sts)
- Fasten off and set aside.
2
- Repeat Leg 1, but do not fasten off after Row 6; continue straight to joining.
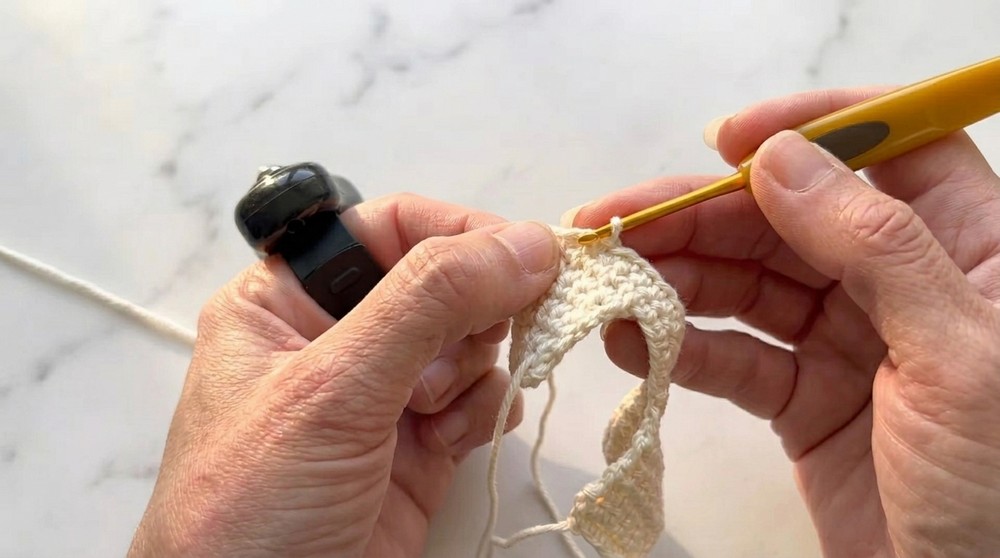
JOIN LEGS AND BEGIN BODY
- Row 7:
- Ch 1, turn
- Inc in first st (2 sc in the same st)
- Sc in next 4 sts (6 sts)
- Ch 6 (belly bridge)
- Take Leg 1, sc in first 2 sts
- Sc in next 4 sts (6 sts on second leg)
- 6 (second leg) + 6 (chain bridge) + 6 (first leg) = 18 sts
BODY
For the next rows, always:
- Ch 1, turn. Sc in each st across.
- There should be 18 sts per row.
- Rows 8–13:
- Repeat as above for each row (18 sc)
NECK & HEAD SHAPING
- Row 14:
- Ch 1, turn
- Sc in next 16 sts
- Dec over last 2 sts (17 sts)
- Row 15:
- Ch 1, turn
- Dec over first 2 sts
- Sc in next 14 sts
- Inc in last st (17 sts)
- Row 16:
- Ch 1, turn
- Inc in first st
- Sc in next 6 sts
- Dec over next 2 sts
- Sc in next 6 sts
- Inc in last st (18 sts)
- Row 17:
- Ch 1, turn
- Dec over first 2 sts
- Sc in next 6 sts
- Inc in next st
- Sc in next 6 sts
- Inc in last st (18 sts)
SNOUT AND FINAL SHAPING
- Row 18:
- Ch 1, turn
- Sc in next 5 sts
- Inc in next st
- Sc in next 5 sts
- Dec over next 2 sts
- Sc in last 5 sts (17 sts)
- Row 19:
- Ch 1, turn
- Dec over first 2 sts
- Sc in next 5 sts
- Inc in next st
- Sc in next 5 sts
- Inc in last st (17 sts)
- Row 20:
- Ch 1, turn
- Sc in next 5 sts
- Inc in next st
- Sc in next 5 sts
- Dec over next 2 sts
- Sc in last 4 sts (16 sts)
- Row 21:
- Ch 1, turn
- Dec over first 2 sts
- Sc in next 5 sts
- Inc in next st
- Sc in next 5 sts
- Inc in last st
- Sc in last 4 sts (18 sts)
- Row 22:
- Ch 1, turn
- Sc in next 6 sts
- Inc in next st
- Sc in next 4 sts
- Dec over next 2 sts
- Sc in last 4 sts (17 sts)
- Row 23:
- Ch 1, turn
- Dec over first 2 sts
- Sc in next 4 sts
- Dec over next 2 sts
- Sc in last 4 sts (14 sts)
- Row 24:
- Ch 1, turn
- Dec over first 2 sts
- Dec over next 2 sts (two decreases in a row)
- Fasten off.
KEYCHAIN LOOP (Optional, on ONE Panel Only)
- After Row 24, ch 20,
- Sl st in the body panel near head, ch 1, fasten off.
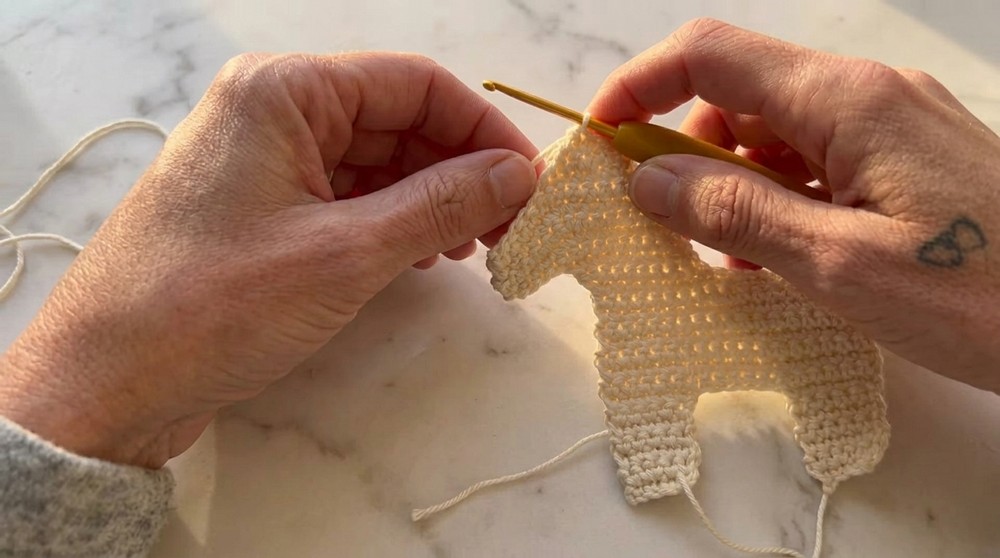
ASSEMBLY
- Make two identical panels following steps above (one with loop).
- Place panels right sides together.
- Join panels with sc or whipstitch around edge, stuffing as you go.
- Use extra sc at corners/curves for shaping.
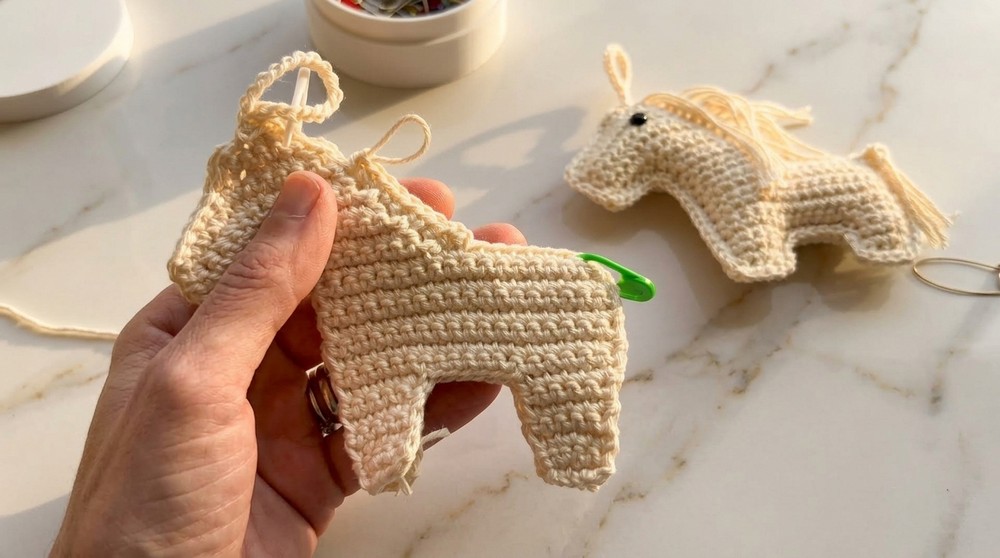
Conclusion
Congratulations on completing your amigurumi horse keychain! You now have a delightful, durable, and charming accessory. This project teaches key amigurumi construction techniques—flat panel joining, subtle shaping via increases/decreases, and fun embellishments—while allowing for plenty of creativity.
Pattern Correction and Tips
- Correction:
Be sure every row of both body pieces has the same stitch count, especially after increases/decreases. Mark your rows if needed. - Assembly:
Corners and curves: add an extra sc as needed for smoothness. Stuff as you go, not all at once, to avoid lumps. - Tip:
For the mane and tail, cut strands longer than you think you need; trim after attaching.
The keychain loop can be ch 15–25 to suit your desired length. - Eyes:
Trim backings if needed and always glue securely for safety and long-lasting hold. - Customization:
Use color changes, spots, or a browband to create different horse “breeds” or accessories.