
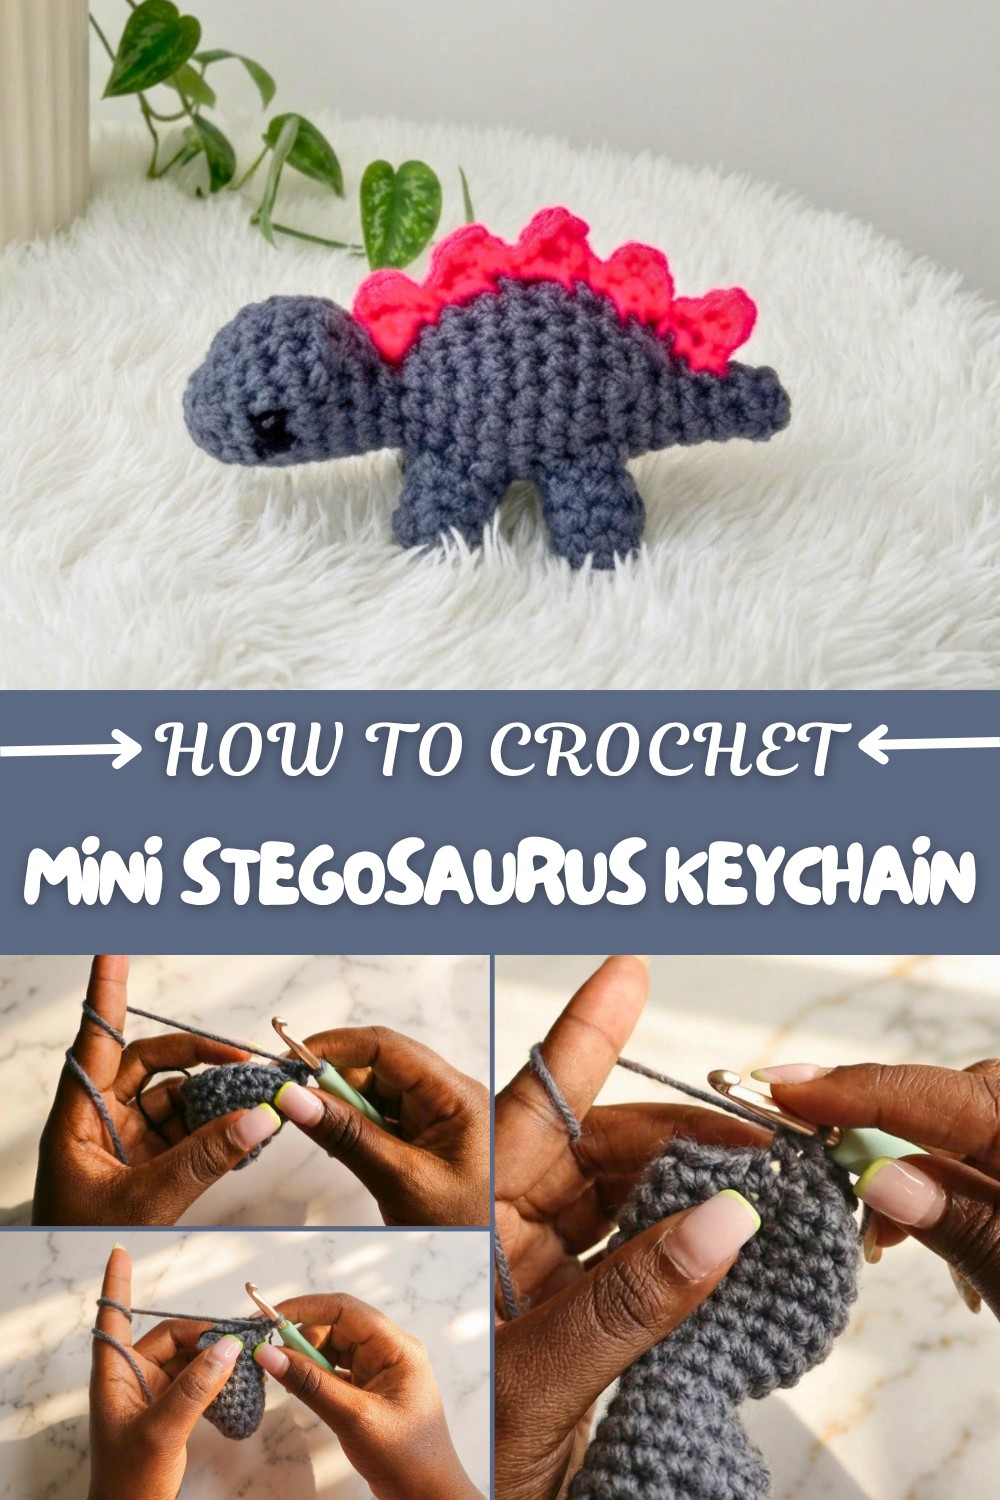
Free Amigurumi Crochet Mini Stegosaurus Keychain Pattern
What’s more fun than adding a splash of dino-magic to your everyday routine? With the Free Crochet Mini Stegosaurus Keychain Pattern, you’ll have the chance to whip up your own pocket-sized friend, just the thing for brightening up backpacks, keyrings, or gifting to your favorite dinosaur fan. This project is a delight whether you’re brand-new to crochet or have a basket of finished critters at home. The miniature design means you can finish your adorable stegosaurus in just a few sessions, making it a feel-good way to start or end your day with creativity. Every part feels rewarding, from shaping the head and body to stitching on quirky little spikes.
Color Play:
- Classic green with yellow or orange spikes.
- Gray, Soft pastels like turquoise with pink or lavender.
- Variegated or striped yarn for a multicolor effect.
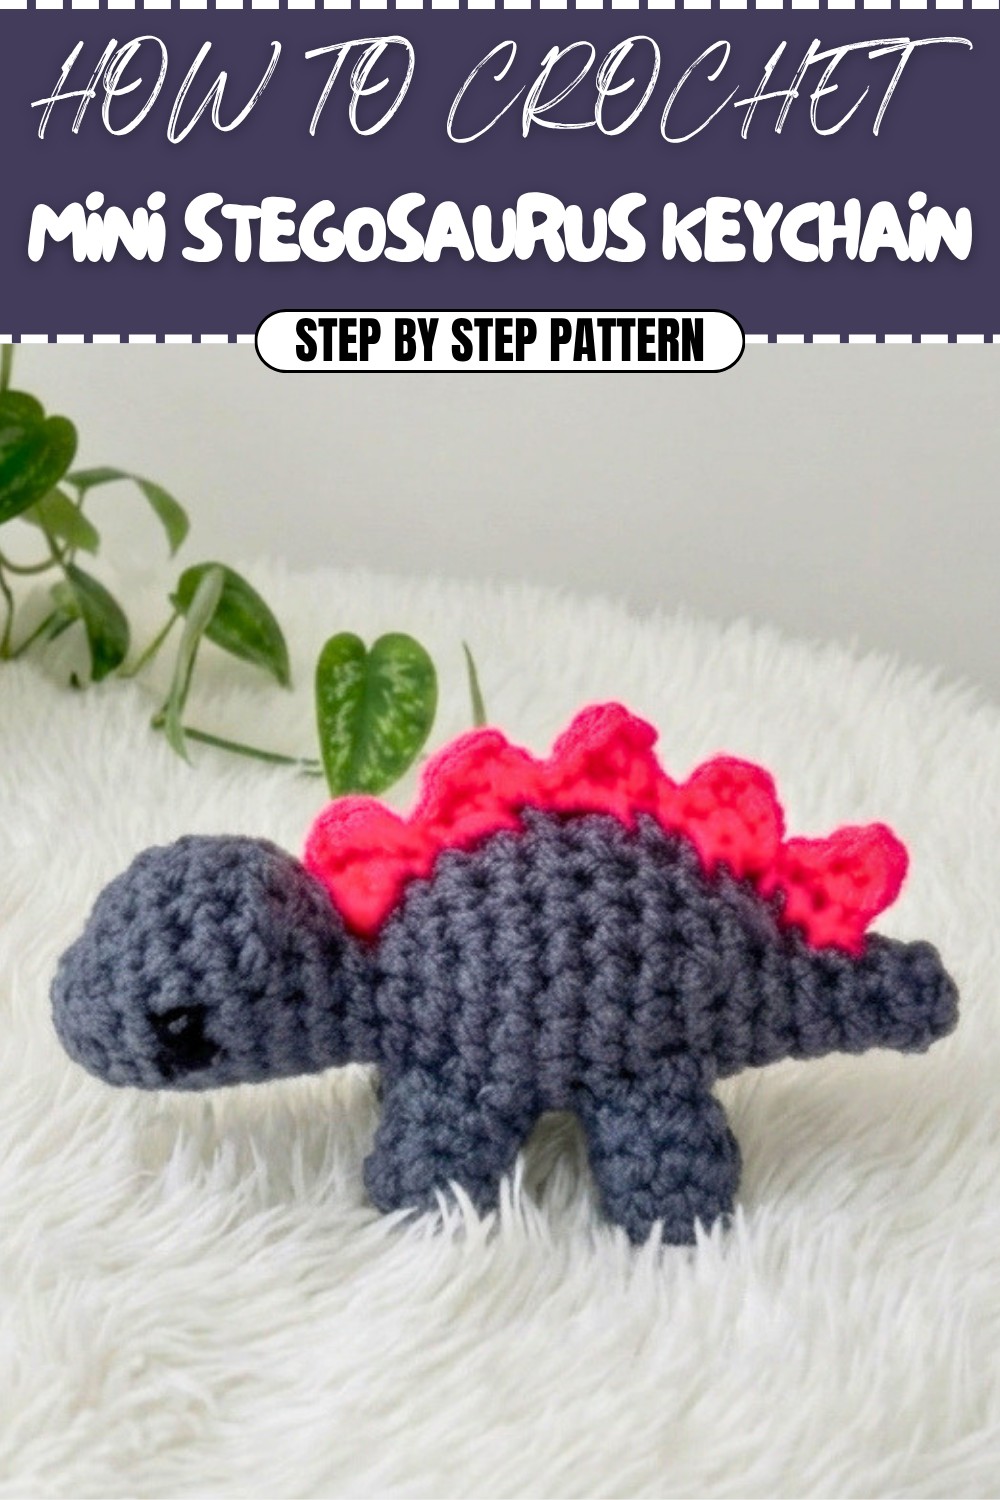
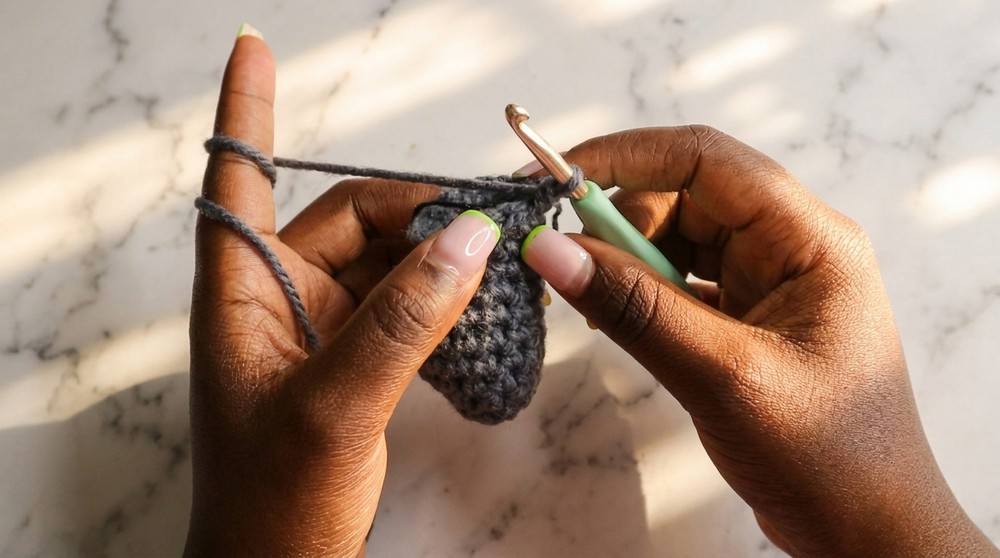
Adorable Mini Stegosaurus Keychain Crochet Free Pattern
Each finished stegosaurus stands out with its rounded head, playful back plates, and soft, sturdy legs—details that really pop through simple stitches. Pick cotton or acrylic yarn for the best stitch definition and colors. The main techniques at play are single crochet and the magic ring start, while the spikes add a splash of texture with a few half double crochets. Quick tweaks with colors, yarn thickness, or sizes let you turn the foundation into other charming items like backpack charms, desk critters, or dino magnets. Just a change here or there, and you’ve got a completely new playful pal to show off.

What’s in the pattern:
- Start with a magic ring for the head and body.
- Best results come from a 2.5mm or 3mm hook.
- Use lightweight cotton or acrylic yarn.
- Major stitches: single crochet, magic ring, and half double crochet for spikes.
- Pattern can also be adjusted for plushies, magnets, bag charms, and more.
When you follow these instructions and tips, common issues like wobbly spikes or misaligned legs are easily fixed with a few extra stitches or careful placement. You’ll end up with a sturdy, adorable dinosaur keychain, about 2-3 inches in length—ready to send a smile wherever it goes.
Crochet Stegosaurus Dinosaur
This darling stegosaurus is perfect for dinosaur-loving kids (or adults!). Its friendly shape, chunky legs, and iconic spikes will make your crochet project stand out. This pattern walks you through each step to make the head, body, tail, spikes, and legs. Even new crocheters can confidently craft their own dino buddy! Pick bright colors and show off your handmade creativity.
Skill Level & Terminology
- Skill Level: Beginner
- Terminology: US crochet terms
Materials & Tools
- Worsted weight yarn in main color (body), spike color, and a bit for eyes (approx. 40g)
- 3.5–4 mm crochet hook
- Yarn needle
- Scissors
- Stitch marker (optional)
- Fiberfill stuffing (for body and legs if desired)
- (Optional) Fabric glue (for attaching spikes)
Gauge
Gauge is not crucial for this project.
- For reference: After row 6 of the body, piece should measure about 2" (5 cm) wide.
Finished Size
- About 5–6" (13–15 cm) long from nose to tail.
Abbreviations
| Abbreviation | Meaning |
|---|---|
| ch | chain |
| sc | single crochet |
| hdc | half double crochet |
| dec | decrease |
| st(s) | stitch(es) |
| sl st | slip stitch |
| MR | magic ring |
| BLO | back loop only |
| inc | increase (2 sc in same st) |
Special Stitch Instructions
Magic Ring (MR):
Make a loop, insert hook, yarn over and draw up a loop, ch 1, then work required sc into ring.
Increase (inc):
Work 2 sc in the same stitch.
Decrease (dec):
Insert hook in next stitch, yarn over and pull up a loop; insert hook in next stitch, yarn over and pull up a loop; yarn over, pull through all three loops.
Back Loop Only (BLO):
Work only into the back loop of the stitch.
Pattern Instructions
Part 1: Head, Body & Tail (worked as one piece)
HEAD
Round 1:
Make a magic ring. Work 8 sc into the ring. Pull tight. Place marker.
(8 sts)
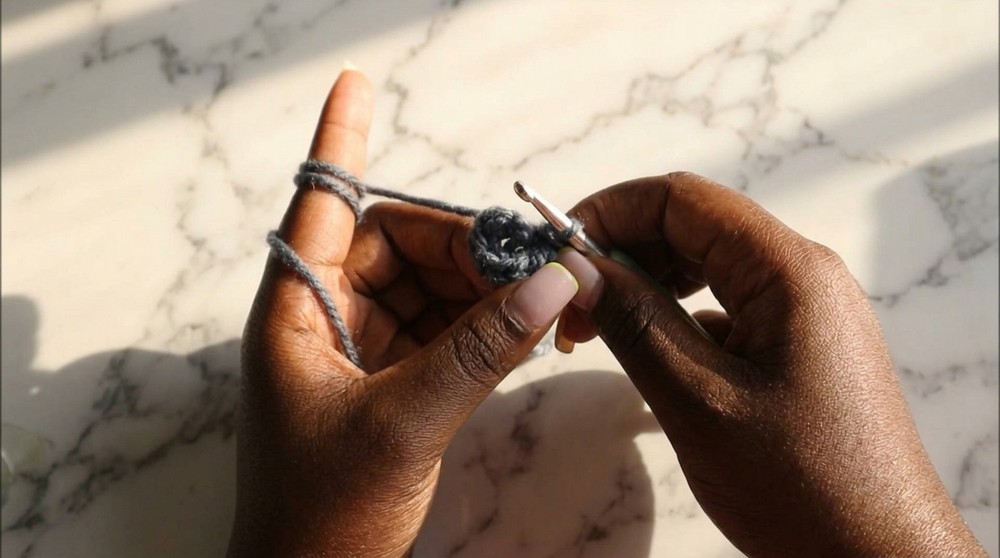
This step forms the rounded head. Beginners: a magic ring makes a neat center—just follow instructions carefully!
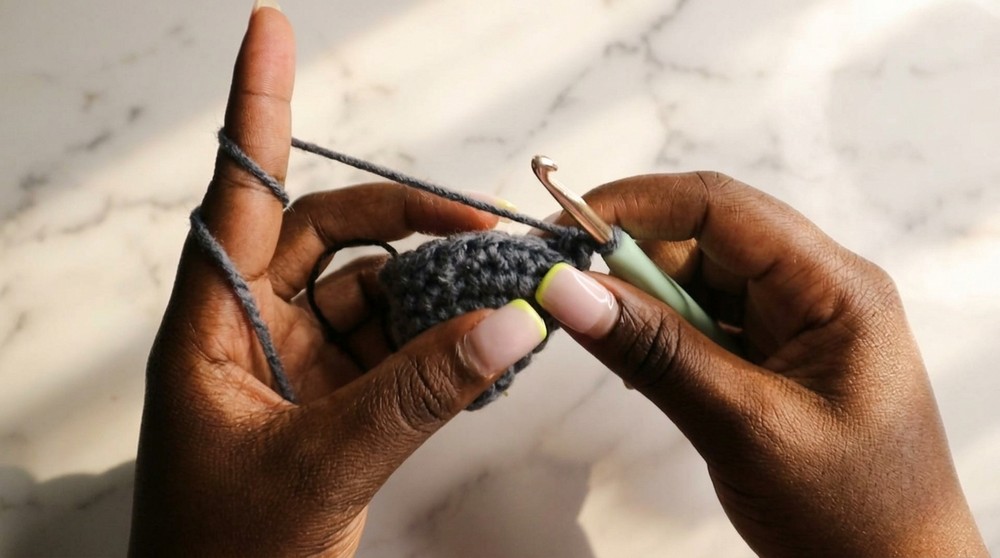
Round 2:
Work 1 sc in each stitch around.
(8 sts)
You're building up the head’s shape. Simply work into every stitch.
Round 3:
Sc in next 3 sts.
3 sc in next st (inc x3 in one st).
3 sc in next st (inc x3 in one st).
Sc in remaining 3 sts.
(12 sts)
The ‘triple increase’ makes the head bigger in two places, forming the cheeks/nose shape.
Round 4:
Sc in next 4 sts.
Inc in next 4 sts (2 sc in each of 4 sts).
Sc in remaining 4 sts.
(16 sts)
Four increases in a row add width—your dinosaur is getting chubby!
Rounds 5–6:
Sc in each st around.
(16 sts, 2 rounds)
These rounds keep the head/body shape rounded and stable.
SHAPE THE NECK & BODY
Round 7:
Sc in next 4 sts.
Dec over next 8 sts (work 4 decreases).
Sc in last 4 sts.
(12 sts)
Decreases start to shape the neck and join the body area.
Round 8:
Sc in next 3 sts.
Dec over next 6 sts together (special decrease: pull up loop in 3 consecutive sts, yarn over and pull through; repeat once).
Sc in last 3 sts.
(8 sts)
This tight decrease makes the neck even thinner for a cute look.
Round 9:
Sc in each st around.
(8 sts)
Now your head and neck are ready—stuff the head before continuing!
BODY
Round 10:
Sc in next 3 sts. Inc in next 3 sts. Sc in last 2 sts.
(11 sts)
Building up the body: increases widen the dinosaur.
Round 11:
Sc in next 3 sts.
[Sc in 1, inc in next] x3
Sc in last 2 sts.
(14 sts)
Round 12:
Sc in next 3 sts.
[Sc in 2, inc] x3
Sc in last 2 sts.
(17 sts)
Round 13:
Sc in next 3 sts.
[Sc in 3, inc] x3
Sc in last 2 sts.

(20 sts)
Each time you add more increases, the body gets longer and wider.
Rounds 14–15:
Sc in each st around.
(20 sts, 2 rounds)
This makes the body smooth and round.
TAIL DECREASES
Round 16:
Sc in next 5 sts. [Sc in 3, dec] x3
(17 sts)
Round 17:
Sc in next 5 sts. [Sc in 2, dec] x3
(14 sts)
Round 18:
Sc in next 5 sts. [Sc, dec] x3
(11 sts)
Round 19:
Sc in next 5 sts. Dec x3
(8 sts)
Round 20:
Sc in each st around.
(8 sts)
Your tail should be small and tidy. Stuff the body well for shape!
TAIL END
Round 21:
Sc in next 6 sts. Dec
(7 sts)
Round 22:
Sc in next 5 sts. Dec
(6 sts)
Round 23:
Sc in next 4 sts. Dec
(5 sts)
You do not need to stuff the tip of the tail. Fasten off, slip stitch, and cut yarn.
You’ve completed the main body. Congratulations! Every round builds up either the head, body, or tail. Don’t forget to stuff before closing each section.
Part 2: Spikes (For back)
Make 5 total spikes.
Spike pattern:
- Ch 3.
- Starting in 2nd ch from hook, sc in 1st ch, hdc in next ch.
- Ch 1, fasten off.
- Repeat for 5 spikes in total.
Each spike is a quick triangle. Arrange them on the back before sewing. Beginners: you can sew them with a needle or glue in place!
Part 3: Legs (Make 4)
LEG
Round 1:
- Magic Ring, 8 sc into ring.
Round 2:
- Sc in BLO (back loop only) in each stitch around.
(8 sts)
Round 3:
- Sc in next 2 sts. Dec x2. Sc in last 2 sts
(6 sts)
Round 4:
- Sc in each st around
(6 sts) - Fasten off, leave a long tail for sewing.
- Lightly stuff each leg for shape.
Each leg is tiny and quick! Work in back loop for a defined bottom edge. You’ll need to make four.
Part 4: Assembly & Finishing
Final Assembly Steps:
- Attach Spikes:
- Center spikes along body from head, mid-back, to tail tip.
- Use yarn needle or fabric glue for secure placement.
- Attach Legs:
- Sew back legs to sixth row from tail.
- Sew front legs to fourth row from neck.
- Eyes:
- Use embroidery floss or yarn to embroider eyes on the head.
Everything comes together at the end: spikes go on top, legs evenly spaced underneath, and eyes at the head. Place everything before sewing for best results.
Congratulations:
you’ve finished your adorable stegosaurus! Each step builds on the last: head, body, tail in one piece; spikes and legs separately and then attached. If you're new to patterns, just follow one small step at a time, and check your work after each section. If you have any questions, feel free to ask in the comments.
Tips for Beginners:
- If unfamiliar with magic ring or increases/decreases, check videos or diagrams online.
- Stuff as you go for best results.
- Use pictures to visually compare your piece after each section.