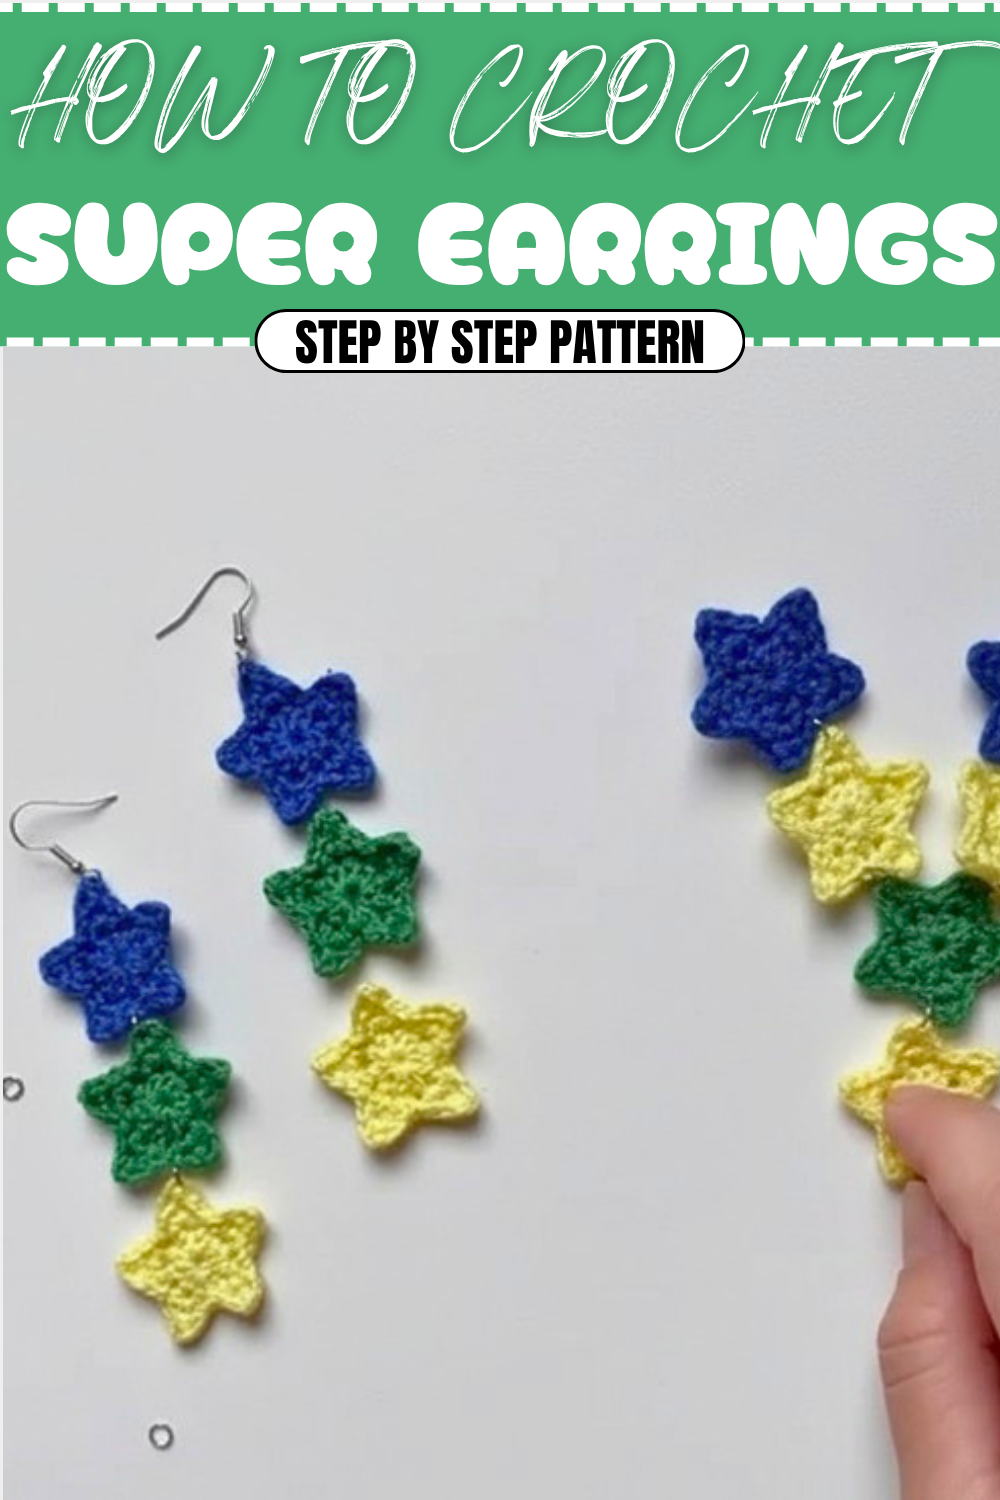
How to Crochet Super Earrings Pattern to Add Flair to Any Outfit
Learn the Art of Crochet Super Earrings Pattern for a Fresh Style Boost
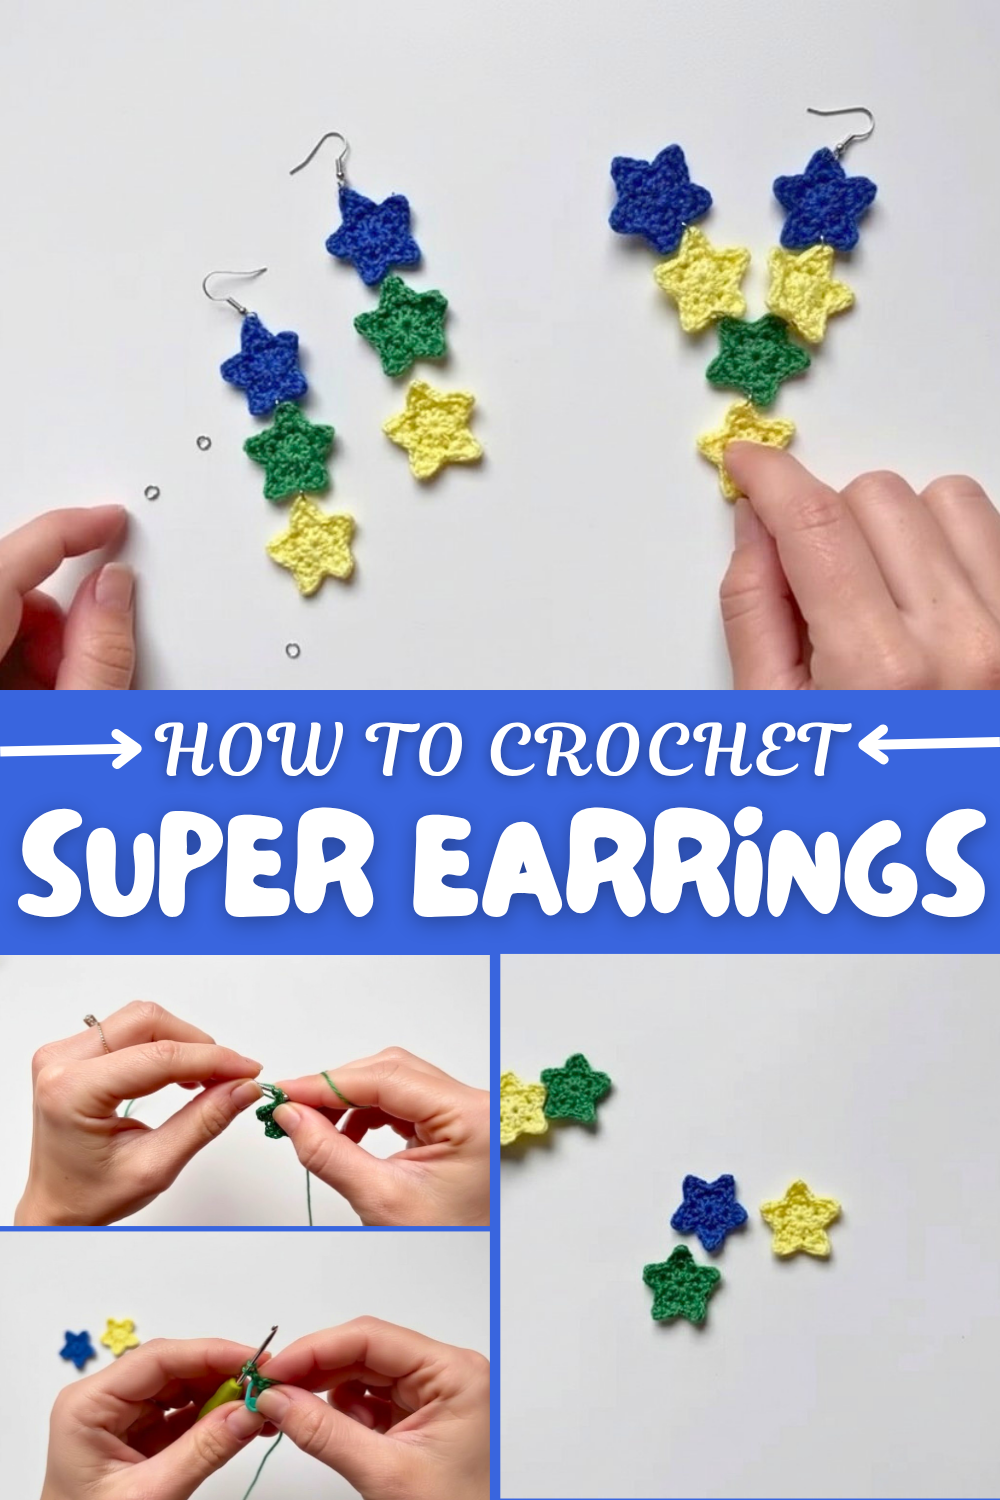
Starting with a magical little loop, you'll build around ten half double crochet stitches to form a tight circle. Then, alternating between single and double crochet stitches creates the star’s sharp points while keeping the piece flat and structured. Stitch markers help keep track of where each point begins and ends, making the pattern easy to follow step-by-step. The finishing touches involve closing the magic ring tight and tidying up loose ends with a tapestry needle. Once completed, these airy stars can be glued to hair clips or attached to earring hooks, turning simple yarn into bright, wearable art.
More Ways to Use This Pattern
The stitches and shape can also inspire other creative projects. You could turn these stars into cute brooches, fun keychains, or even string multiple stars together to make garlands or necklaces. The technique works wonderfully with different yarn weights and colors, so small gifts or decorations can be made for all occasions, from birthdays to holidays. Playing with this versatile pattern is a delightful way to learn crochet basics while making charming little stars for all your crochety ideas.
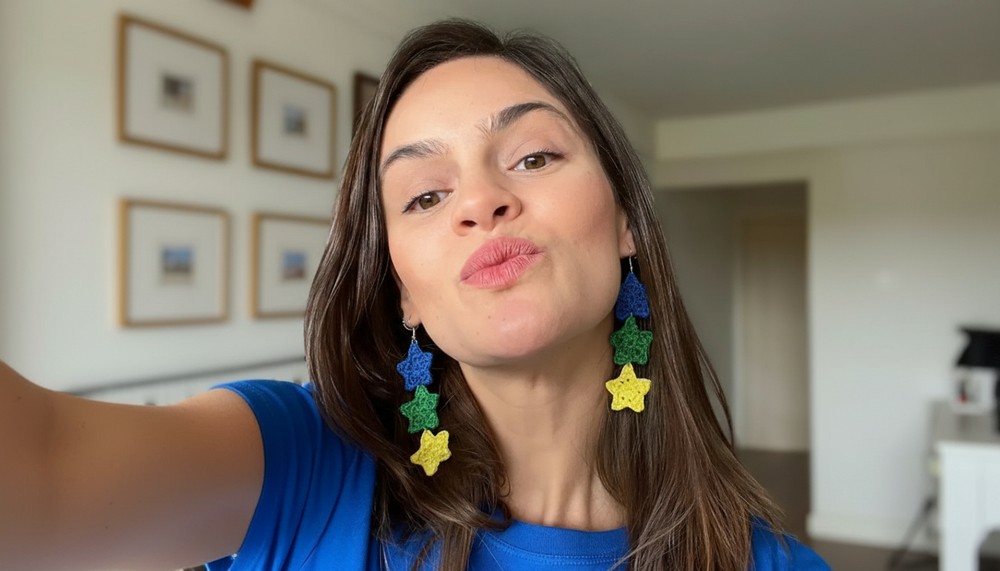
Crochet Mini Star Pattern – Hair Clip and Earring Tutorial
This step-by-step crochet pattern will guide you through creating adorable mini stars that can be used for hair accessories, earrings, or embellishments for other projects like clothing or home décor. Whether you’re making gifts, unique earrings, or decorative accents, this versatile and beginner-friendly pattern will surely spark your creativity!
This pattern creates mini crochet stars that can be easily customized for a variety of uses, including hair clips, earrings, appliqués, or even festive decorations. The finished stars are versatile, lightweight, and perfect for small crochet projects that are fun and quick to complete.
What You'll Learn
- Starting your work with the magic ring technique.
- Creating five-pointed stars using simple increases and decreases.
- Adding decorative details to stars for jewelry or accessory projects.
Skill Level:
Beginner – Simple stitches such as half double crochet (hdc), single crochet (sc), and slip stitches (sl st) are used.
Terminology: Written in US crochet terms.
Materials & Tools
- Yarn: Anne yarn in the colors of your choice (lightweight cotton).
- Hook Sizes: 1.75mm or 2mm crochet hook.
- Note: A smaller hook size creates a tighter and smaller star, while a larger hook makes it slightly larger and looser.
- Tapestry Needle: For weaving in ends and assembling stars.
- Scissors: For cutting ends neatly.
- Optional Accessories: Hair clip base, earring hooks, jump rings, and pliers (for creating earrings).
Gauge
Gauge is not critical for this project, as the size of the stars will vary depending on your tension and chosen hook size. However, the approximate dimensions:
- Using a 2mm hook: ~1.5 inches across.
- Adjust the number of rounds or tension for larger or smaller stars.
Abbreviations List
Here’s a helpful dictionary of the crochet stitches used in this pattern:
- ch: Chain
- sl st: Slip Stitch
- sc: Single Crochet
- hdc: Half Double Crochet
- yo: Yarn Over
Special Stitch Instructions
- Magic Ring: A magic ring (or adjustable loop) begins this pattern. It allows for tight closure at the center of the star.
- To make: Form a loop with your yarn, insert the hook through the ring, pull up a loop, and chain 1 to secure.
- Half Double Crochet (hdc): YO, insert hook into stitch, YO, pull through (3 loops on hook), YO again, and pull through all 3 loops.
Finished Size
- Using a 1.75mm hook: Approximately 1.3 inches in diameter.
- Using a 2mm hook: Approximately 1.5 inches in diameter.
Why You’ll Love This Project
- Quick & Easy: Finish one star in just 10–15 minutes!
- Customizable: Choose any color combination or size.
- Versatile: Use as earrings, on hair clips, or even as appliqués or festive ornaments.
The Pattern
Part 1: Begin with the Magic Ring
- Start with a magic ring.
- Form a loop with your yarn, insert the hook into the ring, grab the yarn, pull up a loop, and make 1 ch to secure.
- Round 1:
- Ch 2 (counts as 1 hdc).
- Work 10 hdc into the magic ring.
- Pull the magic ring tightly to close and join with a sl st into the top of the ch 2.
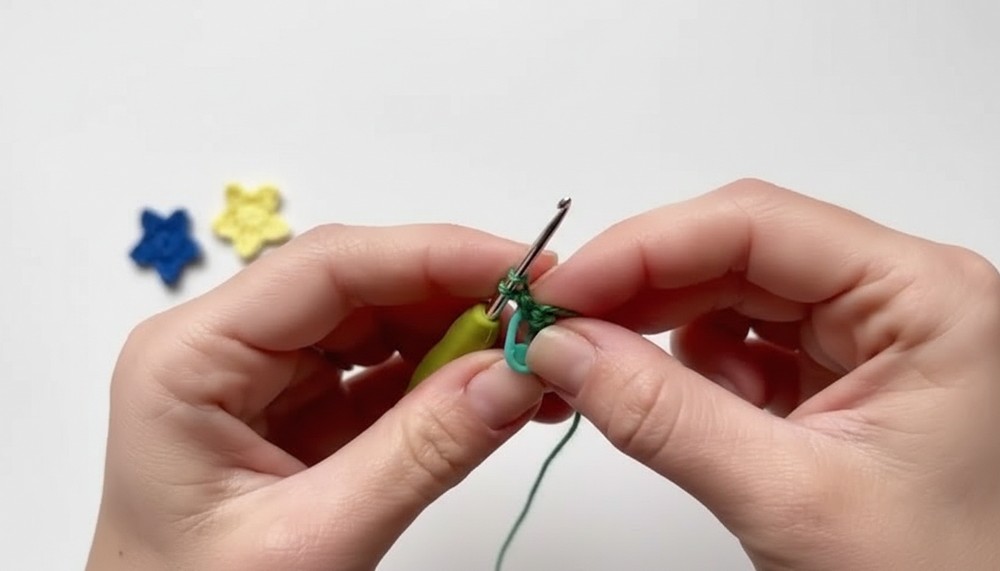
Notes for Beginners: This round forms the foundation circle of the star. Be sure to check that your magic ring closes tightly to eliminate gaps at the center.
Part 2: Forming the Points of the Star
- Point 1:
- Work into the next st:
- 1 sc → 1 dc (all in same stitch).
- Insert the hook through the front two loops of the dc and work 1 sc.
- Return to the base and make 1 sc again.
- In the next stitch of the circle base, make a sl st to anchor the first point.
- Work into the next st:
- Repeat for the Remaining Points:
- In each of the next 4 stitches, repeat the following pattern:
- 1 sc
- 1 dc at the same stitch
- 1 sc through the first two loops of the dc
- 1 sc into the base
- Sl st into the next stitch of the circle.
- In each of the next 4 stitches, repeat the following pattern:
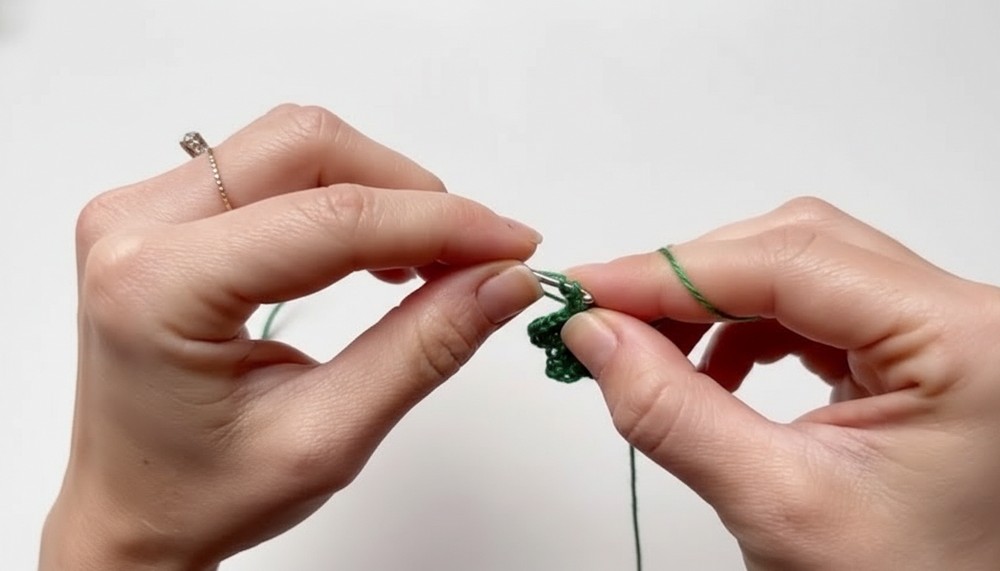
By the end, you’ll have five points for your star.
Part 3: Secure and Finish the Star
- At the end of the last star point:
- Complete a sl st into the next stitch.
- Trim the yarn, leaving a small tail for finishing. Pull the yarn through the last loop to secure.
- Weave in the Ends:
- Use a tapestry needle to pull the loose ends through the back loops of your stitches.
- Ensure the magic ring's tail is snug before trimming.
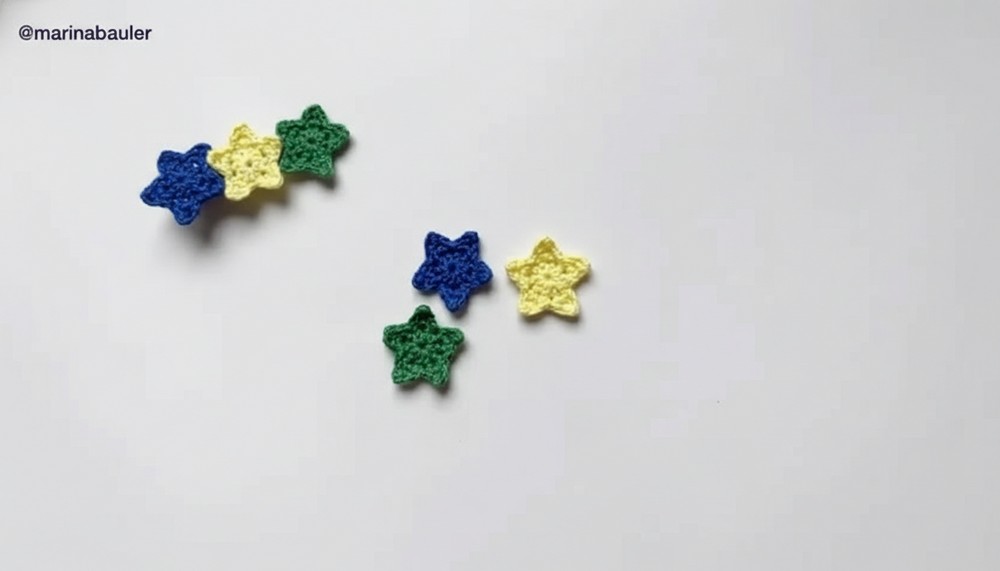
Beginners' Tip: Tug gently as you pull the finishing yarn to maintain the star’s shape.
Assembly & Finishing Options
Option 1: Hair Clip
- Use hot glue or super glue to attach the star(s) to a hair clip base.
- Gently press and let it dry before use.
Option 2: Earrings
- Attach a jump ring to the top of the star using small pliers.
- Attach an earring hook to the jump ring and close tightly.
- Repeat for your second star to make a pair!
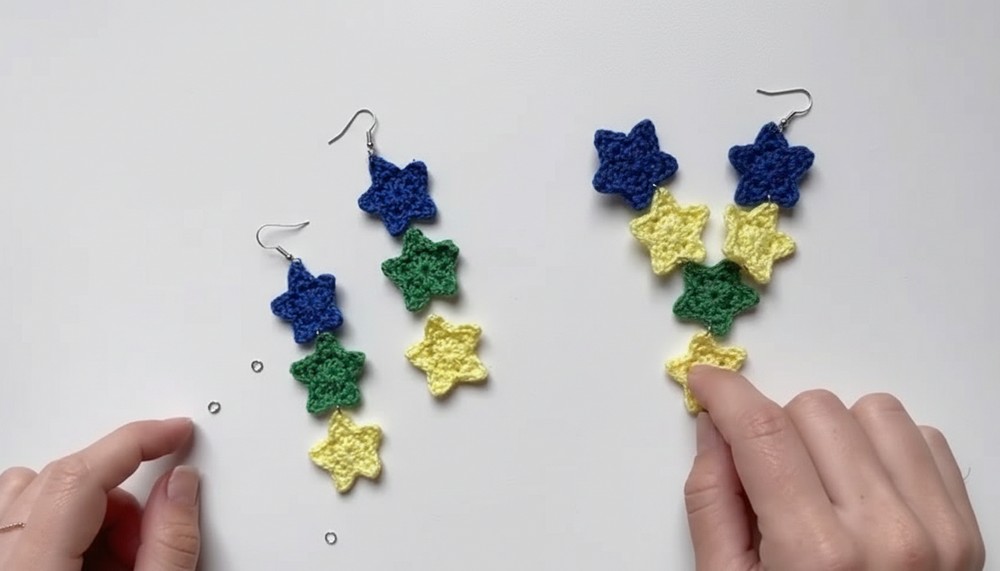
Customization Tip: Add multiple stars on a single jumper ring or use different colored stars for a unique, festive look!
FAQs for Beginners
- Why is my star not lying flat?
Adjust your tension or use blocking to shape the star perfectly after finishing. - Can I use different yarn?
Definitely! Experiment with different fibers and colors for varied textures and effects. - How do I use stars for other projects?
Great question! Sew stars onto shirts, shorts, bags, or accessories for personalized flair.
Final Thoughts
This pattern is an excellent beginner-friendly project for those just starting with crochet. It’s quick, uses only a small amount of yarn, and offers endless room for creative experimentation. Add these mini stars to your collection for decorative projects, or use them as gifts that are handmade with love!
Tutor Suggestions
- Yarn Type: Use thread or small yarn for a more delicate and intricate earring. Bulky yarn may not give the desired look for earrings.
- Practice First: If you’re a beginner, practice with a simple circular or fan-shaped design before attempting something more complex.
- Experiment: Try different color gradients or finger-crocheted tassels for more creative designs.