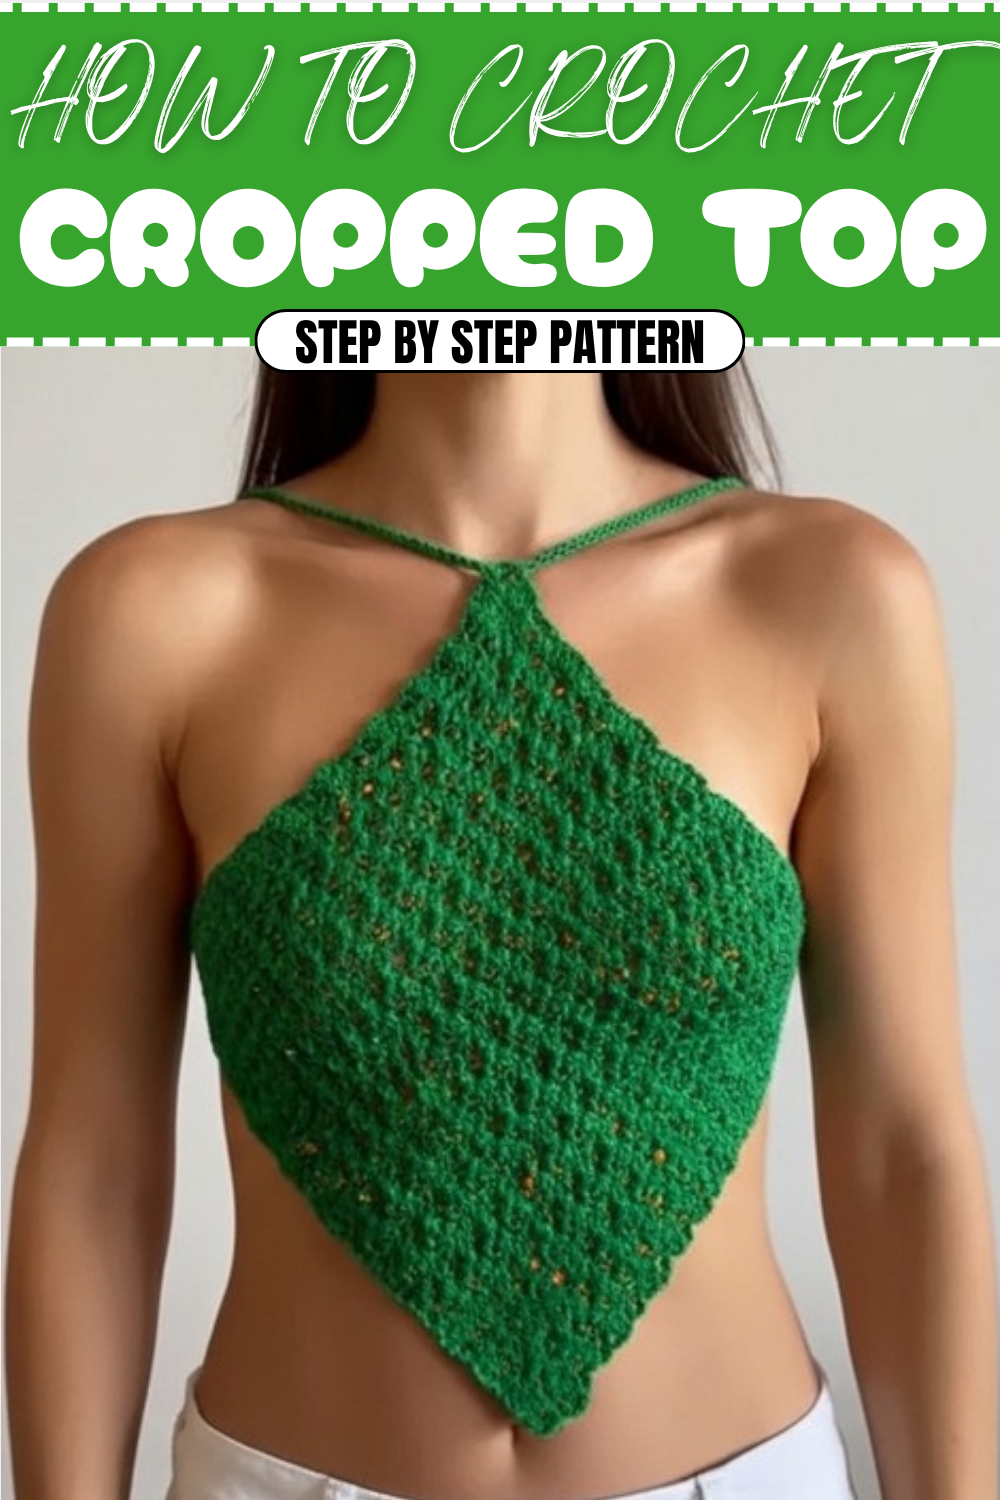
Step-by-Step Crochet Cropped Top Pattern for Stunning Looks
Eye-Catching Crochet Cropped Top Pattern for All Seasons
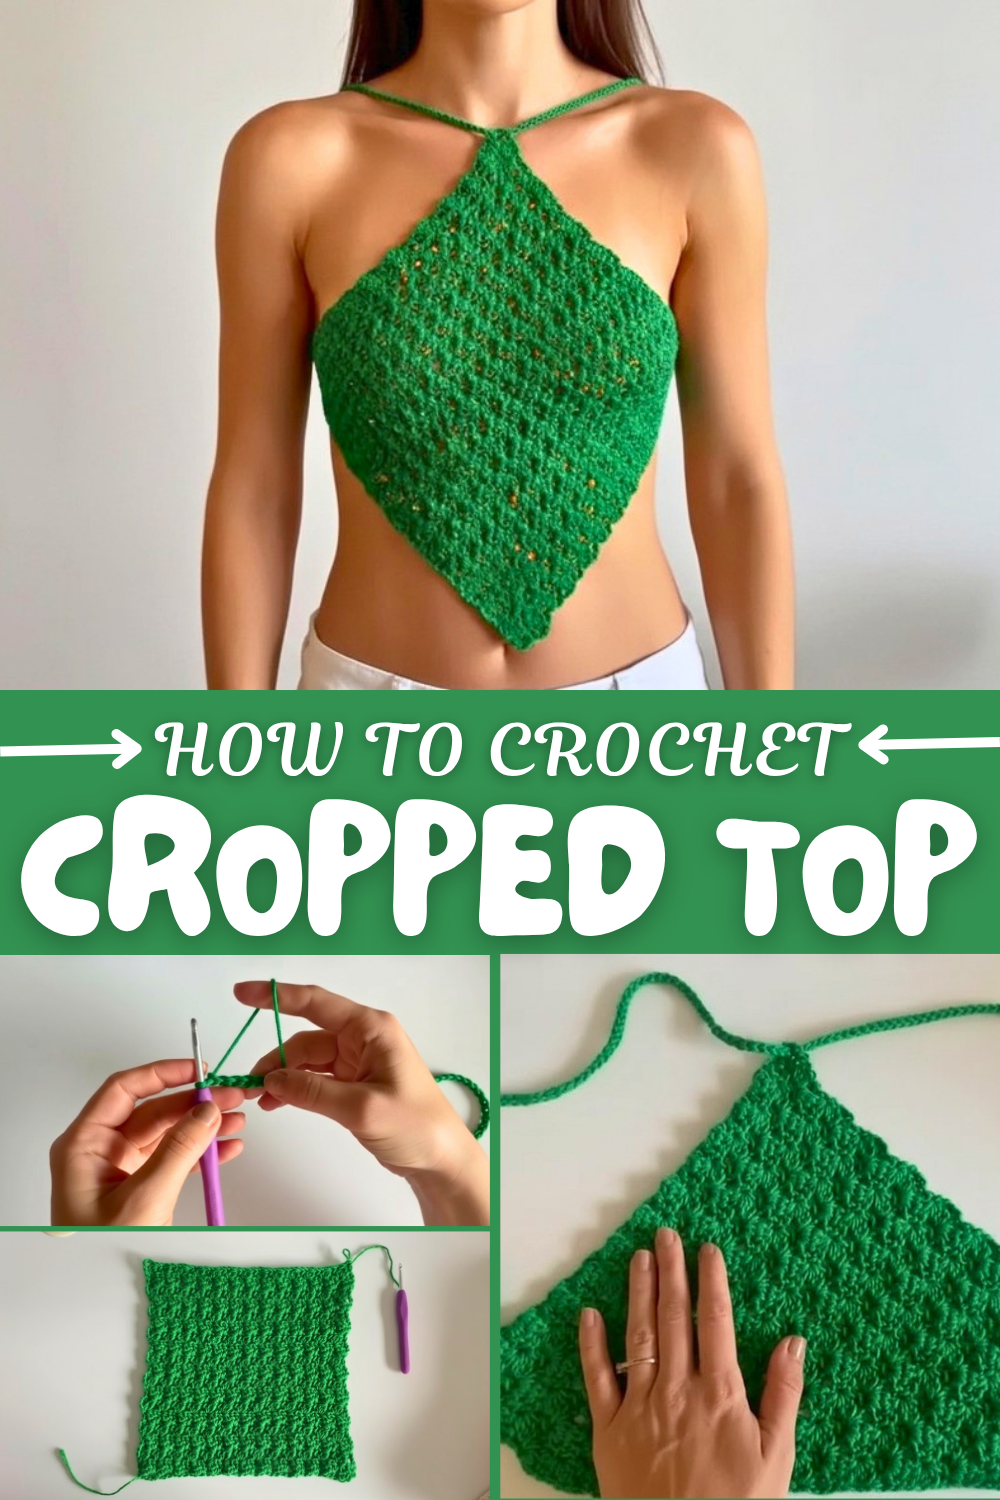
What Else Can You Make with This Pattern?
This versatile stitch pattern can be used beyond crop tops. Try turning it into a lightweight shawl, a stunning scarf, or even summer shorts by playing with the size and shape of your foundation chain and rows. The open, breathable fabric makes it ideal for accessories and garments made for warmer weather, inspiring you to create a complete coordinated wardrobe or unique gift pieces.
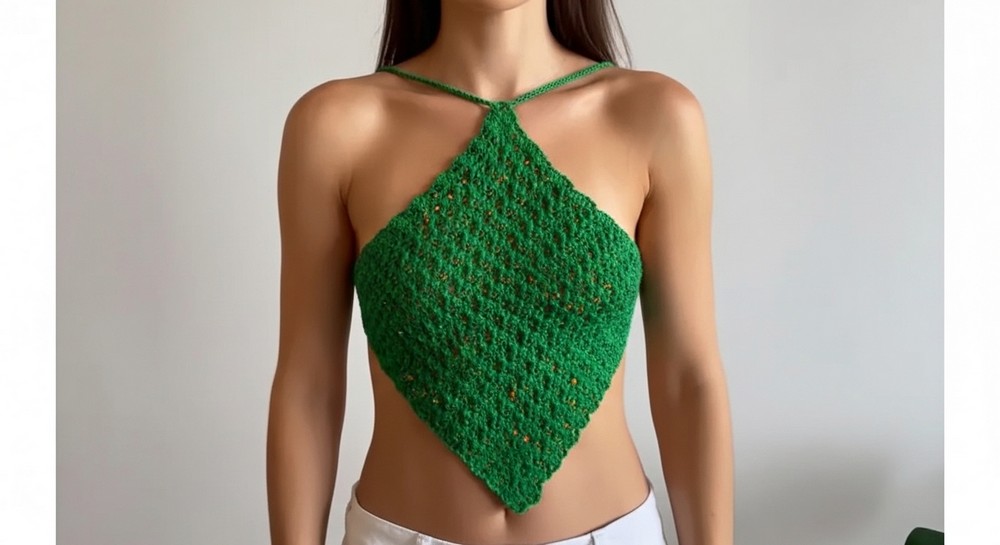
Crochet Square Top with Chain Tie Back Pattern
This step-by-step pattern will guide you in making a versatile Crochet Square Top featuring a beautiful, easy-to-learn stitch pattern with customizable length. The pattern involves creating a square base and adding adjustable chain ties to secure the top in place. It’s perfect for beginners and can be tailored to fit any size by adjusting the starting chain.
This Crochet Square Top pattern is an adaptable project that creates a lightweight, breezy garment, ideal for various occasions, from summer outings to layering. Featuring a tied-back design with a square base, this pattern is beginner-friendly and budget-friendly, requiring only basic tools and minimal yarn.
What You'll Learn
- How to work a square top using chain stitches and cluster stitches.
- The method for constructing rows without seaming until the square is complete.
- Adding chain-cord straps for adjustable closure.
Skill Level
Beginner – Uses basic stitches like chain (ch), double crochet (dc), and slip stitches (sl st). The pattern repeats row by row, making it easy to follow and customize for any size.
Terminology: Written using US crochet terms.
Materials & Tools
- Yarn: Barroco Yarn by Circulo (or similar cotton yarn). You can use:
- Barroco #4 for a finer top.
- Barroco #6 or #8 for a thicker, more structured top.
- Hook Size: 4mm crochet hook.
- Tapestry Needle: For weaving in loose ends and finishing.
- Scissors: For cutting yarn.
Gauge
- One block (3 stitches wide) = 1 inch (2.5 cm) wide.
- Adjust hook size if necessary to achieve the desired gauge.
Abbreviations List
Here’s a glossary of the stitches used in the pattern:
- ch: Chain
- sc: Single Crochet
- dc: Double Crochet
- sl st: Slip Stitch
- yo: Yarn Over
Special Stitch Instructions
- Cluster Stitch (used for "blocks"):
YO, insert hook into stitch, YO, pull up a loop, YO, pull through 2 loops — repeat three times in the same stitch, leaving 4 loops on the hook. Then, YO and pull through all four loops on the hook.
Finished Size
The size of the finished piece depends on the starting chain and yarn size. Here are examples:
- Smaller Top (Barroco #4): Start with 44 ch for approximately 15’’ x 15’’ (38 cm x 38 cm) square.
- Larger Top (Barroco #8): Start with 47 ch for approximately 18’’ x 18’’ (46 cm x 46 cm) square.
- Adaptable: Adjust the starting chain in multiples of 3 + 5.
Why You'll Love This Pattern
Creating this top is a rewarding experience because of its simplicity, versatility, and trending style. Whether you’re new to crochet or looking for a simple yet practical project, this top is highly customizable and quick to assemble.
The Pattern
Part 1: Foundation Chains and First Row
- Determine Your Starting Chain
- Work in multiples of 3 + 5 chains. (e.g., 44 ch or 47 ch based on your required size).
- Example: Use 47 chains to achieve a slightly larger size.
- Row 1 (Cluster Begins):
- Skip the first 4 chains.
- In the 5th chain, work a cluster stitch (see stitch instructions above).
- Skip the next 2 chains and make 1 dc in the next chain.
- Chain 1. Work another cluster stitch in the same chain.
- Repeat this sequence across the row, continuing to alternate between a dc with a cluster in the same stitch and skipping chains in between.
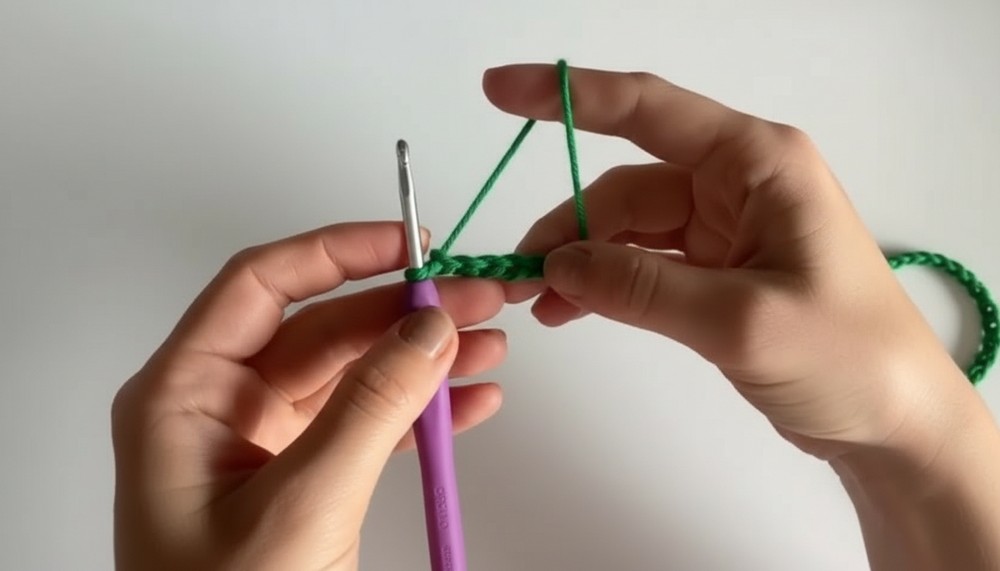
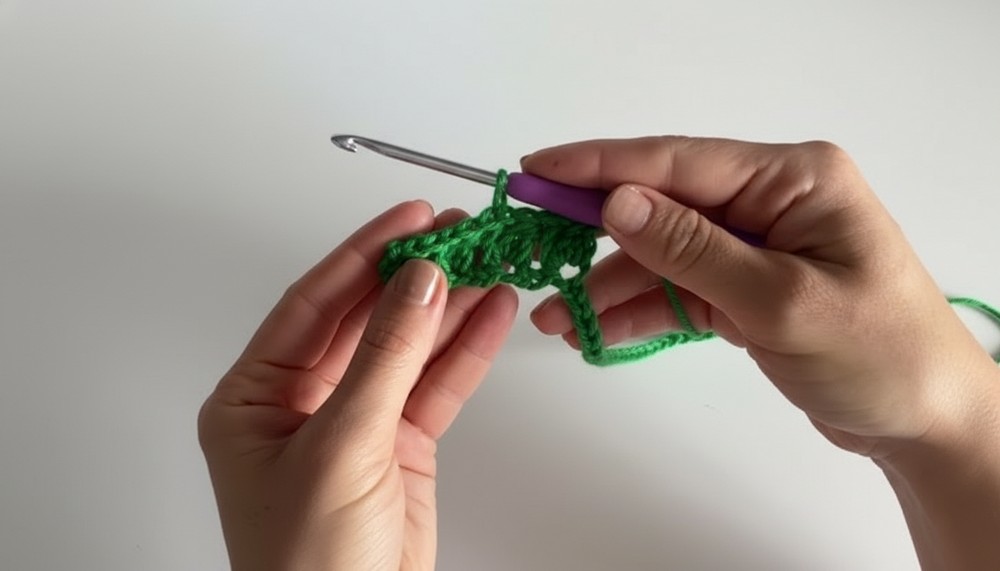
By the end of Row 1, the square's width will be established. You’ll see blocks forming across the row.
Part 2: Row 2 and Adding Height to Square
- Row 2 Setup:
- Turn your work and chain 5 (this will count as 1 dc + ch 2).
- Insert into the top of the cluster from the previous row and work a cluster stitch.
- Continue the Pattern:
- Skip over 2 chains from the prior row’s cluster.
- Work 1 dc into the next dc from the row below.
- Chain 1 and repeat the sequence: cluster stitch into the same stitch where you made the dc.
The square will grow in an alternating pattern of clusters and double crochet stitches with chain-space in between. Each block aligns neatly on top of the previous rows.
Part 3: Completing the Square
- Repeat Rows
- Continue repeating Row 2 (with clusters, chains, and dc) until you’ve achieved the desired height for your square.
- Stitches should remain consistent and symmetrical with clusters stacked and spaces aligned.
- Check the Shape
- The finished square should be proportional in height and width. Measure to ensure equal square dimensions. If necessary, adjust by adding more rows.
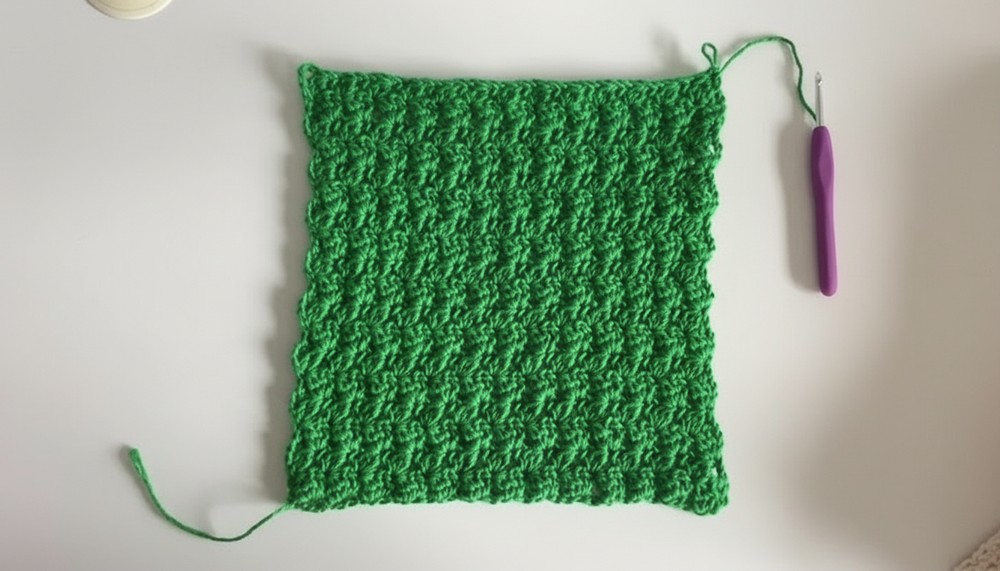
For most sizes, 12-15 rows are sufficient to finish the square. By the end of this part, you’ll have the body of the top ready!
Part 4: Creating the Cord Tie
- Crochet the Chain Cord:
- Create a very long chain (approx. 40-50 inches) to use as a tie. Adjust based on your body size and how much excess you’d like to drape.
- Optional: Slip Stitch for Stability
- Return through the chain with slip stitches (sl st) if you want a thicker, more structured cord.
- Attach the Cord:
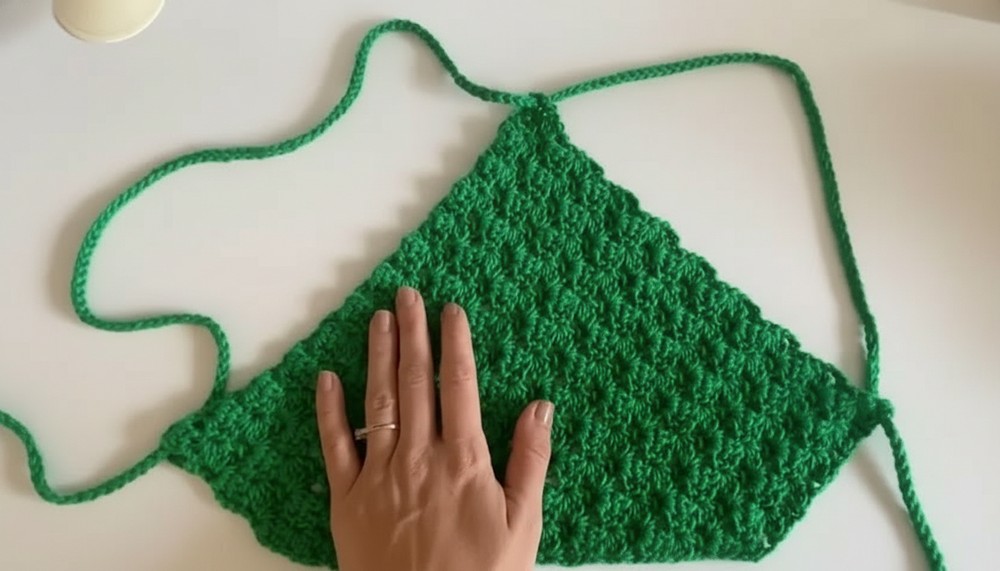
- Pass the cord through the top loops of the square, similar to threading a ribbon.
- To secure the top, place the cord so it loops around the neck and crosses at the back to tie.
The chain cord makes this top fully adjustable for a variety of sizes. You can use contrasting colors of yarn for aesthetic appeal or experiment with textured yarn for the cord.
Assembly and Finishing
- Weave in Ends:
- Use the tapestry needle to weave in any loose ends on the square. Trim excess yarn.
- Optional Finishing Touch:
- Add tassels, beads, or decorative embellishments to the cord ties.
- Ready to Wear:
- Fold the square and hold it against your body to check the coverage and fit. Tie the cord at the back for a finished look.
Customization Options
- Adjust the Size:
- Use fewer chains for a smaller size or more chains for a larger square.
- Add rows if you want more length around the body.
- Experiment with Yarn:
- Use textured yarns or alternate colors for stripes and patterns.
- Alternate Tie Designs:
- Replace chain cords with braided ties or ribbon for a softer look.
Final Thoughts
This Crochet Square Top is a practical yet stylish piece for your wardrobe, and it’s a great way to improve your crochet skills. I love that it’s completely adjustable, allowing for creative customization. Whether you’re making this for yourself, as a gift, or as a project to sell, this pattern is quick, rewarding, and endlessly versatile.
Tutor’s Suggestions
- Test Your Swatch: Make a small swatch of stitches before starting to ensure correct tension and size.
- Customize with Colors: Use multiple colors or stripes to add personality to your design.
- Be Patient: Take your time when shaping the straps or creating embellishments for a polished finish.