
Easy Free Crochet Braided Lace Wrap Top Pattern | Complete Tutorial
Wrap yourself in beauty and comfort with our free crochet pattern for a braided lace wrap top perfect for casual days and special occasions.
Creating your own stylish clothing can be an incredibly rewarding experience, especially when the design is as beautiful and functional as this braided lace wrap top. Shirleyrosey step-by-step tutorial makes it easy, guiding you through simple techniques to craft a stunning garment entirely by hand. Her clear and patient teaching style ensures even beginners can follow along, turning basic rectangles into a versatile, eye-catching wrap top.
Quick & Easy Free Crochet Braided Lace Wrap Top Tutorial
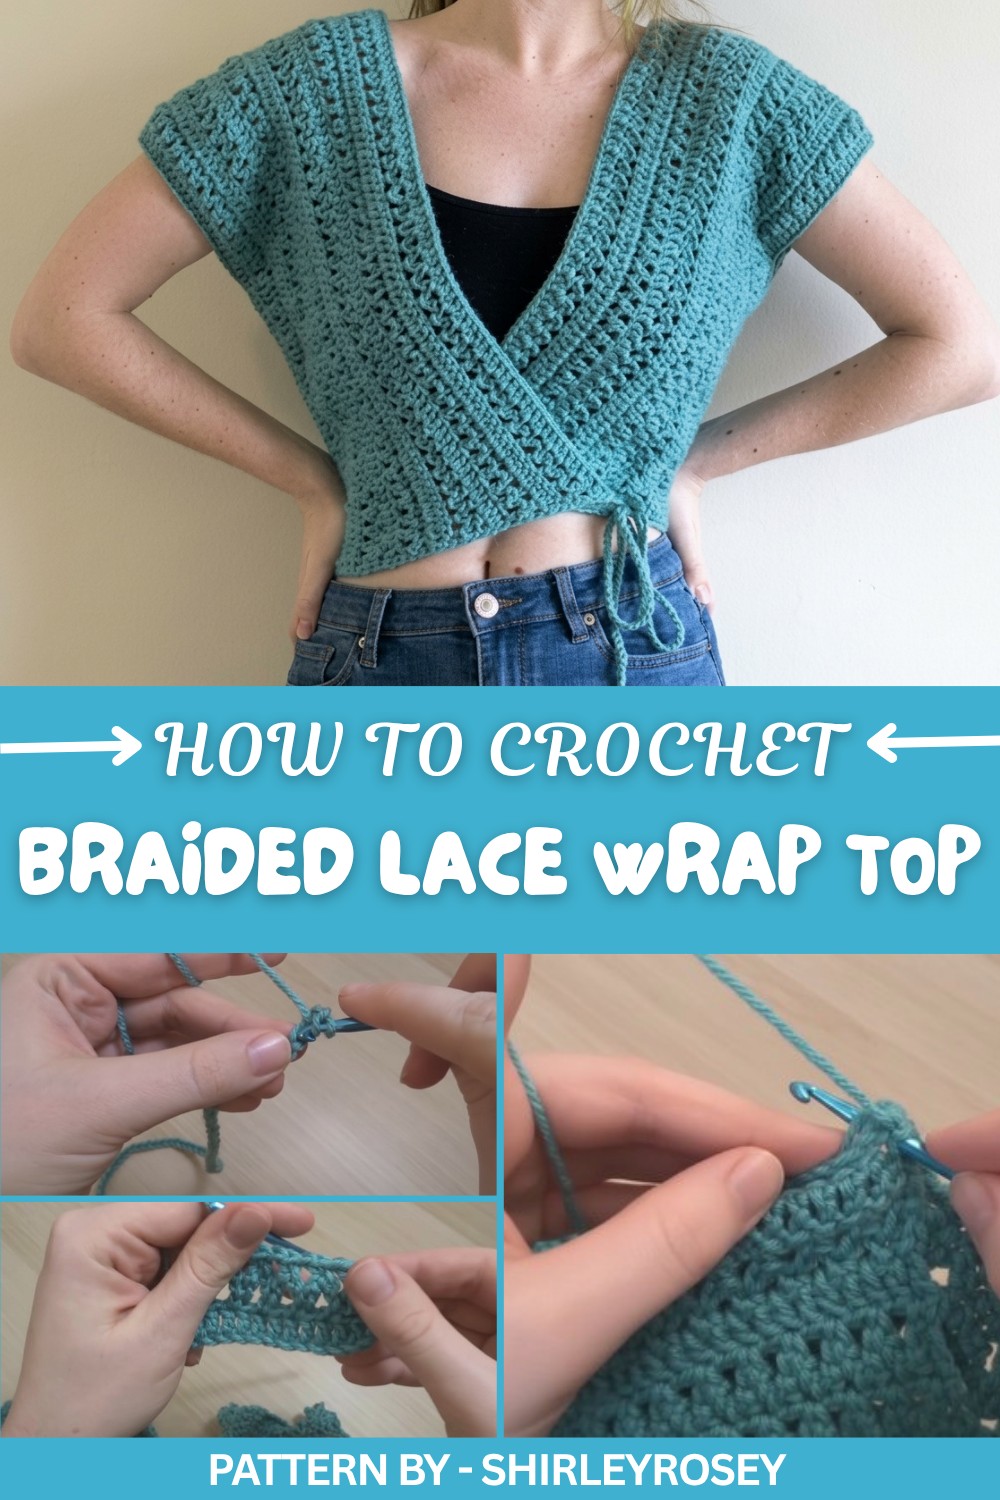
This design is truly one of a kind. The braided lace pattern gives the top an elegant and airy feel, perfect for warm weather or layering. Its most attractive feature is the adjustable tie straps that let you style it in multiple ways—wrap it tightly for a snug fit or leave it partially open for a relaxed, flowing look. The open-back detail adds sophistication, making it a standout addition to any wardrobe.
What makes this pattern special is its versatility and usability. Whether you’re heading to the beach, going out for an evening dinner, or adding a light layer to a casual outfit, this wrap top is a great choice. It’s easy to customize with different yarn colors or textures, letting you add your own personal touch.
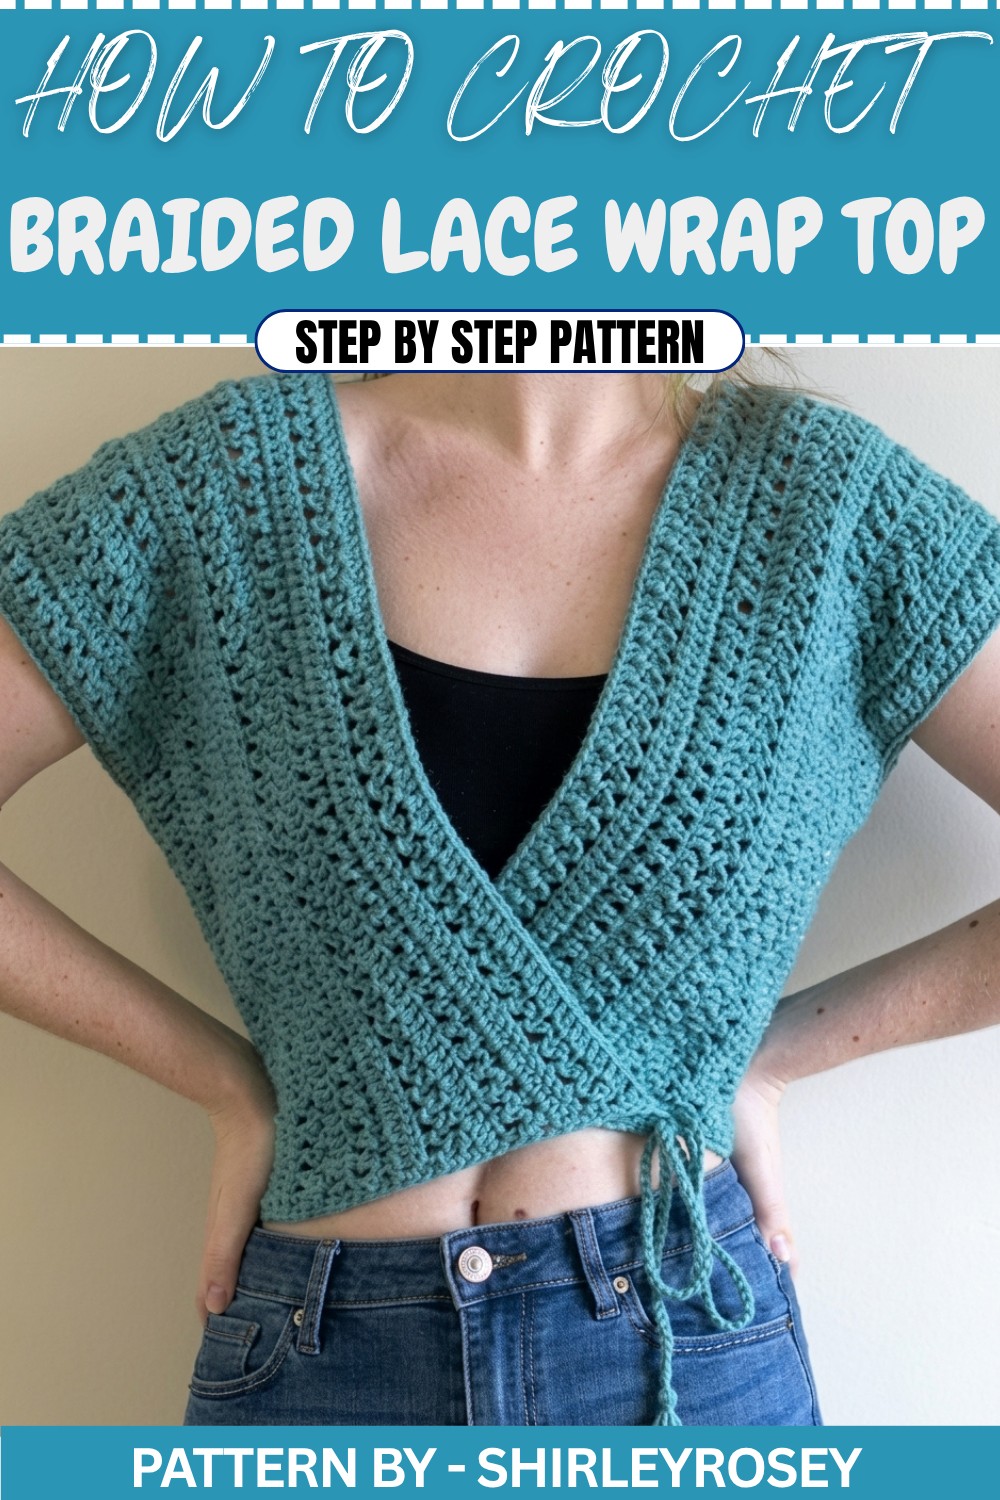
Braided Lace Crochet Wrap Top Pattern
This braided lace crochet wrap top features elegant lace detailing and is created using four rectangles seamed together. The versatile design can be styled as a wrap top or layered over outfits for added texture. This fun and satisfying project combines basic stitches and simple construction techniques, making it an exciting challenge for intermediate crocheters.
Skill Level
Intermediate – This pattern uses foundational stitches such as single crochet, double crochet, chains, and focuses on creating a braided lace effect and seamless assembly techniques.
Materials
- Yarn: DK-weight acrylic yarn (choose a soft material for comfort and drape).
- Hook: 5mm crochet hook for an airy yet sturdy fabric.
- Stitch Markers: Essential for marking shoulder and armhole seams during assembly.
- Additional Tools:
- Scissors for cutting yarn.
- Tape measure to determine rectangle dimensions.
Special Stitches
Single Crochet (SC):
- Insert the hook into the stitch or space.
- Yarn over and pull up a loop (2 loops on hook).
- Yarn over again and pull through both loops.
Double Crochet (DC):
- Yarn over, insert the hook into the stitch, and pull up a loop (3 loops on hook).
- Yarn over, pull through the first two loops (2 loops remain).
- Yarn over again and pull through the final two loops.
Braided Lace Pattern:
A combination of chains and single crochet stitches is used to create elegant loops that resemble braided lace. The key is working into the middle chain of each loop for continuity across rows.
Stitch Abbreviations
- CH = Chain
- SC = Single Crochet
- DC = Double Crochet
- SL ST = Slip Stitch
Useful Tips
- Measure Accurately: Ensure your initial chain matches your shoulder-to-waist measurement for proper sizing.
- Maintain Consistent Tension: Keep your loops uniform in size when working the braided lace rows to achieve a neat and elegant pattern.
- Use Stitch Markers: Mark armhole and shoulder join points during assembly to avoid misalignments.
- Adjust Lengths: Modify the chain lengths of ties and other components to suit your personal preference and body size.
- Practice Joining Techniques: Test single crochet seaming on scrap pieces to ensure clean and unobtrusive joins.
Detailed Crochet Pattern
Step 1: Body Piece Base
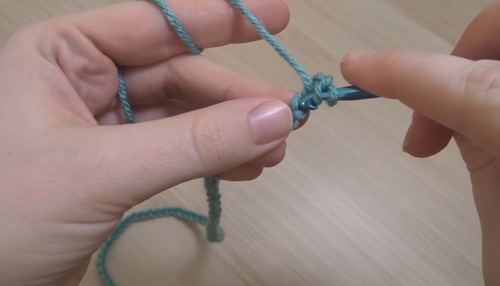
- Begin by creating a slip knot on your hook.
- Chain an odd number based on your shoulder-to-waist measurement. For example, if your measurement is 25 inches, make 65 chains.
- Add 2 extra chains to the foundation chain for turning.
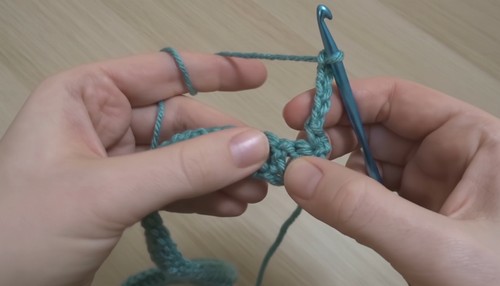
- Starting in the third chain from the hook, work 1 DC into each chain across the entire row.
Step 2: Braided Lace Pattern
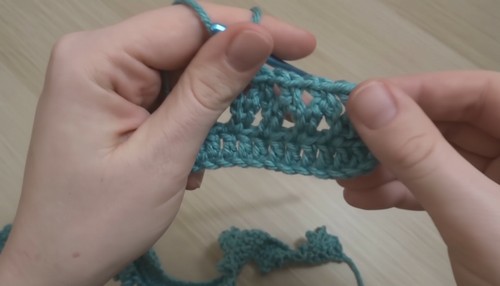
- Row 2:
- Chain 1, turn your piece.
- Work 1 SC into the first stitch.
- Chain 5, skip the next DC, and work 1 SC into the next DC.
- Repeat the chain 5, skip 1, SC into the next stitch pattern all the way across the row to form loops.
- Row 3:
- Chain 3, turn your piece.
- Working into the middle (3rd) chain of each loop from Row 2, make 1 SC to anchor the loops.
- Chain 1 between each SC to create smaller connecting loops.
- Continue alternating SC into middle chain, chain 1 across until the end of the row.
- Finish with 1 DC worked into the final stitch for stability.
- Row 4:
- Chain 2, turn your piece.
- Work 1 DC into every space and SC across the row to close the lace pattern.
- This row will create a solid base for repeating the braided lace rows above.
- Repeat Rows 2–4 until the piece reaches the desired width. The creator worked 21 rows total, but adjust based on your preference and body measurements.
Step 3: Seaming
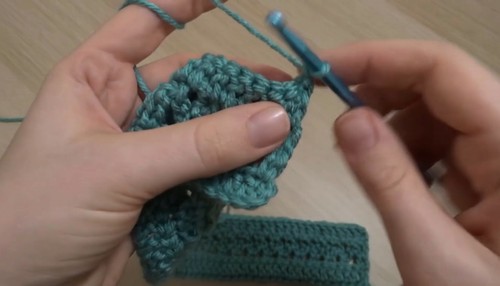
- Shoulders:
- Place two rectangles with their right sides facing together.
- Join across the top edge using single crochet (SC) stitches to seam the shoulders.
- Work evenly across to create a clean connection between the two rectangles.
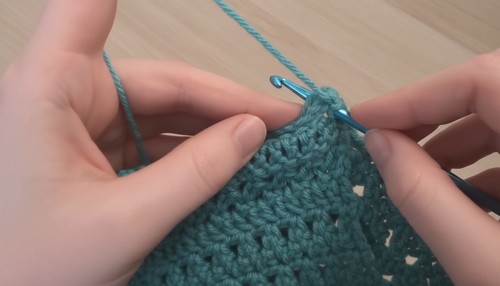
- Sides:
- Use a stitch marker to mark the armhole size on each side. For the creator’s sizing, mark 25 stitches down from the top edge.
- Starting at the bottom corner of the rectangle, seam the sides together by working SC stitches from the bottom edge up to the armhole marker.
- Fasten off securely and repeat for the second side.
Step 4: Finishing & Ties
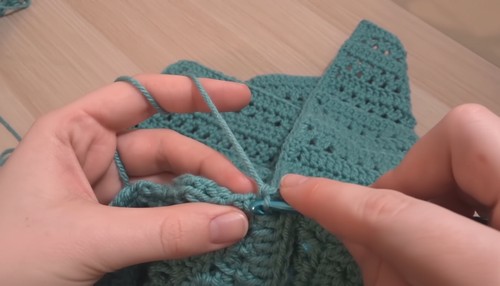
- Bottom Edge:
- Join yarn at any point along the bottom edge of your connected pieces.
- Work 1 row of SC stitches evenly across the entire bottom perimeter for a clean finish.
- Waist Ties:
- Attach yarn to the side seam near the waistline.
- Chain 155 (or adjust the chain length to your desired tie length).
- Knot the ends securely to prevent fraying.
- Back/Shoulder Ties (Optional):
- To add extra stability to the wrap top, create additional tying points by attaching yarn at the back of the shoulder.
- Chain 50 for each tie. Knot the ends securely and use the ties to secure the garment comfortably at the back.
Assembly and Sizing
Sizing:
- The top is constructed based on measurements such as shoulder width, waist length, and preferred sleeve openings.
- Adjust the rectangle height/width or armhole placement to suit your body proportions.
Assembly Notes:
- Ensure all seams are tightly secured to hold the garment in place during movement.
- Test the fit before weaving in ends to confirm alignment of the rectangles and ties.
Conclusion
This braided lace wrap top is a versatile and elegant addition to your wardrobe, crafted from simple yet effective techniques. The combination of airy lace and tailored seams creates a flattering and functional design. Personalize the top by choosing colors and tie lengths that suit your style, and enjoy crafting this timeless crochet project with your own creative twist.