
Crochet V-Neck Crop Top Pattern: Free Tutorial With Steps
Stitch a standout summer staple with this free crochet V-neck crop top pattern perfect for casual looks or layering with confidence.
Wearing a handmade crop top that’s not only stylish but feels like it’s made just for you. This V-neck crop top design brings that dream to life with its uniquely crafted shape and flattering look. Perfect for warm weather, casual outings, or layering over other clothes, this top combines simplicity with elegance. The deep V-shape on both the front and back gives it a modern, exciting look, while the delicate stitch work adds a soft and feminine touch. It’s not just a piece of clothing—it’s a reflection of your creativity and personal style.
Free Crochet V-Neck Crop Top Patterns You’ll Love to Wear
Good Words For Designer!
The pattern is expertly shared by Julsmara Crochet, a channel loved for its clear instructions and joyful approach to crocheting. Julie, the creator behind the channel, ensures every project feels achievable, even for beginners, while inspiring confidence and excitement along the way.
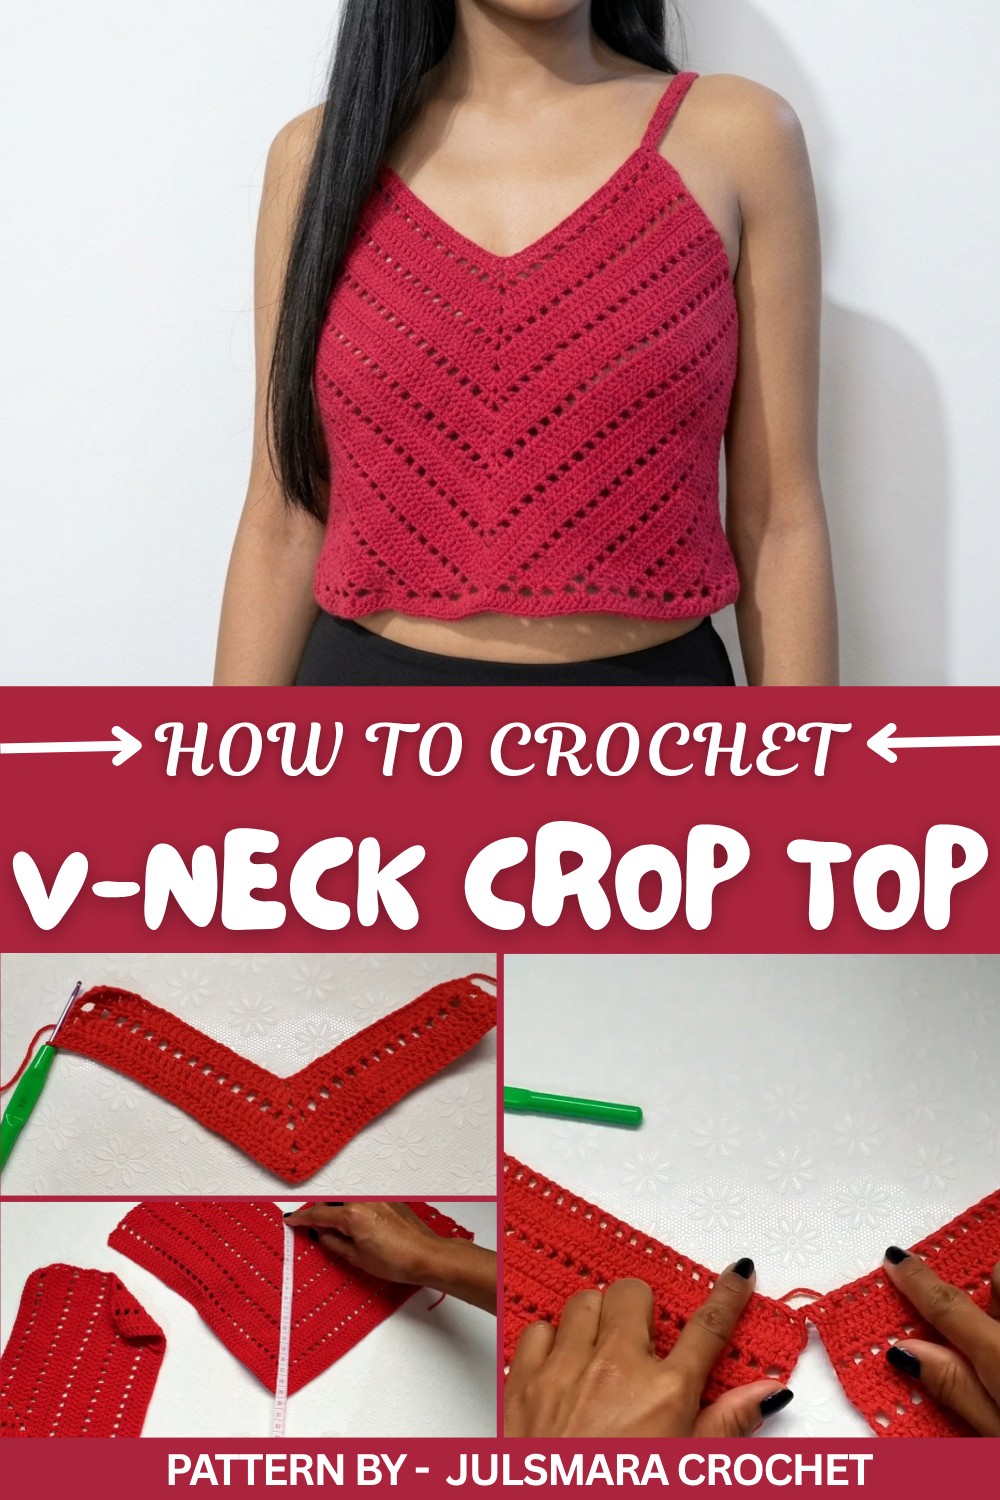
To make this crop top, you only need cotton yarn, a crochet hook, and a bit of patience to bring it together. The design starts with two identical panels, using simple double crochet stitches combined with rows of decorative gaps that lighten up the texture. Once the panels are ready, they’re joined together neatly to create the V-shaped neckline and the seamless cropped fit. The thin straps are made as a final touch and adjusted for a snug, comfortable wear.
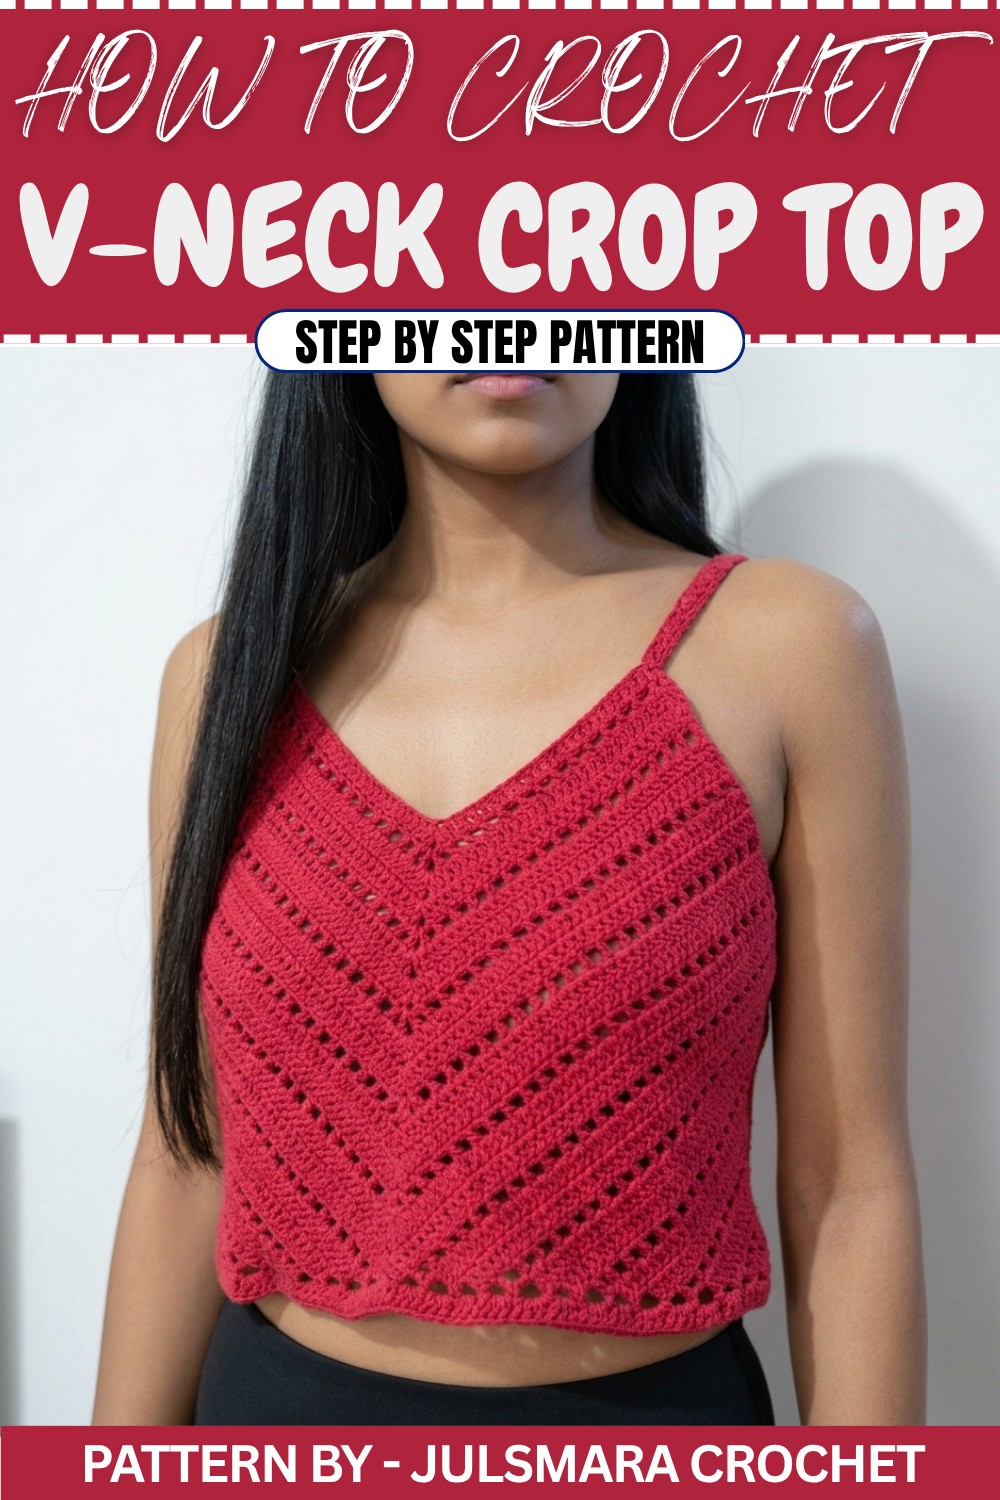
This crop top is versatile and pairs beautifully with jeans, shorts, or skirts, making it a perfect addition to any summer wardrobe. With its effortless style and timeless design, it’s a beginner-friendly yet rewarding project that everyone should try.
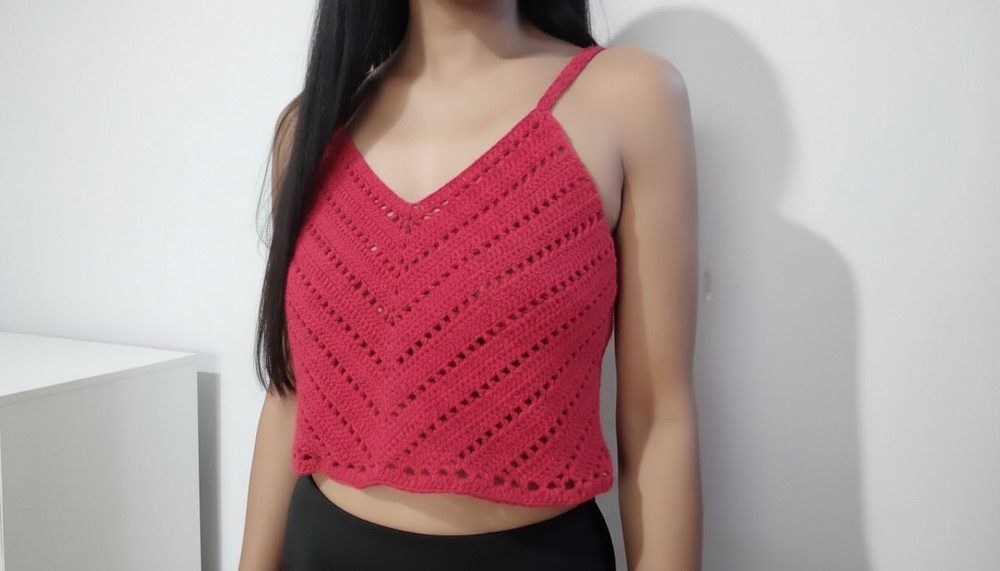
Crochet V-Neck Crop Top Pattern
This v-neck crop top is a stylish and versatile garment designed to fit small to medium sizes. Constructed from two panels, the top features a beautiful stitch pattern that alternates textured rows. This beginner-friendly pattern is easy to adjust for sizing and provides a comfortable, flattering fit.
Skill Level
This pattern is suitable for Intermediate crocheters due to its stitch alternation and panel assembly, which requires attention to detail.
Materials
To complete this crochet crop top, you will need:
- Yarn: Alize Cotton Gold yarn in Color 56 (lightweight cotton yarn)
- Hook: 3mm crochet hook
- Tools: Stitch marker, yarn cutter, yarn needle, and tape measure
Special Stitches
Triple Crochet (TRC)
- Yarn over twice, insert your hook into the next stitch, yarn over and pull through (4 loops on hook).
- Yarn over, pull through two loops (3 loops remain).
- Yarn over, pull through two loops again (2 loops remain).
- Yarn over, pull through the final two loops.
Chain-1-Skip-1 Pattern
- Chain 1, skip one stitch, and double crochet into the next stitch.
- Repeat across the row until you reach the center or end.
Stitch Abbreviations
- CH = Chain
- DC = Double Crochet
- TRC = Triple Crochet
- SC = Single Crochet
- SL ST = Slip Stitch
Useful Tips
- Blocking: Block the panels after completion to even out stitches and edges before connecting them.
- Panel Fit: Check panel size against your measurements regularly to ensure proper fit.
- Strap Length: Adjust strap rows as needed to achieve a good shoulder fit.
- Keep stitch markers handy to track key points during the project.
The Crochet Pattern
1. Creating the Panels
Foundation
- Chain 53 (for small-medium sizing).
- Place a stitch marker on the 26th stitch to mark the center.
Row 1: Base Row
- Skip the first three chains (these count as the first DC).
- Work 25 DC stitches in each chain leading up to the marker.
- In the stitch marker space, work (2 DC, CH 2, 2 DC) to form the center space.
- Continue with 25 DC stitches down the remaining chain.
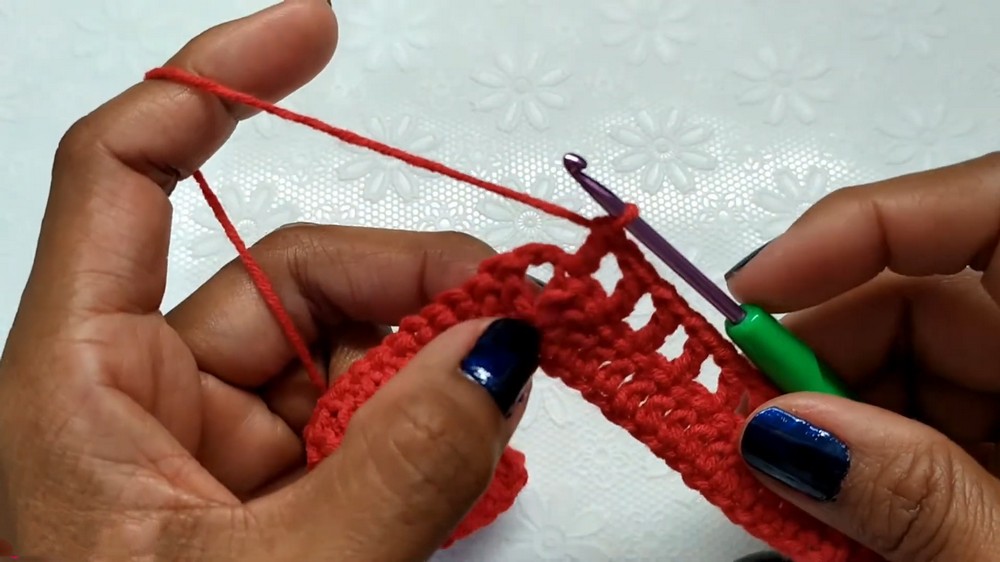
Row 2: Textured Row
- CH 4 (counts as first chain space and DC).
- Skip 1 stitch, then work 1 DC in the next stitch, CH 1, and skip another stitch.
- Repeat this pattern until reaching the CH 2 space.
- In the CH 2 space, work (1 DC, CH 2, 1 DC).
- Continue the textured stitch pattern to the end of the row.
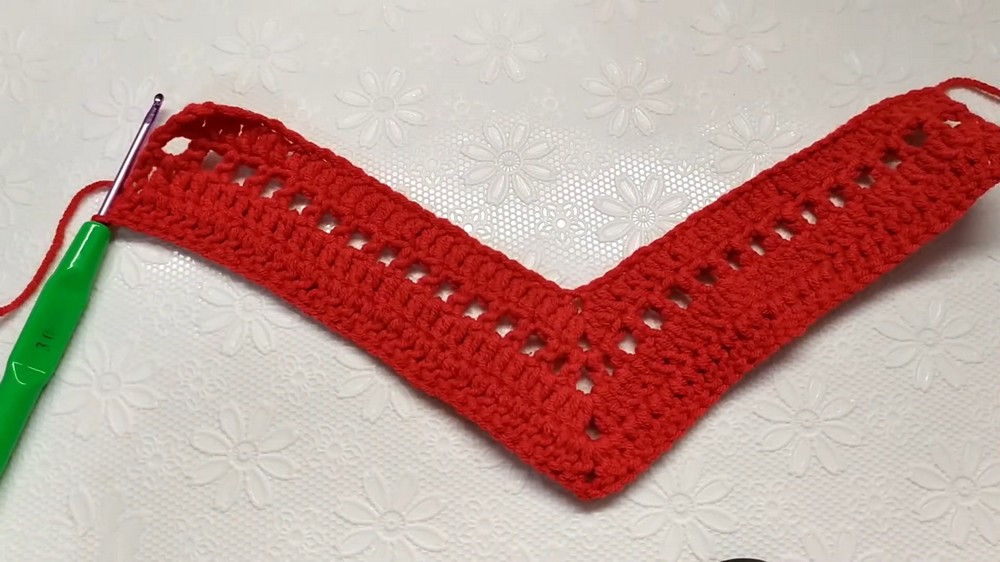
Row 3: Full DC Row
- CH 3 (counts as first DC), turn.
- Work 1 DC into every CH space, and 1 DC into each stitch across the row.
- In the center CH 2 space, work (2 DC, CH 2, 2 DC).
- Continue with DC stitches across to complete the row.
Row 4: Repeat
- CH 3, turn. Work DC in every stitch across, repeating the center stitch pattern (2 DC, CH 2, 2 DC).
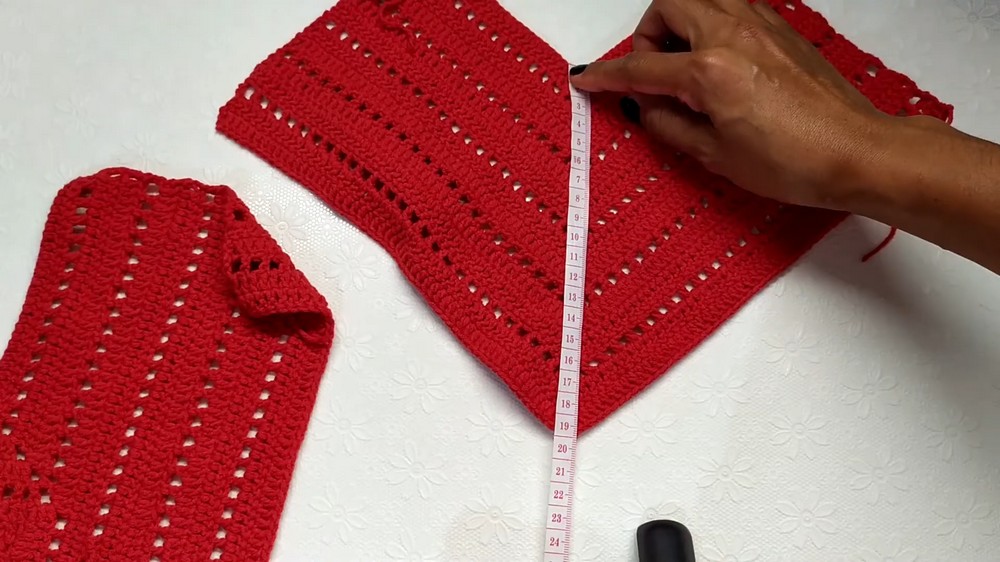
Row 5: Return to Textured Pattern
- Repeat Row 2 pattern (CH 1, skip 1, DC, chain-1-skip-1-double-crochet sequence).
Pattern Repeat
- Continue repeating the cycle: 1 Row of chain-1-skip-1-double-crochet, followed by 2 rows of full double crochet, until completing 16 rows total.
- Complete a second panel following the same steps.
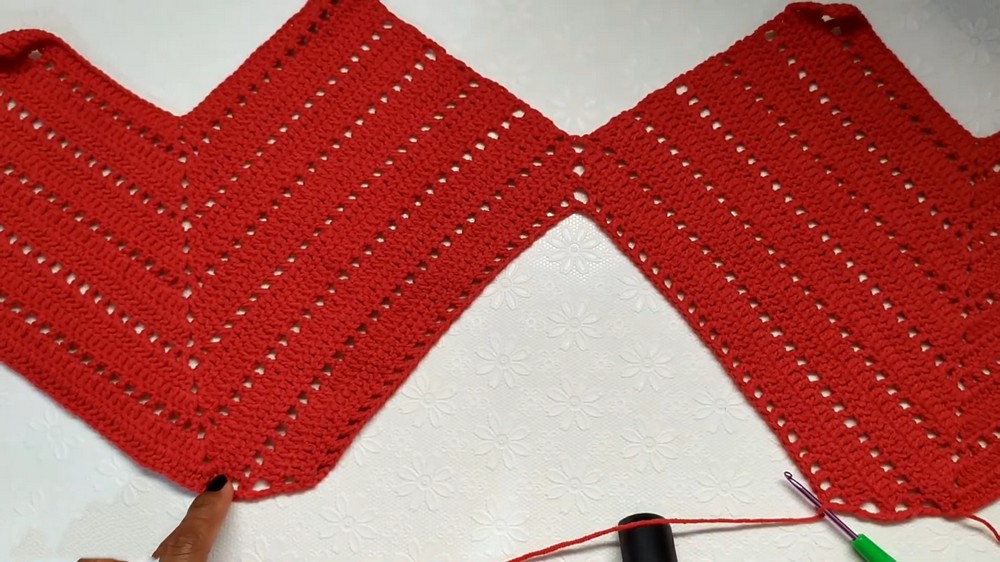
2. Connecting Panels
Step 1: Initial Connection
- Place the two panels side by side with the right sides facing up.
- Attach yarn to the first panel and start with CH 4, then work DC stitches across.
- When you reach the edge of the first panel, begin connecting to the second panel by working a CH 4 bridge and skipping 4 stitches from the start of the second panel.
- Continue with DC stitches across the second panel.
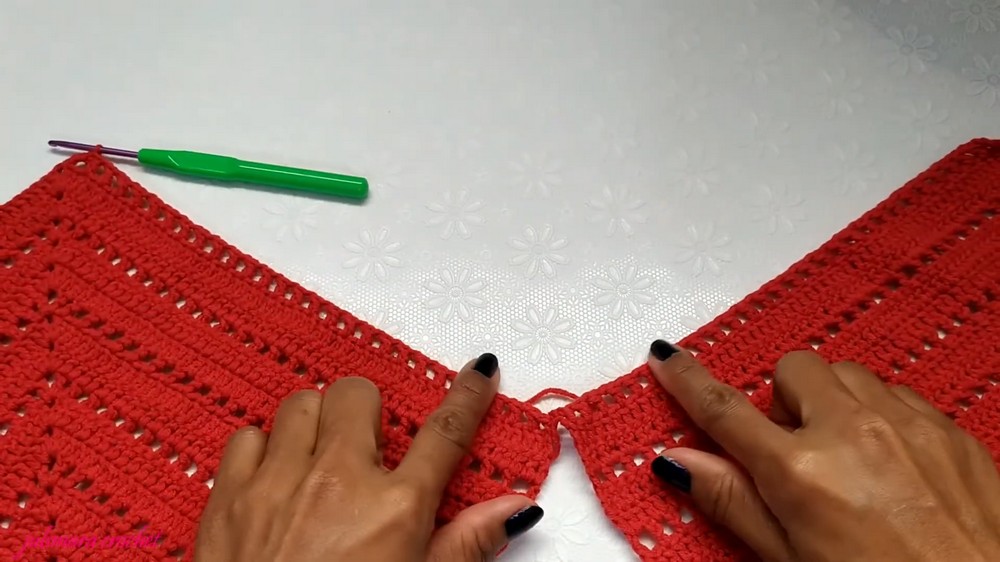
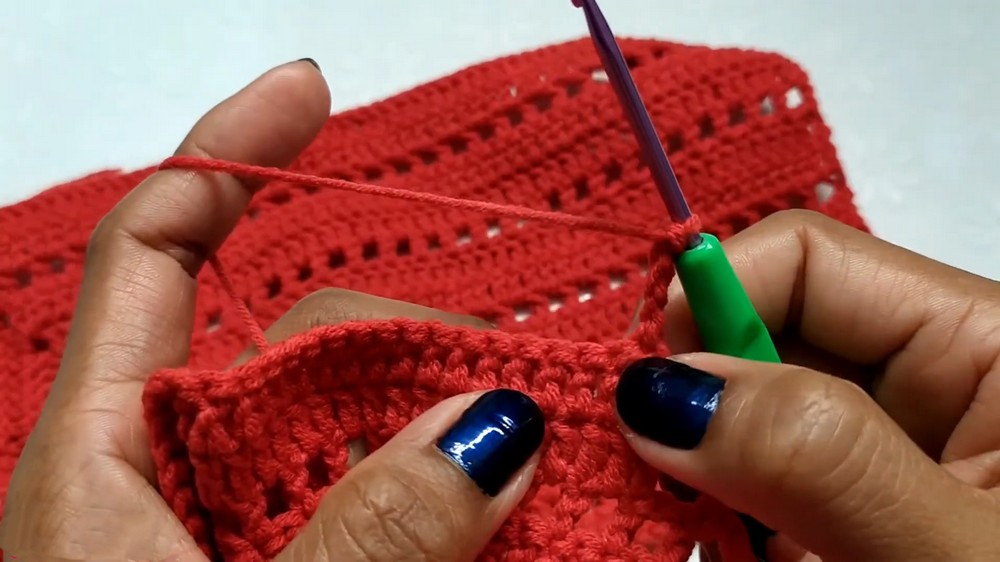
Step 2: Filling the Gap
- Work back and forth across both panels, continuing the connection as you crochet.
- Use TRC stitches to fill wider spaces between the panels and straighten the edges.
- Begin each new row with CH 4 and adjust the stitch count as necessary for a smooth connection.
3. Finishing and Straps
Edging
- Work a final row along the bottom edge of the crop top.
- In each chain space, work 3 DC stitches to form a clean and decorative border.
Straps
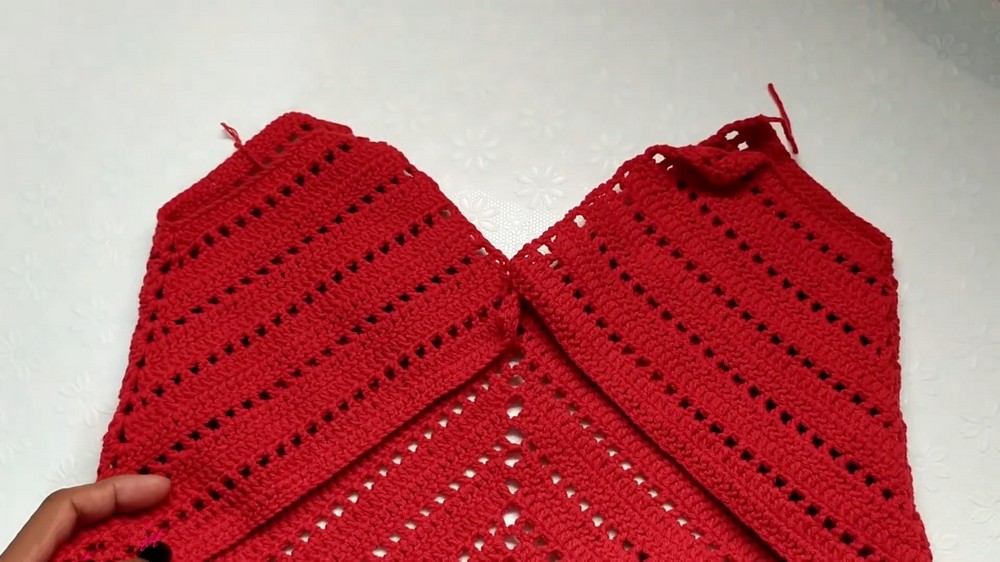
- Turn the crop top inside out and locate the top edges where straps will be attached.
- Attach yarn to the designated stitch using a slip knot. Work SC into the top edge to secure the yarn.
- Build the Straps:
- CH 1 and work SC into the top edge where the strap will be.
- Start a new row with CH 2, turn, and work DC stitches across the strap width.
- Continue back and forth for approximately 24 rows (or adjust for preferred length).
- Strap Connection:
- Join the strap to the opposite panel with SL ST. Ensure both straps are attached at equal positions for symmetry.
Assembly and Sizing
Once the panels are created and joined, ensure the overall fit by testing the width and length of the garment. If necessary, adjust either the panel dimensions or strap lengths to improve fit. For durability and comfort, secure all seams tightly using a yarn needle. This design is intended to fit small to medium sizes but can be adjusted by lengthening rows or foundational chains.
Conclusion
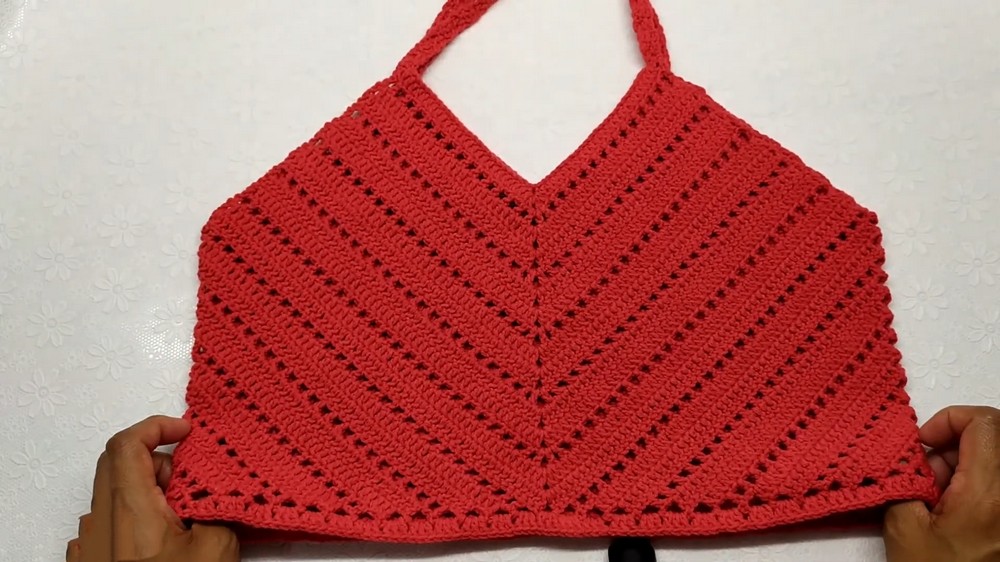
This V-neck crop top combines functionality with style, featuring textured stitching, a flattering neckline, and secure straps. The easy assembly process ensures your project will have a professional, polished finish, suitable for everyday wear or layering. You can customize the length, strap adjustments, and color choices for a personalized look, creating a unique summer wardrobe staple!